Create Microsoft To-Do app tasks in bulk, via user-defined batch templates.
Create a .yaml file that defines one or more tasks in it, using this structure. For example event-template-example.yaml.
Tips:
- Variable expressions (explained below) are wrapped with double-curly braces.
- Whitespace is important in yaml. You can use a yaml syntax validator to make sure your document is valid.
---
BatchName: 'My Task List: {{EVENTNAME}}'
Tasks:
- Name: "({{COUNTER}}) {{EVENTNAME}}: First task title"
  Description:
    This is the body/description of the first task
  DueDate: "{{EVENTDATE-3w}}"
- Name: "({{COUNTER}}) {{EVENTNAME}}: Second task title"
  Description:
    This is the body/description of the second task.
    You can also have multiple lines here.
  DueDate: "{{EVENTDATE}}"
- Name: "({{COUNTER}}) {{EVENTNAME}}: Third task title"
  Description:
    This is the body/description of the third task.
DueDate: "{{EVENTDATE+1m}}"Run the application from the command line. Provide arguments for the batch definition/template file and your variables.
.\BatchToDoCLI.exe -BatchDefinition "D:\Batches\event-template-example.yaml" -Variables "EVENTDATE=06/01/2022;EVENTNAME=Demo Event" -Timezone "Pacific Standard Time"When the application runs, it prompts you to login to your Microsoft account. This is required so the program can create an API token for making calls to the Microsoft To-Do API.
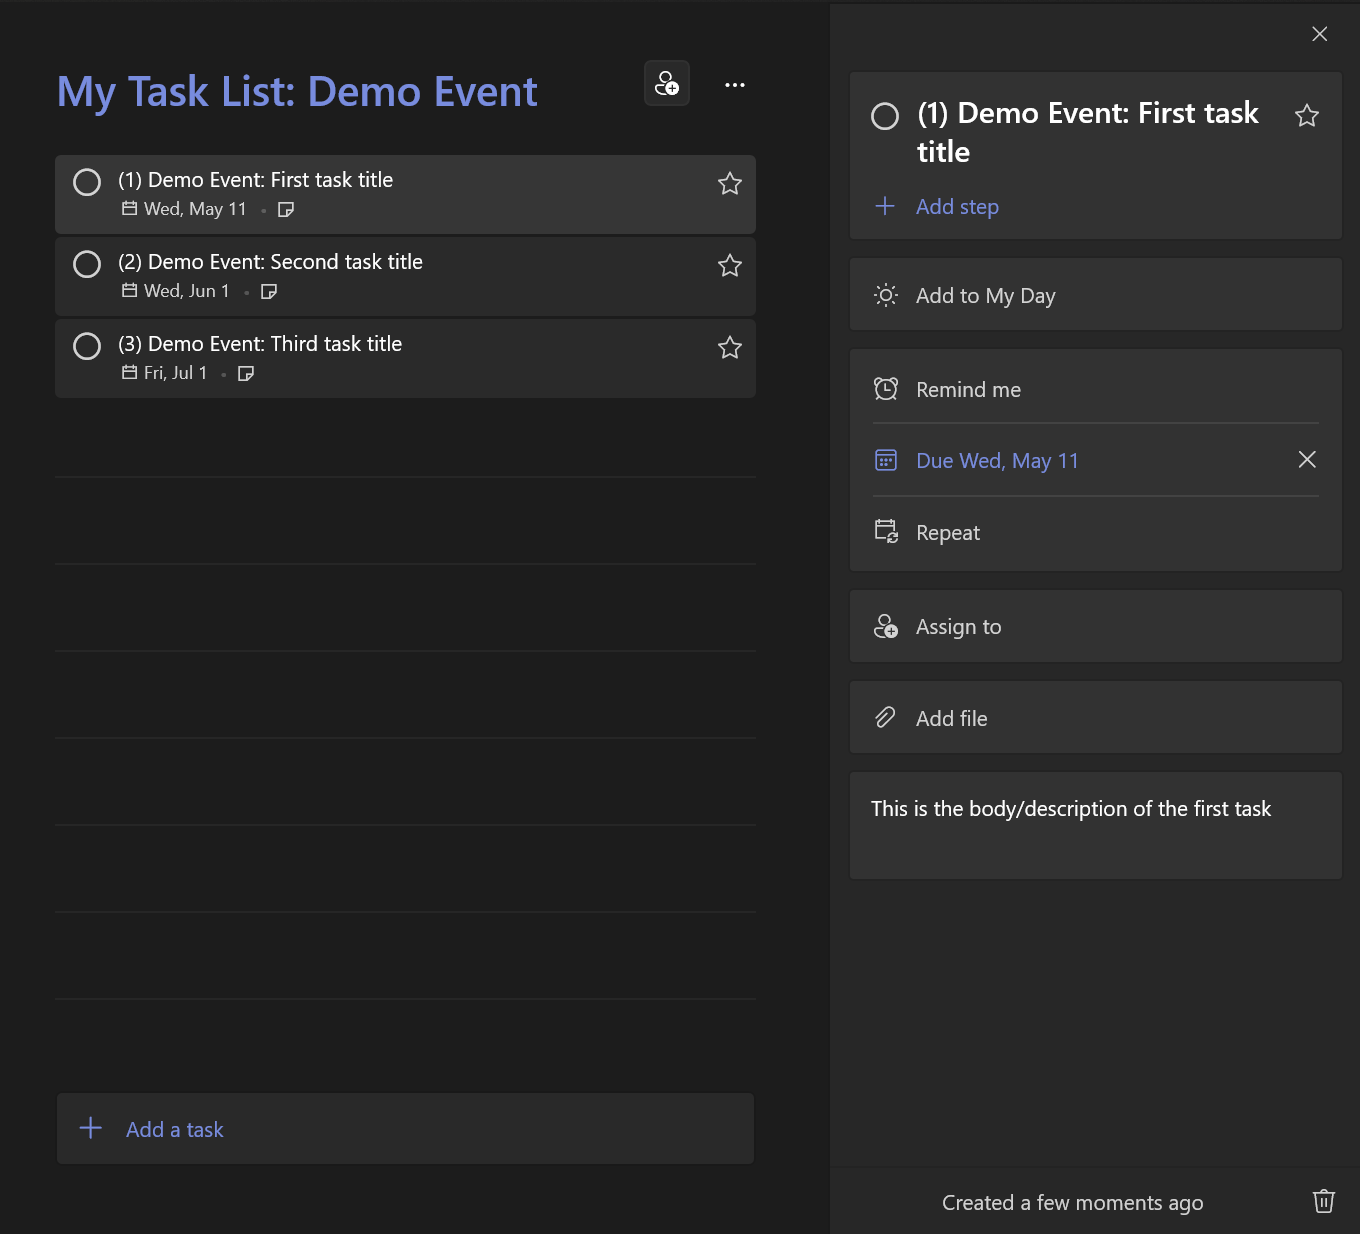
Once the run is completed, your tasks should be created (with variables substituted):
The following variables are automatically evaluated if you use them in a yaml template. Do not specify them in the command line arguments.
{{COUNTER}}: Be placing this variable in a task title, it will start with 1 and increment.
User-provided variables that have a date value can be referenced in the DueDate template field as an expression.
For example, if you provide EVENTDATE=06/01/2022 in the the -variables argument, you can reference that variable by itself, or with a modifier:
| Modifier | Description |
|---|---|
| + | Date addition |
| - | Date substraction |
| d | Day |
| m | Month |
| y | Year |
In the event-template-example.yaml file, providing EVENTDATE=06/01/2022 would evaluate like this:
| Expression | Evaluates to |
|---|---|
| {{EVENTDATE-3w}} | May 11th 2022 |
| {{EVENTDATE}} | June 1st 2022 |
| {{EVENTDATE+1m}} | July 1st 2022 |
- Download and install the .NET 6.0 SDK from Microsoft here.
- Download this source code
git clone https://github.com/keithbabinec/BatchToDoCLI.git - Build the project
dotnet restore .\BatchToDoCLI.csproj dotnet build .\BatchToDoCLI.csproj - Executable will be created in
bin\Debug\net6.0\BatchToDoCLI.exe
In order to authenticate to the Microsoft ToDo API, you need a Microsoft Graph token. Before you can request a Graph token, you must create an app registration with the following steps:
-
Navigate to the Azure Active Directory admin center and login with a personal Microsoft Account.
-
From the sidebar, select Azure Active Directory > App Registrations > New Registration.
-
Provide an app name (example: BatchToDoCLI).
-
Under 'Supported account types', set the value 'Personal Microsoft accounts only'.
-
Under Redirect URI, change the dropdown to Public client (mobile & desktop), and set the value to https://login.microsoftonline.com/common/oauth2/nativeclient
-
Click Register.
-
On the next page, copy the 'Application (client) ID to your clipboard.
Open up the BatchToDoCLI's
bin\Debug\net6.0\appsettings.jsonfile.Paste the client ID value into the
Msft.GraphClient.AppIdsetting (there will be a blank spot here), then save the file. -
Select 'Authentication' from the 'Manage' menu.
Under the Avanced settings section, change the 'Allow public client flows' toggle button to 'Yes' and then save the changes.
-
Select 'API permissions' from the 'Manage' menu. Add Tasks.ReadWrite permissions.
