SampleAADImplicitGrantFlow
A code sample of an ASP.NET Core Web API with a React web client, authenticated with the Azure Active Directory implicit grant flow and RBAC permissions authorization.
Important Update: September 2020
The authentication flow described in this repository is no longer recommended. New applications should use the OAuth 2.0 Authorization code flow instead: https://github.com/keithbabinec/SampleMsalAuthorizationCodeFlow
Tutorial Post
You can find a walkthrough tutorial on this authentication flow on my blog at this link: https://keithbabinec.com/2019/09/25/how-to-setup-the-azure-ad-implicit-grant-flow-with-react-asp-net-core-and-rbac-roles/
Azure Prerequisites
- You have an Azure subscription.
- You have an App Registration that has been created in Azure Active Directory.
- You have modified the App Manifest in the AAD app to use the implicit grant auth flow, and added custom roles 'AdminUser' and 'StandardUser'.
- You have modified the associated Enterprise Application to assign users or groups to the custom roles.
ADAL or MSAL?
If you need to support non-Azure AD accounts (ex: personal Microsoft accounts), you will need to use the MSAL.js library and the new v2 Microsoft Identity Platform. This code sample repo authenticates Azure AD users with ADAL.js.
Security Warning
Be aware that the JavaScript code sample uses the browser's sessionStorage to store tokens. This means the token could be extracted if the site is vulnerable to an XSS attack or if untrusted/malicious scripts are executed in your web app. Keep this in mind when handling tokens.
Build/Run
API Server
- Open the Visual Studio solution in Visual Studio 2019 (.NET Core 2.2 SDK is required).
- Allow the nuget package restore to complete.
- Open the Startup.cs file and inject your environment specific details in the fields.
- Review the project properties > debug : make sure that SSL is enabled.
- Start the project (F5).
Web Client
- Navigate to the Root Directory.
- Run 'npm install' to install the packages.
- Open the Index.js file and update any environment specific values.
- Run 'npm start' to start the local debug web instance.
What happens when it runs?
When you start the web client it should immediately redirect to your AAD tenant login page. Supply the AAD user credentials here. Then it should redirect back to the web client (if configured correctly), and then call the web API using the bearer token received in the callback from AAD.
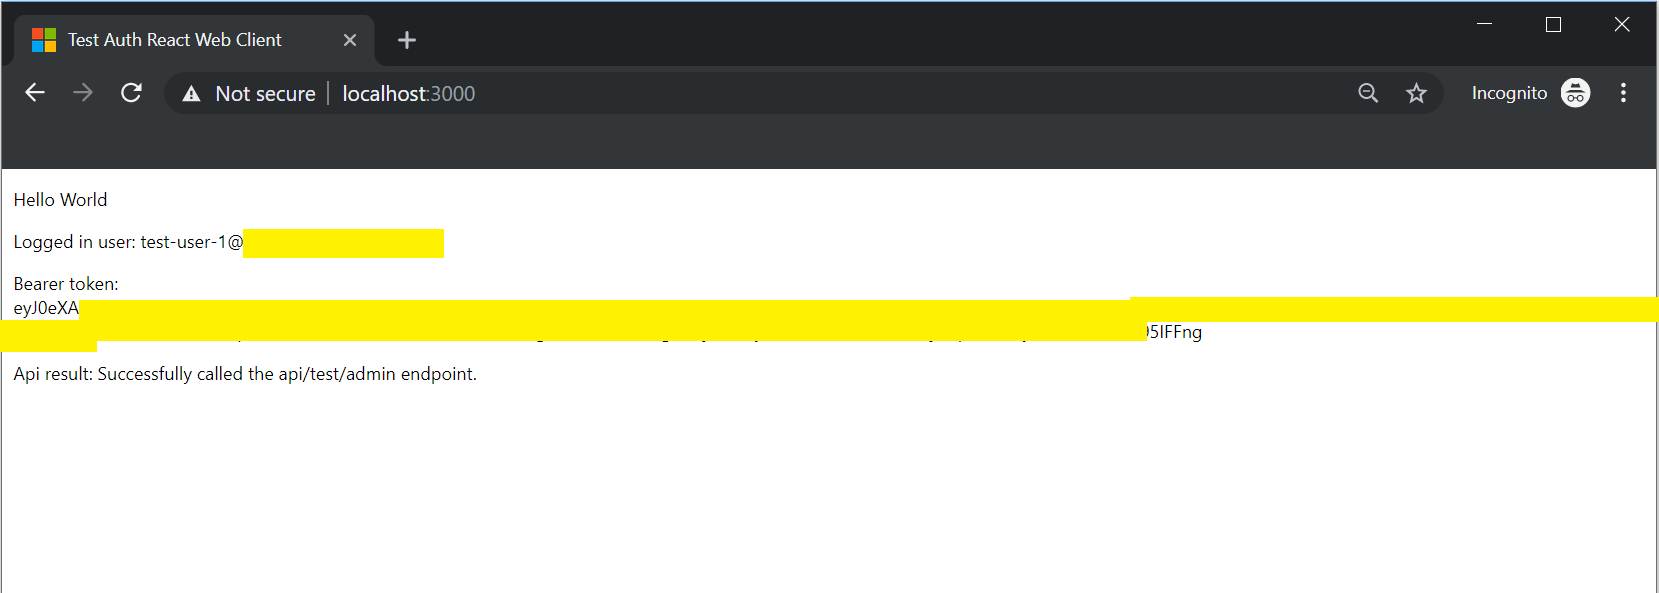
If you successfully logged in with an authorized user, you should see a result like this (where the token/user is printed to the screen for illustration purposes).
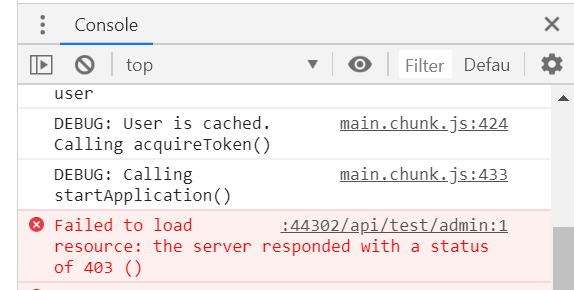
If you logged in with an unauthorized user, you should see a 403 (forbidden) result return from the server.

