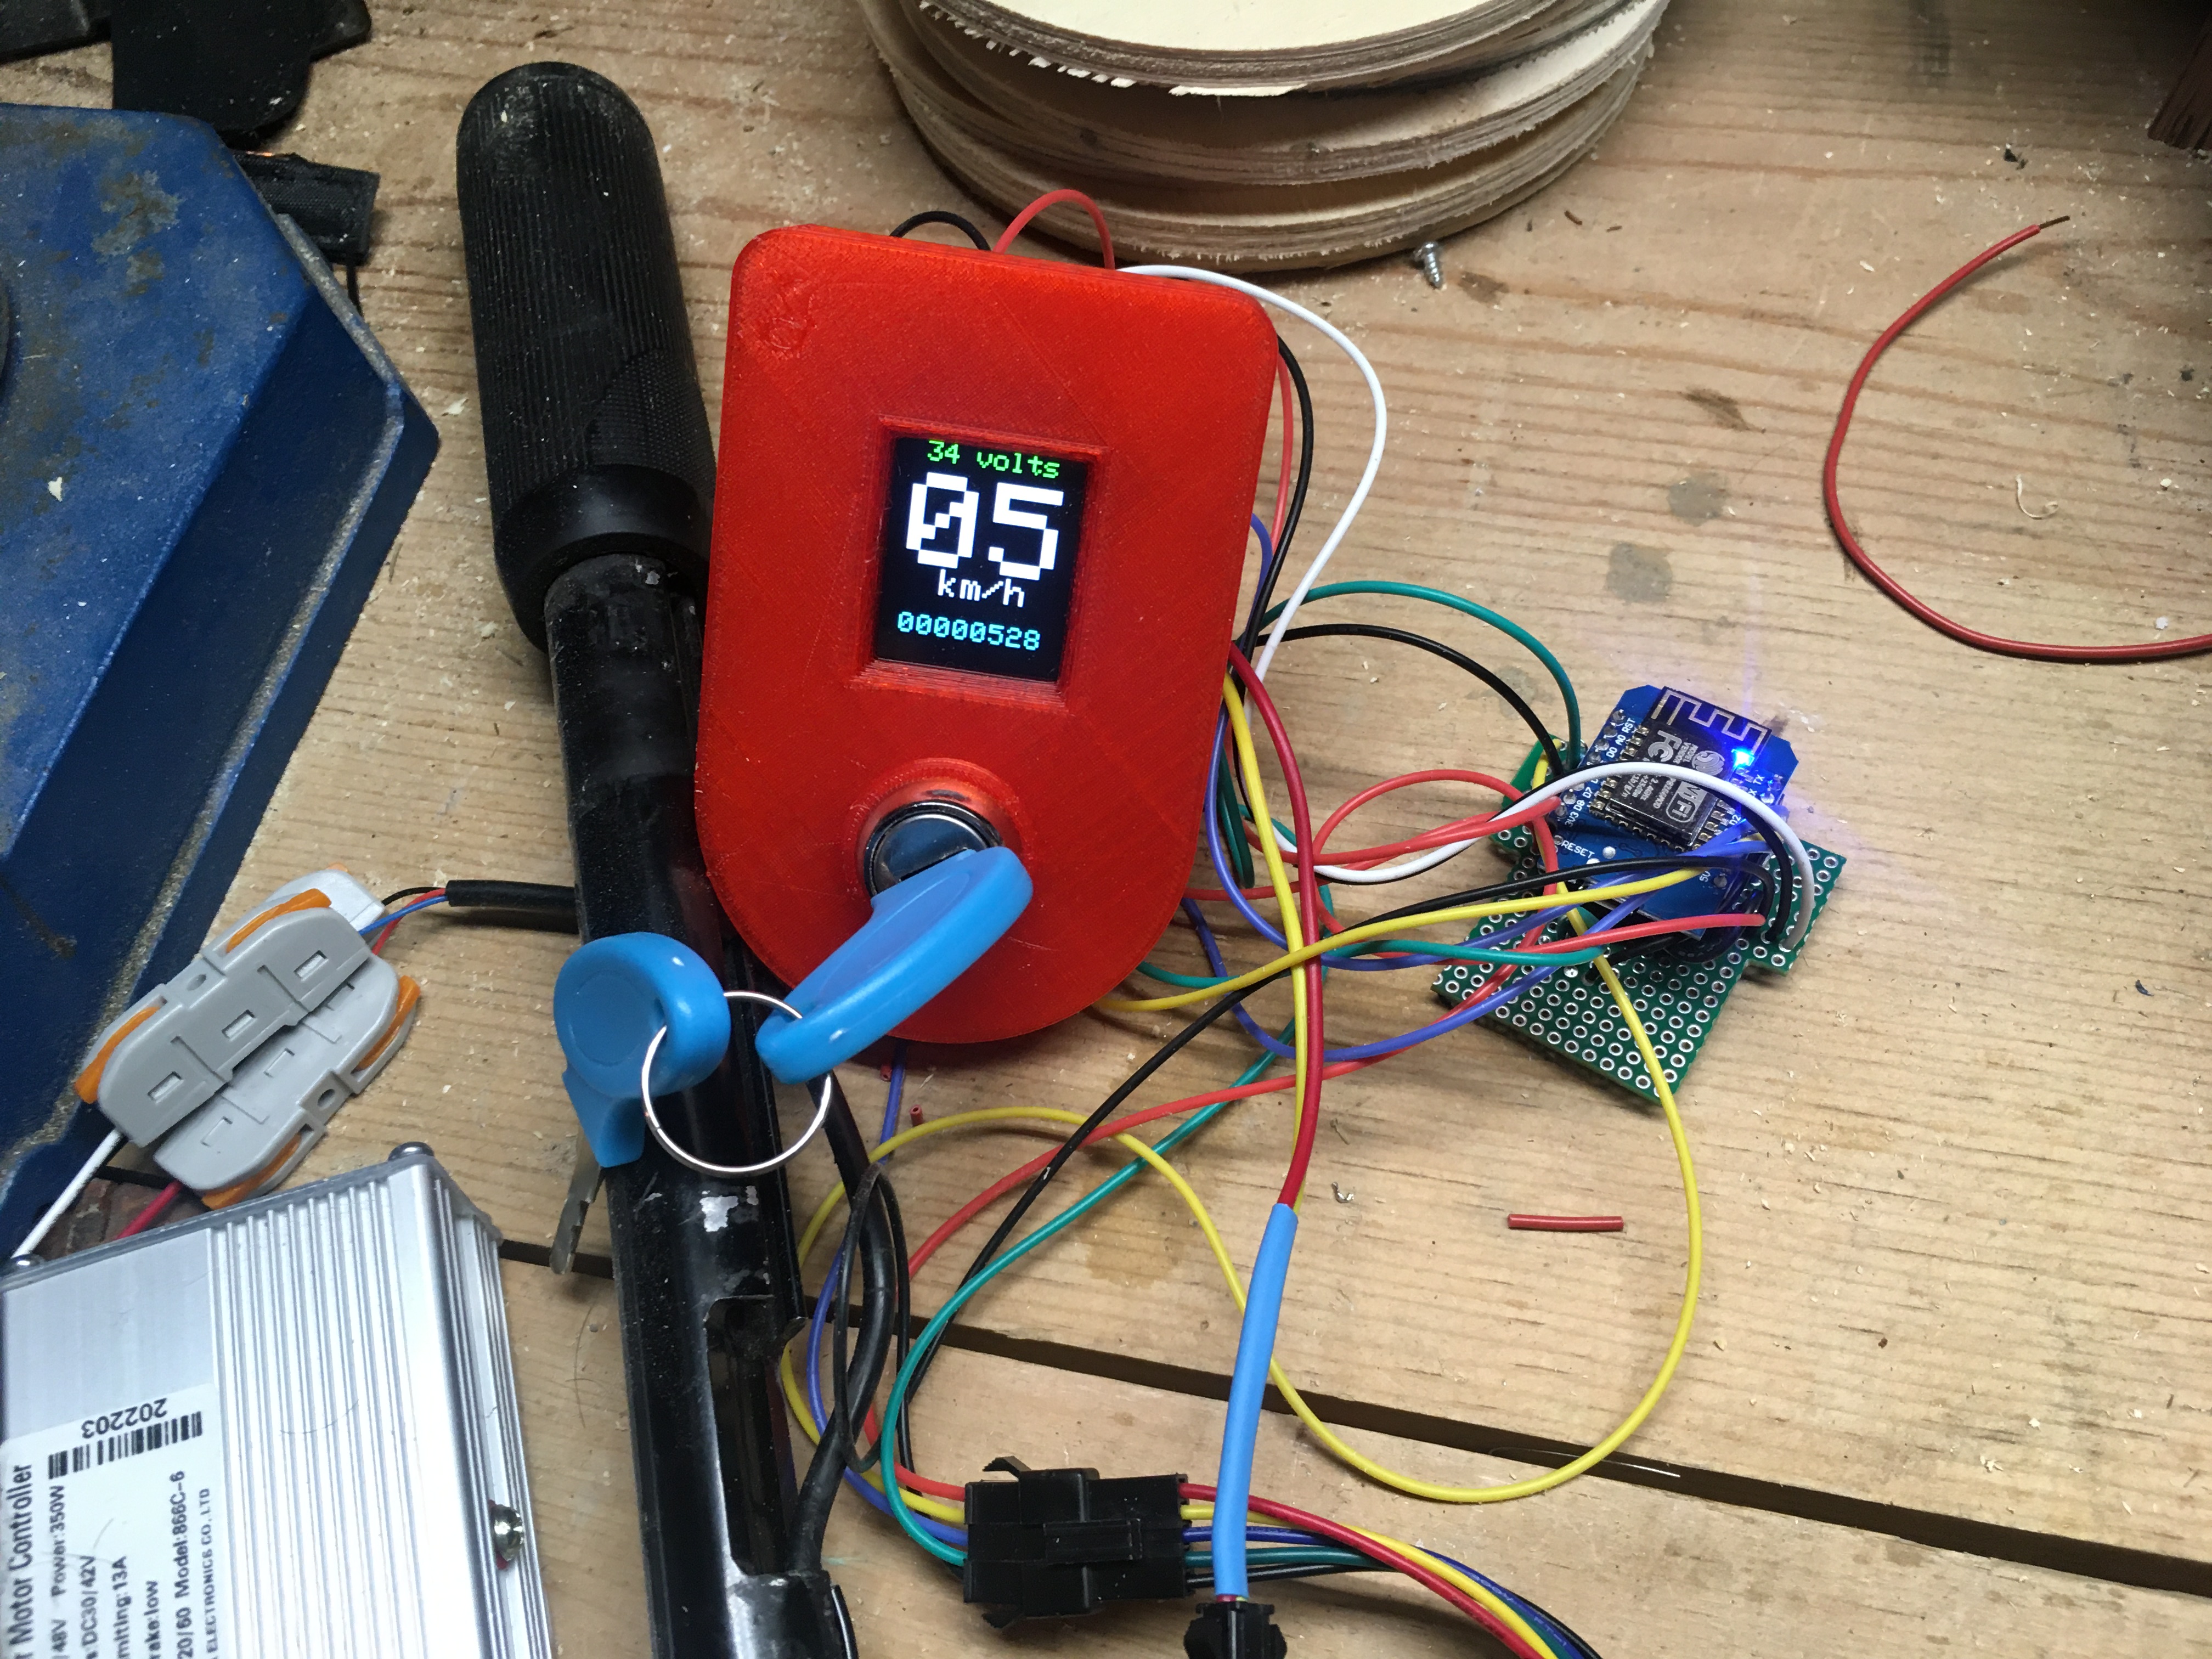
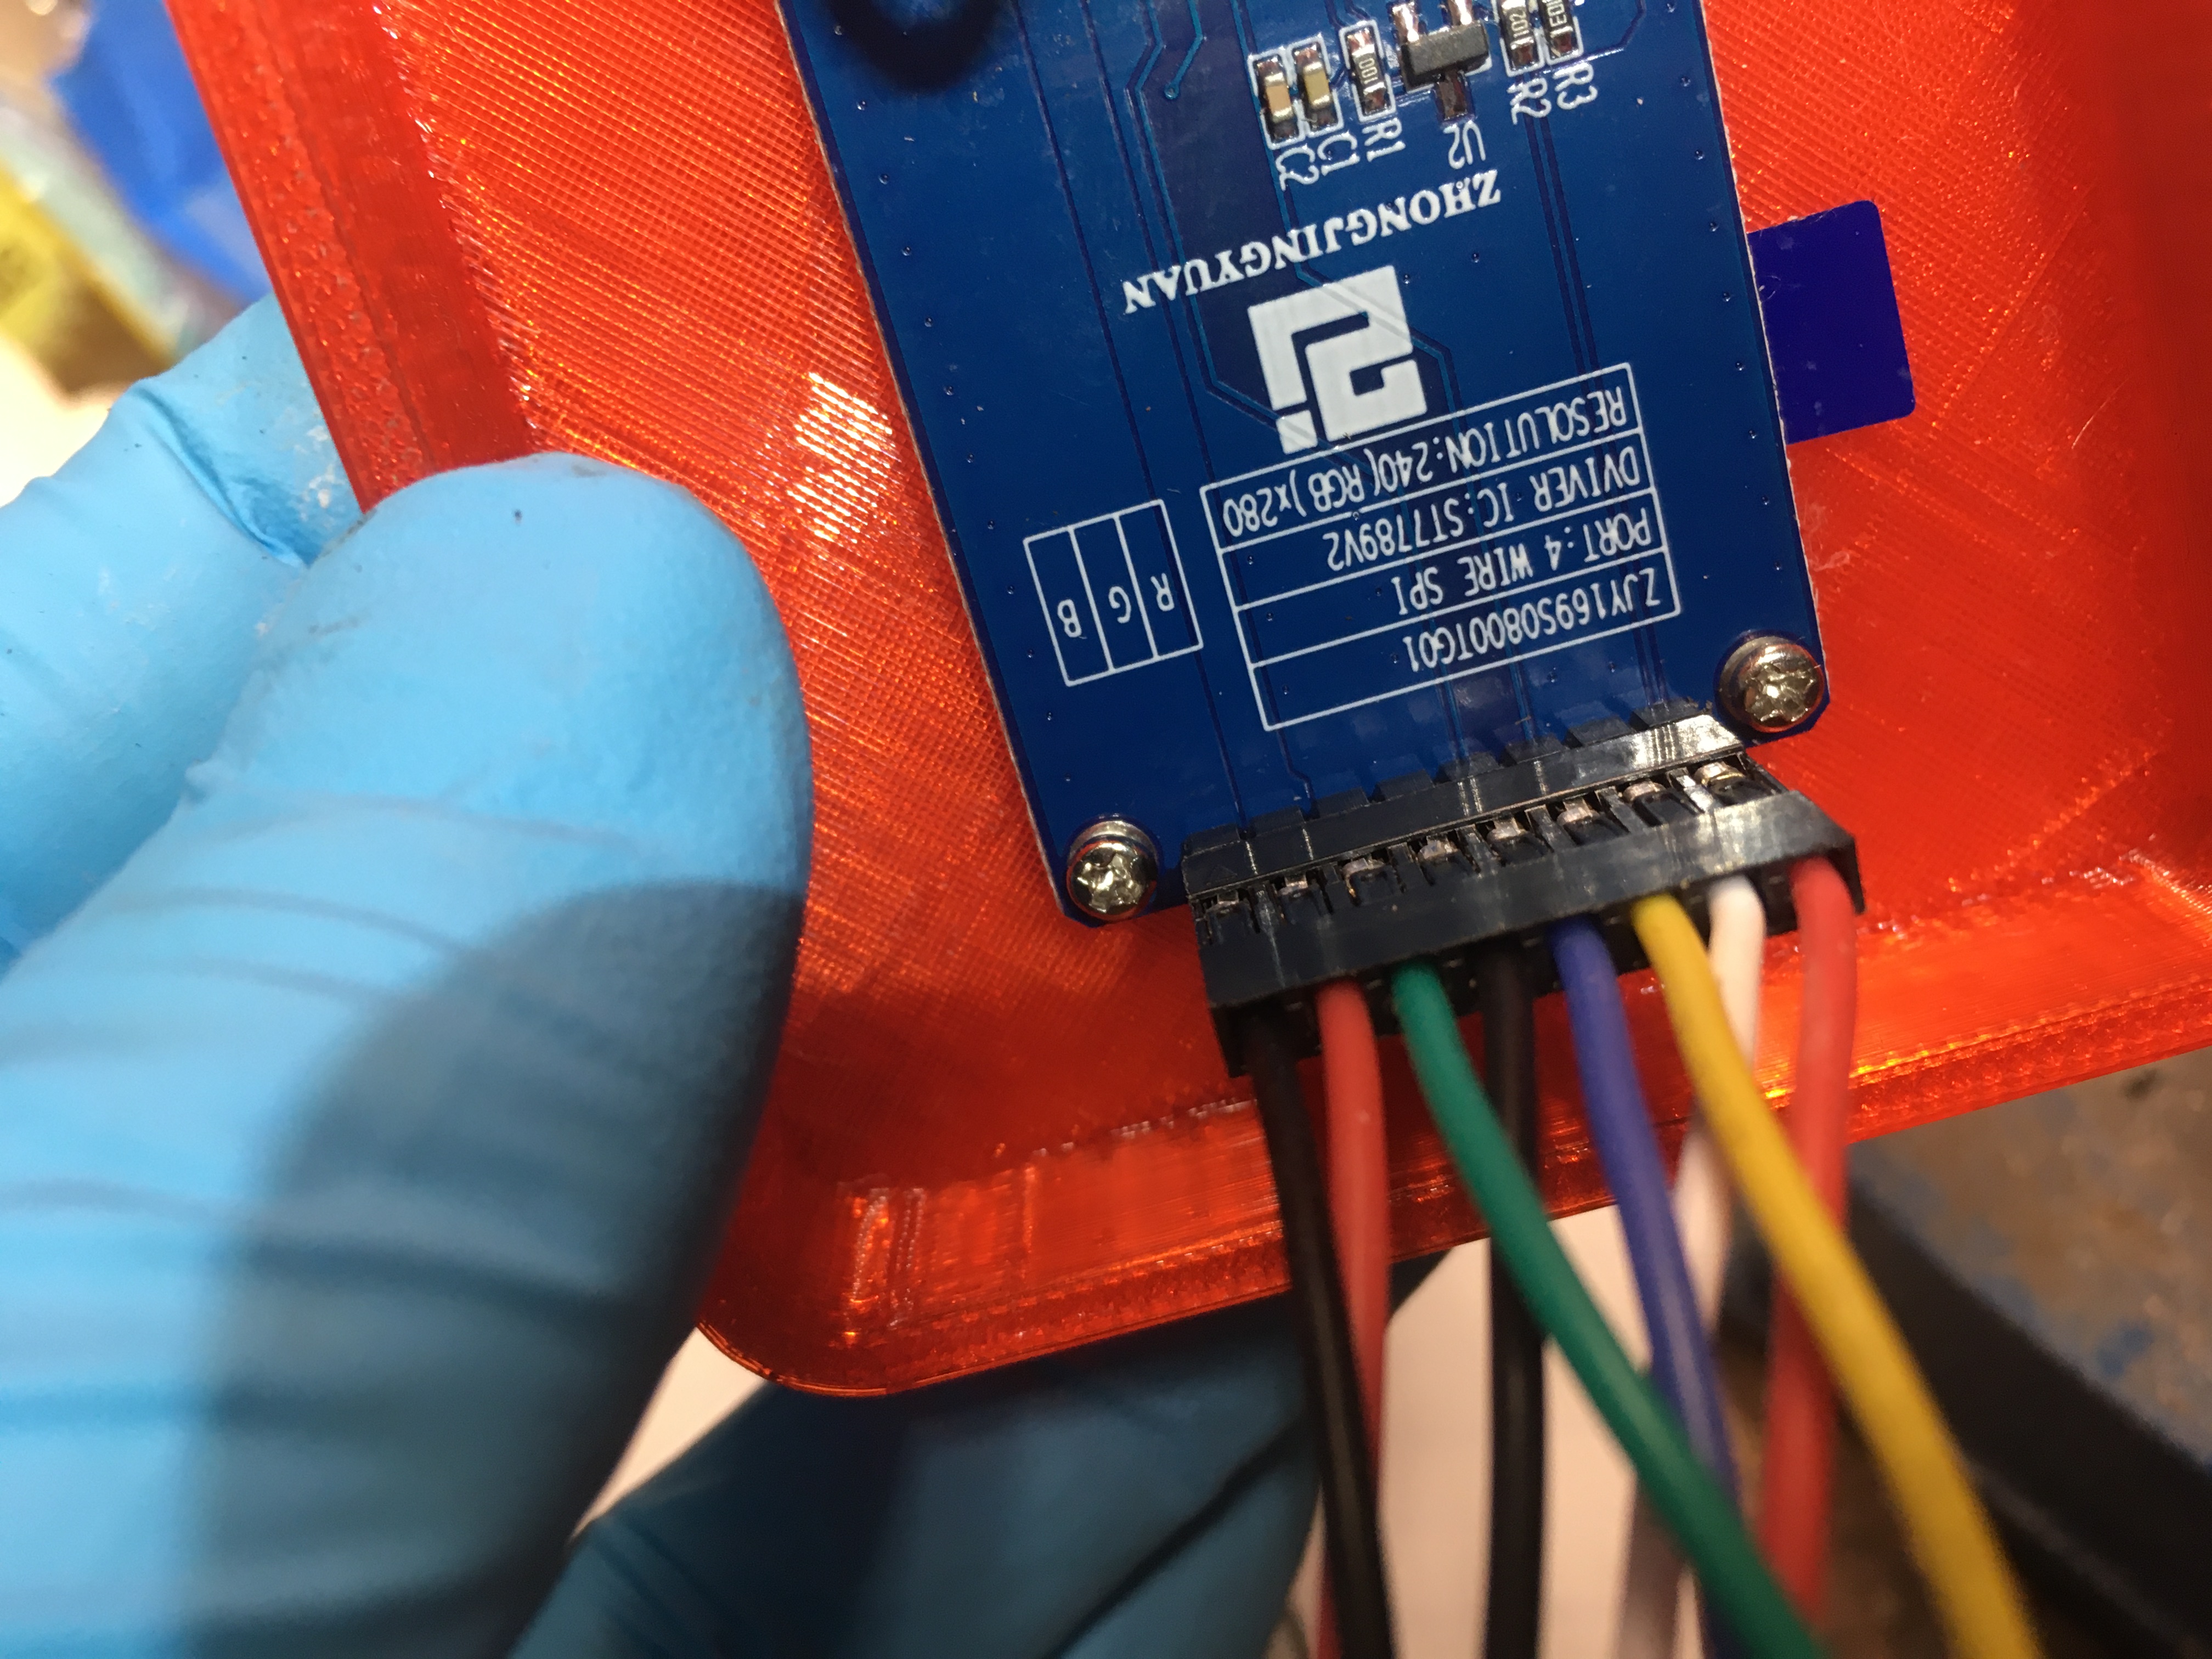
I used a Wemos D1 Mini clone for the microcontroller and wrote some Arduino code that drives the display with a spedometer, odometer, and battery display. I also used this display because it shipped faster.
The microcontroller needs a 5V power supply. I expoxied the voltage adjusting screw. I'd like to try it without one, with a voltage divider instead. The MCU and screen draw about 25mV when sleeping and 125 when on. See https://youtube.com/shorts/8VgVIRs36Q8
I used lead-free solder at 450 degrees. In the end, 525 worked better. My iron. I thought I would burn out the MCU soldering the pins on, but never did.
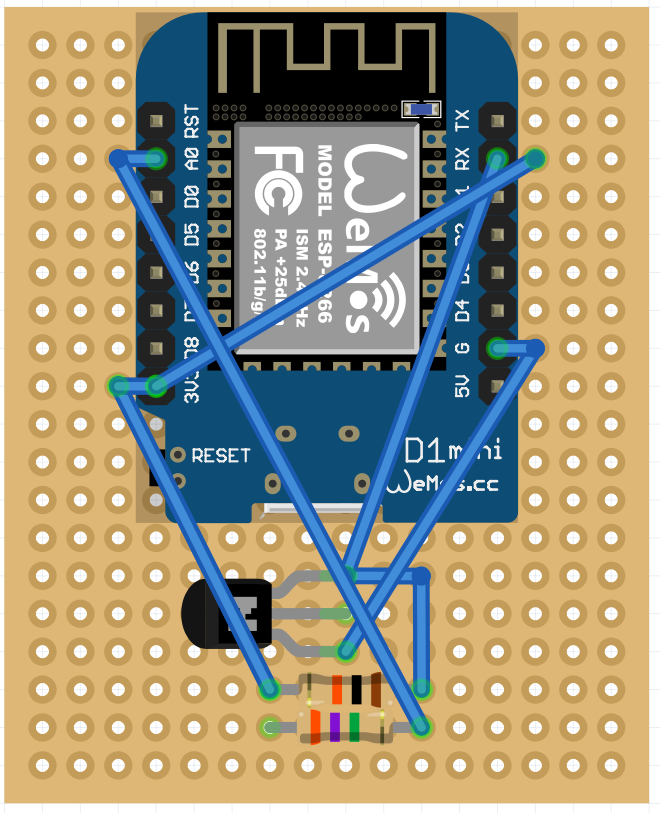
Below is the schematic that connects the microcontroller to the replacement speed controller that I got on Amazon. I just threw away the one that came with the scooter. I spent some time digging it out of the cast iron casing it came in, thinking I'd mount my replacement there. It doesn't line up, so I just tossed it.
I used EasyEDA and made a cool schematic and thought about getting the board manufactured. In the end I used Fritzing. (I don't think I ended up using the 10k resitor, just the one resistor for the voltage divider on A0).
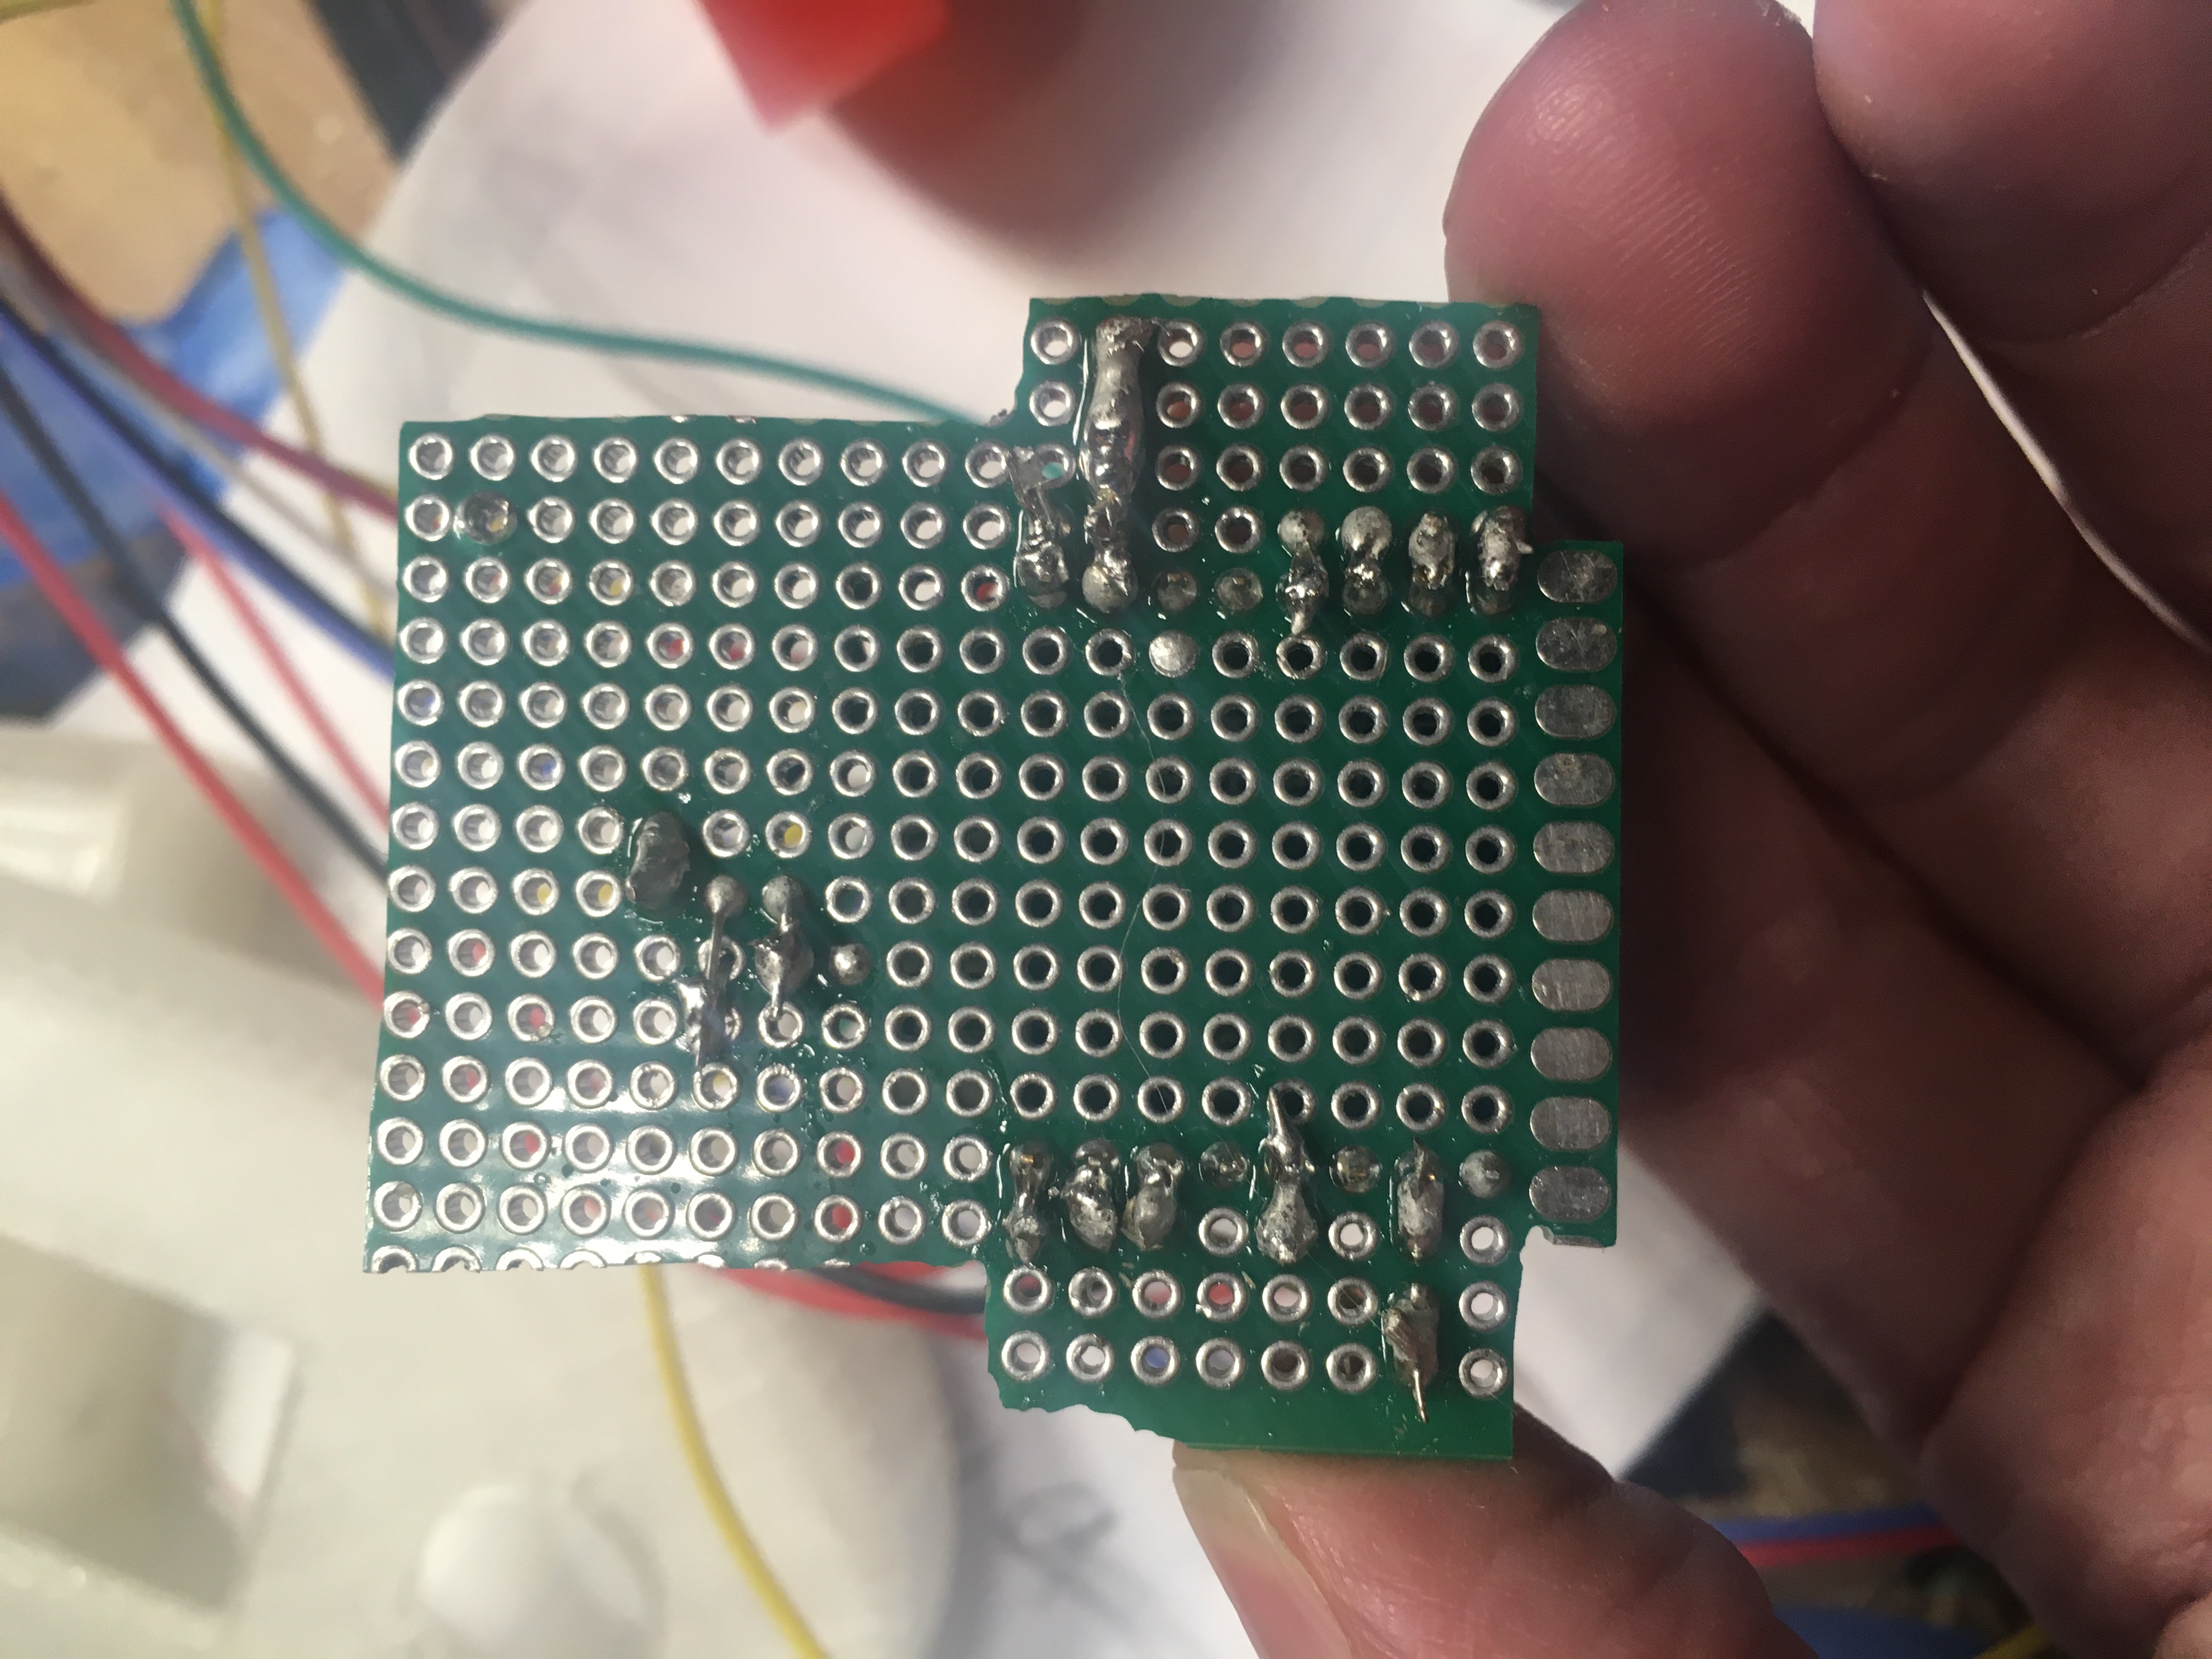
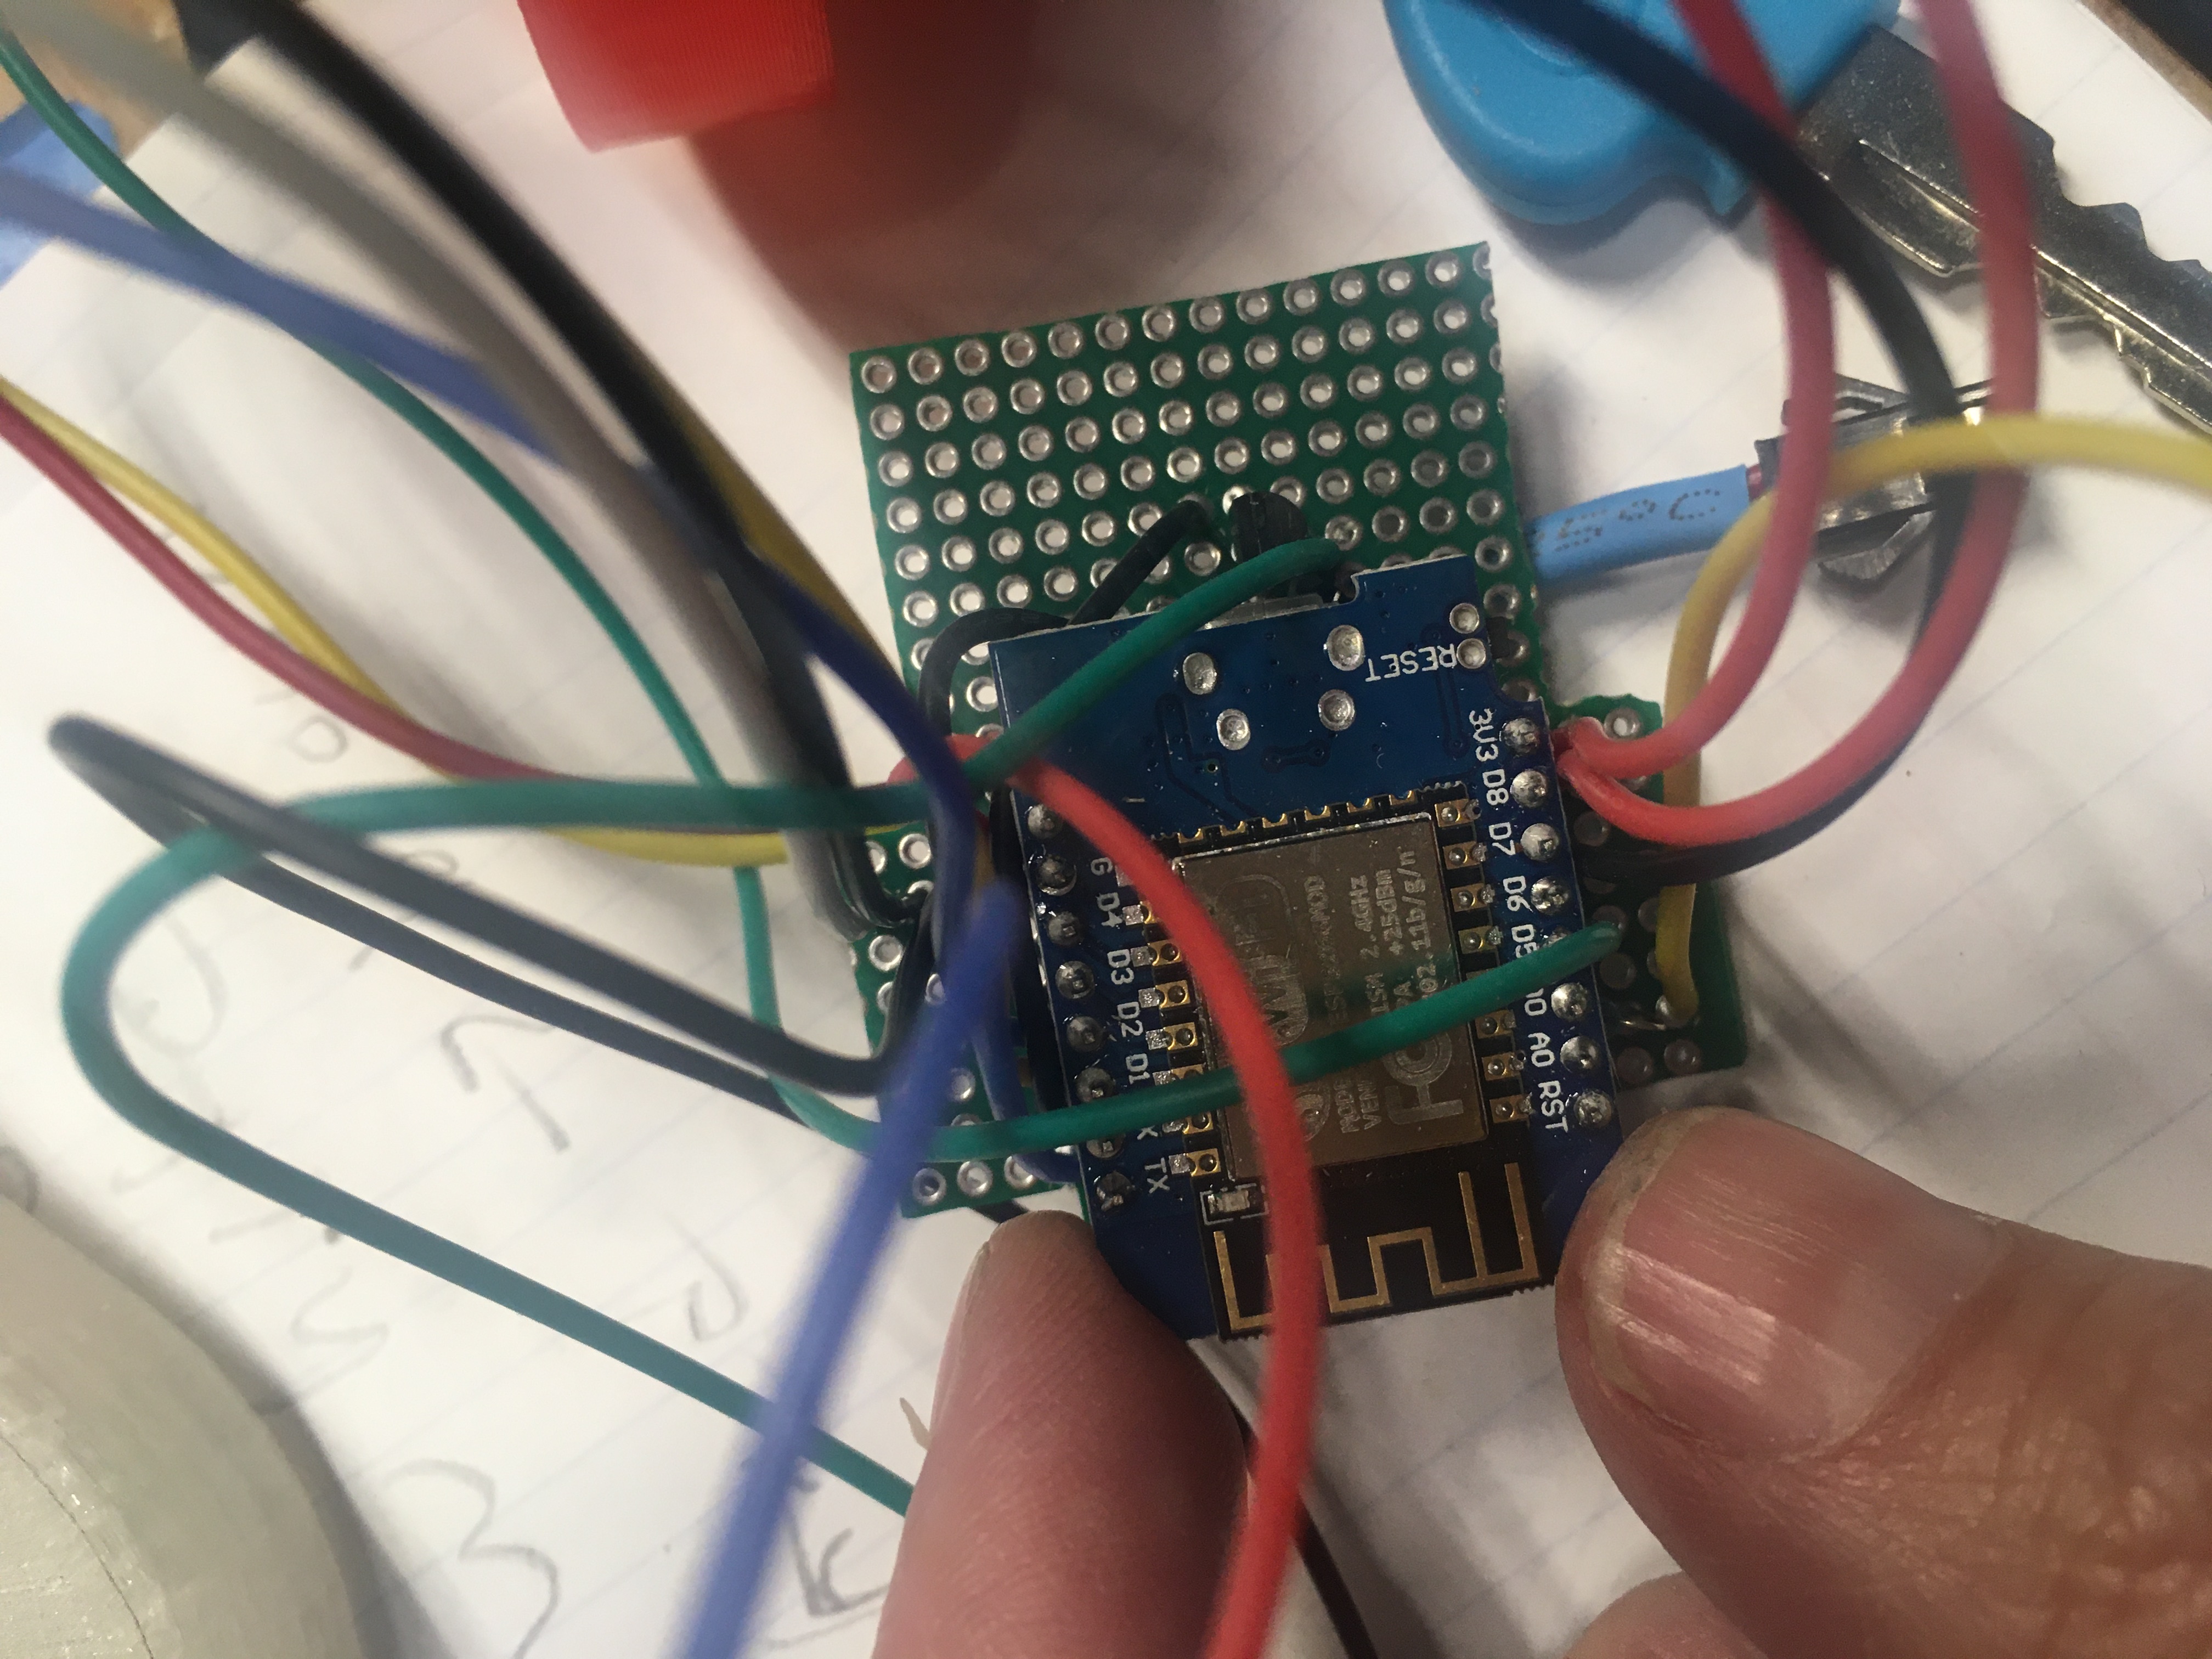
Here are photos of the proto board that make the circuit
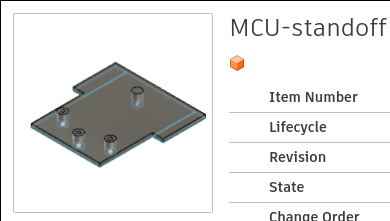
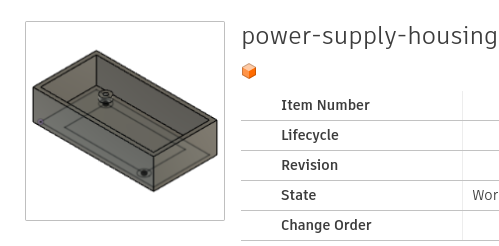
I made a replacement screen housing, a microcontroller standoff, and a housing for the power supply in Fusion. Having calipers helped.
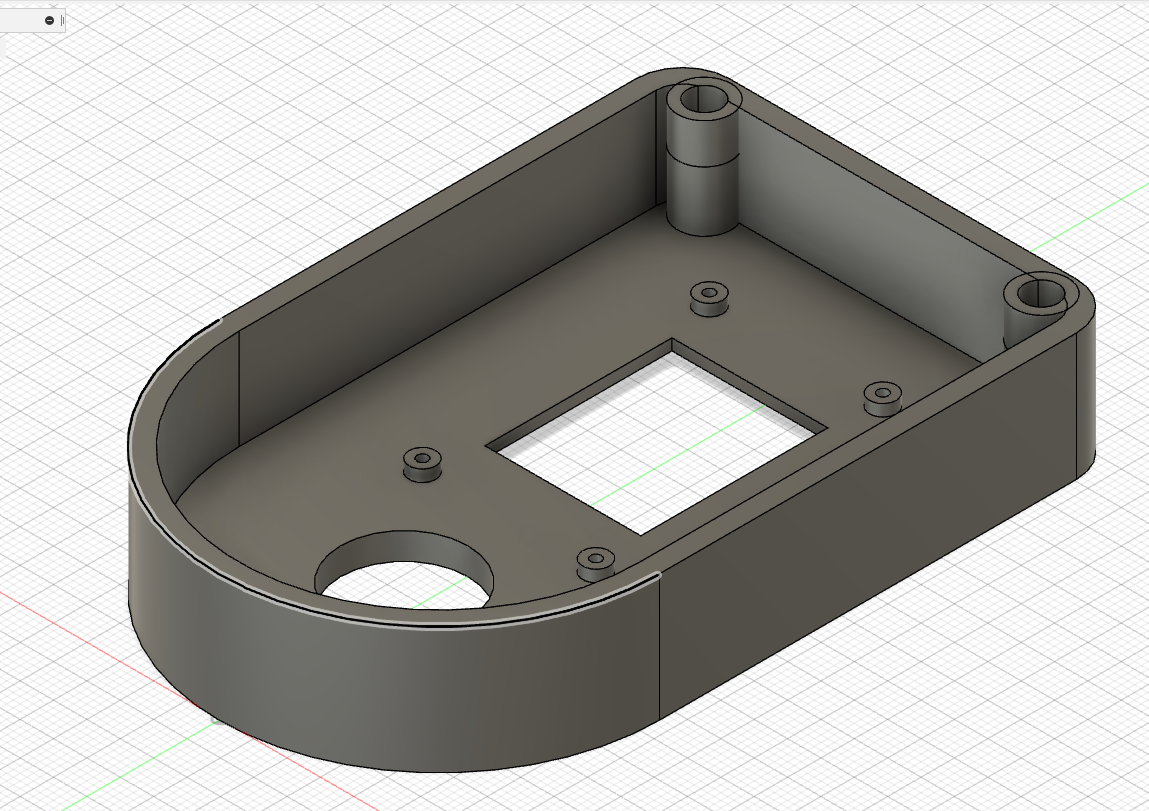
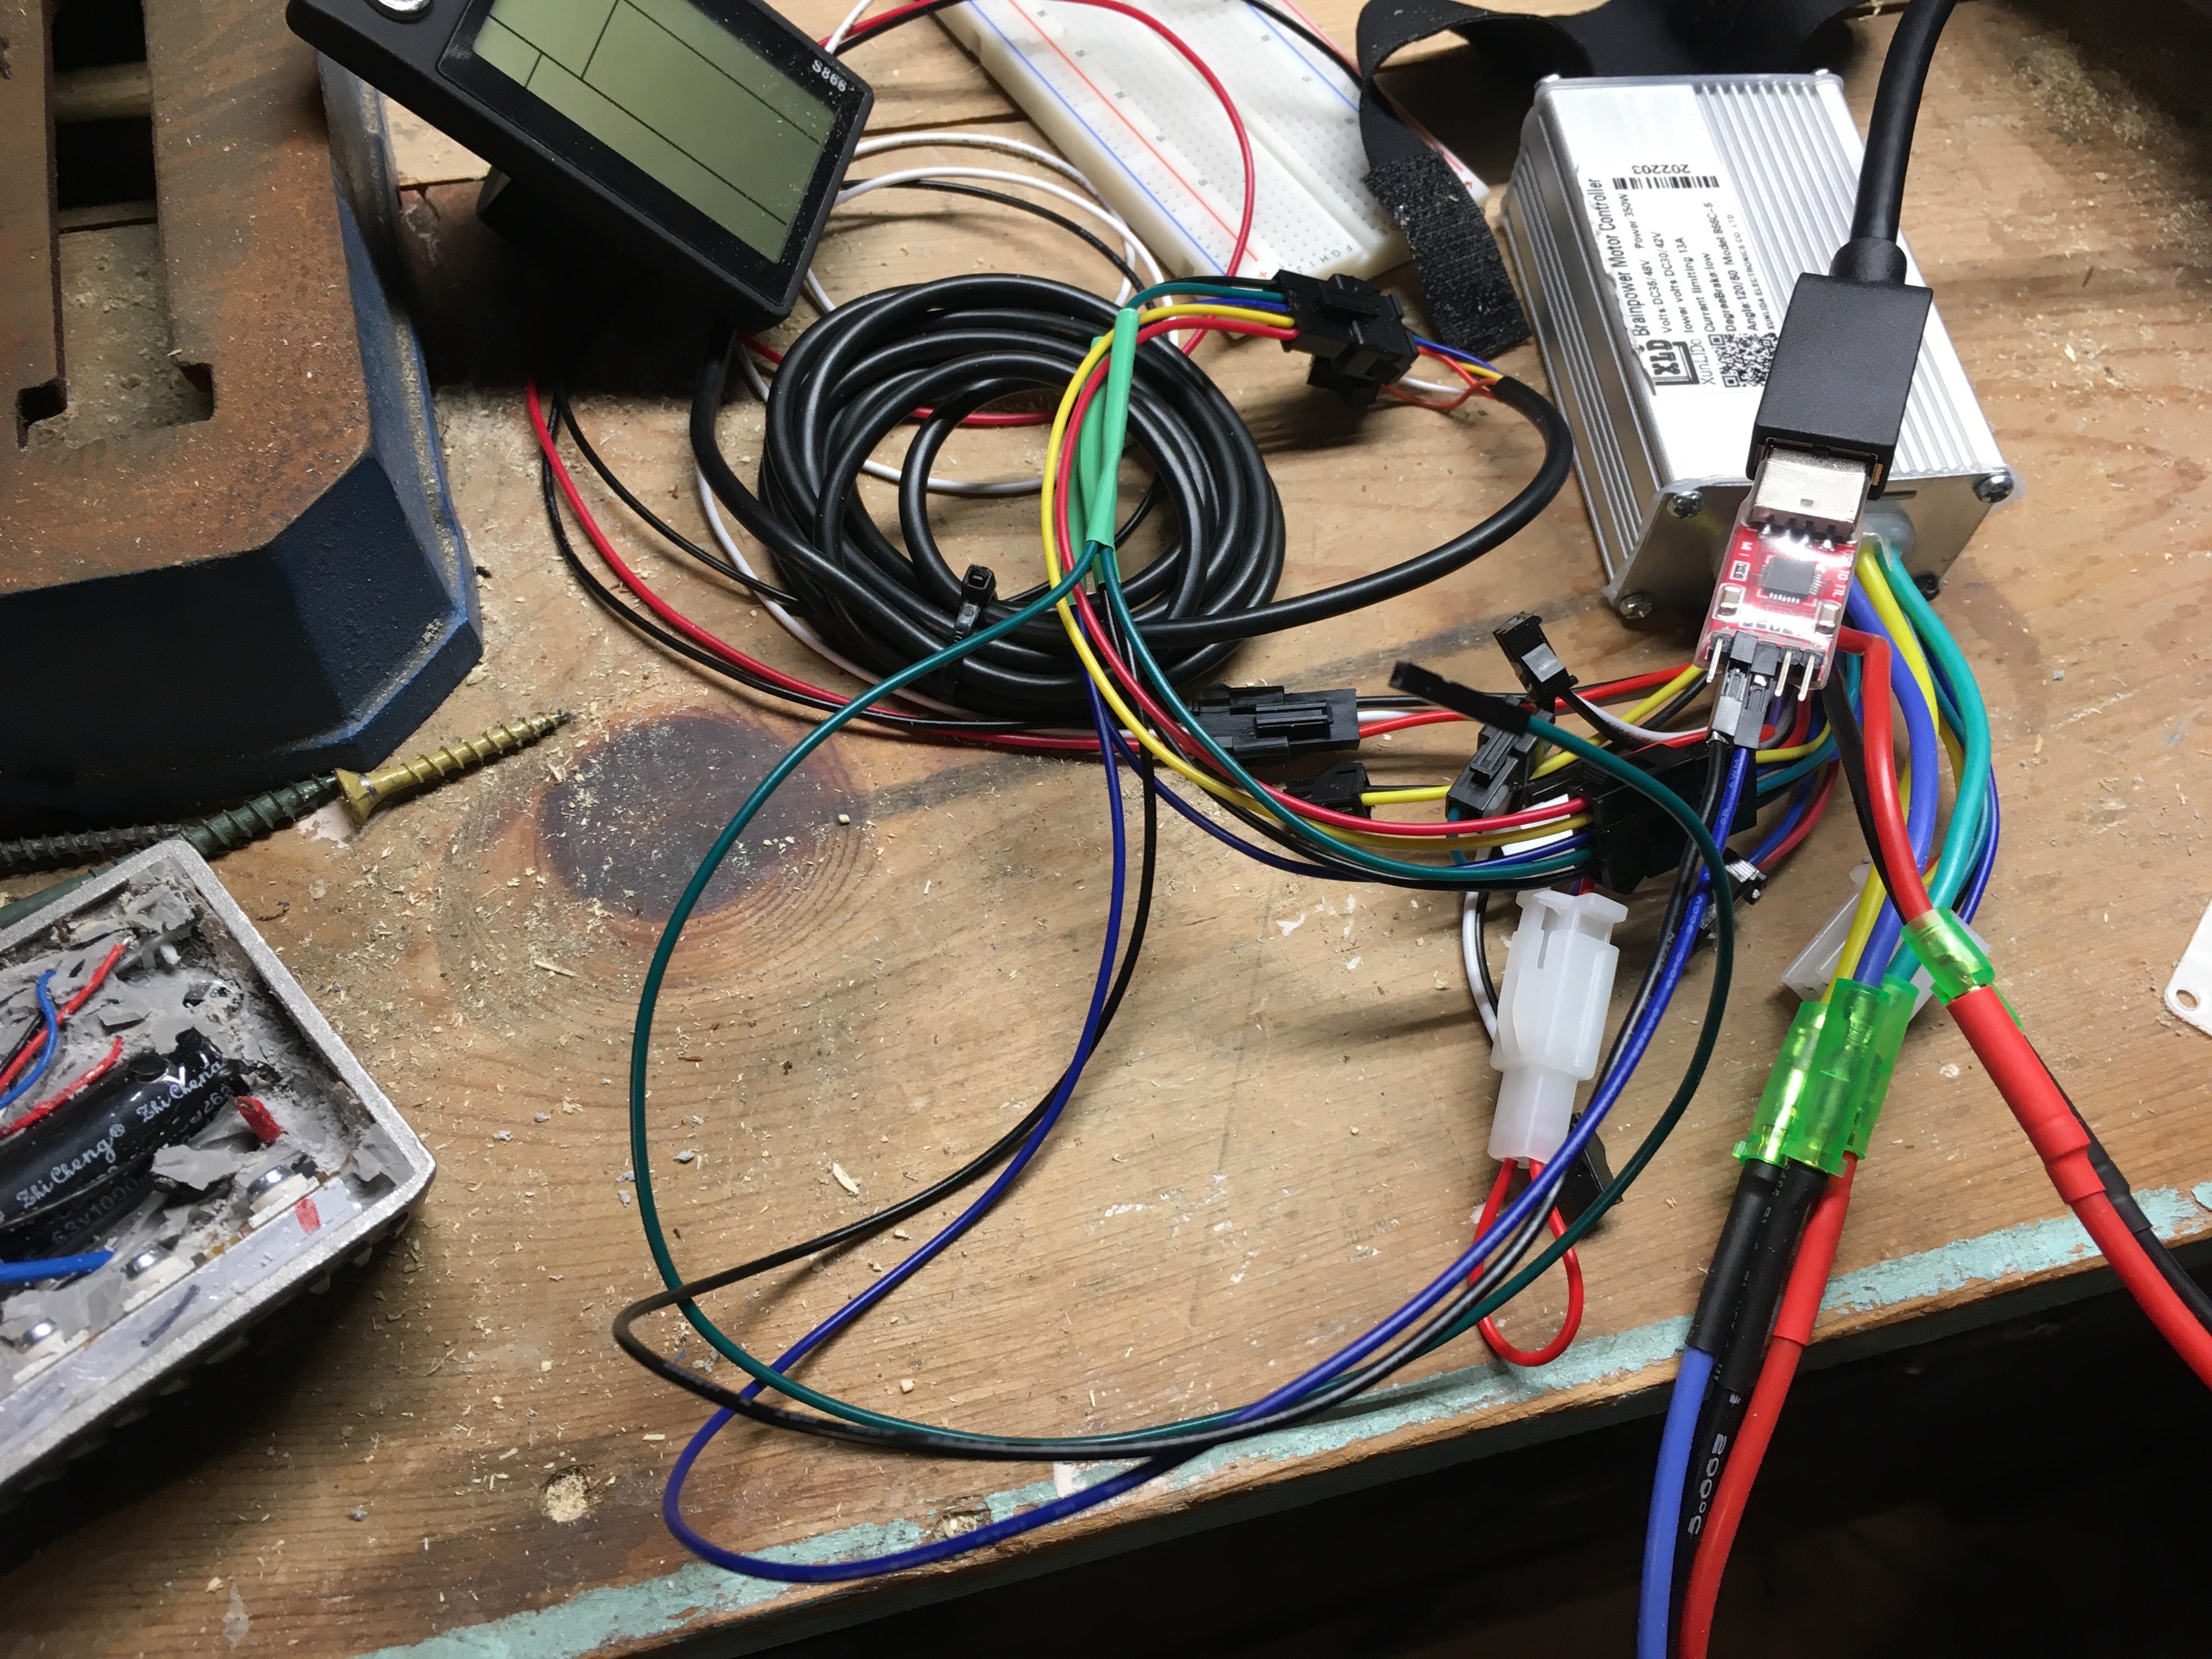
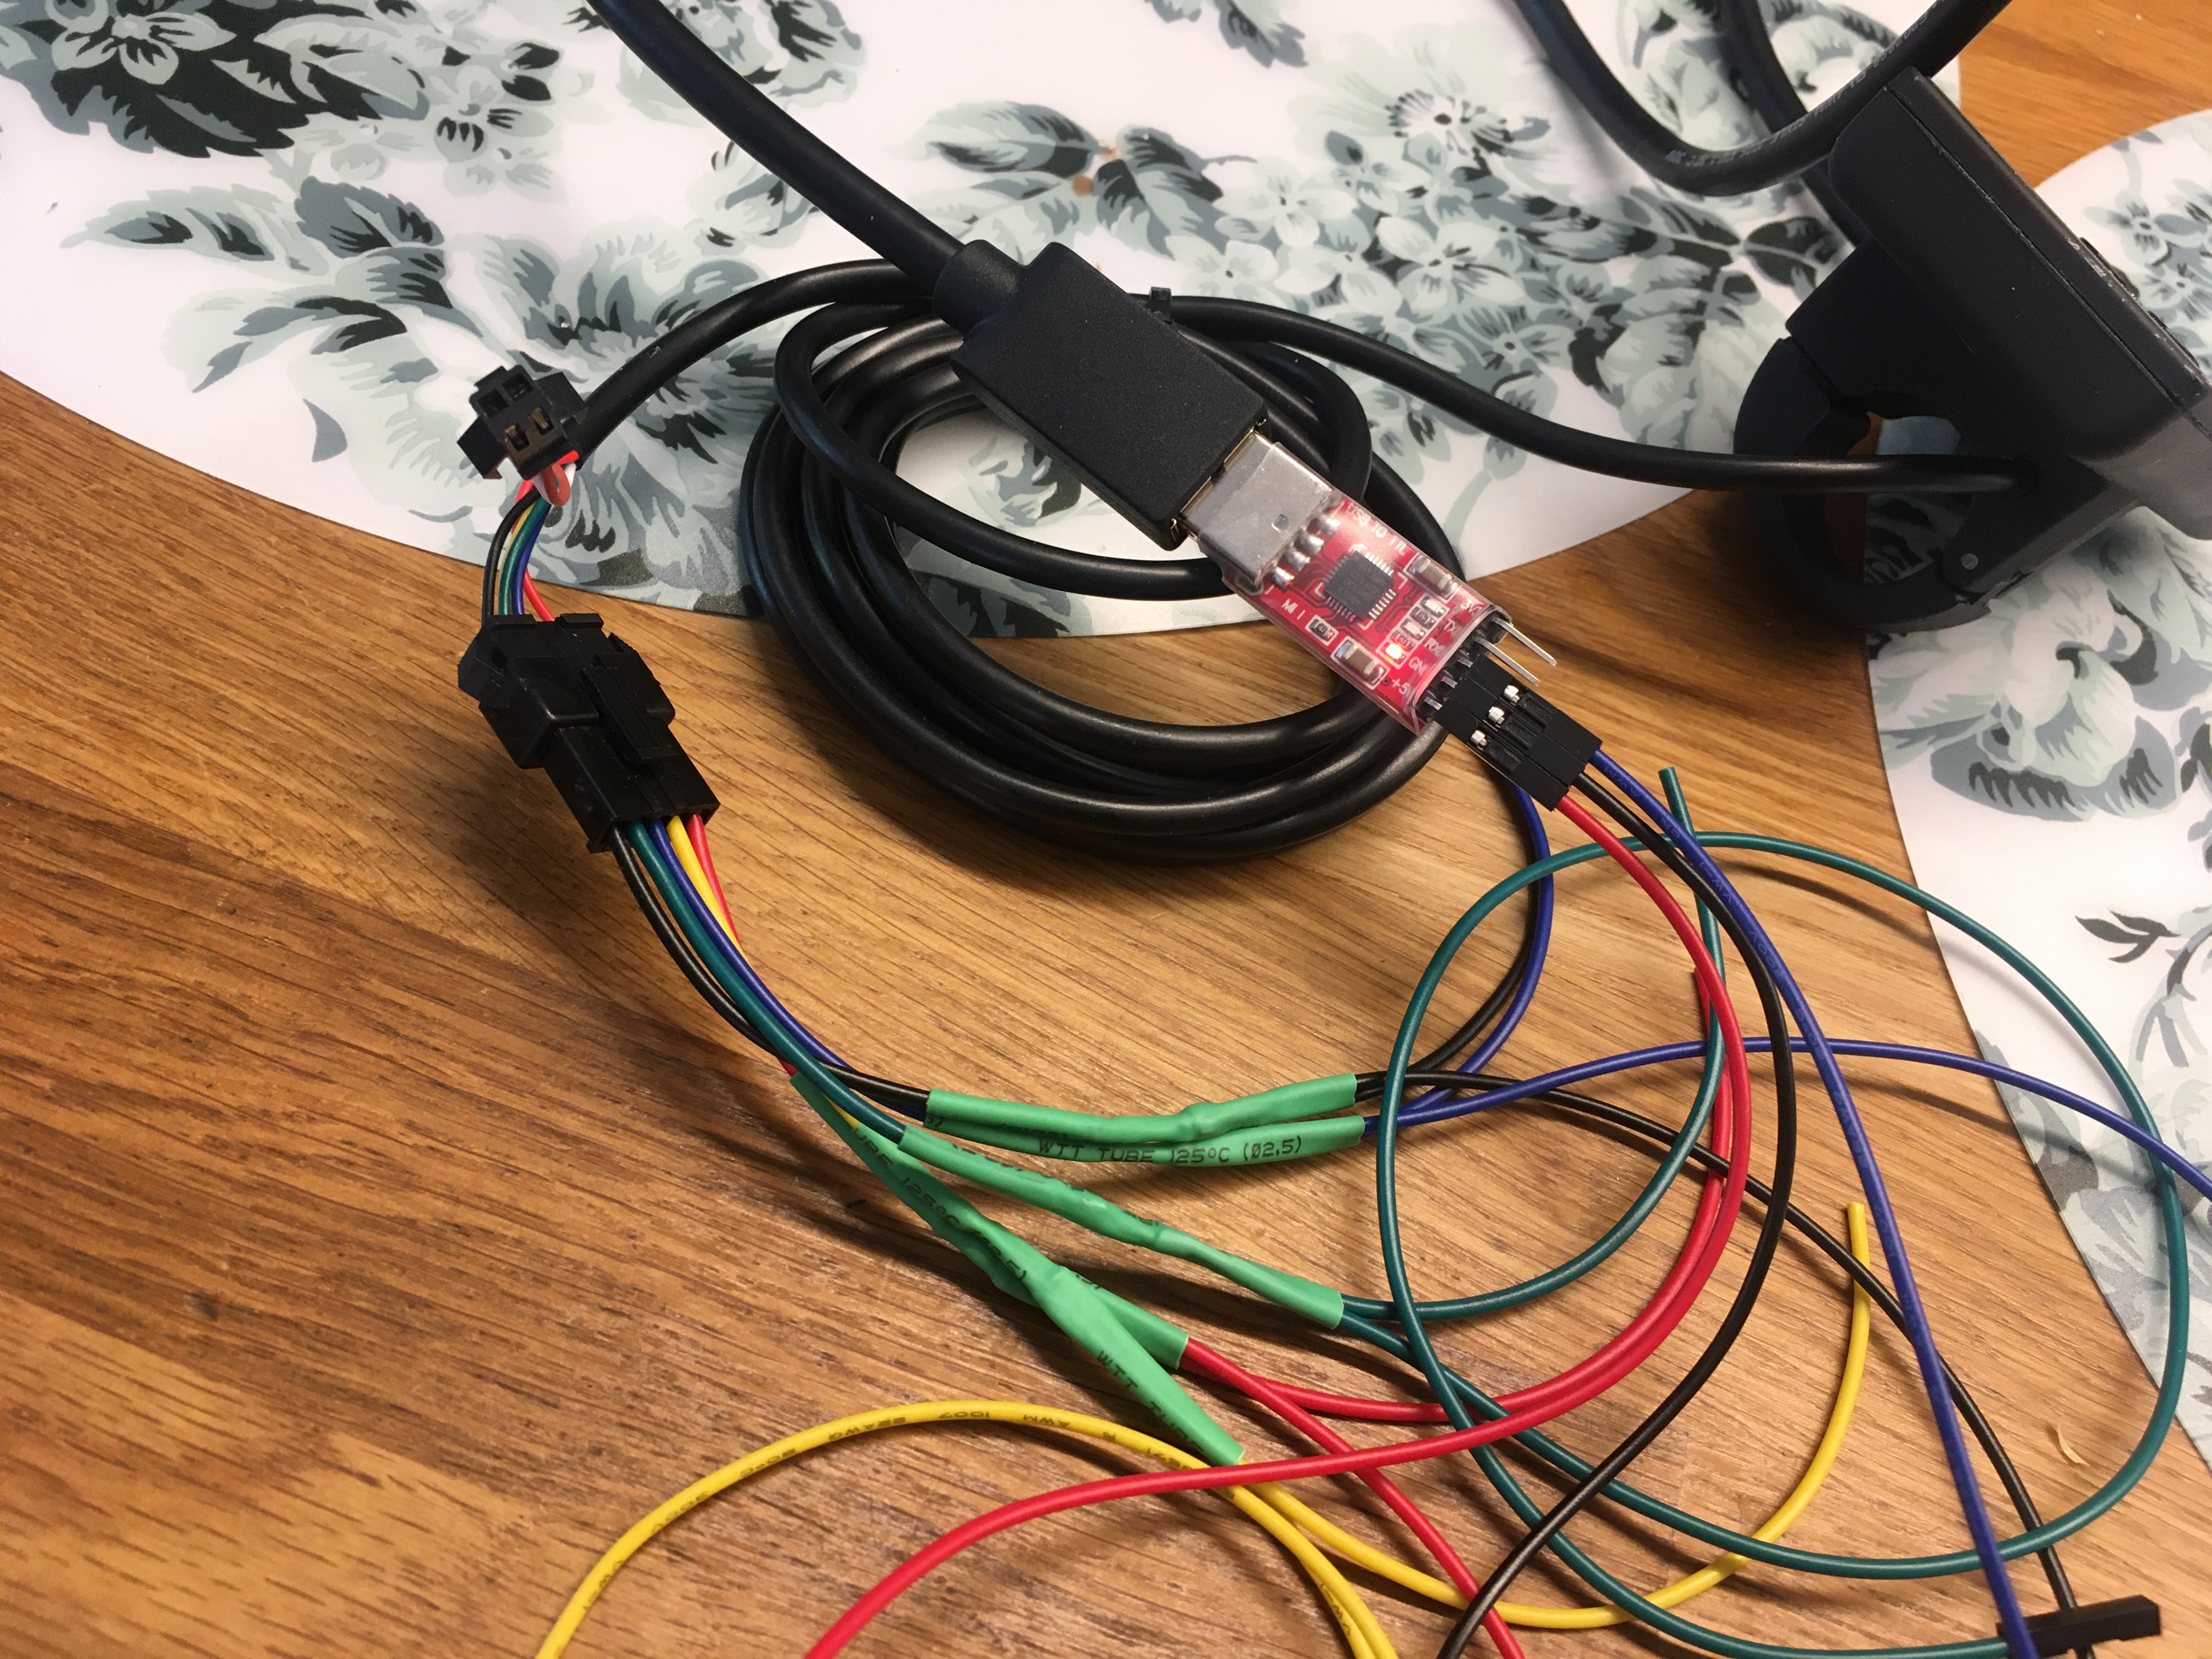
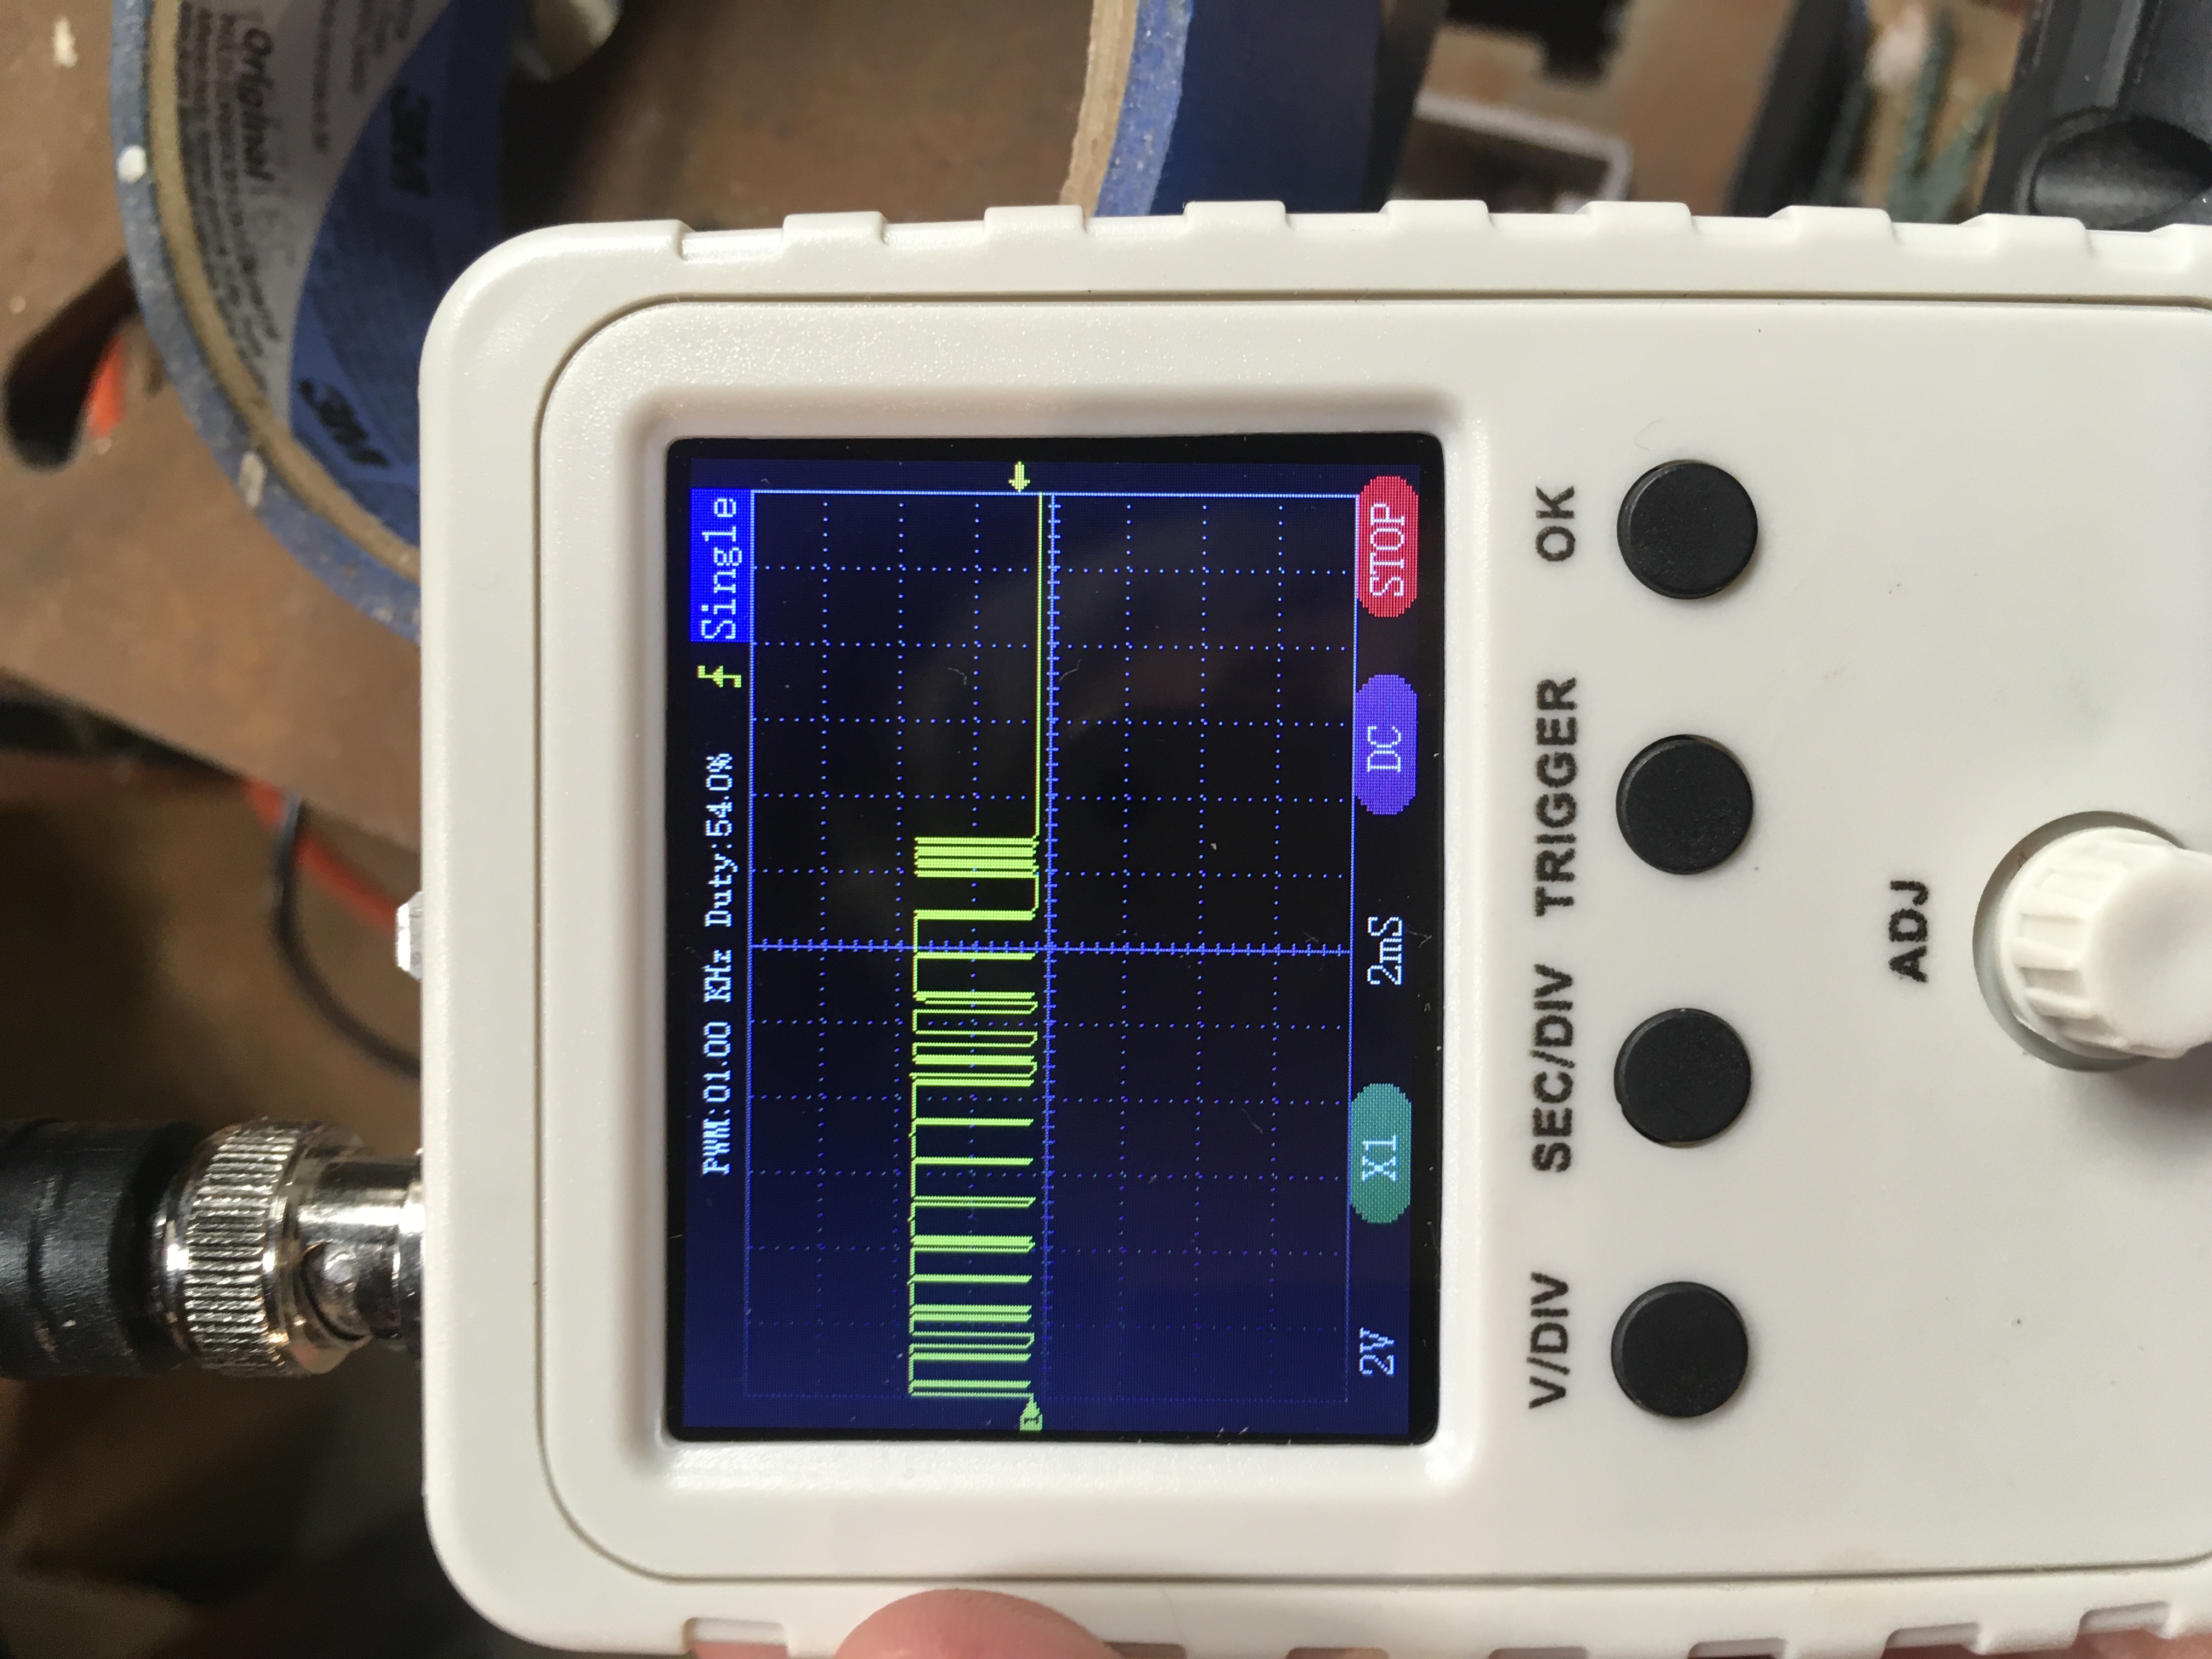
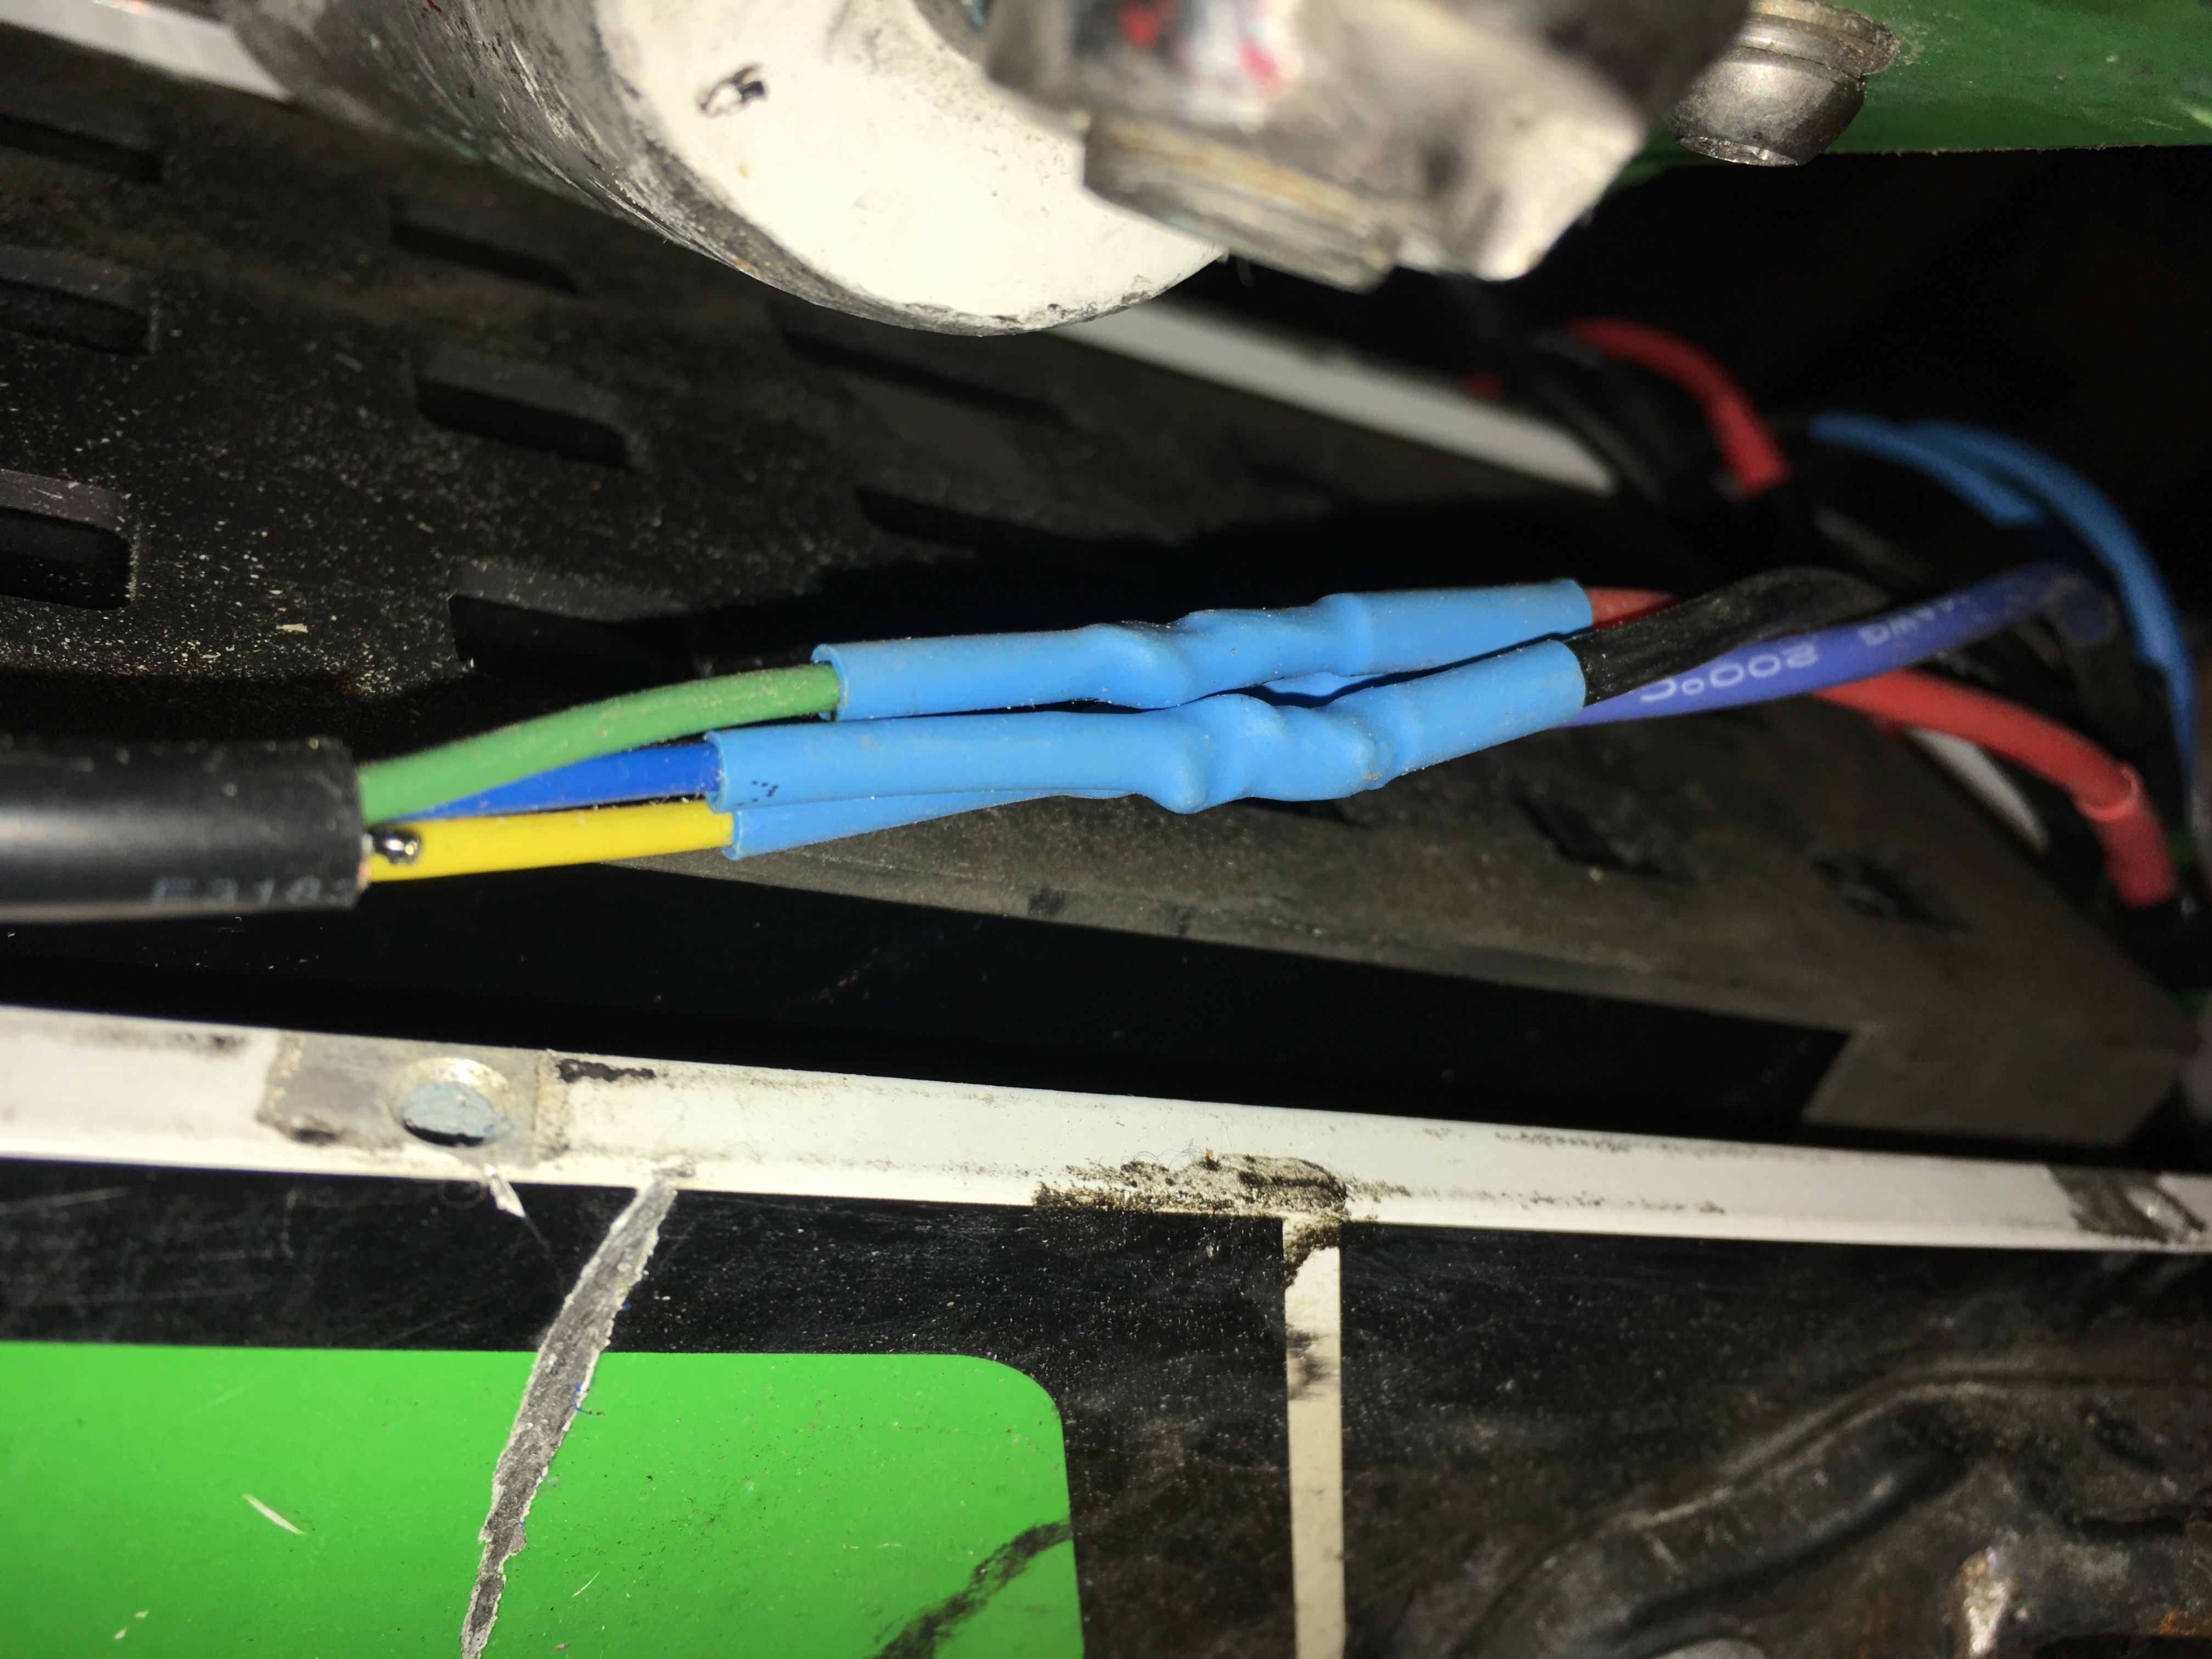
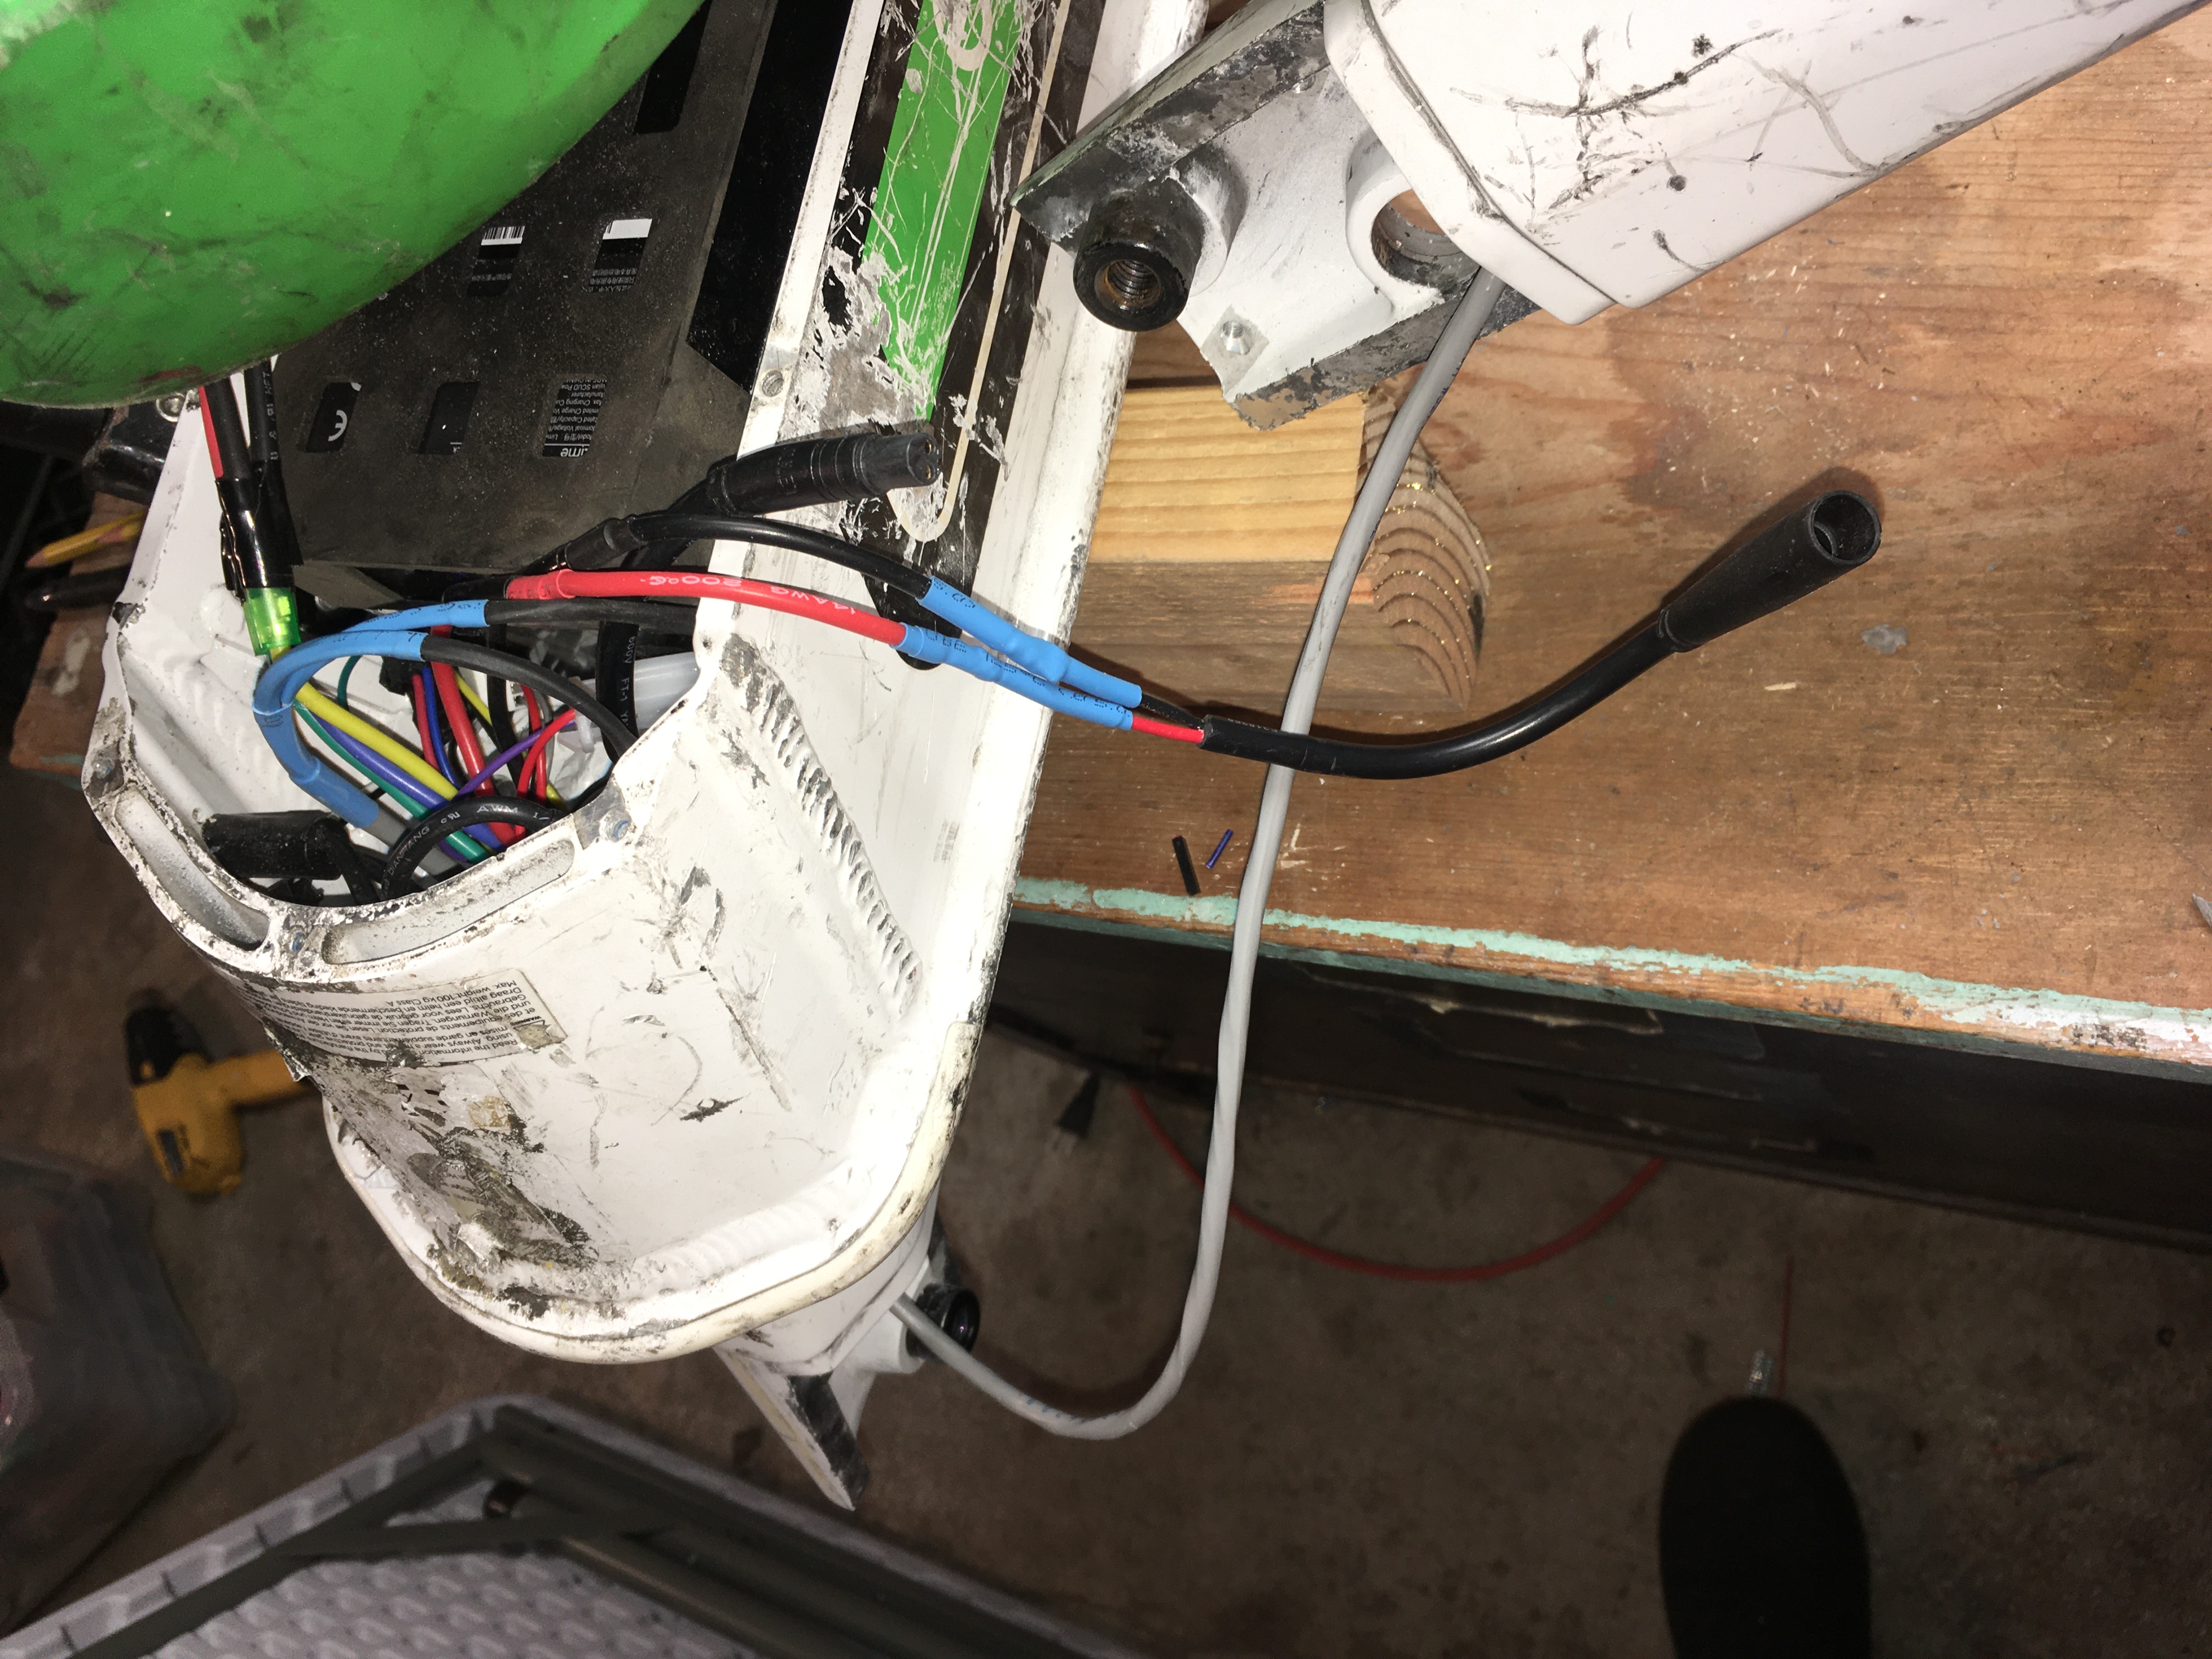
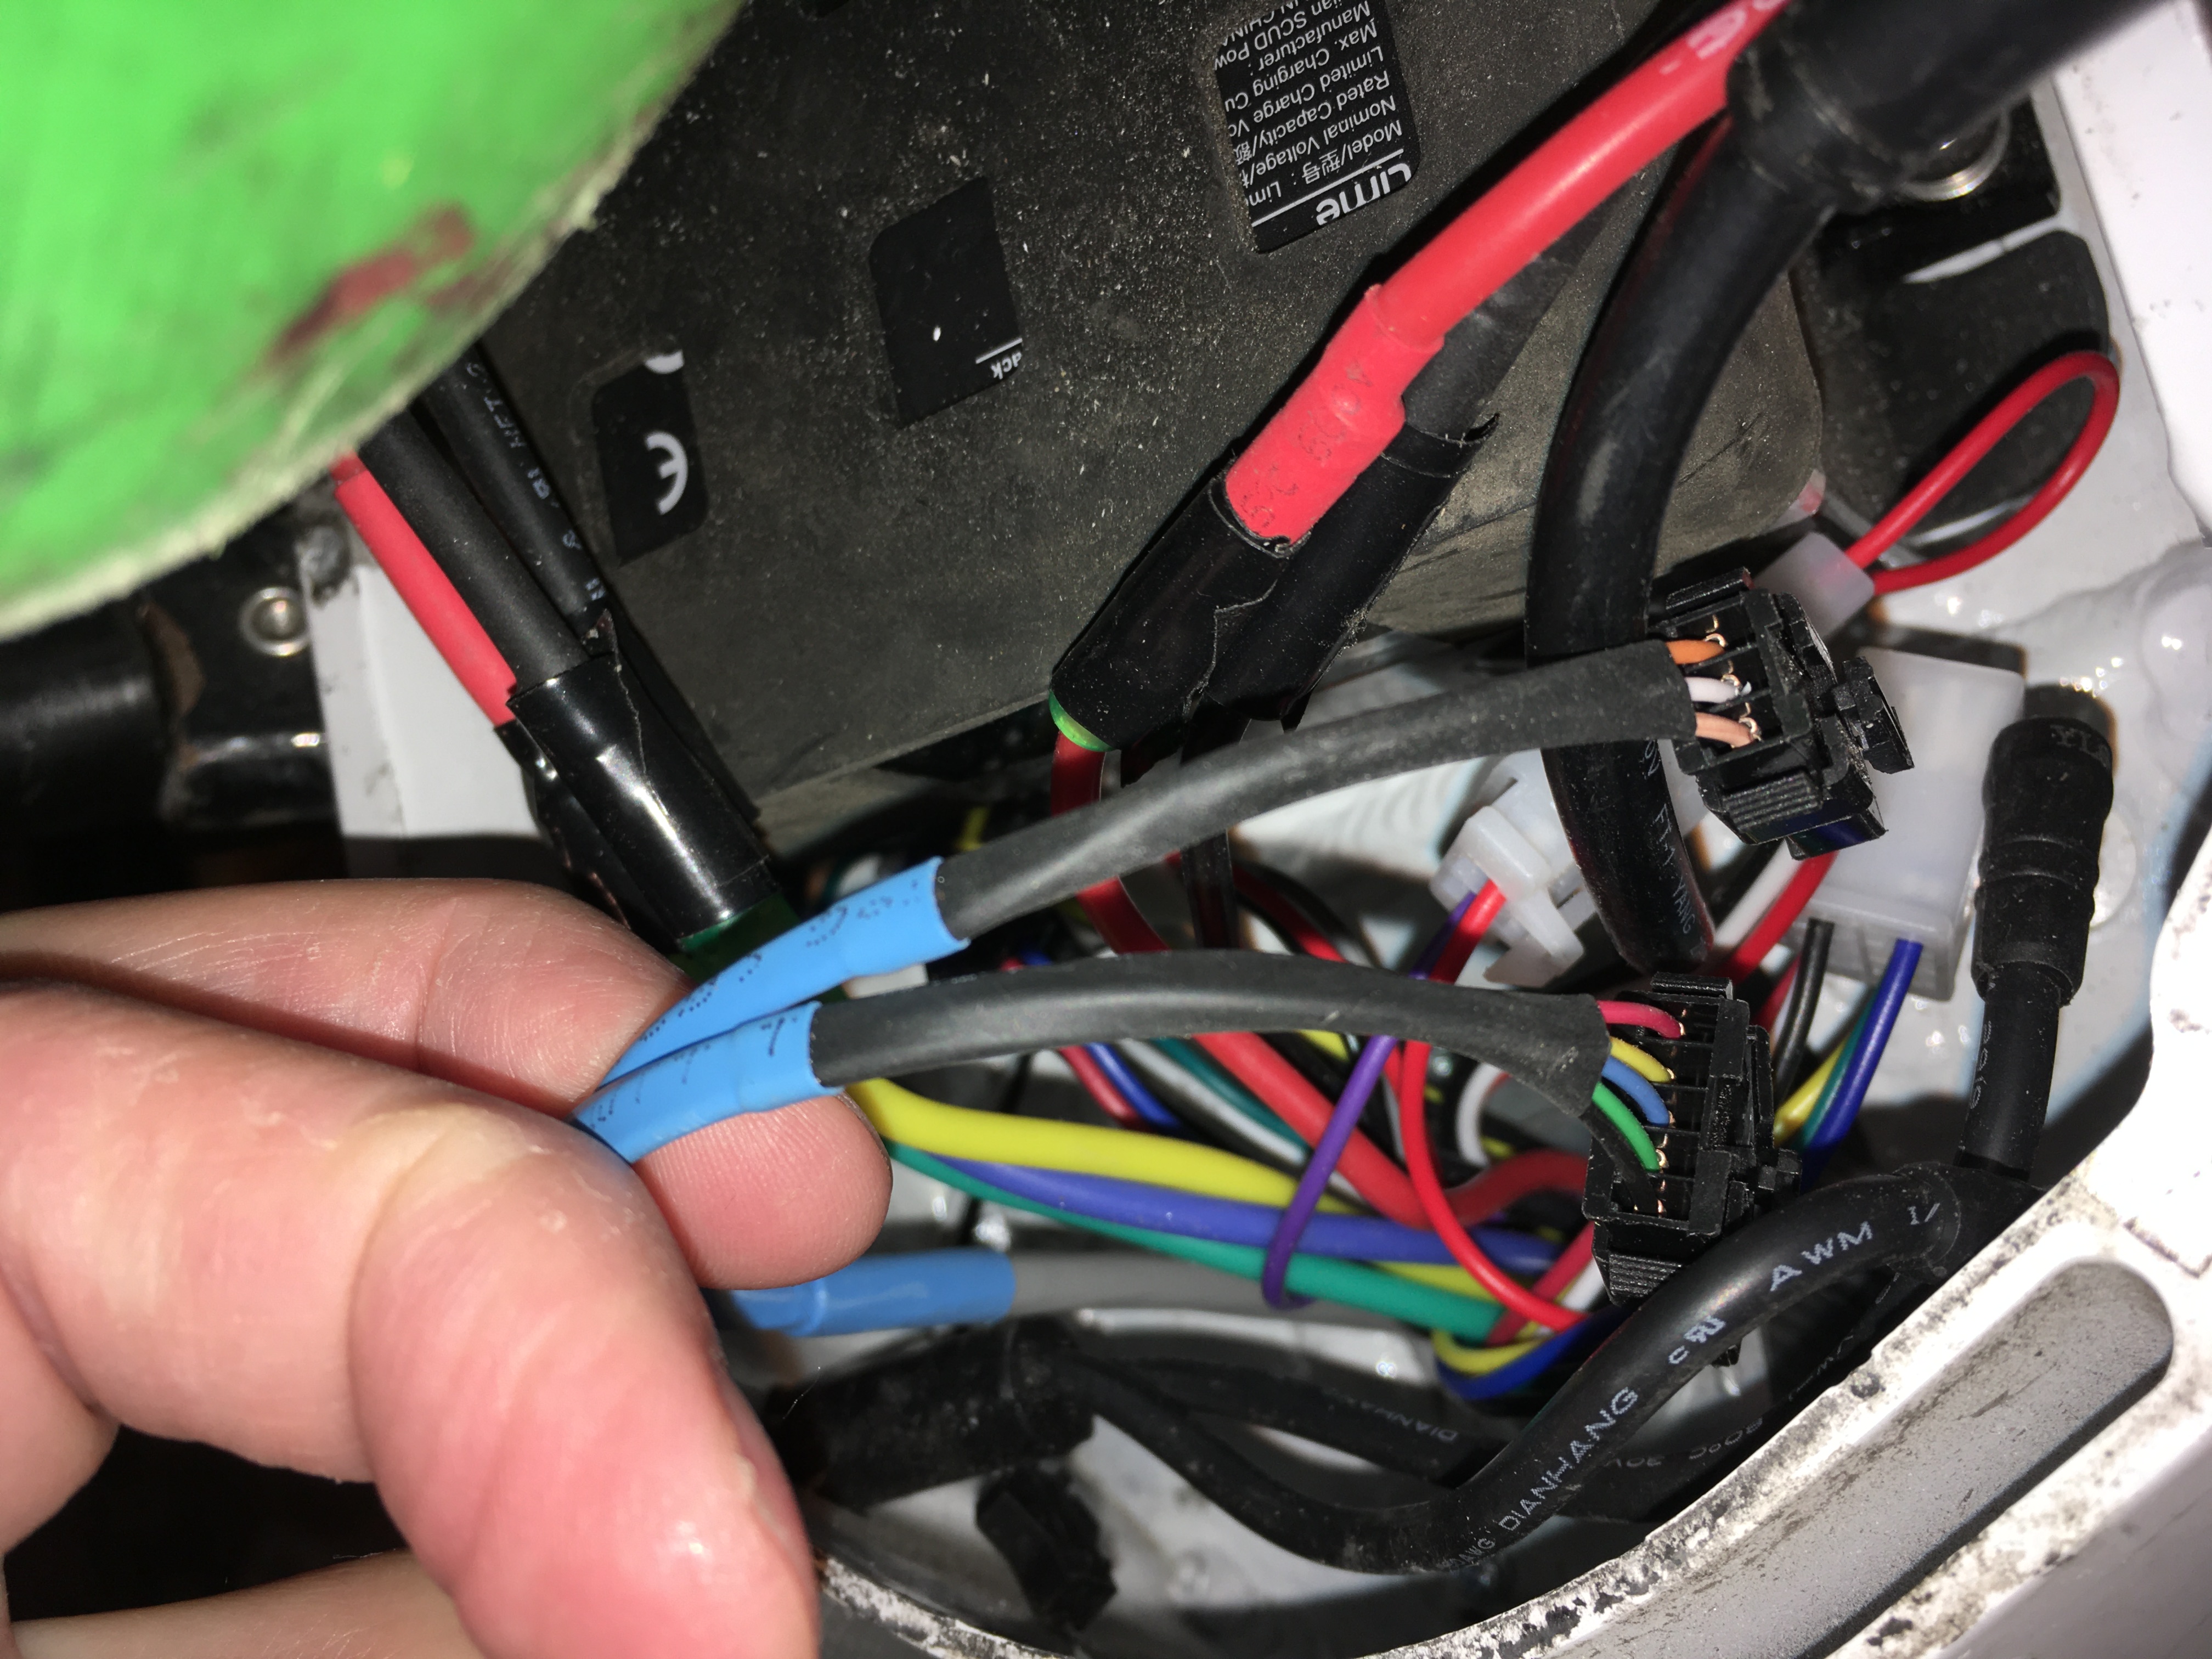
I reversed-engineered the protocol between the motor controller and the display. These are the C programs I used to figure it out. The display is the so-called S866. It's a standard uart. Here are some picture of the cable I made to do it. The cable is an extension between the 5-pin LCD on the motor controller and the LCD, with tap-in leads that you can use to peek on the voltage on any of the five lines, TX, RX, GND, 5V, or 36V. The trouble I had is that the MCU is 3.3V and the controller is 5V. So the controller's signal at 5V was overdriving the MCU and I had to take it down to 3.3V. I did it with a single pull-up transistor. I used this uart on my PC. A scope, however cheap, was helpful.
This post I found after having done all the work.
Here's a tear down manual.
Here's a bunch of other stuff I used. A lot of the project was just making cables.
I can't remember if the 3.5 or 4mm ones fit. One of them did.
- the lock
- replacement brake cable. Mine broke.
- m6 replacement for one of the collar bolts
- for the inserts to mount the display housing
- threaded inserts
- https://www.amazon.com/gp/product/B08YYGRCBG
- https://www.amazon.com/gp/product/B08Z7FP236
- https://www.amazon.com/gp/product/B07TB8QXMC
- https://www.amazon.com/gp/product/B002AVVO7U
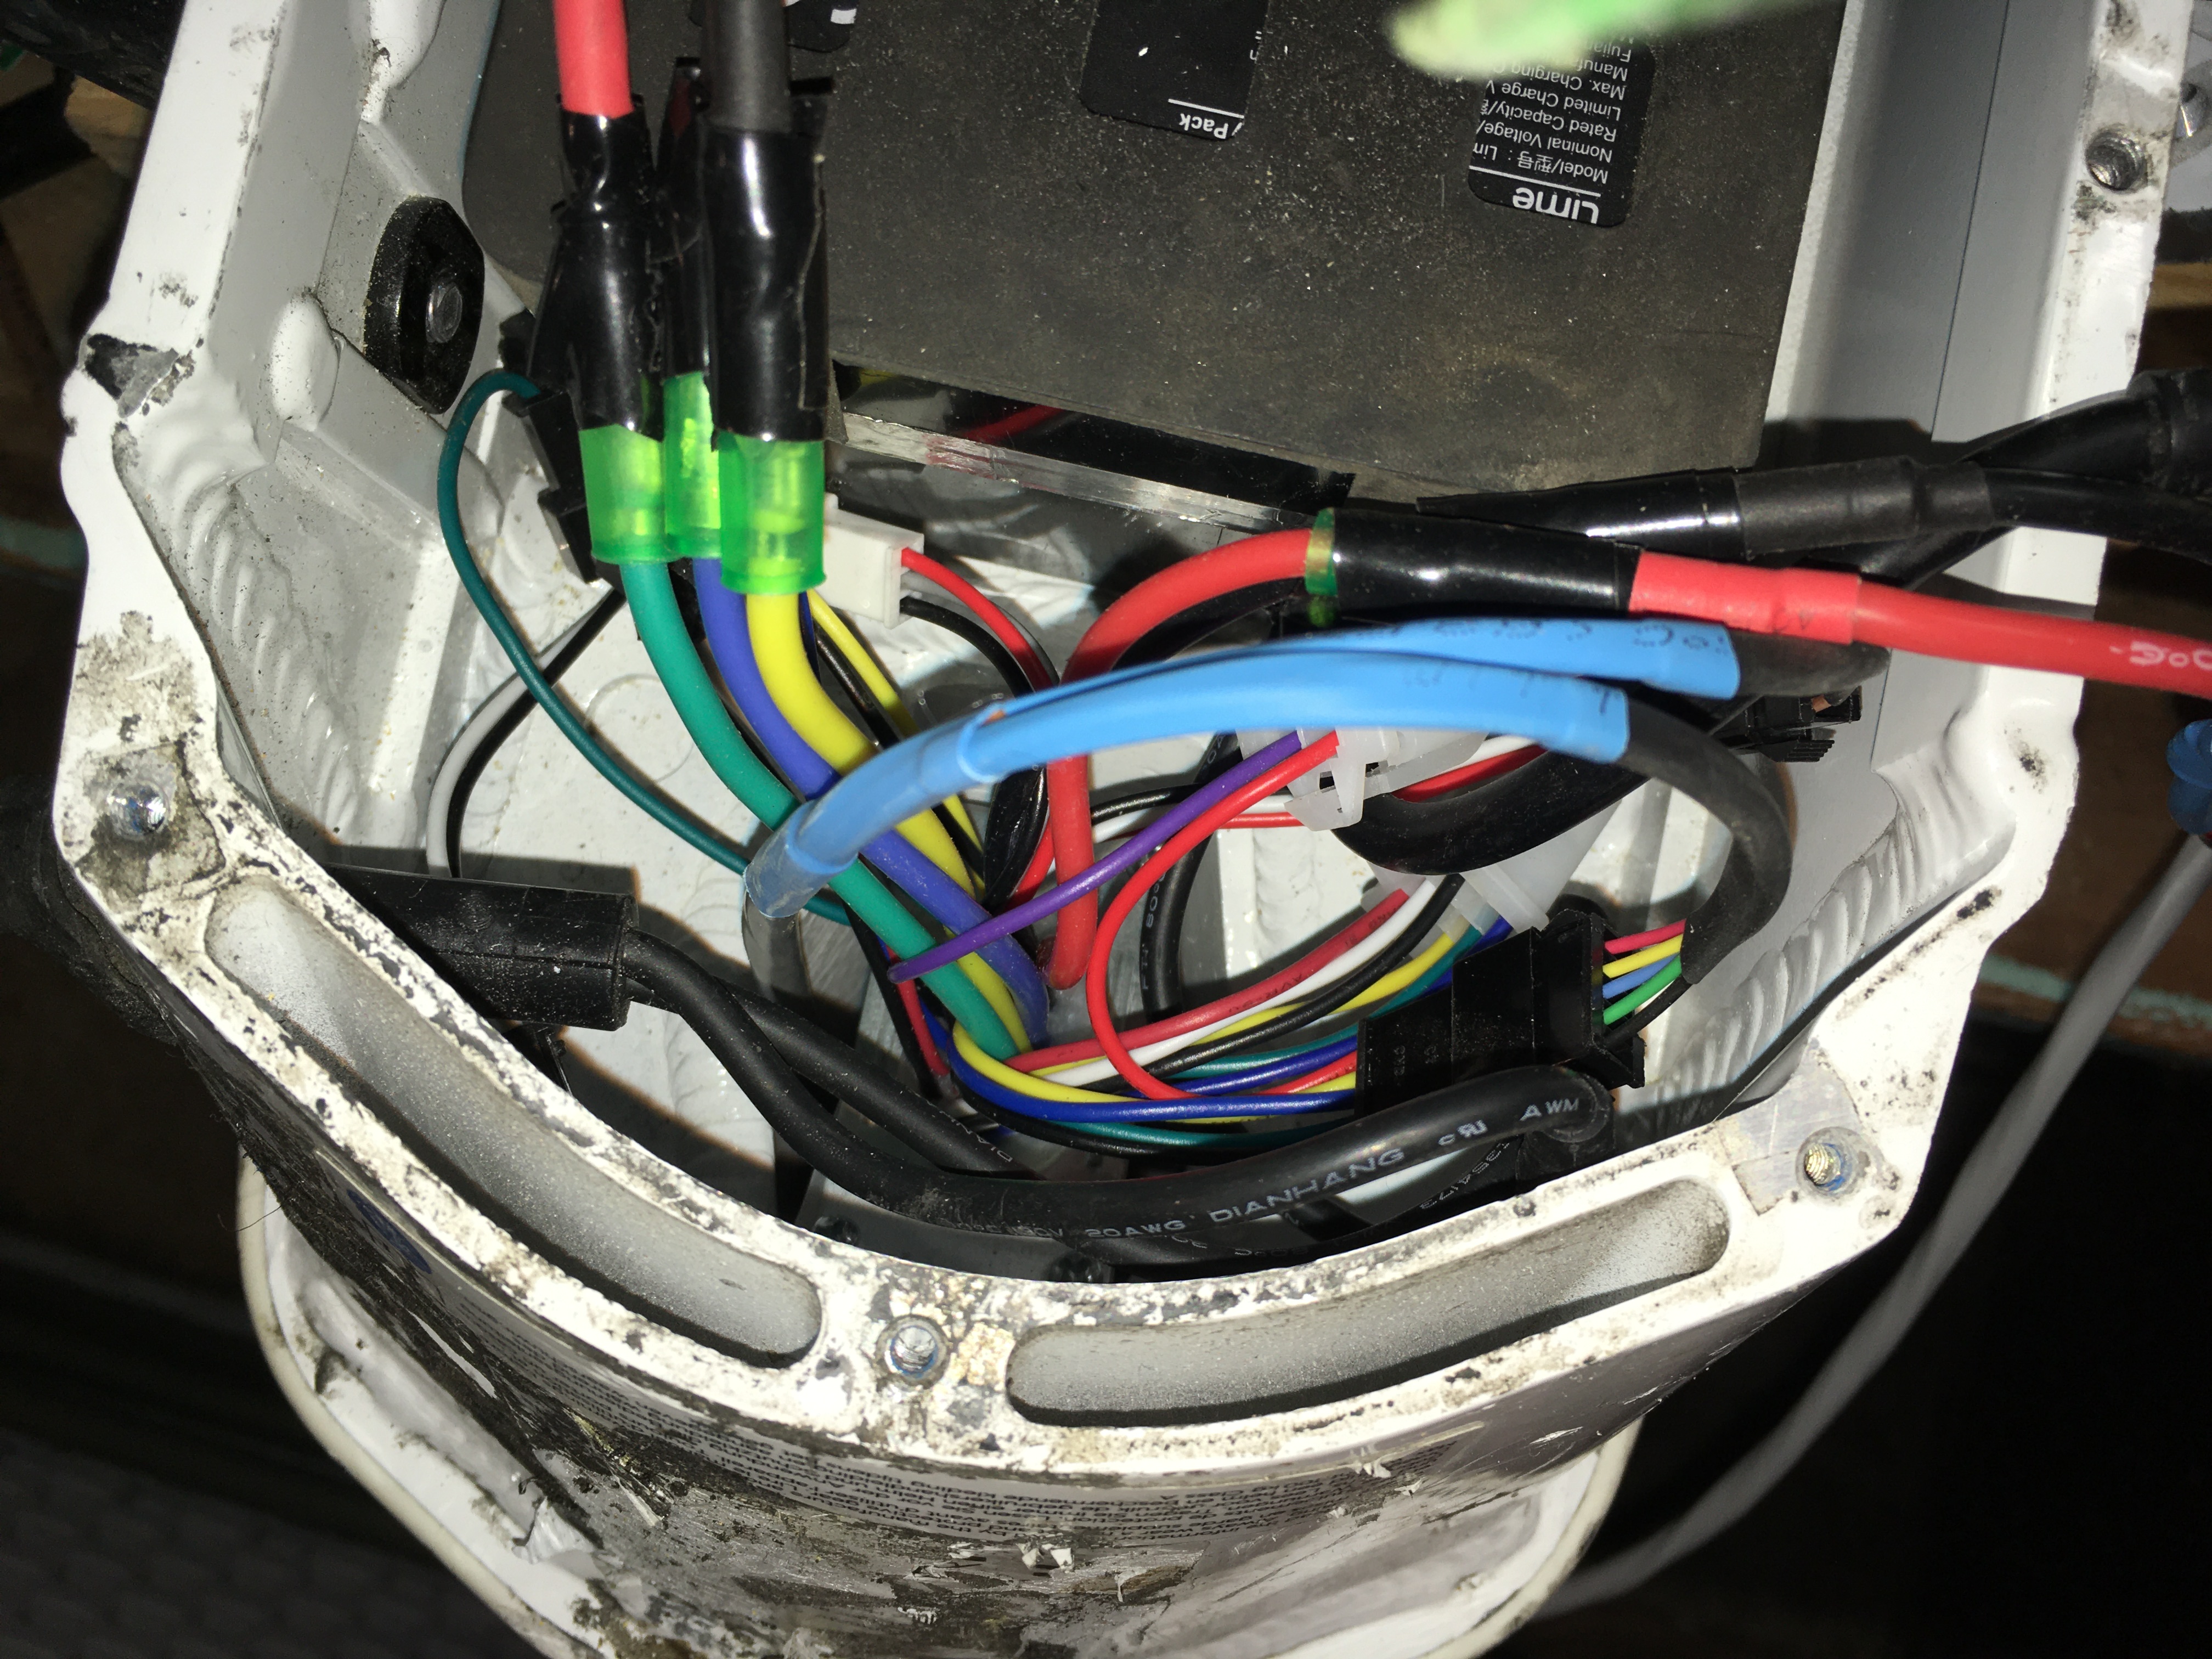
Some other pictures:

