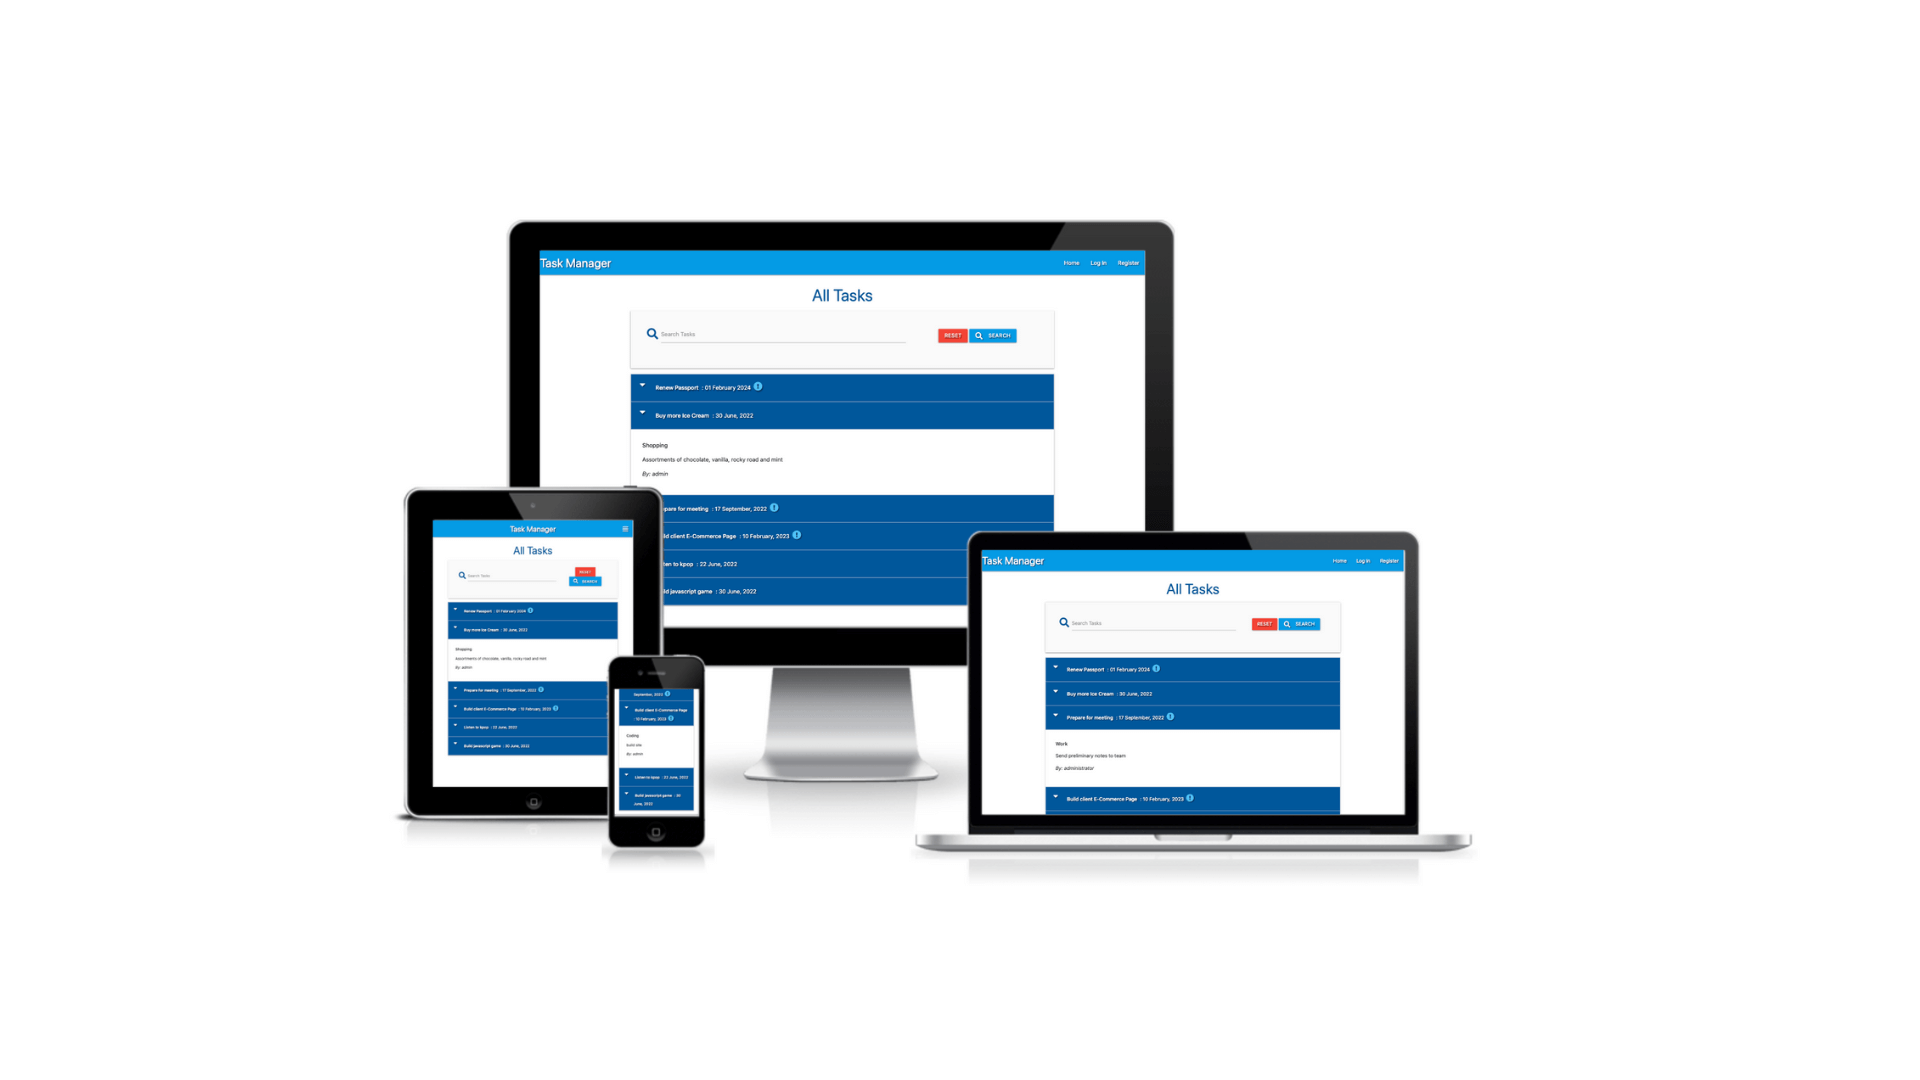
A task manager site created using a non-relational database, MongoDB. This site was created as part of a walkthrough project from the Code Institute.
Link to deployed site: MongoDB Task Manager
- As a first time user, I want the site to be easy to navigate.
- As a first time user, I want to be able to add categories to store my tasks in.
- As a first time user, I want to be able to save tasks I create in a category of my choice.
- As a first time user, I want to be able to sign up for an account.
- As a returning user, I want to be able to edit tasks.
- As a returning user, I want to be able to edit categories.
- As a returning user, I want to be able to log in to my account.
- As a frequent user, I want to be able to delete tasks I no longer want.
- As a frequent user, I want to be able to delete categories that I no longer need.
The colour theme for the site is the same as the one used during the walkthrough videos, the colours used are from Materialize blue colour palette.
No font was specified for use with the site, therefore the default font settings were used.
The site has been created to learn and showcase CRUD functionality, no images have been used. All icons used in this project were sourced from Font Awesome.
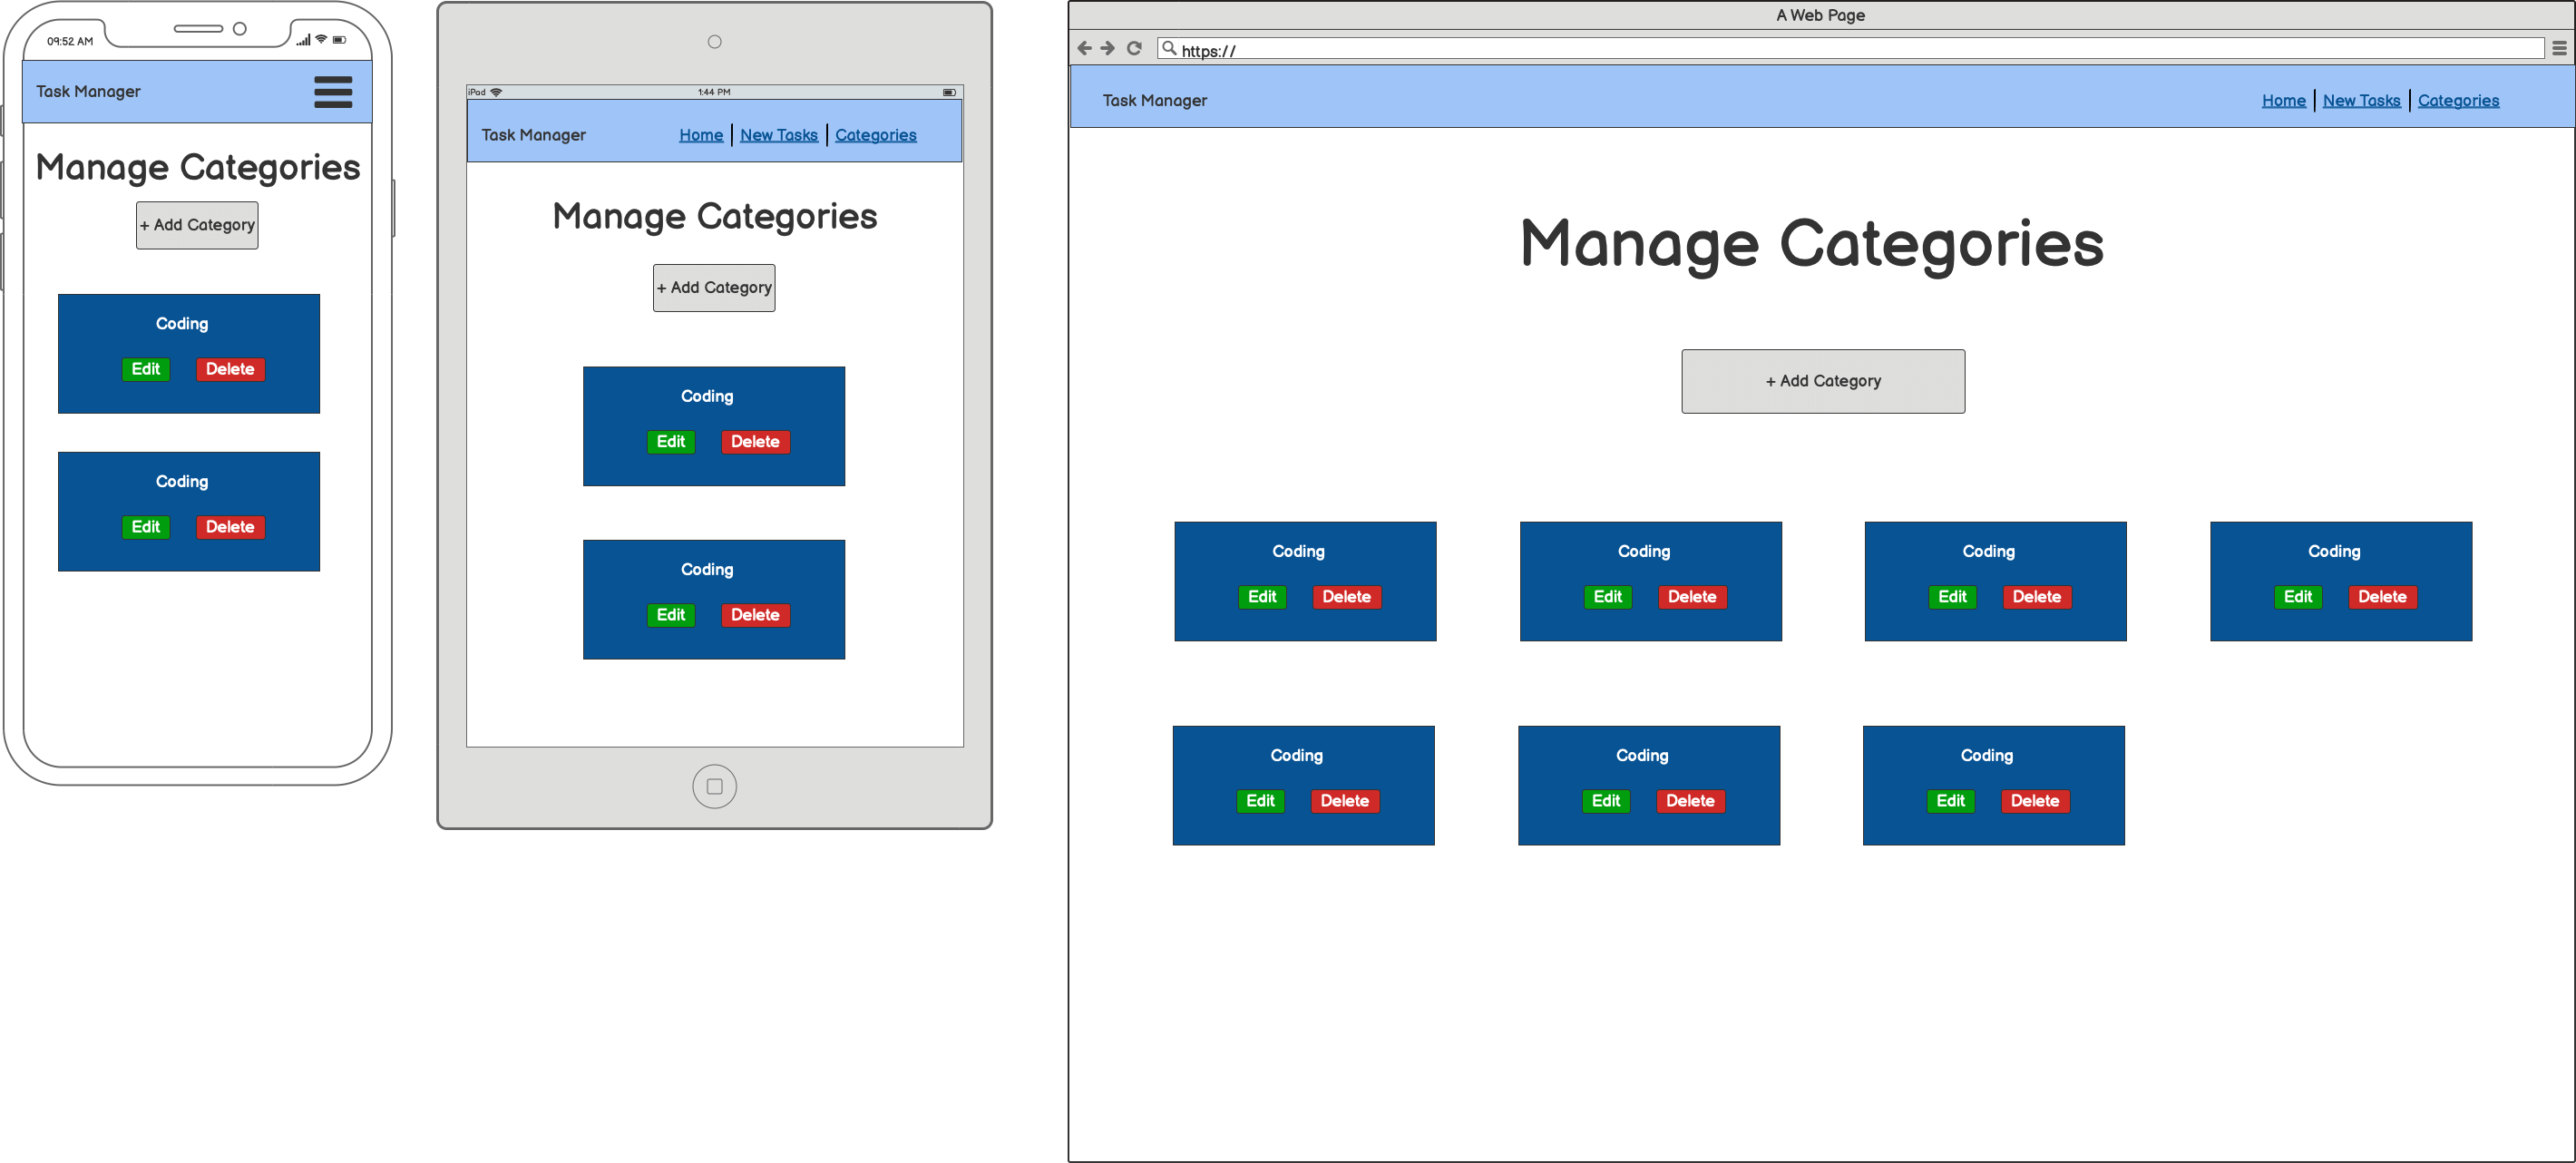
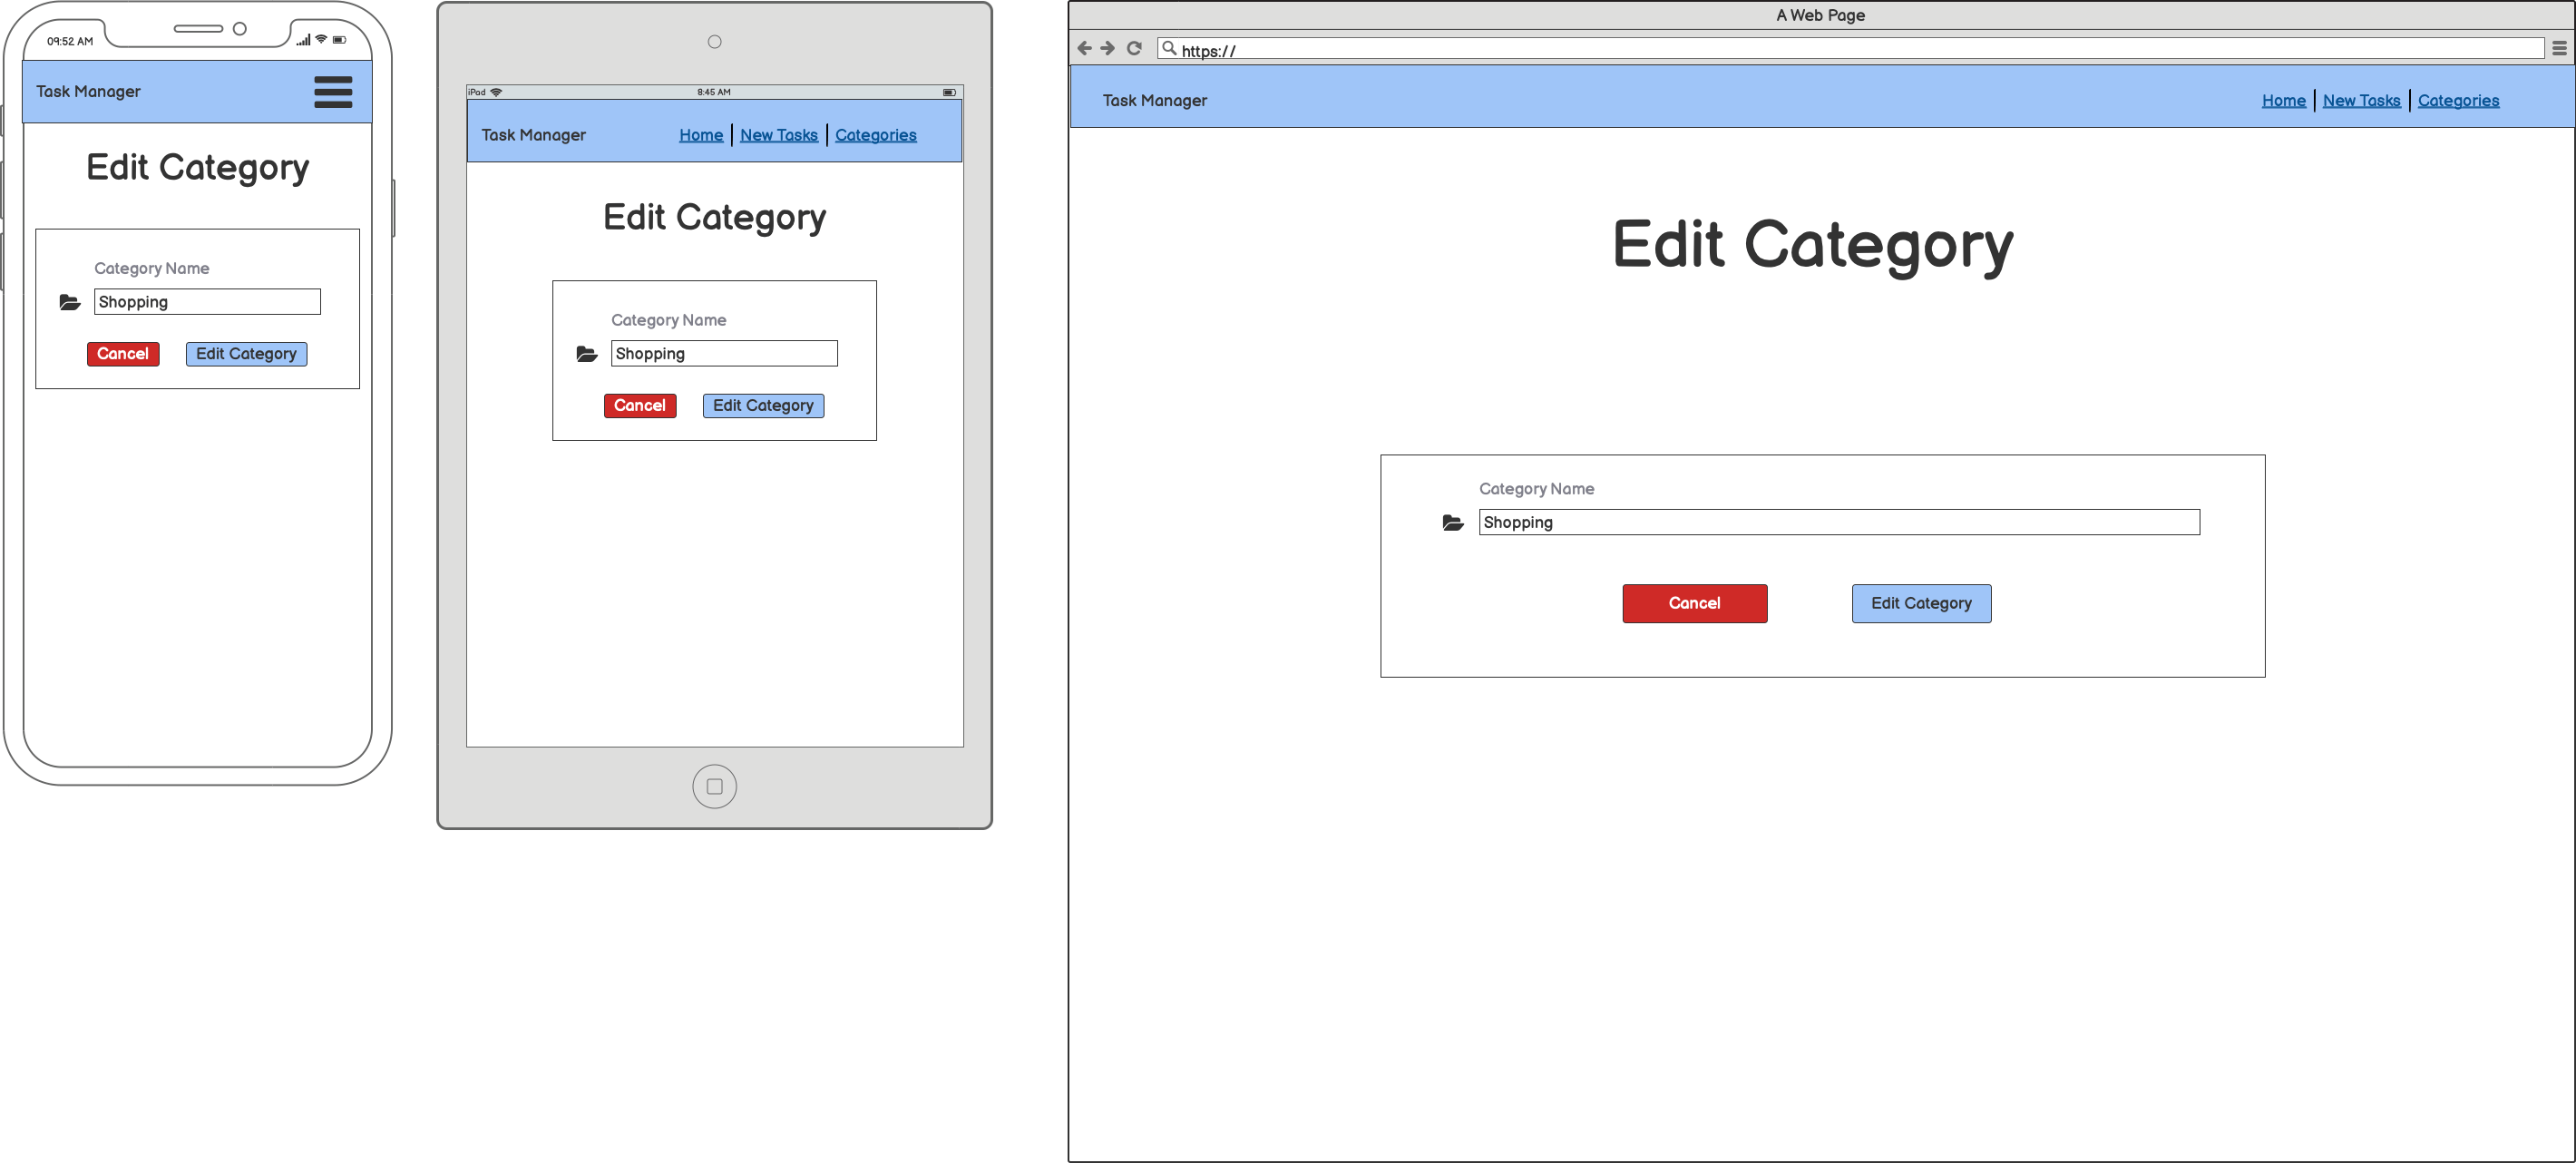
Wireframes were created for mobile, tablet and desktop using Balsamiq.
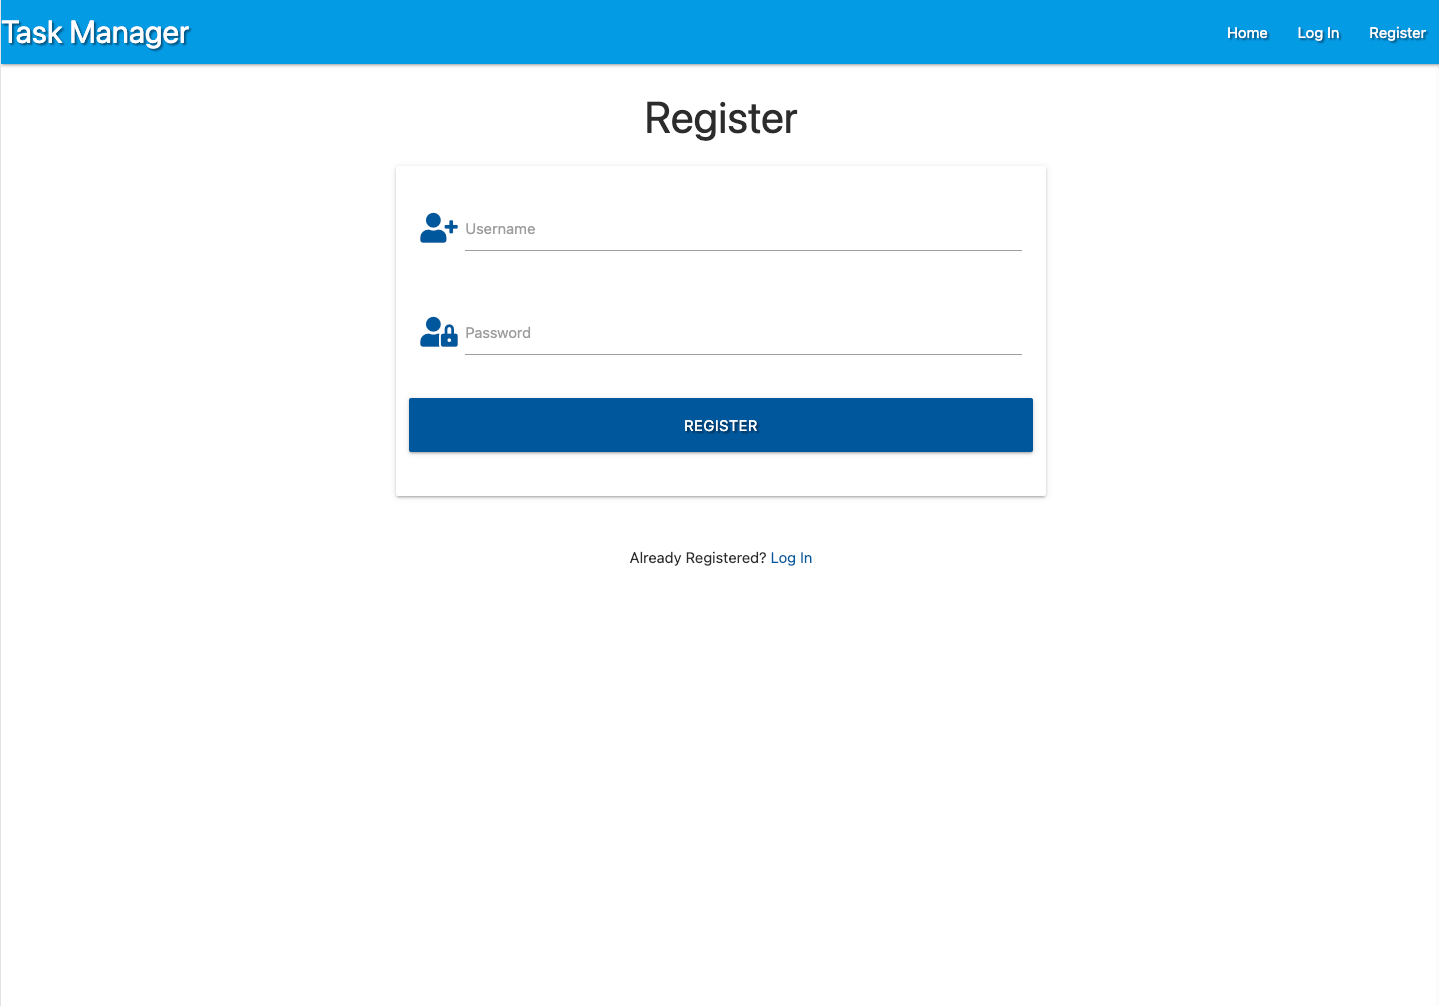
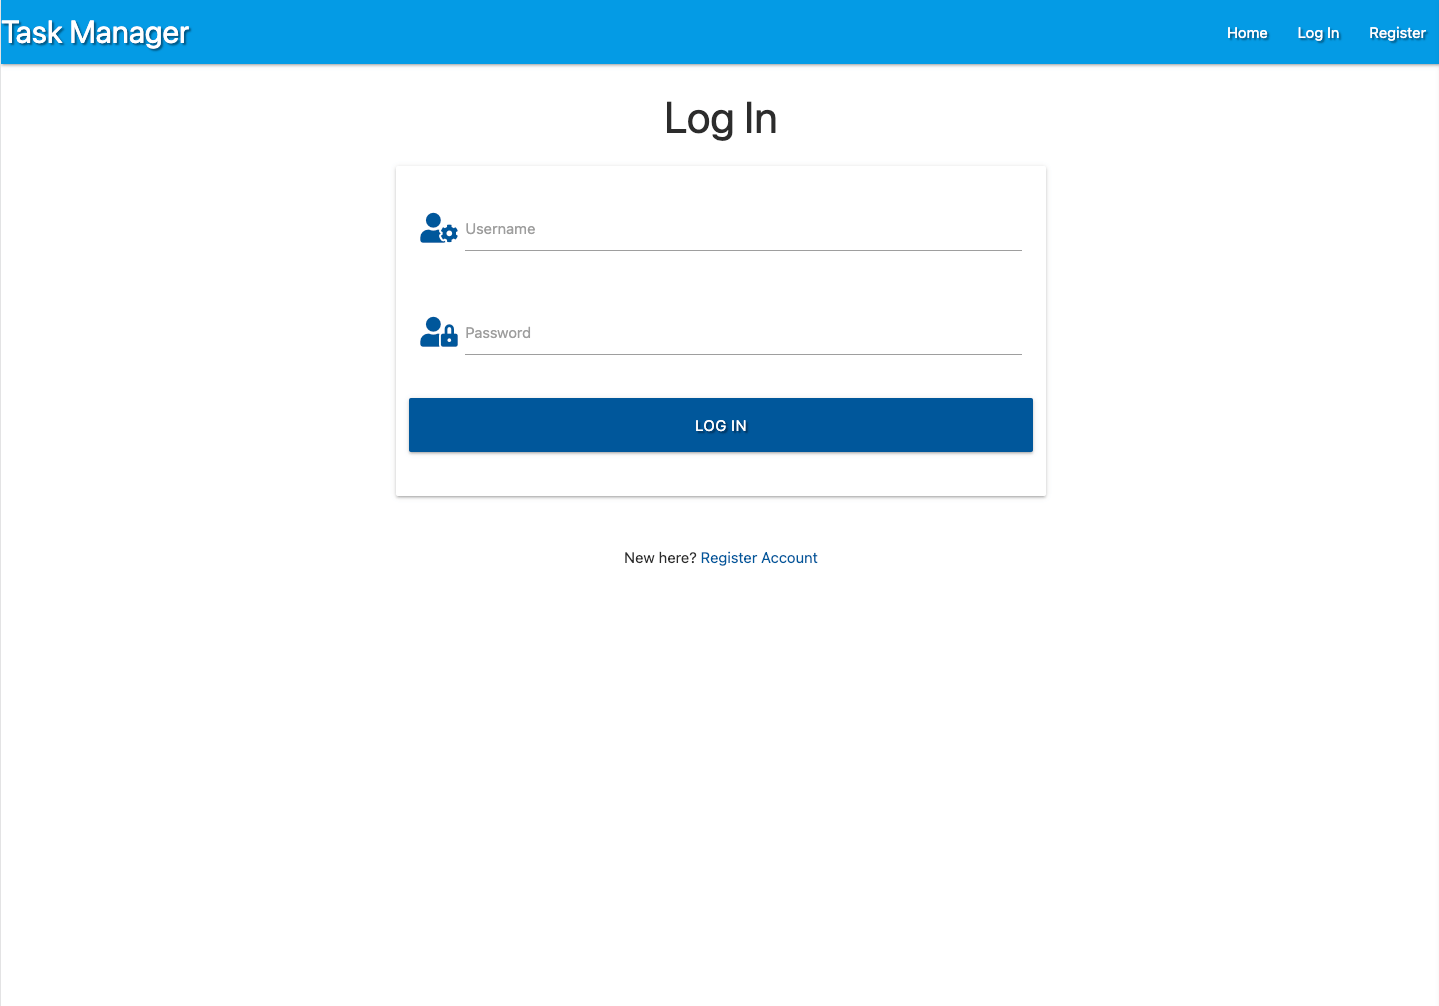
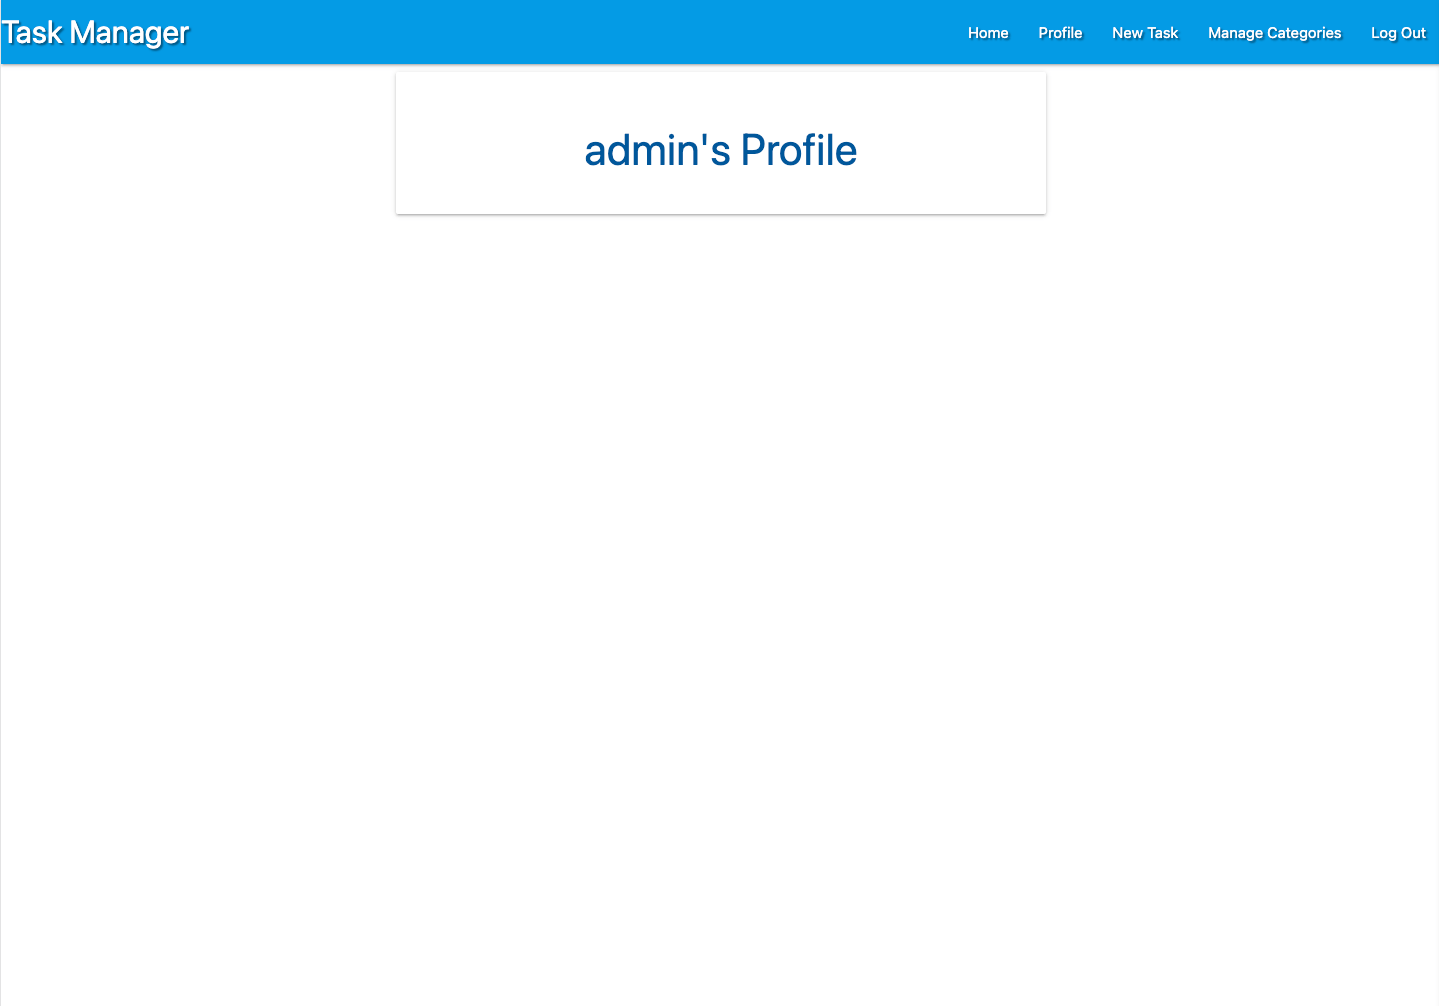
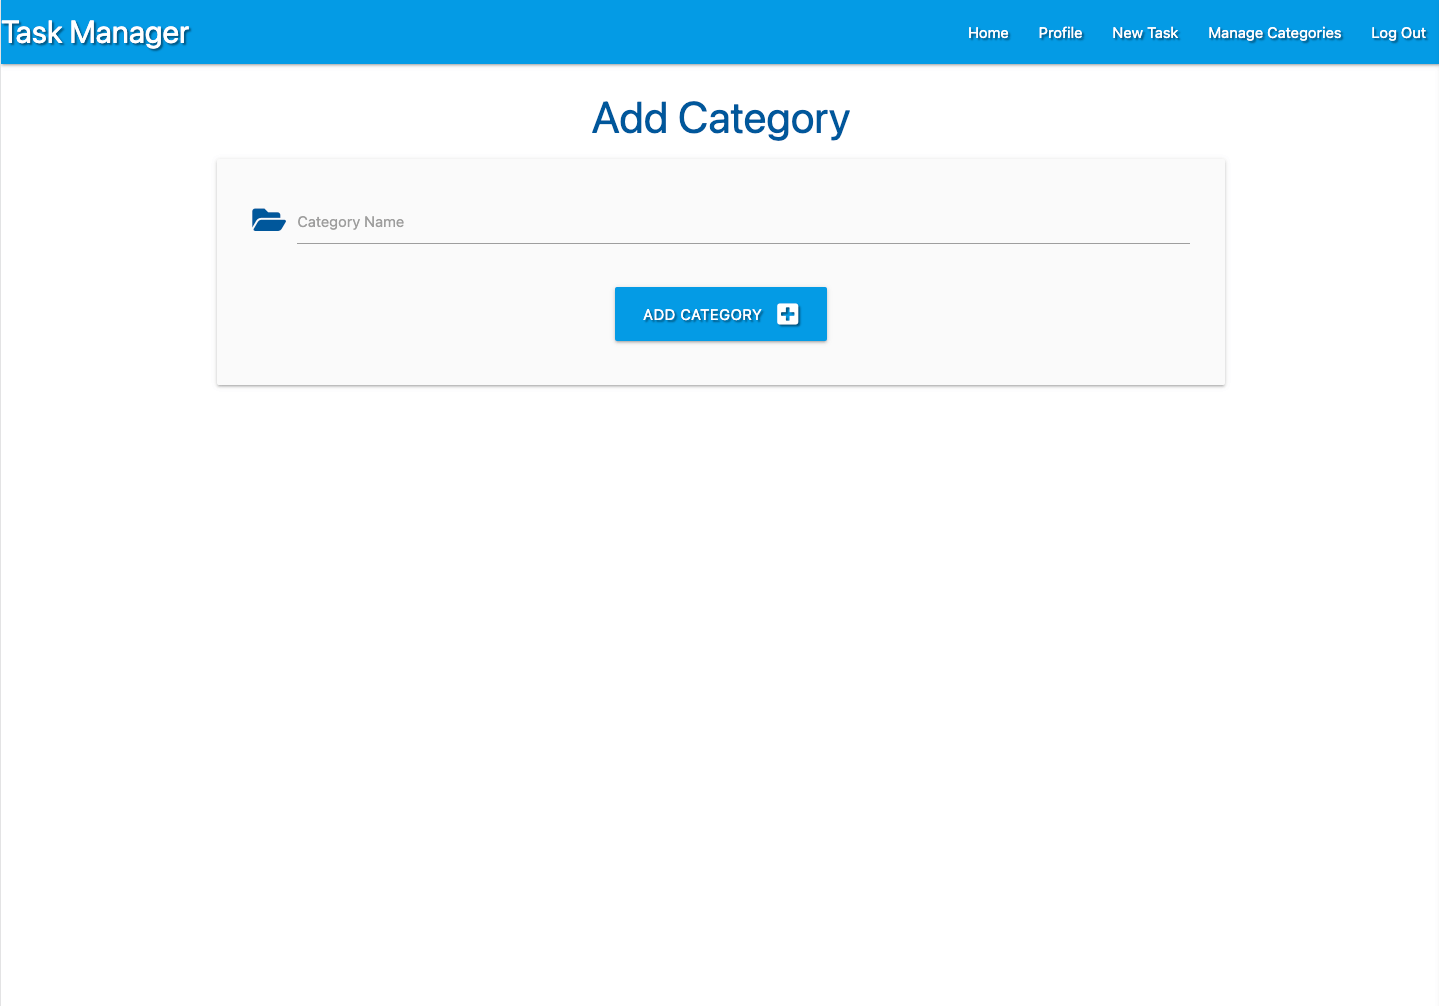
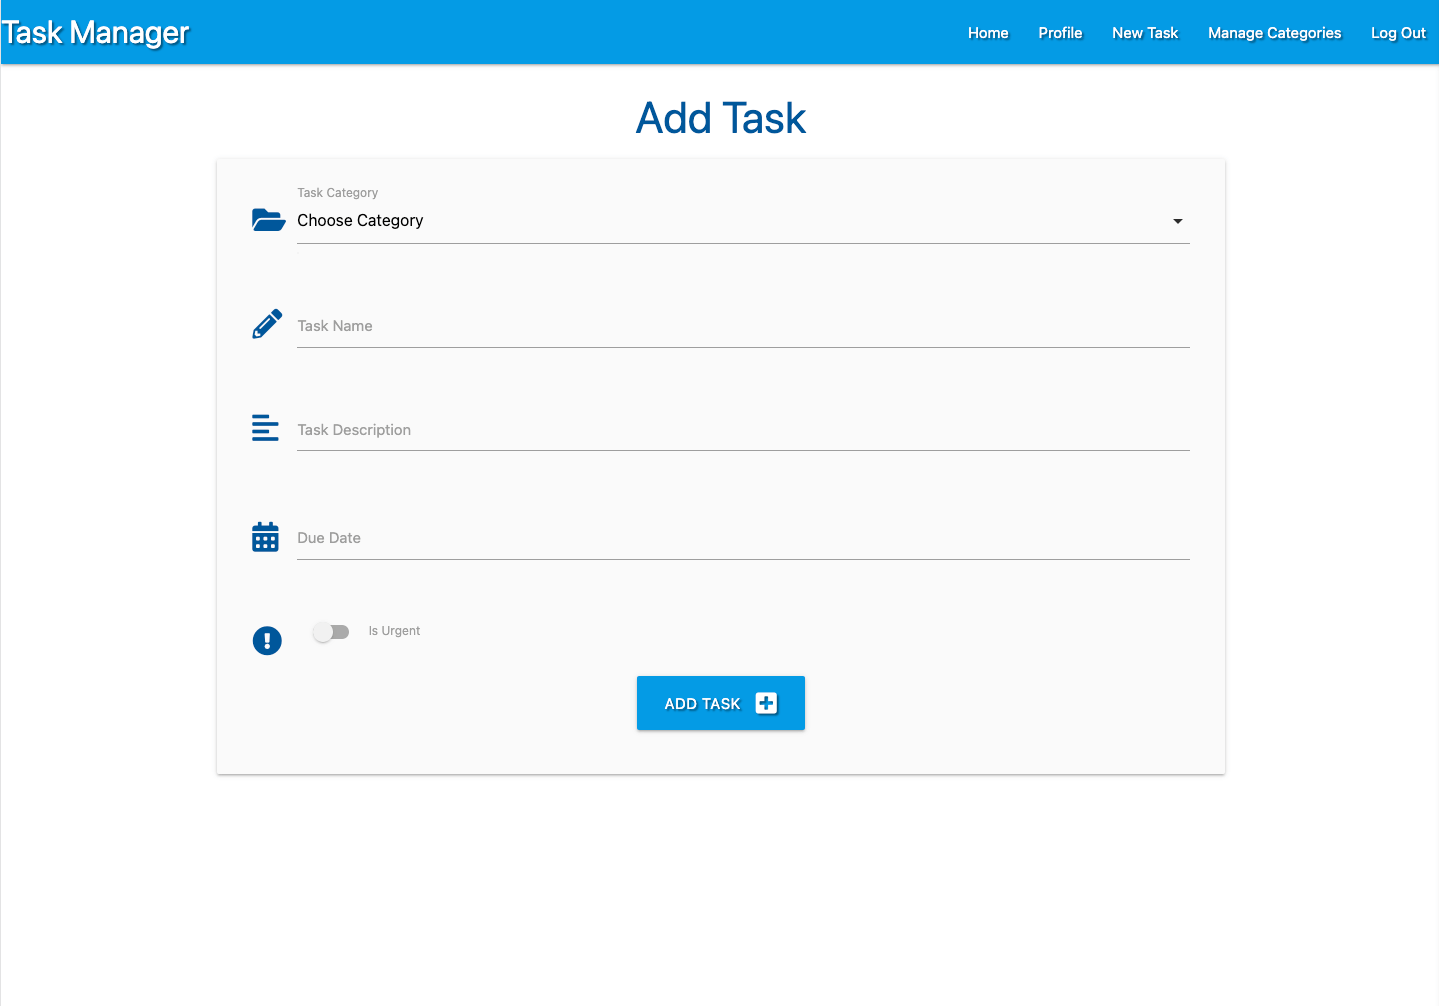
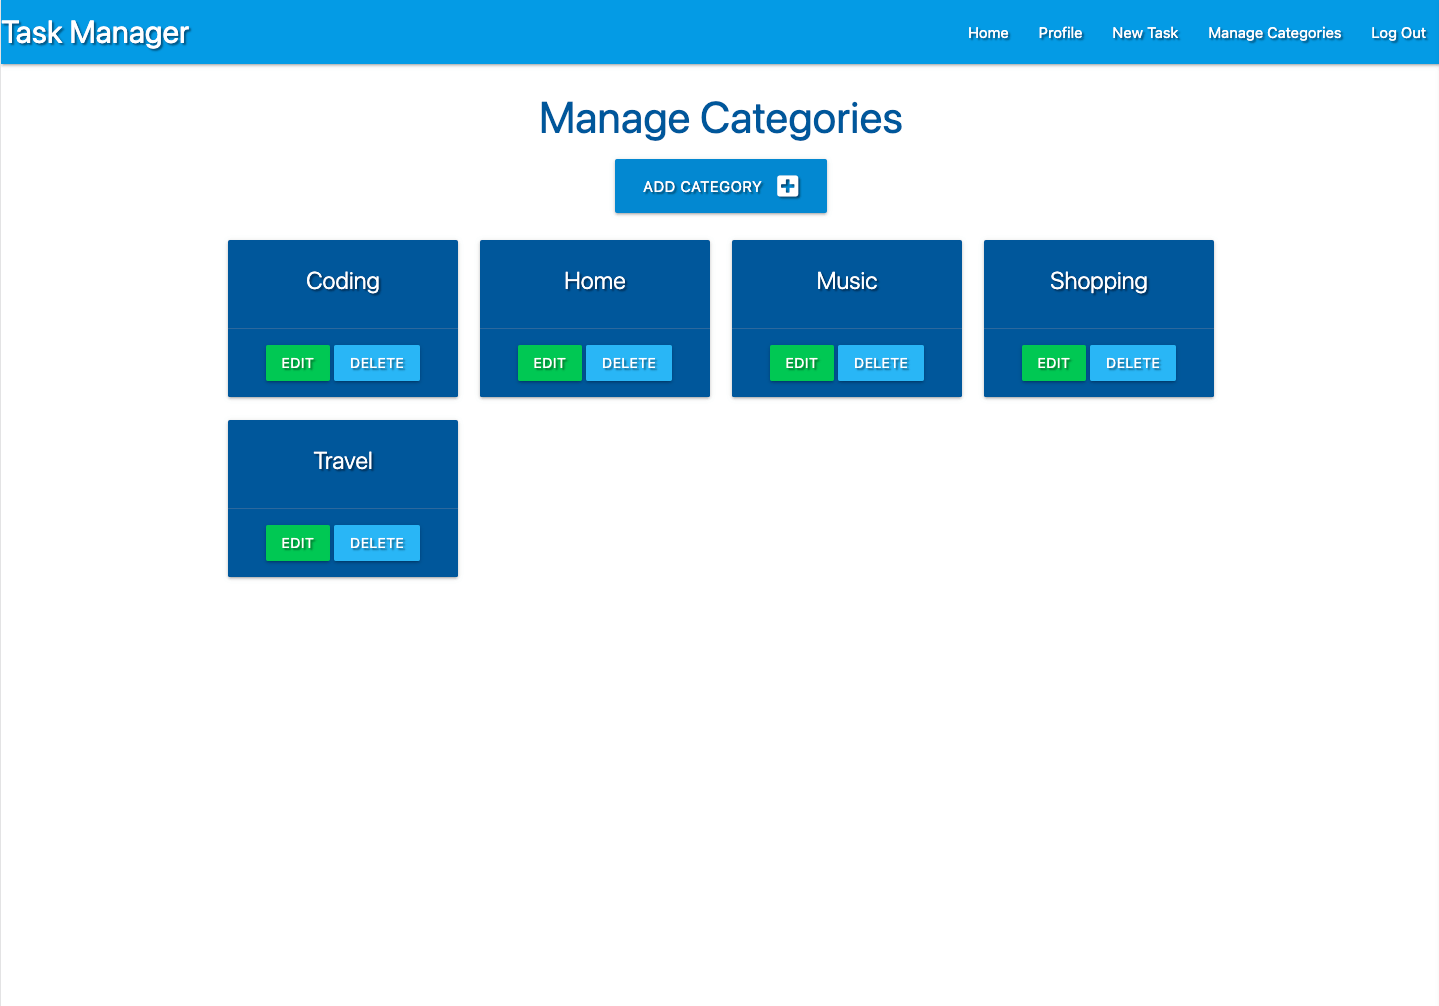
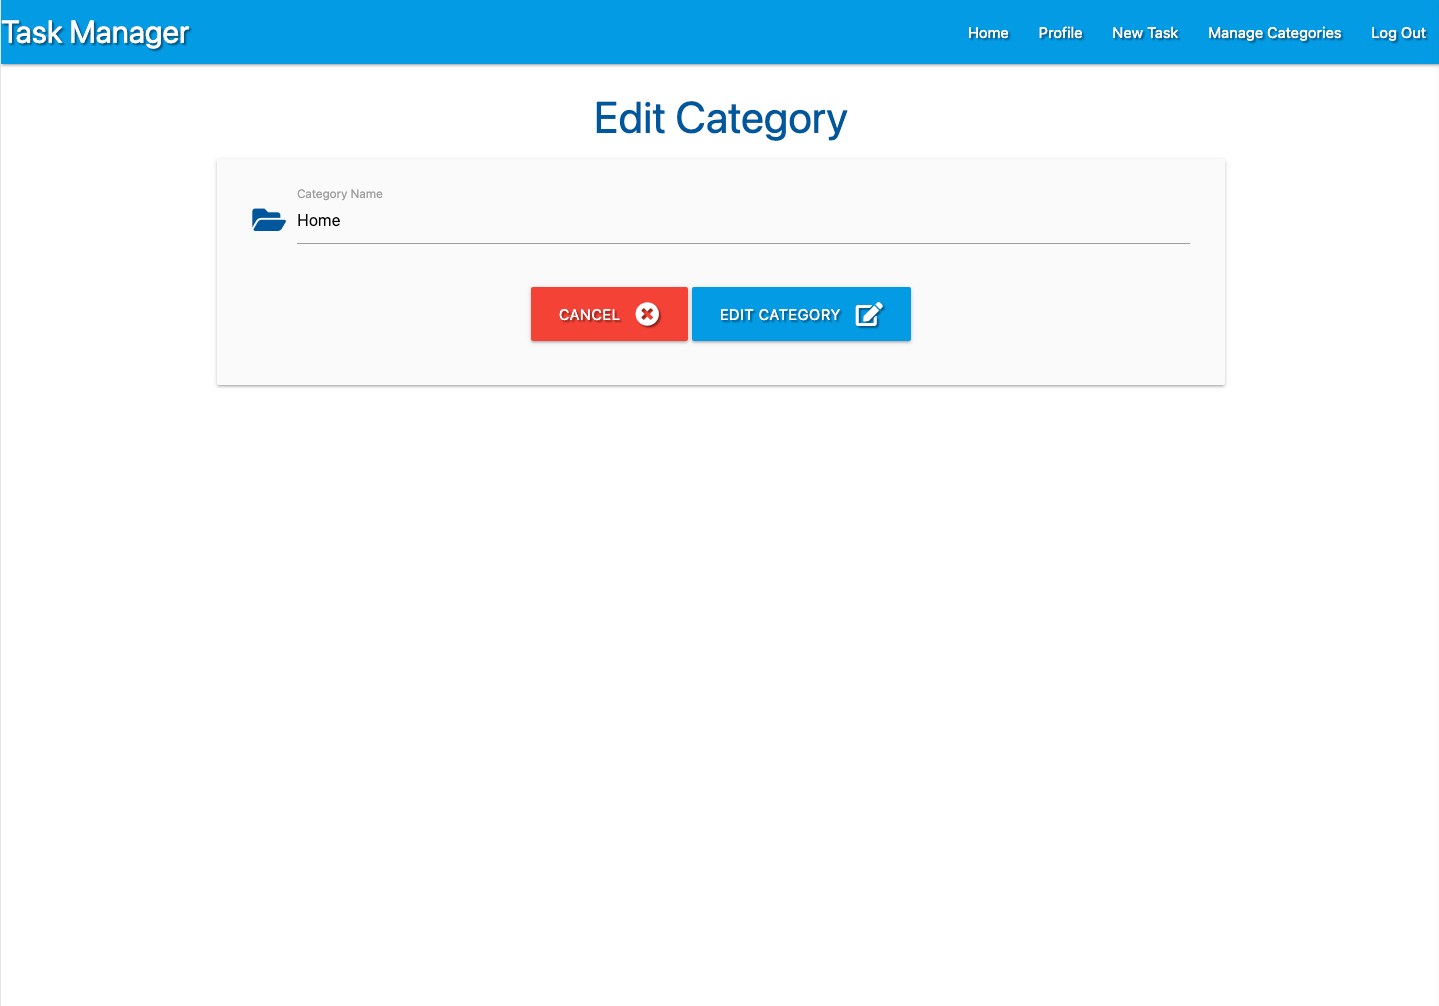
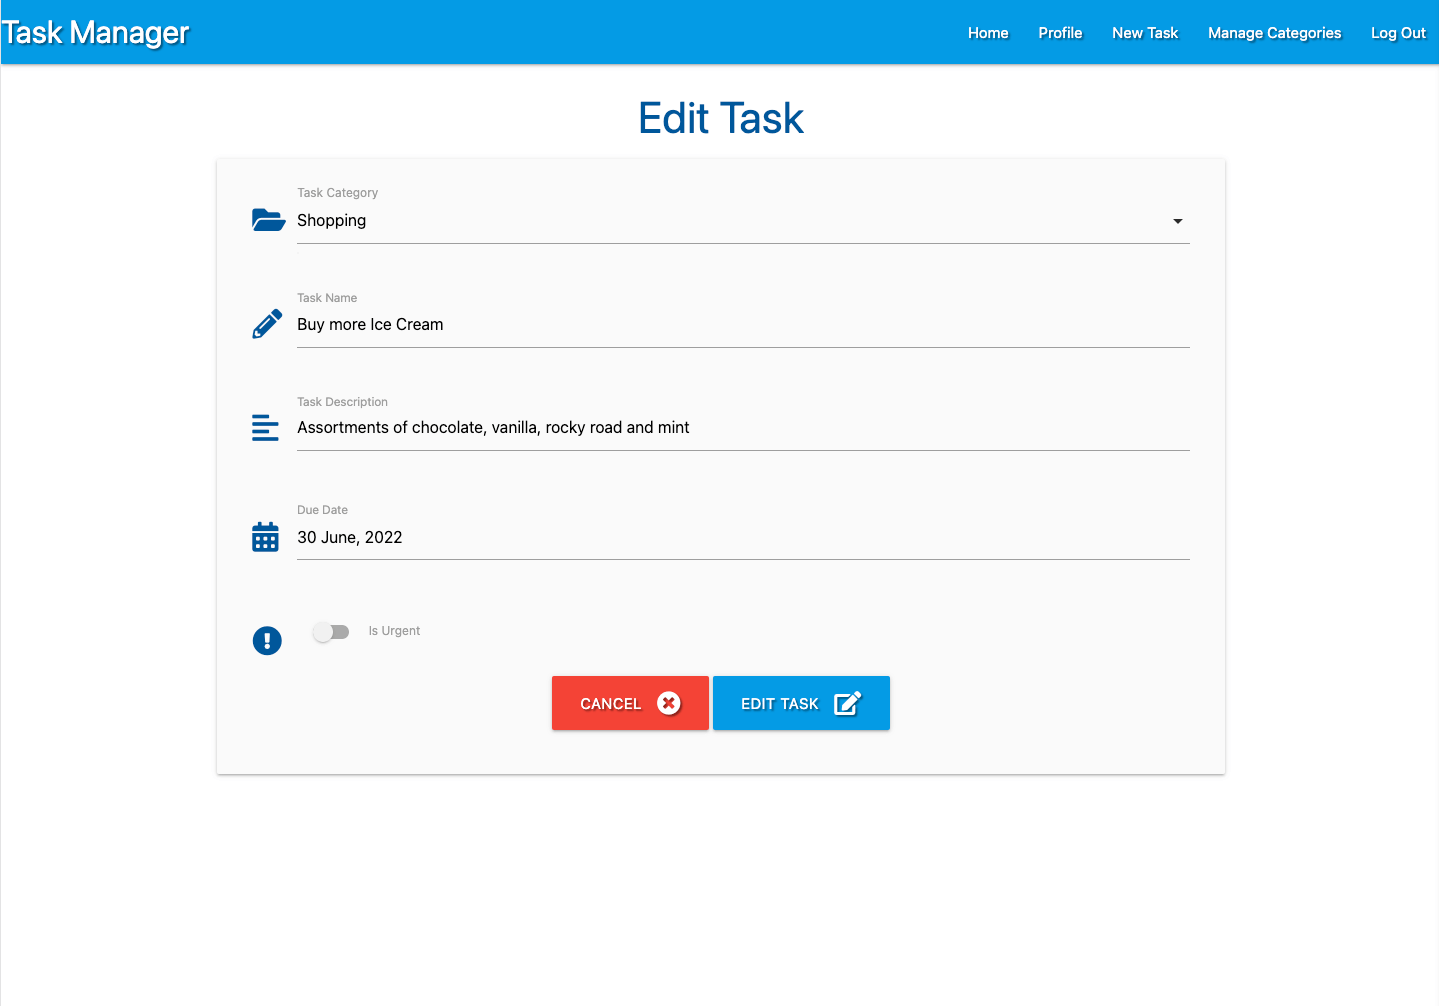
The website is comprised of 9 pages: The register page which allows users to register an account, the login page, the home page which displays all the users tasks, the profile page, the new task page which allows users to create a new task, the manage categories page which displays all categories, the edit category and edit task pages which allow users to edit an existing category & task and the add tasks and add categories pages which allow users to create new categories and tasks.
All Pages on the website have:
-
A Favicon. The favicon for the site was created at Favicon.io and was generated using the following graphics from Twitter Twemoji:
-
Graphics Title: 2611.svg
-
Graphics Author: Copyright 2020 Twitter, Inc and other contributors
-
Graphics Source: Twemoji
-
Graphics License: CC-BY 4.0
-
-
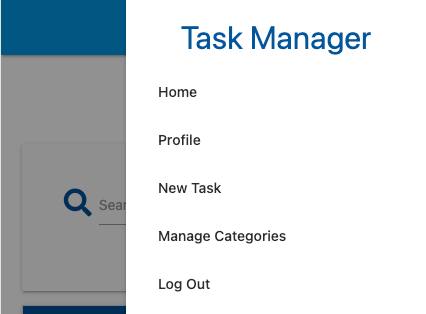
A Navbar.The navbar contains links to the home, login and register pages when a user is not logged in. When a user is logged in the navbar will then display links for home, profile, new task, manage categories and log out. The navbar is responsive and on smaller devices uses the hamburger icon. When this is clicked the menu opens to the right of the screen.
Home Page (Tasks)
Register Page
Login Page
Profile Page
Add Category Page
Add Task Page
Categories Page
Edit Category Page
Edit Task Page
Future Implementations.
- Defensive programming - I would like to add a modal that pops up when a user wants to delete a category. This would provide an extra layer of security to confirm that the user does want to delete the record from the database, and would alert the user to the fact that this action is permanent and cannot be undone.
- 404 Error Page.
- I would like to improve the profile page for the user, and use this area to allow the user to change their password for their account.
I have been mindful during coding to ensure that the website is as accessible friendly as possible. This has been have achieved by:
- Using semantic HTML.
- Providing information for screen readers where there are icons used and no text.
- Ensuring that there is a sufficient colour contrast throughout the site.
HTML, CSS, Javascript, Python
MongoDB - A non-relational database used to store the users login information, the categories and the tasks.
Flask - A microframework.
Materialize - Version 1.0.0 for the front end framework.
Font Awesome - Version 5.15.3 - For the iconography on the website.
PyMongo - Python Driver for MongoDB.
Balsamiq - Used to create wireframes.
Git - For version control.
Github - To save and store the files for the website.
Google Chrome Dev Tools - To troubleshoot and test features, solve issues with responsiveness and styling.
Tiny PNG To compress images.
Favicon.io To create favicon.
Am I Responsive? To show the website image on a range of devices.
Shields.io To add badges to the README
Pip - Tool for installing python packages
Jinja - Templating engine
This walkthrough project has introduced the concept of defensive programming, however there are still areas that could be improved.
The site is deployed using Heroku. To deploy to Heroku:
-
To successfully deploy on Heroku we first need to create some files: a requirements.txt file and a Procfile.
-
The requirements.txt file contains all the applications and dependencies that are required to run the app. To create the requirements.txt file run the following command in the terminal:
pip3 freeze --local > requirements.txt -
The Procfile tells Heroku which files run the app and how to run it. To create the Procfile run the following command in the terminal:
echo web: python app.py > Procfile
NOTE: The Procfile uses a capital P and doesn't have a file extension on the end.
-
If the Procfile has been created correctly it will have the Heroku logo next to it. It is also important to check the Procfile contents, as sometimes on creation a blank line will be added at the end of the file. This can sometimes cause problems when deploying to Heroku, so if the file contains a blank line at the end, delete this and save the file. Make sure to save both these files and then add, commit and push them to GitHub.
-
Login (or sign up) to Heroku.com.
-
Click the new button and then click create new app.
-
You will then be asked to give your app a name (these must be unique) and select a region. Once these are completed click create app.
-
You will now need to connect the Heroku app to the GitHub repository for the site. Select GitHub in the deployment section, find the correct repository for the project and then click connect.
-
Once the repository is connected, you will need to provide Heroku some config variables it needs to build the app. Click on the settings tab and then click reveal config vars button. You will now need to add the environment key/value variables that were used in the env.py file:
KEY VALUE IP 0.0.0.0 PORT 5000 SECRET_KEY YOUR_SECRET_KEY* MONGO_URI MONGO_URI* MONGO_DBNAME MONGO_DB* DEBUG TRUE** *Denotes a value that is specific to your app.
**This is set to true while deploying to enable us to see any bugs. Please change to FALSE after deployment.
-
You're now ready to click the enable automatic deploys and create button. Heroku will start building the app.
To fork the repository:
- Log in (or sign up) to Github.
- Go to the repository for this project, mongodb-taskmanager.
- Click the Fork button in the top right corner.
To clone the repository:
- Log in (or sign up) to GitHub.
- Go to the repository for this project, mongodb-taskmanager.
- Click on the code button, select whether you would like to clone with HTTPS, SSH or GitHub CLI and copy the link shown.
- Open the terminal in your code editor and change the current working directory to the location you want to use for the cloned directory.
- Type 'git clone' into the terminal and then paste the link you copied in step 3 and press enter.
Please see testing.md for all testing performed
This site was created as part of a walkthrough project with the Code Institute.
