Thorin & Co

Thorin Flask App was created as part of a flask walkthough project on the Code Institutes Level 5 Diploma in Web Application Development.
User Stories
- I want to be able to find out more information about Thorin and his Company.
- I want to be able to contact the Company.
- I want to be able to read some interesting articles relating to the Company.
- I want to be able to see any job positions within the Company.
Design
This site uses the bootstrap clean blog template, this was chosen so that students could concentrate on using Flask and Jinja templating.
Features
General Features of the site
Each page of the site features a:
-
Favicon

-
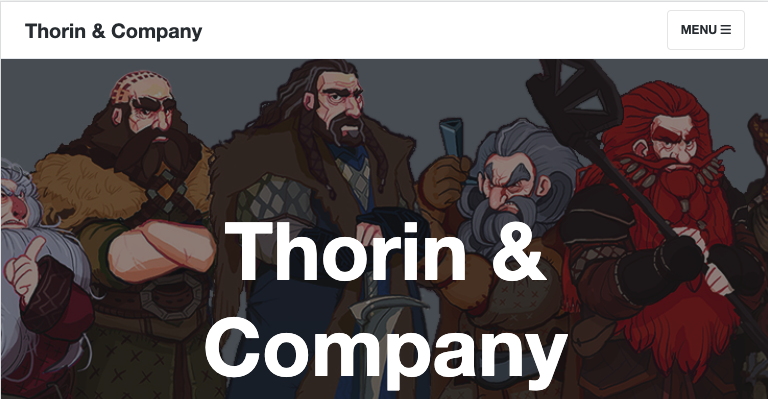
Navbar (including responsive mobile navigation which utilises a hamburger menu)
-
Footer


Page Screenshots
Expand this view to see Page Screenshots
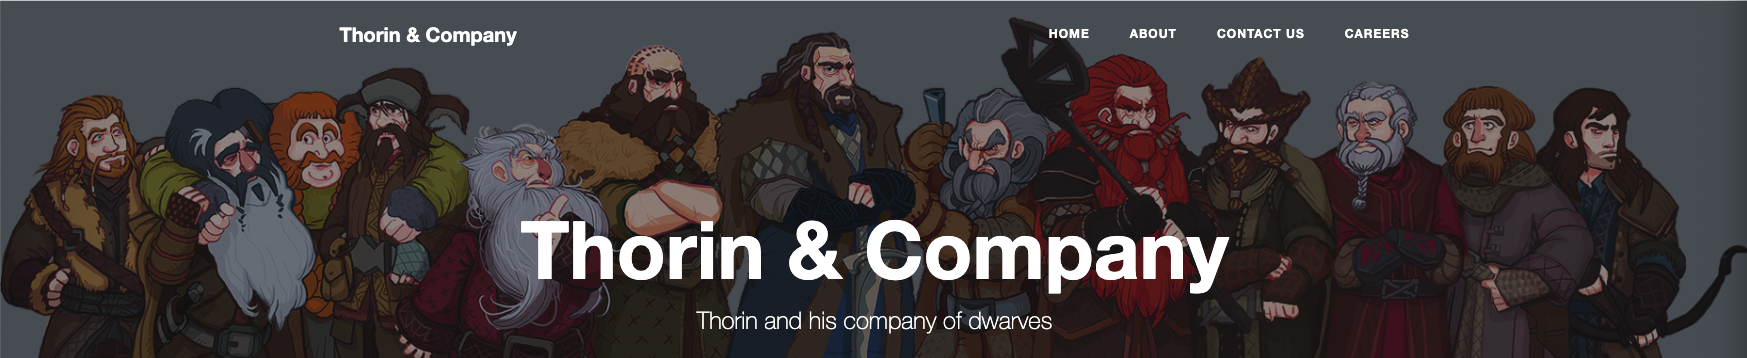
Home Page

About Page

About Details Page

Careers Page

Contact Page

404 Page

Future Implementations
In a future implementation I would like to add further information to the site, such as battle stats etc for each member of the company. I would also like to improve on the blog functionality, as currently there are only 4 articles on the home page.
Accessibility
I have been mindful during coding to ensure that the website is as accessible friendly as possible. This has been have achieved by:
- Using semantic HTML.
- Using descriptive alt attributes on images on the site.
- Providing information for screen readers where there are icons used and no text.
- Ensuring that there is a sufficient colour contrast throughout the site.
Technologies Used
Languages Used
- HTML
- CSS
- JavaScript
- Python3
Frameworks, Libraries & Programs Used
-
Git - For version control.
-
Github - To save and store the files for the website.
-
Shields.io To add badges to the README.
-
Flask Version 2.2.2
-
Jinja - A templating language
-
Bootstrap Clean Blog Template Version 5.0.10
-
Font Awesome Version 6.2.0
Deployment & Local Development
Deployment
This project was initially deployed using heroku, before being redeployed using railway.
Expand for Railway Deployment Instructions
Since completing my diploma and due to Heroku removing their free tier in November 2022, I have migrated the deployment of this site to use railway.app. You can find instructions on how to migrate your app from Heroku to Railway in my [article here](https://www.codu.co/articles/migrating-your-heroku-app-to-railway-vf9p3kid).Note that you will also need to create a runtime.txt in your environment which contains the version of python you are using. You can find this out by typing python --version in the terminal, and entering the result into the runtime.txt folder like so:
Python -3.10.5
Expand for Heroku Deployment Instructions
The site is deployed using Heroku. To deploy to Heroku:
-
To successfully deploy on Heroku we first need to create some files: a requirements.txt file and a Procfile.
-
The requirements.txt file contains all the applications and dependencies that are required to run the app. To create the requirements.txt file run the following command in the terminal:
pip3 freeze --local > requirements.txt -
The Procfile tells Heroku which files run the app and how to run it. To create the Procfile run the following command in the terminal:
echo web: python app.py > Procfile
NOTE: The Procfile uses a capital P and doesn't have a file extension on the end.
-
If the Procfile has been created correctly it will have the Heroku logo next to it. It is also important to check the Procfile contents, as sometimes on creation a blank line will be added at the end of the file. This can sometimes cause problems when deploying to Heroku, so if the file contains a blank line at the end, delete this and save the file. Make sure to save both these files and then add, commit and push them to GitHub.
-
Login (or sign up) to Heroku.com.
-
Click the new button and then click create new app.
-
You will then be asked to give your app a name (these must be unique) and select a region. Once these are completed click create app.
-
You will now need to connect the Heroku app to the GitHub repository for the site. Select GitHub in the deployment section, find the correct repository for the project and then click connect.
-
Once the repository is connected, you will need to provide Heroku some config variables it needs to build the app. Click on the settings tab and then click reveal config vars button. You will now need to add the environment key/value variables that were used in the env.py file:
KEY VALUE IP 0.0.0.0 PORT 5000 SECRET_KEY YOUR_SECRET_KEY* *Denotes a value that is specific to your app.
-
You're now ready to click the enable automatic deploys and create button. Heroku will start building the app.
-
Click open app at the top of the screen and the Thorin application should now open in a new tab.
Local Development
How to Fork
To fork the repository:
- Log in (or sign up) to Github.
- Go to the repository for this project, Thorin Flask App Repo.
- Click the Fork button in the top right corner.
How to Clone
To clone the repository:
- Log in (or sign up) to GitHub.
- Go to the repository for this project, Thorin Flask App Repo.
- Click on the code button, select whether you would like to clone with HTTPS, SSH or GitHub CLI and copy the link shown.
- Open the terminal in your code editor and change the current working directory to the location you want to use for the cloned directory.
- Type 'git clone' into the terminal and then paste the link you copied in step 3. Press enter.
Testing
Testing was carried out throughout the build of the project. Please see the testing file for more information.
Credits
- Code Institute modules on Flask.
Media
-
Image of Thorin & Company used for the page header image.
-
Company Bio Information Was taken from the Lord of the Ring Fandom Page for Thorin & Company.