Parakeet is like Copilot, but for Colab and Jupyter notebooks. It's implemented as a small Chrome extension.
- First, build it:
cd extension/
yarn install
yarn build
- Then load the
distdirectory as a Chrome extension usingLoad unpacked - Create an account or sign in
- Open any Colab or Jupyter notebook and start typing!
To host Parakeet yourself, you'll need access to OpenAI's private beta of Codex. If you do have access, you can deploy Parakeet by following these steps:
Parakeet uses Auth0 as the authentication provider. You'll need to create an Auth0 account and set it up.
- First make sure you have an Auth0 account. Then on your Auth0 dashboard:
- Create an application and write down the "Domain" and "Client ID".
- In the Auth0 settings, set the
Allowed Callback URLstochrome-extension://linkknplelcdbncponjdhcjdknlpgghc/options_auth0.915298d6.html- The hash is generated by Parcel using the
--no-content-hashflag. It depends only on the file path ofoptions_auth0.html, so it should only change if the file is renamed or moved.
- The hash is generated by Parcel using the
- Set the
Allowed Web Originstochrome-extension://linkknplelcdbncponjdhcjdknlpgghc - Also set the Allowed Logout URLs to
chrome-extension://linkknplelcdbncponjdhcjdknlpgghc/options_auth0.915298d6.html?logout-true - In the APIs section of the Auth0 dashboard, create an API with
codex-proxyas the identifier, and set theToken Expiration (Seconds)to2592000(1 month).
Optionally, you can use a "passwordless" auth flow to let users sign in with their email address only.
- Enable the flow. Go to
Authentication > Passwordlessin the Auth0 dashboard and enable passwordless email authentication for the Parakeet application. (After the dialog opens, make sure to go to theApplicationstab and enable it for the Parakeet application specifically.) - Configure the login screen. Go to
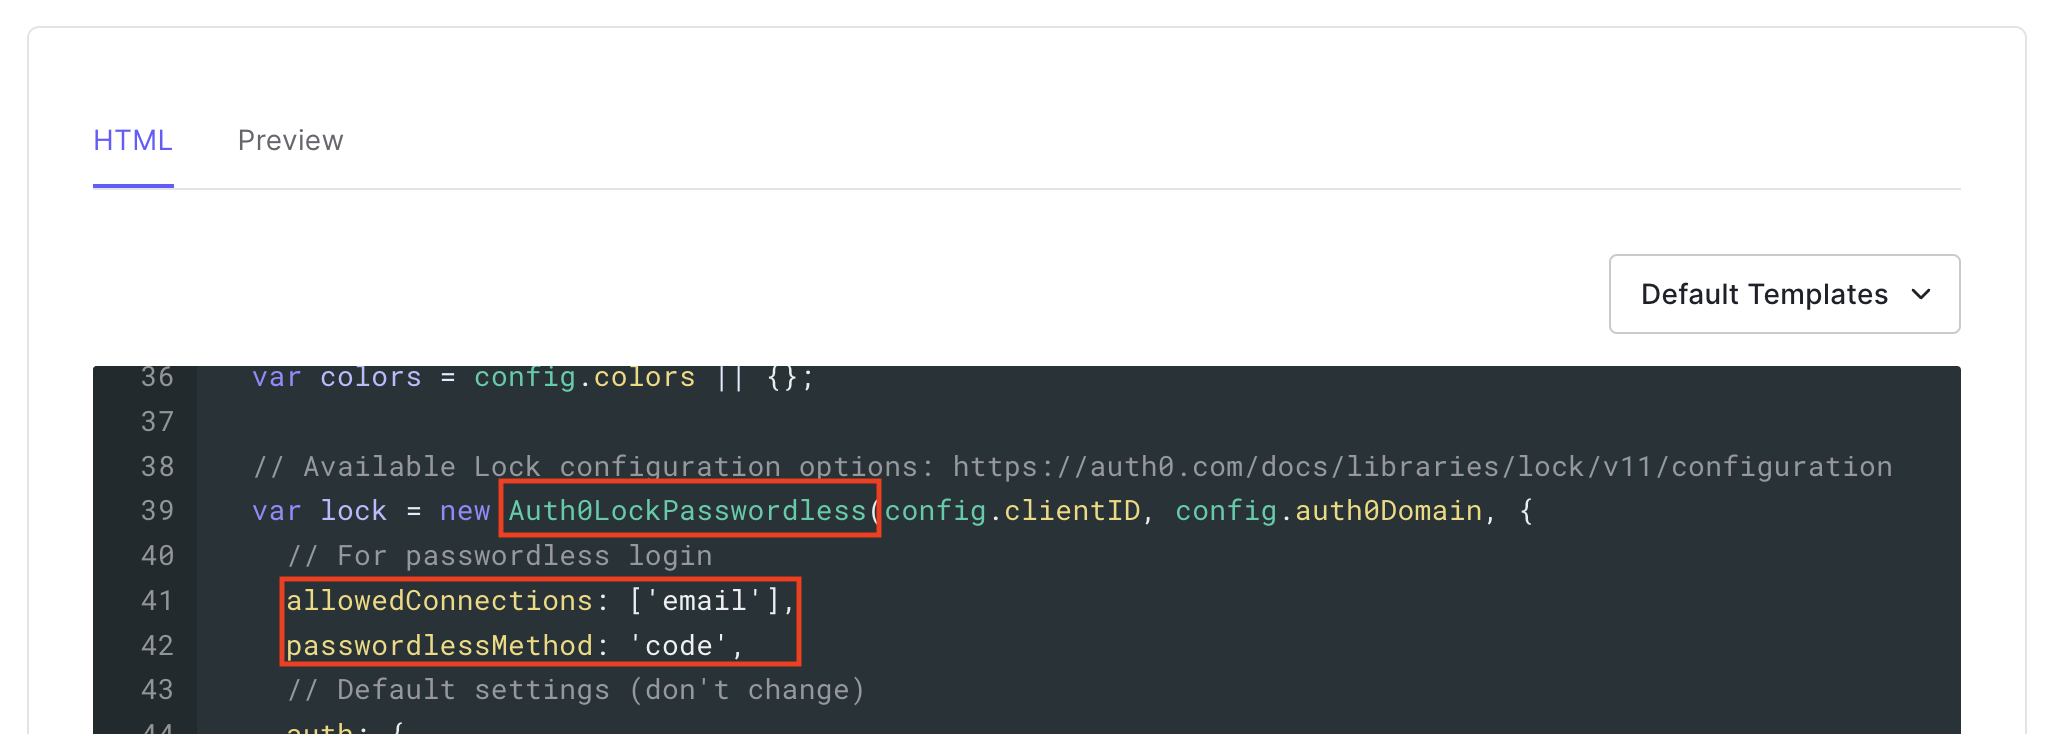
Branding > Universal Login > Advanced Options > Loginand enableCustomize Login Page. Then make the following changes to the code, as specified in Auth0's documentation.- Swap out the
Auth0Lockconstructor forAuth0LockPasswordless. - Add
allowedConnections: ['email']andpasswordlessMethod: 'code'to theAuth0LockPasswordlessconfig object.
- Swap out the
First, some preliminary steps:
- Set up a fly.io account and install the CLI by following the instructions here
- Come up with a password for Redis and write it down
Now, you can deploy Redis and the Node.js endpoint.
In the redis-rate-limiter directory, do the following:
- Use
flyctl secrets importto set a value forREDIS_PASSWORD - Run
flyctl deploy
In the codex-endpoint directory, do the following:
- Deploy the Node.js endpoint using
flyctl launch - Use
flyctl secrets importto set the values forREDIS_PASSWORDandOPENAI_API_KEY - Write down the URL of the API endpoint
- In the root directory of the repo, create a
config.jsonfile and set it up as follows. Note that the domain names must not include thehttps://prefix, or any suffix.
{
  "auth0_domain": (e.g. "dev-ovm-lhal.us.auth0.com"),
  "auth0_client_id": (e.g. "EjaDWDZe5ZrjSXIAVs10M4ckX8Gai74C"),
  "flyio_domain": (e.g. "dark-glade-5761.fly.dev")
}
- Finally, copy
config.jsoninto both theextensiondirectory and thecodex-proxydirectory.


