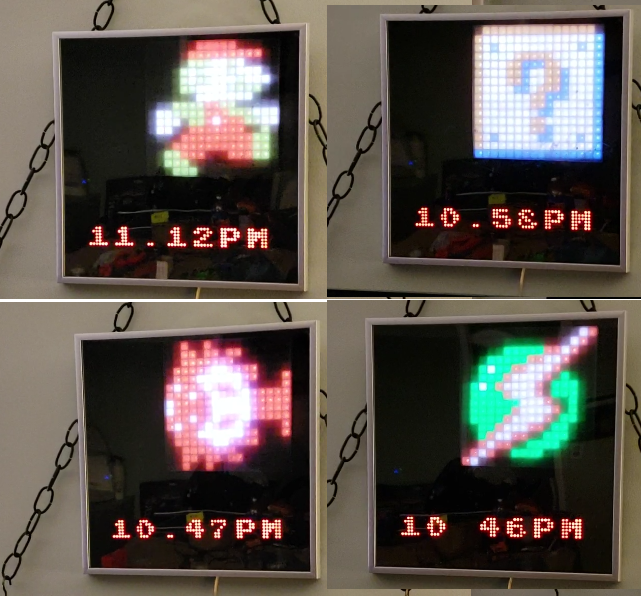
Game Room Nintendo Time w/ Friendly Sprites to greet you
Download "RASPBIAN JESSIE LITE" https://www.raspberrypi.org/downloads/raspbian/
Create your new hard disk for DashboardPI
Insert the microSD to your computer via USB adapter and create the disk image using the
ddcommandLocate your inserted microSD card via the
df -hcommand, unmount it and create the disk image with the disk copyddcommand$
df -h/dev/sdb1 7.4G 32K 7.4G 1% /media/XXX/1234-5678$
umount /dev/sdb1Caution: be sure the command is completely accurate, you can damage other disks with this command
if=location of RASPBIAN JESSIE LITE image file of=location of your microSD card
$
sudo dd bs=4M if=/path/to/raspbian-jessie-lite.img of=/dev/sdb(note: in this case, it's /dev/sdb, /dev/sdb1 was an existing factory partition on the microSD)
Setting up your RaspberriPi
Insert your new microSD card to the raspberrypi and power it on with a monitor connected to the HDMI port
Login
user: pi pass: raspberry
Change your account password for security
sudo passwd pi
Enable RaspberriPi Advanced Options
sudo raspi-config
Choose:
1 Expand File System
9 Advanced Options
A2 Hostnamechange it to "SpriteClock"
A4 SSHEnable SSH Server
A7 I2CEnable i2c interface
Enable the English/US Keyboard
sudo nano /etc/default/keyboard
Change the following line:
XKBLAYOUT="us"
Reboot PI for Keyboard layout changes / file system resizing to take effect
$
sudo shutdown -r now
Auto-Connect to your WiFi
sudo nano /etc/wpa_supplicant/wpa_supplicant.conf
Add the following lines to have your raspberrypi automatically connect to your home WiFi (if your wireless network is named "linksys" for example, in the following example)
network={
   ssid="linksys"
   psk="WIRELESS PASSWORD HERE"
}
Reboot PI to connect to WiFi network
$
sudo shutdown -r nowNow that your PI is finally on the local network, you can login remotely to it via SSH. But first you need to get the IP address it currently has.
$
ifconfigLook for "inet addr: 192.168.XXX.XXX" in the following command's output for your PI's IP Address
Go to another machine and login to your raspberrypi via ssh
$
ssh pi@192.168.XXX.XXX
Start Installing required packages
$
sudo apt-get update$
sudo apt-get upgrade$
sudo apt-get install vim git python-smbus i2c-tools python-imaging python-smbus build-essential python-dev rpi.gpio python3 python3-pip python-numpy
Update local timezone settings
$
sudo dpkg-reconfigure tzdata
select your timezone using the interface
Setup the simple directory l command [optional]
vi ~/.bashrcadd the following line:
alias l='ls -lh'
source ~/.bashrc
Fix VIM default syntax highlighting [optional]
sudo vi /etc/vim/vimrcuncomment the following line:
syntax on
Install i2c Backpack Python Drivers
$
cd ~$
pip3 install adafruit-circuitpython-ht16k33
Install i2c Python Drivers
Install the NeoPixel Driver as follows
sudo apt-get install build-essential python-dev git scons swig
sudo pip3 install --upgrade setuptools
sudo pip3 install rpi_ws281x
cd rpi_ws281x
scons
cd python
sudo python setup.py install
cd examples/
sudo python strandtest.py
Clone the repository in your home directory for the clock to work
cd ~
git clone https://github.com/khinds10/NESClock.git
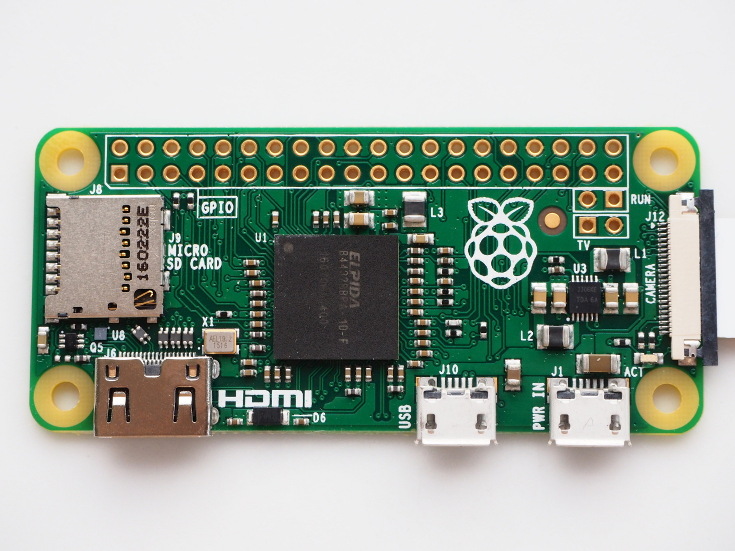
Pi Zero W/1.3/1.2
Wifi USB (if Pi Zero 1.3/1.2)
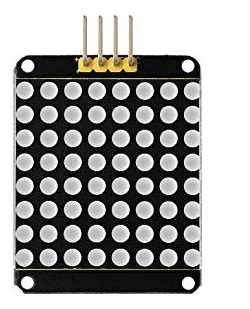
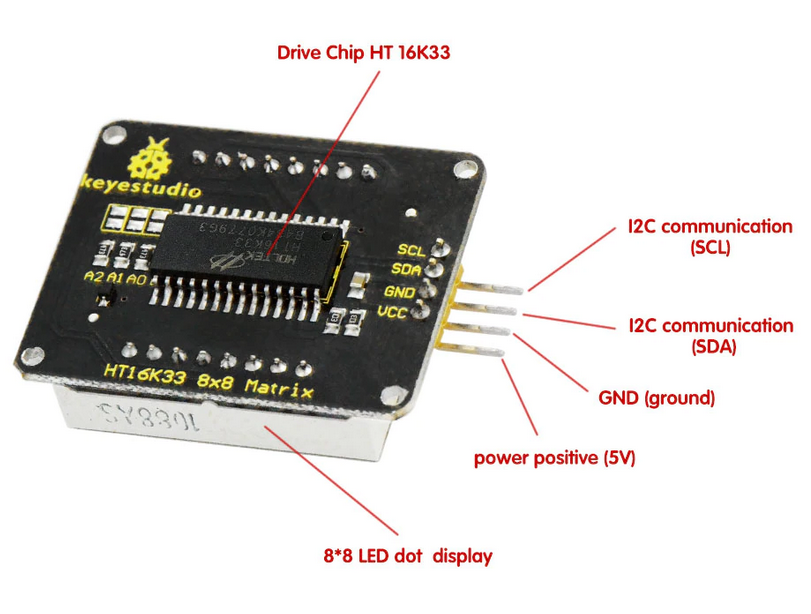
Keyestudio I2C 8x8 LED Matrix HT16K33 (x7)
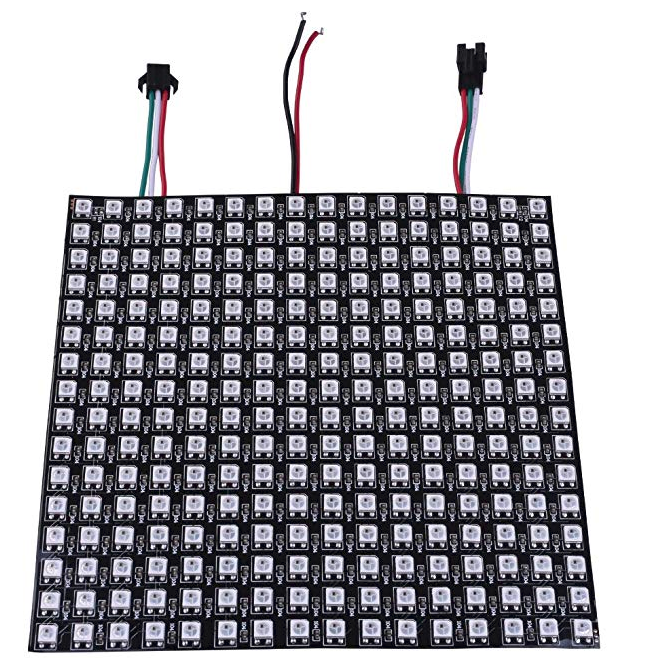
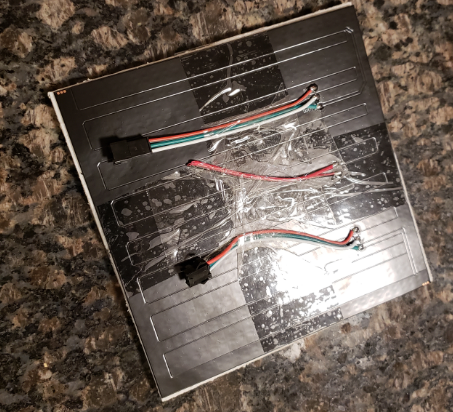
16x16 RGB LED Flexible WS2812B Matrix
Frosted Paint
12x12 Picture Frame
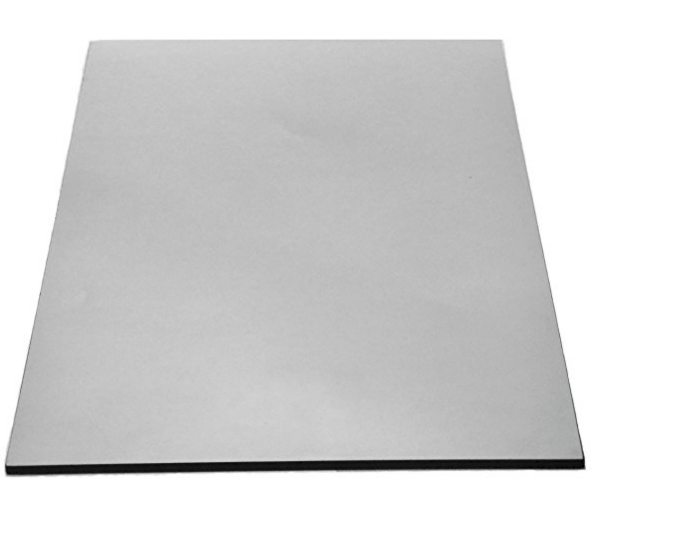
Cuttable thin plexi-glass sheet
12x12" 2 way mirror plexi-glass sheet
12x12" tinted plexi-glass sheet
1) Prepare the HT16K33 matrix units
Solder the pins on the back to assign them each a unique i2c address. There are 3 jumpers to solder or not solder in 8 combinations. I've soldered all combinations to assign each unit a different address to be accessed by the python code to show the clock time.
2) Print the Project Enclosure
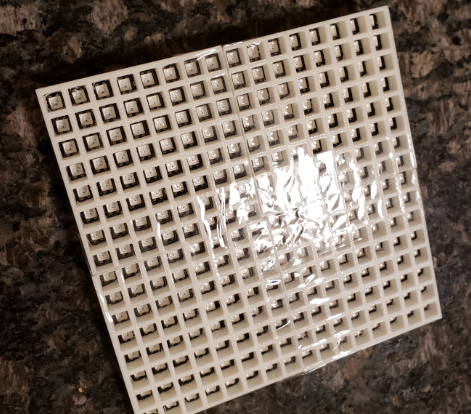
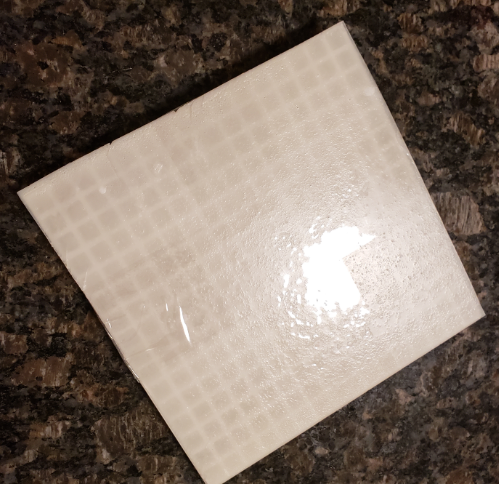
In the 3D print folder find the "defuser-grid-final.stl" print model to be a working pixel defuser to focus the light from each LED to a square shape to enhance the output of the sprites on the clock.
3) Tape the printed pixel defuser to the LED matrix, spray frosted white paint and cut a piece of thin plexi-glass to then tape over the top of the defuser.
This will continue to scatter the light even more to improve the sprite clarity.
4) Begin wiring the devices
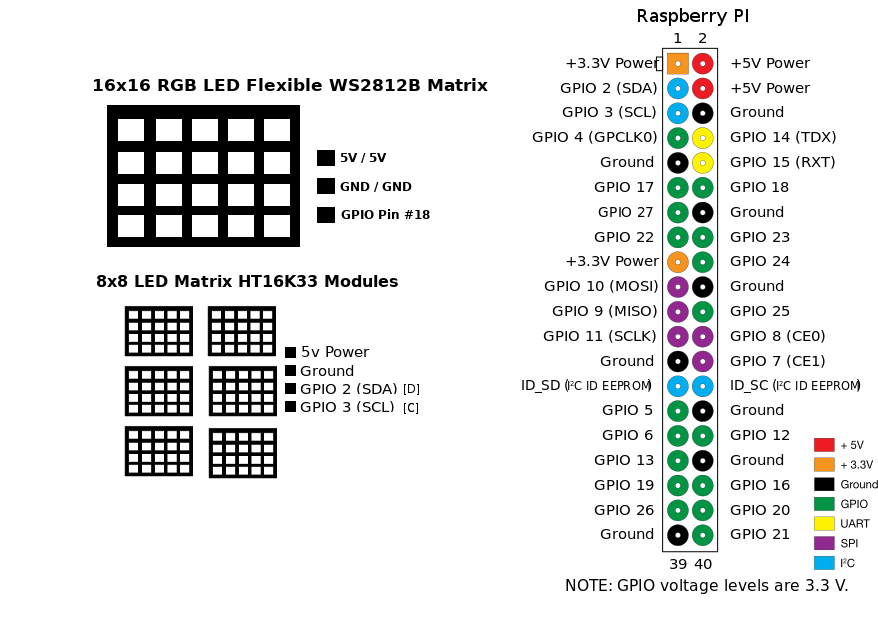
HT16K33 Matrix Units
GND -> GND
DATA -> SDA
CLK -> SCL
VCC -> 5V
RGB 16x16 Unit
GND -> GND
DATA -> GPIO 18
VCC -> 5V
5) In place of the normal picture frame glass, replace it with the 2 way mirror (12x12" sheet) and gray tinted plastic glass (12x12" sheet).
This will conceal the components inside the frame, so you can see only the pixel light output.
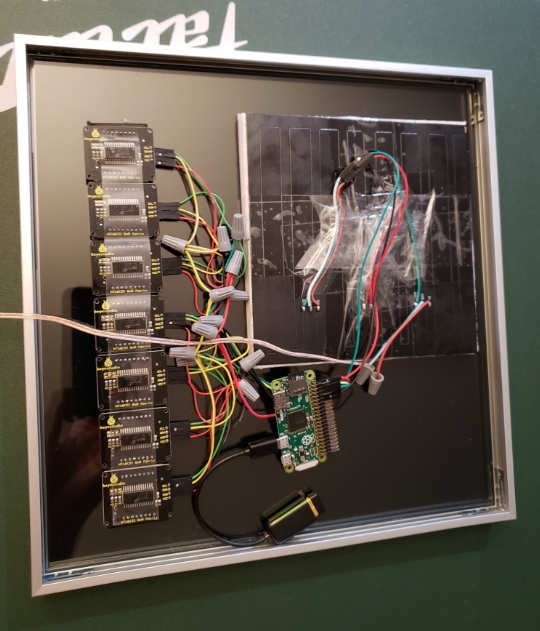
6) Tape together the HT16K33 units in a solid row
Make sure each unit is addressed from \0x70 to \0x76 in a row for the code to work (you can adjust the code if they're out of order later)
7) Place the components level side the frame with the mirror and tinted glass installed.
Now you can place the back of the frame on to hold the components in place. This will be the hardest part, I was lucky to have a frame with a flexible enough back. I got everything level and it looked great.
Enter the following line for a minute by minute crontab
$ crontab -e
@reboot nohup python /home/pi/NESClock/MatrixClock.py > /dev/null 2>&1
Set "on reboot" to run the candle python script forever
$ sudo su
$ crontab -e
@reboot nohup python /home/pi/NESClock/SpritePanel.py > /dev/null 2>&1
