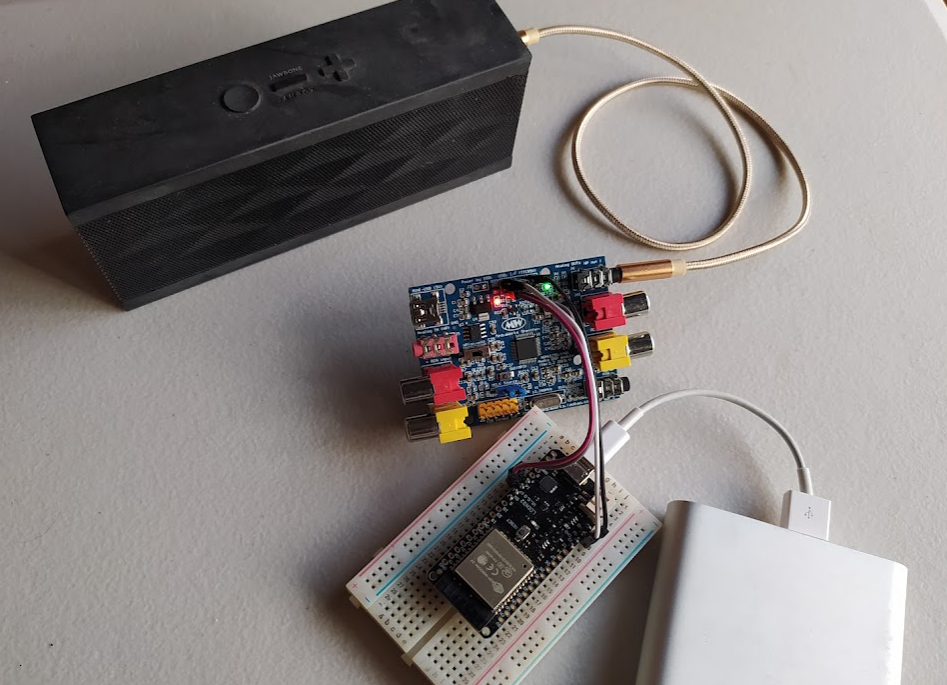
- This is a Python package, with which you can:
- Remotely control SigmaDSP through TCP/IP channel.
- With SigmaStudio or Python programs.
- Use ESP32 / PC as a client.
- Use ESP32 / PC as the server.
- Can also read data from SigmaDSP over TCP/IP channel (with Python programs).
- Can read/write EEPROM.
- Remotely control SigmaDSP through TCP/IP channel.
- I was playing with SigmaDSP (ADAU1701/ADAU1401), and often need to switch between USBi and FTDI FT232H.
- With SigmaDSP TCP/IP channel, SigmaStudio and Python programs can share the same means to access SigmaDSP, no more switching.
- Remote access is always a huge advantage:
- Can control any SigmaDSP no matter where it is, as long as it's TCP/IP reachable. Very convenient for maintenance.
- Configurations can be modified and deployed over multiple SigmaDSP devices on-demand, with just a few lines of code.
- No need to squeeze huge code into a tiny MCU (like ESP32), parameters can be calculated remotely and deployed onto devices.
- UI controls (like push buttons) no longer need to be "on-device", you can control SigmaDSP with just your phone.
- Coverage of SigmaDSP's memory space:
- Can access data of program RAM, parameter RAM, and also EEPROM, just assign the address to read/write.
- Can also read data from SigmaDSP
- Not only writing data to, but can also read data from SigmaDSP via TCP/IP channel (with Python programs).
- Support "reset" command:
- With ESP32 as the server, SigmaDSP and ESP32 itself will be reset upon receiving the "reset" command.
- A client can be:
- A PC running SigmaStudio
- A PC running Python programs
- An ESP32 running MicroPython
- A smart phone
- A server can be:
- A PC with Python environment
- Using USB-I2C converter (like FTDI FT232H) to access SigmaDSP.
- Using USBi as a USB-I2C converter to access SigmaDSP.
- An ESP32 with MicroPython environment
- Using its I2C port to access SigmaDSP.
- A PC with Python environment
- Portability:
- The same package can be used on PC / ESP32 without modification required.
- For using ESP32 as the server:
- Download TCPi_uPy.rar.
- Unzip it and edit the following items in file
config.py:- LED, on your ESP32 module:
- ON_BOARD_LED_PIN_NO, ON_BOARD_LED_HIGH_IS_ON
- I2C connection:
- I2C_SCL_PIN_ID, I2C_SDA_PIN_ID: with which pins the ESP32 should use to connect with ADAU1701.
- Avoid some pins of ESP32, see ESP32 GPIO guide.
- WiFi:
- SSID, PASSWORD
- LED, on your ESP32 module:
- Upload all files to ESP32.
- In ESP32's terminal interface, type
import test_tcpi_upy, it will show its IP when the WiFi connection is established.- The default port number is 8086.
- You can write
import test_tcpi_upyinto filemain.py, so it will run as a Sigma TCP/IP channel server after each boot.
- Follow AD's instructions for connecting the server with SigmaStudio.
- Please also see here and here for other examples.
- Control SigmaDSP with SigmaStudio through TCP/IP Channel, using ESP32 as the server
- Control SigmaDSP with Python programs through TCP/IP Channel, using ESP32 as the server
- ADAU1701
- ADAU1702
- ADAU1401
- ADAU1401A
- Not high speed, obvious latency.
- Need more memory to accommodate the data SigmaStudio uploads all at once. ESP32 with 8MB PSRAM is preferred.
