Before doing anything, download VirtualBox and an Arch Linux iso.
Open the VirtualBox application and create a new virtual machine.
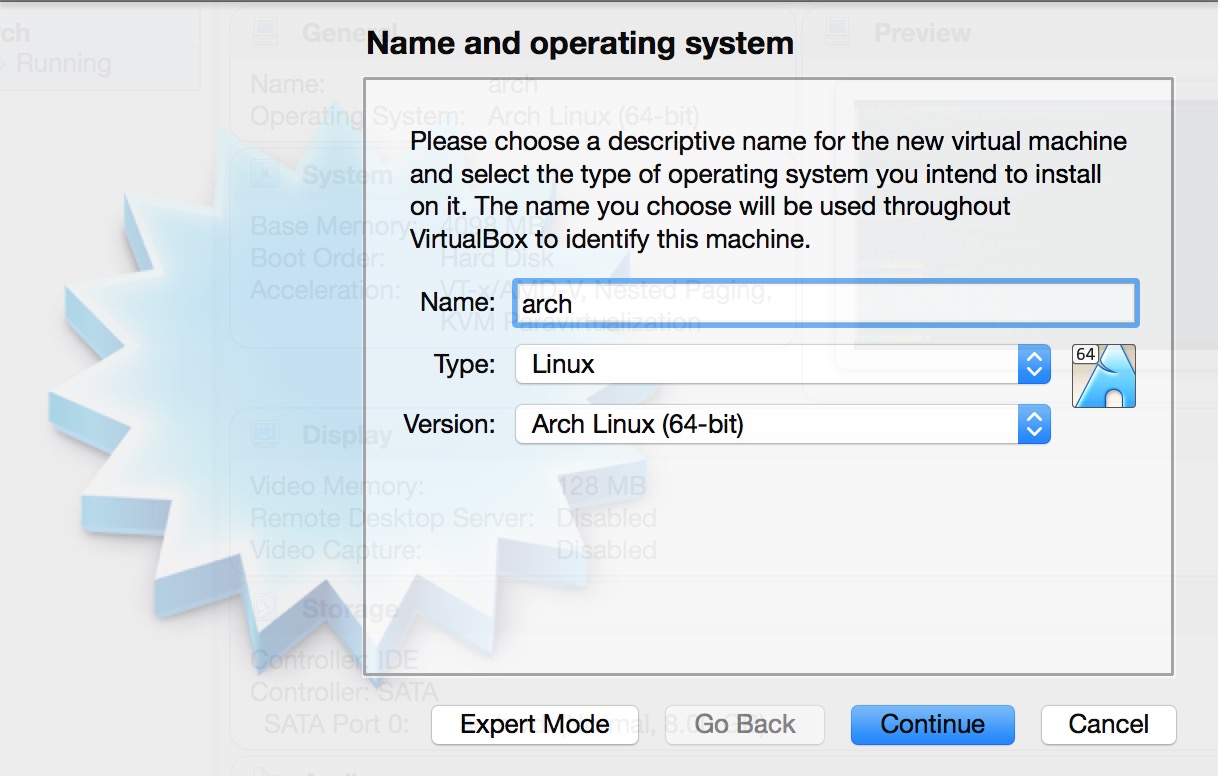
Enter a name for the virtual machine. Select Linux for the type and Arch Linux (64-bit) for the version.
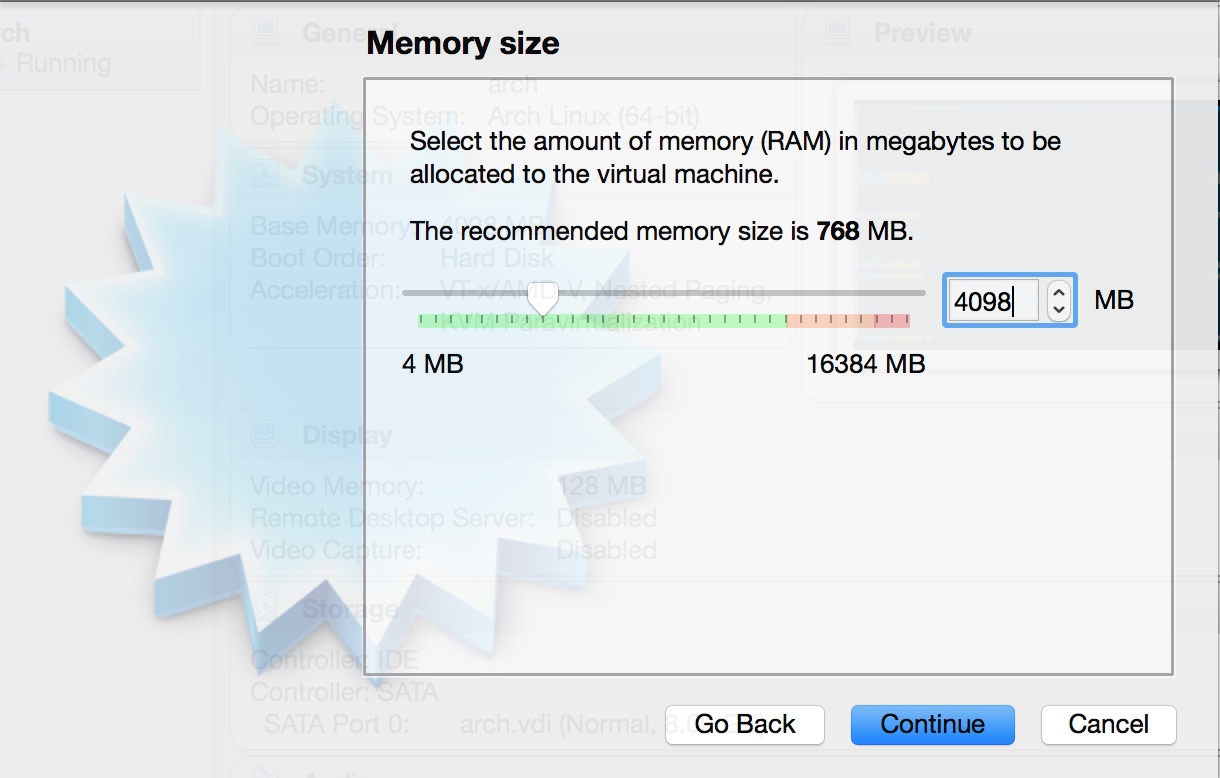
Select an amount of memory to allocate to the virtual machine while it's powered on.
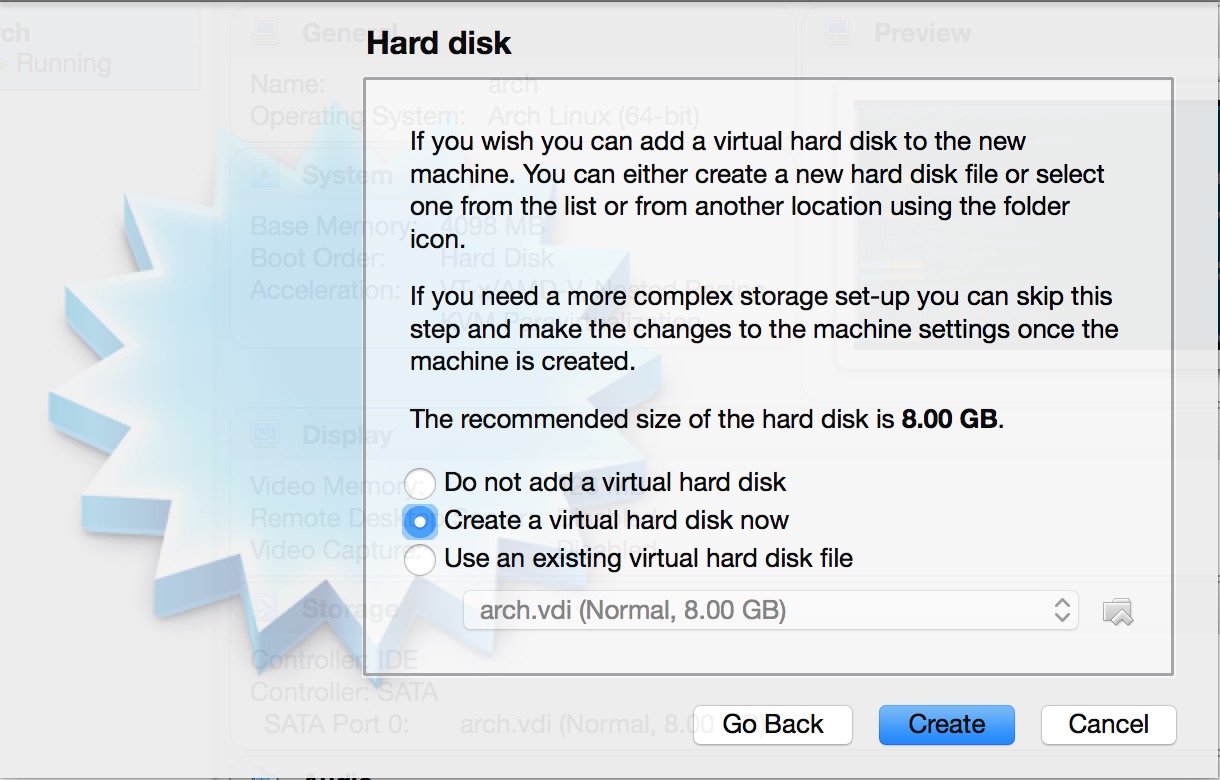
Create a new hard disk.
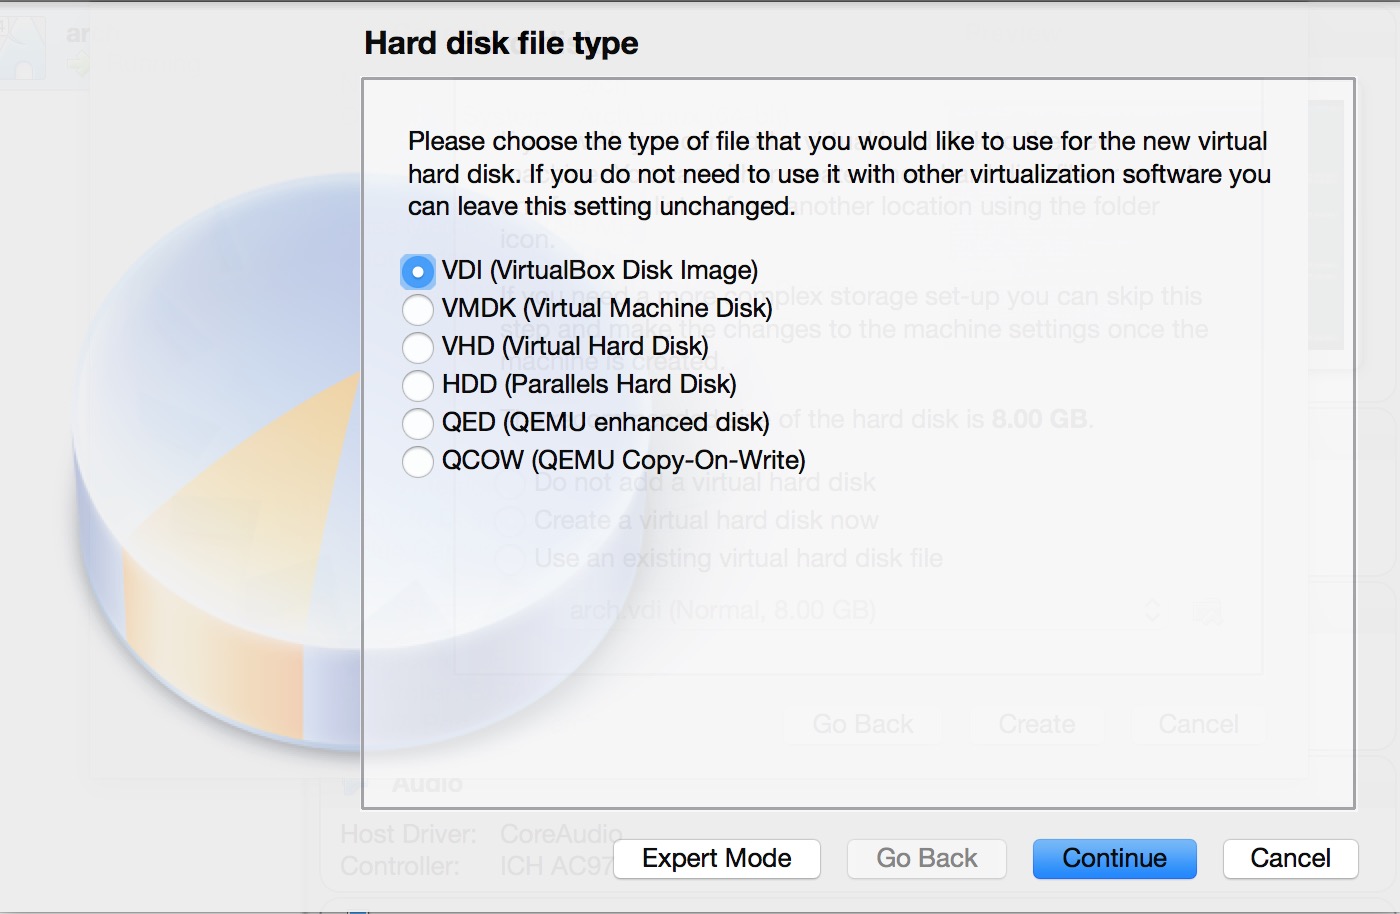
For our purposes we're using VDI (VirtualBox Disk Image) as a hard disk type.
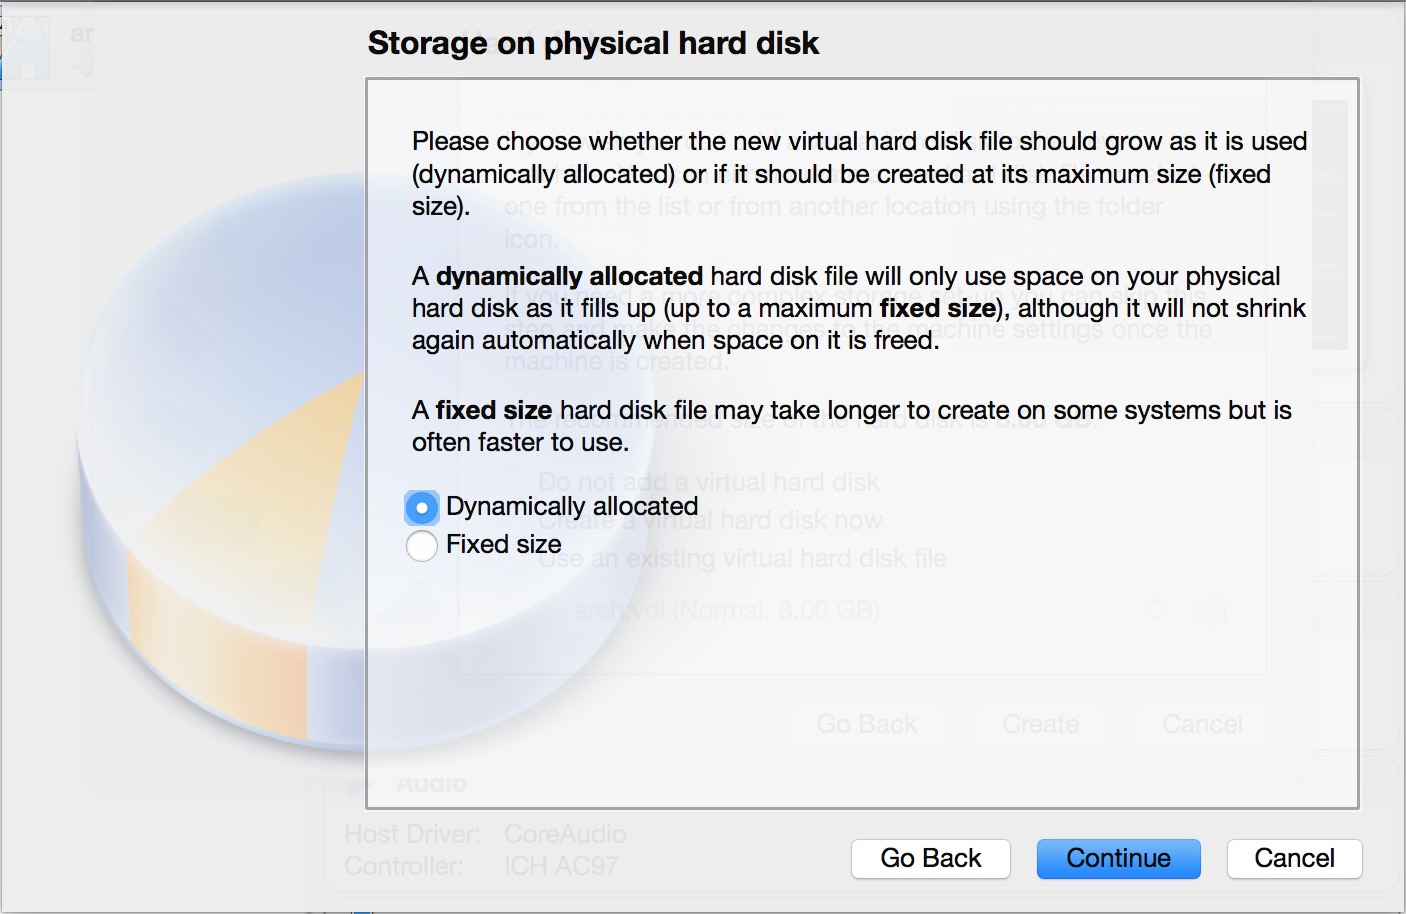
Select if you want your hard disk to be a fixed size on the host or dynamically allocated.
- Fixed size will allocate a folder the size of the hard disk on the host.
- Dynamically allocated will grow in size as the guest os get's bigger but never shrink.
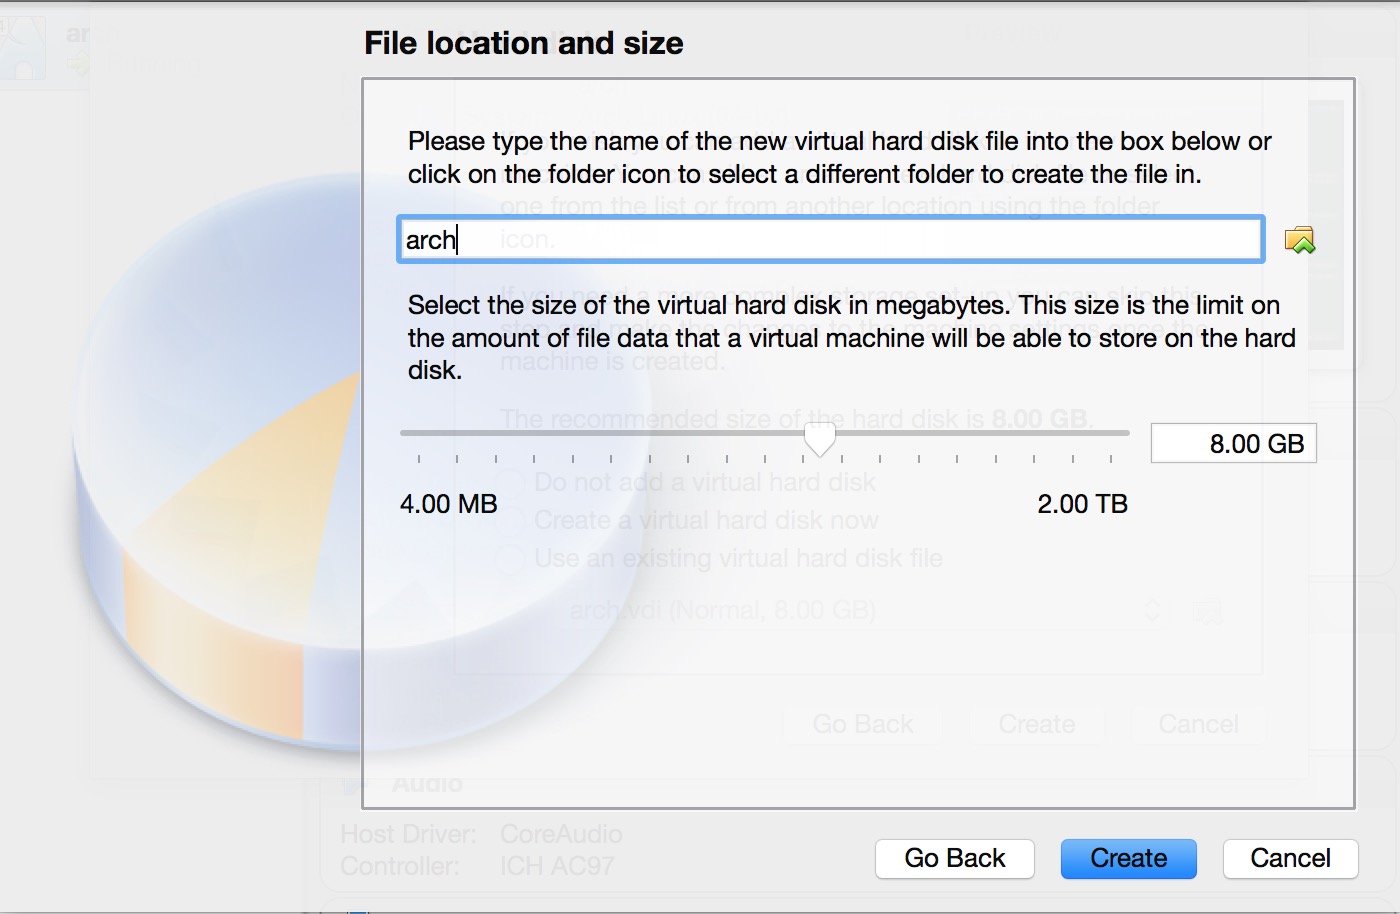
Name and set the size of the hard disk folder being created on the host.
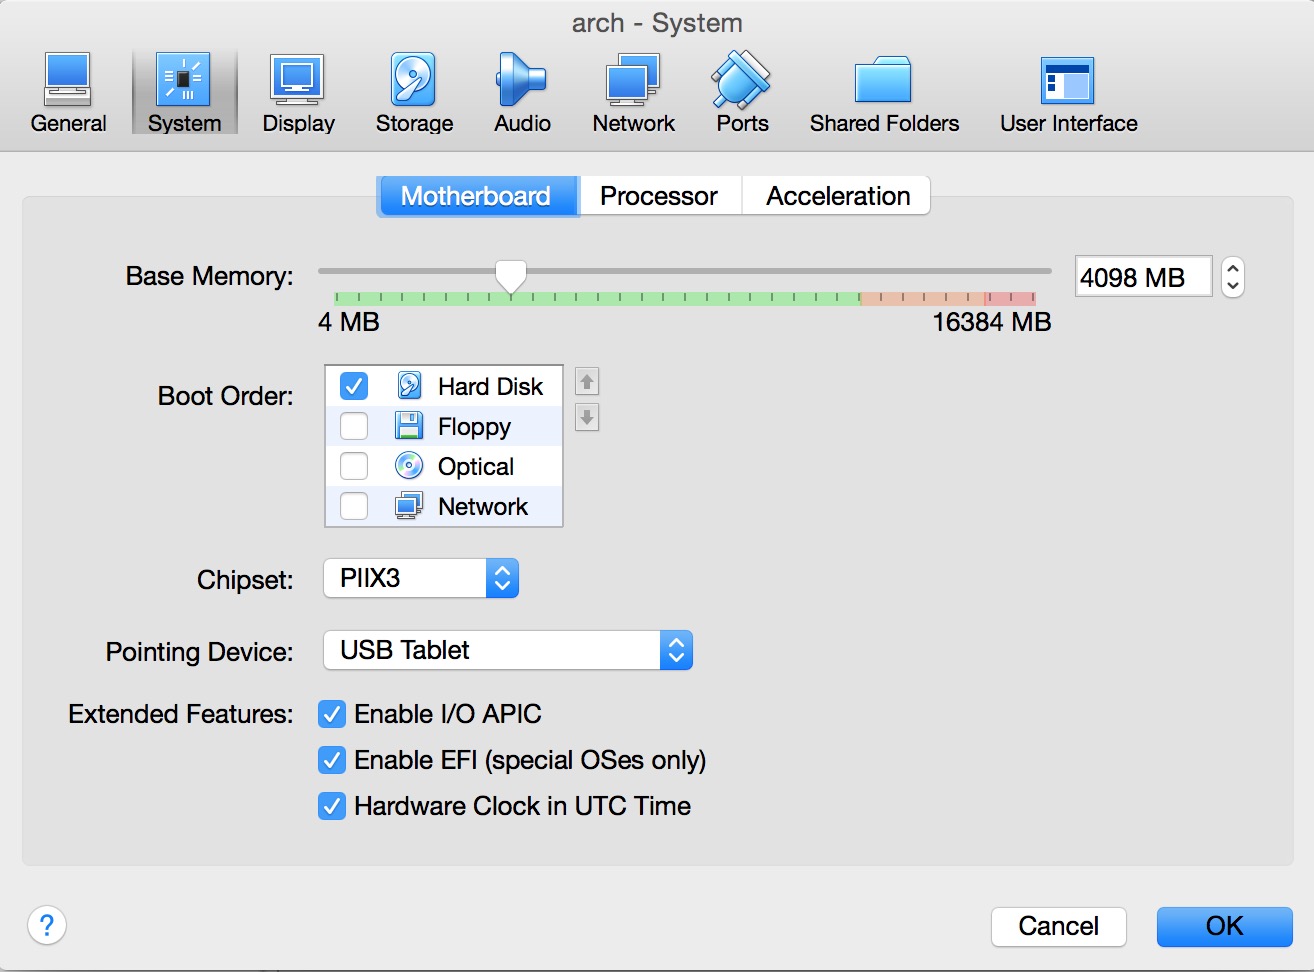
We'll be creating a UEFI boot partition. We need to tell VirtualBox to boot with EFI. Select the newly created virtual and click on Settings at the top. Navigate to the system tab and check Enable EFI (special OSes only). Hit Ok when finished.
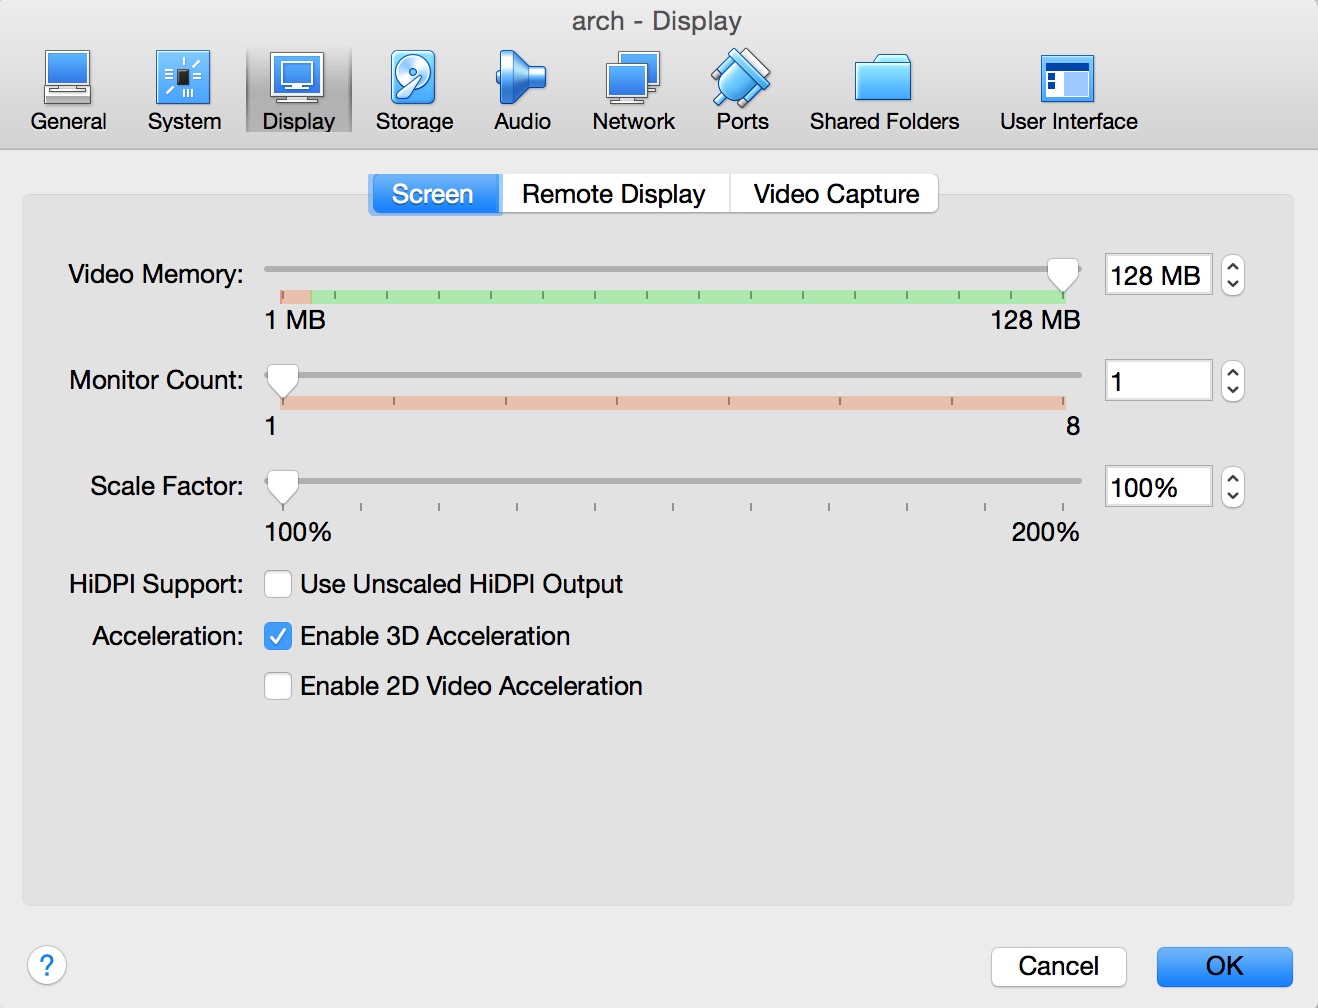
Increase the video memory to whatever value you desire. VirtualBox supports either 2D or 3D acceleration, not both.
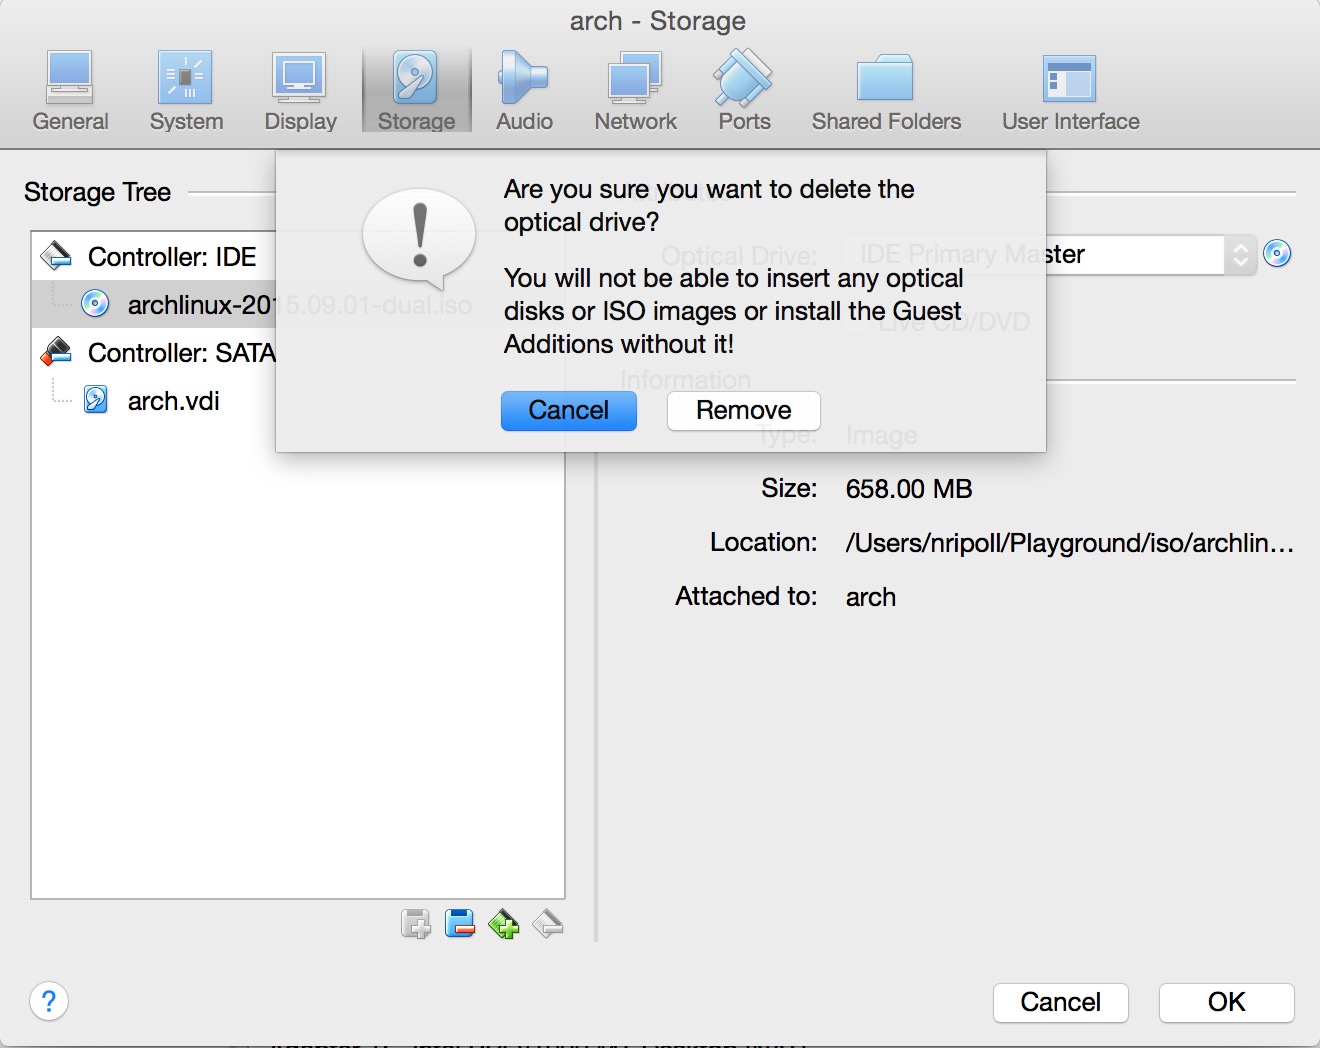
Create an optical drive under the storage tab and mount the arch iso.
This section is split into two parts: base installation and post installation.
- Base Installation
- Partition
- Format
- Mount
- Install
- Fstab
- Post Installation
- Boot Loader
- Locale
- Timezone
- Hardware Clock
- Hostname
- Network
- Initramfs
After you start the virtual, you will need to boot to the iso. Most of these steps are taken directly from the Arch Wiki's Beginner's Guide.
Use lsblk to get the a list of block devices. You should see one you created in VirtualBox as sda with the type DISK. We'll be partitioning it with sgdisk. We use sgdisk because we need to have a GPT layout for our boot partition. Read more on partitioning.
Partitioning with sgdisk requires you to know which sectors your partitions will begin and end. Each sector is a multiple of 2048 (1 MiB), so a 3 GiB partition will be roughly 6291455 sectors. Luckily sgdisk can do the calculations for us. Using the -F and -E options we can determine the first and last sectors available. Also, a size can be specified instead of an end sector.
Boot Partition - get the first sector available and create a 512 MiB EFI partition:
START_SECTOR=$(sgdisk -F /dev/sda)

sgdisk  -n 1:$START_SECTOR:+512M  -c 1:"EFI"  -t 1:EF00 /dev/sda
Root Partition - get the next and last sector available after the boot partition and create the root partition:
START_SECTOR=$(sgdisk -F /dev/sda)
  END_SECTOR=$(sgdisk -E /dev/sda)

sgdisk  -n 2:$START_SECTOR:$END_SECTOR  -c 2:"ARCH"  -t 2:8300 /dev/sda
Note: partition names do not have to be 'EFI' or 'ARCH'
Verify changes made:
sgdisk -p /dev/sda
We need to create our file systems by formatting the partitions. The boot partition needs to be FAT32 and root will be ext4:
mkfs.vfat -F32 /dev/sda1
mkfs.ext4 /dev/sda2
Mount the partitions:
mount /dev/sda2 /mnt
mkdir /mnt/boot
mount /dev/sda1 /mnt/boot
Edit the mirror list (/etc/pacman.d/mirrorlist) if needed. Afterwards install the base system on the root partition.
pacstrap /mnt base base-devel
genfstab -U -p /mnt >> /mnt/etc/fstab
sh -c "$(curl -fsSL https://raw.github.com/nelsonripoll/arch/master/tools/base_install.sh)"
Arch Linux is installed but it's not quite ready to boot to just yet. Chroot into the root partition to finish up the base installation.
arch-chroot /mnt /bin/bash
bootctl install

cat > /boot/loader/entries/arch.conf <<EOF
title Arch Linux
linux /vmlinuz-linux
initrd /initramfs-linux.img
options root=/dev/sda2 rw
EOF

cat > /boot/loader/loader.conf <<EOF
default arch
timeout 3
EOF
echo "en_US.UTF-8 UTF-8" > /etc/locale.gen
echo "LANG=en_US.UTF-8" > /etc/locale.conf

locale-gen
ln -s /usr/share/zoneinfo/US/Central /etc/localtime
hwclock --systohc --utc
echo "localhost" > /etc/hostname
systemctl enable dhcpcd@enp0s3.service
mkinitcpio -p linux
passwd
Create your user in the wheel group, then set the passwd.
useradd -m -G wheel -s /bin/bash username
passwd username
Give the wheel group sudo access
cp /etc/sudoers /etc/sudoers.backup

echo "%wheel ALL=(ALL) NOPASSWD: ALL" >> /etc/sudoers
That's it, you have a bootable linux os. Exit from chroot.
exit
If you ran the base install script these were already taken care of except the user creation, setting of passwords, and modifying the permissions.
sh -c "$(curl -fsSL https://raw.github.com/nelsonripoll/arch/master/tools/post_install.sh)"
Before you shutdown, make sure you unmount the partitions. The command is umount.
umount /mnt/boot
umount /mnt

shutdown
Remove the optical drive under the storage tab.
After you boot your machine back up, log in as the created user.
sudo pacman -S --noconfirm git yajl zsh vim-python3 python-pip xorg-server xorg-xdm xorg-xinit xorg-xdpyinfo qiv abs dmenu rxvt-unicode

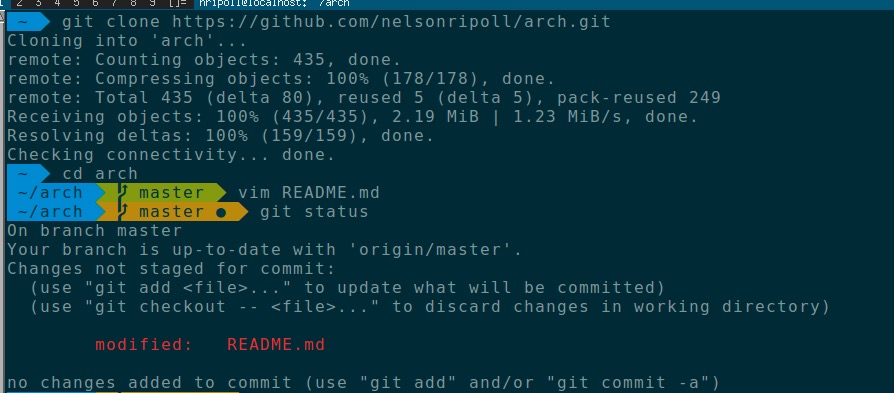
git clone https://github.com/nelsonripoll/arch.git /tmp/arch
Yaourt is a third-party script that acts as a wrapper for pacman and makes installing packages from the AUR. The root user is not allowed to make packages for installing packages from the AUR. Create a dummy user in the wheel group and edit the sudoers file to allow wheel users to run all commands. Clean up afterwards.
git clone https://aur.archlinux.org/package-query.git /tmp/package-query
cd /tmp/package-query
makepkg -i --noconfirm

git clone https://aur.archlinux.org/yaourt.git /tmp/package-query
cd /tmp/yaourt
makepkg -i --noconfirm
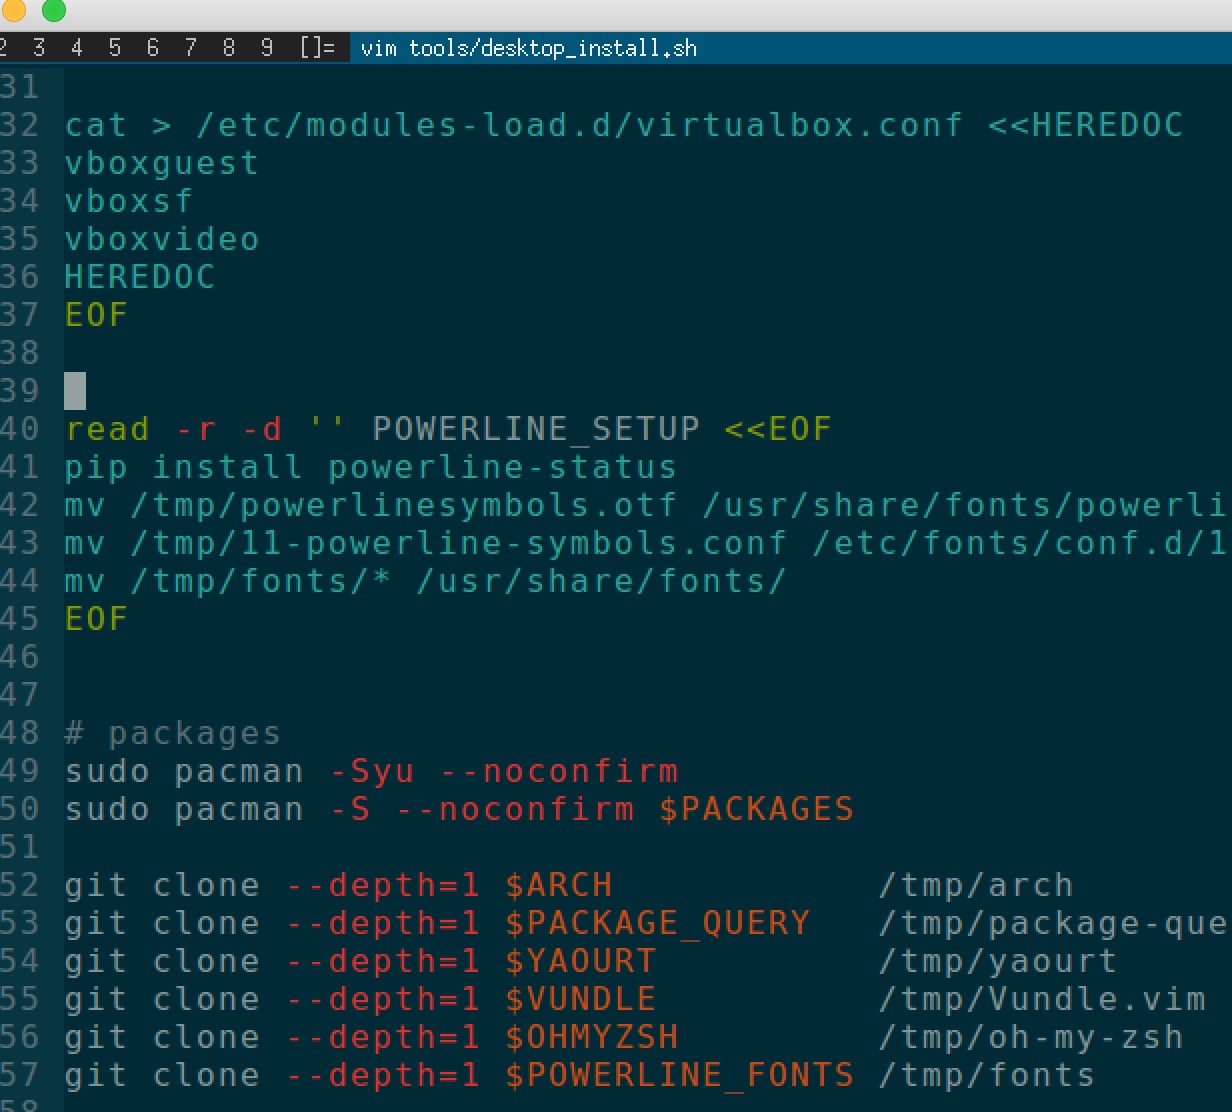
read -r -d '' VBU <<'EOF'
vboxguest
vboxsf
vboxvideo
EOF

yaourt virtualbox-guest-utils

sudo modprobe -a $VBU

sudo echo "$VBU" > /etc/modules-load.d/virtualbox.conf
sudo cp -f /tmp/arch/config/xdm/Xresources /etc/X11/xdm/Xresources

sudo systemctl enable xdm

sudo mkdir /usr/local/share/wallpapers

sudo cp /etc/X11/xdm/Xsetup_0 /etc/X11/xdm/Xsetup_0.backup

sudo sh -c 'echo "/usr/bin/qiv -zr /usr/local/share/wallpapers/*" > /etc/X11/xdm/Xsetup_0'
sudo abs community/dwm

cp -fr /var/abs/community/dwm ~/dwm

cd ~/dwm

makepkg -i
git clone --depth=1 https://github.com/powerline/fonts.git  /tmp/fonts

curl -L https://github.com/powerline/powerline/raw/develop/font/PowerlineSymbols.otf      -o  /tmp/powerlinesymbols.otf
curl -L https://github.com/powerline/powerline/raw/develop/font/10-powerline-symbols.conf -o  /tmp/11-powerline-symbols.conf

sudo pip install powerline-status

sudo mv /tmp/powerlinesymbols.otf       /usr/share/fonts/powerlinesymbols.otf
sudo mv /tmp/11-powerline-symbols.conf  /etc/fonts/conf.d/11-powerline-symbols.conf
sudo mv /tmp/fonts/*                    /usr/share/fonts/

fc-cache -vf /usr/share/fonts
mkdir -pv ~/.vim/colors ~/.vim/bundle

mv -f /tmp/Vundle.vim                                       ~/.vim/bundle/Vundle.vim
mv -f /tmp/oh-my-zsh                                        ~/.oh-my-zsh
mv -f /tmp/arch/config/x11/xinitrc                          ~/.xinitrc
mv -f /tmp/arch/config/x11/Xresources                       ~/.Xresources
mv -f /tmp/arch/config/solarized/solarized_dark.dir_colors  ~/.dir_colors
mv -f /tmp/arch/config/zshell/zshrc                         ~/.zshrc
mv -f /tmp/arch/config/vim/vimrc                            ~/.vimrc
mv -f /tmp/arch/config/solarized/solarized_dark.vim         ~/.vim/colors/solarized.vim
mv -f /tmp/arch/config/dwm/config.h                         ~/dwm/config.h

cd ~/dwm

makepkg -g >> PKGBUILD
makepkg -ief
Change your default shell to zshell.
chsh -s /bin/zsh
sudo reboot
xdm login
urxvt ls
urxvt git
urxvt vim

