A universal inventory system for the Godot game engine (version 4.2 and newer).
NOTE: The latest version of the plugin runs on Godot 4. The last Godot 3 compatible version is v2.1.4 and can be found on the
godot_3branch. (see Releases).
ItemProtoset- A resource type holding a set of inventory item prototypes in JSON format.
InventoryItem- Inventory item class. It is based on an item prototype from anItemProtosetresource. Can hold additional properties.
Inventory- Basic inventory class. Supports basic inventory operations (adding, removing, transferring items etc.). Can contain an unlimited amount of items.InventoryStacked- Has a limited item capacity in terms of weight. Items of the same type are organized in stacks. InheritsInventory.InventoryGrid- Has a limited capacity in terms of space. The inventory capacity is defined by its width and height. InheritsInventory.InventoryGridStacked- InheritsInventoryGridand extends it with support for item stacking (similar toInventoryStackedbut without the weight constraint).
ItemSlot- Holds a reference to a given item from a given inventory. The slot can be cleared or bound to one item at a time. In case the item is removed from the inventory or the slot is bound to a different inventory, the slot is automatically cleared.
User interfaces are usually unique for each project, but it often helps to have some basic UI elements ready for earlier development phases and testing. The following controls offer some basic interaction with the various inventory types.
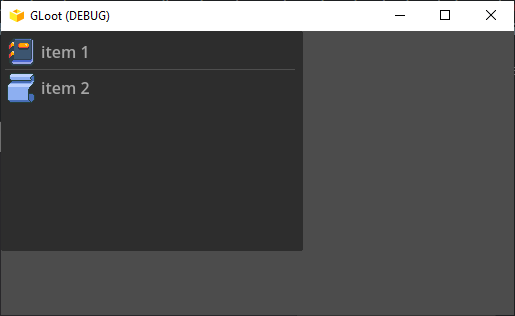
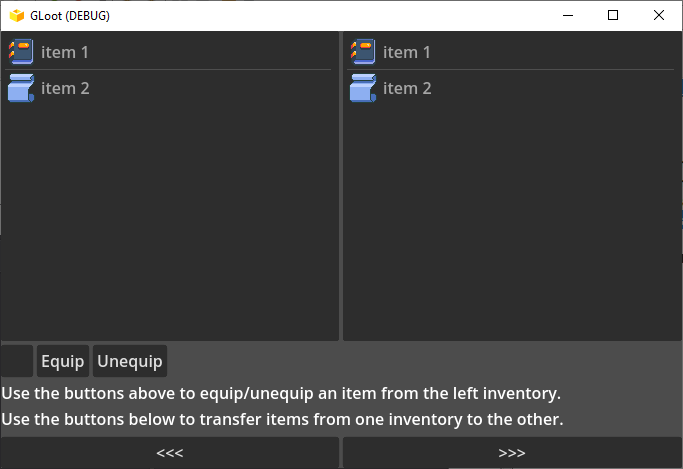
CtrlInventory- UI control representing a basicInventory. Displays a list of items in the inventory. Uses thenameitem property to display the item name in the list.
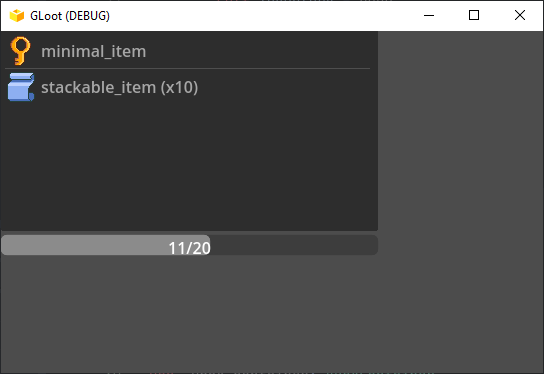
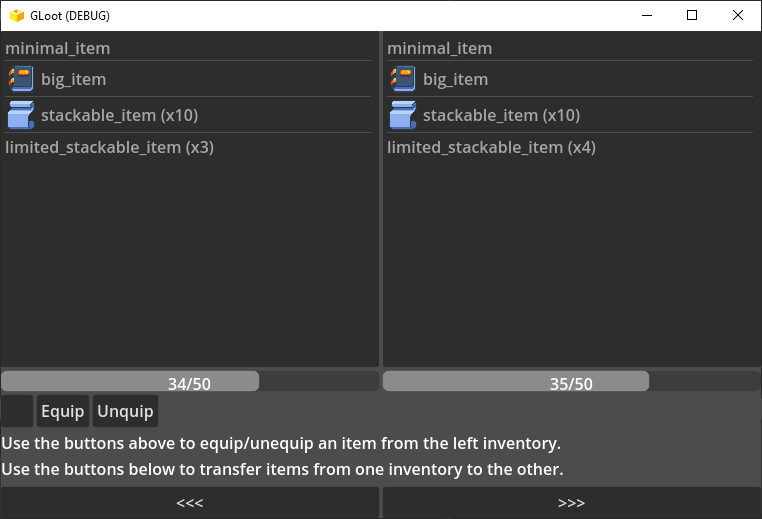
CtrlInventoryStacked- UI control representing a stack based inventory (InventoryStacked). It lists the contained items and shows an optional progress bar displaying the capacity and fullness of the inventory. InheritsCtrlInventory.
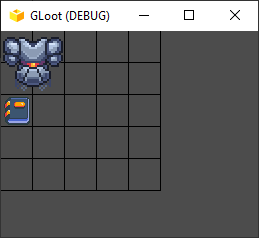
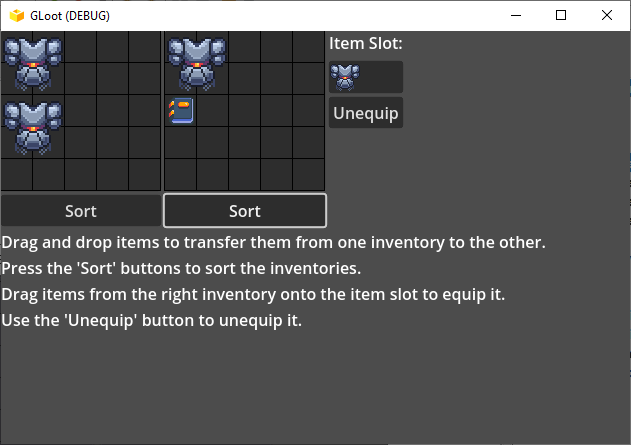
CtrlInventoryGrid- UI control representing a grid based inventory (InventoryGridorInventoryGridStacked). Displays a grid based on the inventory capacity (width and height) and the contained items on the grid. The items can be moved around in the inventory by dragging. Uses theimageitem property (path to a texture) to display the item on the grid.
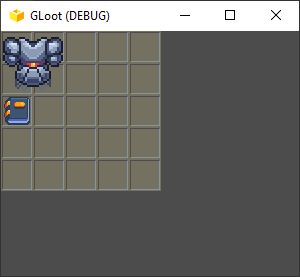
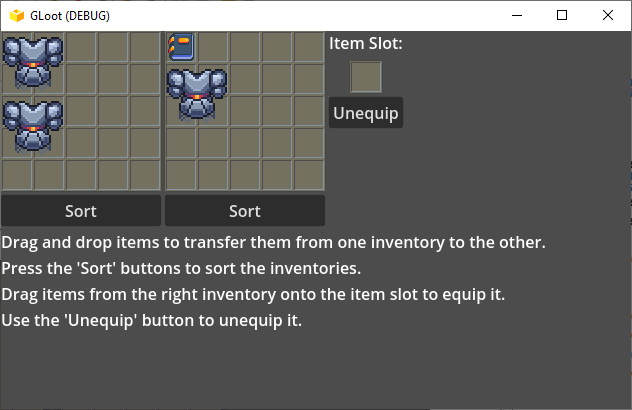
CtrlInventoryGridEx- Similar toCtrlInventoryGridbut with extended options for customization.
CtrlItemSlot- UI control representing an (ItemSlot).CtrlItemSlotEx- Similar toCtrlItemSlotbut with extended options for customization.
-
Create an
addonsdirectory inside your project directory. -
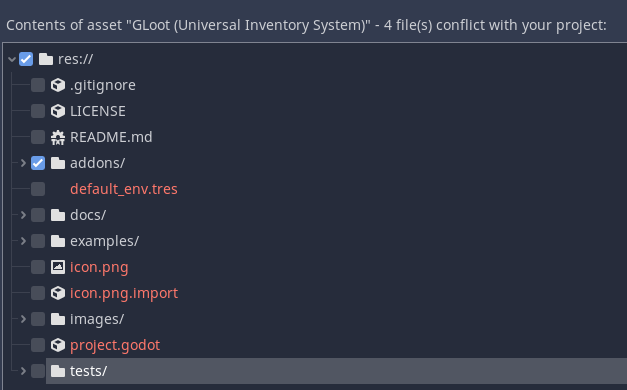
Get the plugin from the AssetLib or from GitHub
- From the AssetLib: Open the AssetLib from the Godot editor and search for "GLoot". Click download and deselect everything except the
addonsdirectory when importing.
- From GitHub: Run
git clone https://github.com/peter-kish/gloot.gitand copy the contents of theaddonsdirectory to your projectsaddonsdirectory.
- From the AssetLib: Open the AssetLib from the Godot editor and search for "GLoot". Click download and deselect everything except the
-
Enable the plugin in
Project Settings > Plugins.
-
Create an
ItemProtosetresource that will hold all the item prototypes used by the inventory. The resource has a single propertyjson_datathat holds all item prototype information in JSON format (see Creating Item Prototypes below). -
Create an inventory node in your scene. Set its capacity if needed (required for
InventoryStackedandInventoryGrid) and set itsitem_protosetproperty (previously created). -
Add items to the inventory in one of the following ways:
- Add items using the custom control in the inspector:
-
Add items by creating
InventoryItemnodes as child nodes of the inventory node.NOTE: When an
InventoryItemnode is added to an inventory node, itsprotosetproperty is automatically set to be the same as theitem_protosetproperty of the inventory node. -
Add items from code. Use
create_and_add_item()to create and add items based on the given prototype ID:
inventory.create_and_add_item("Item1") -
(Optional) Create item slots that will hold various items (for example the currently equipped weapon or armor).
-
Create some UI controls to display the created inventory and its contents.
-
Call
add_item(),remove_item(),transfer_item()etc. from your scripts to move items around multiple inventory nodes. Refer to the documentation for more details about the available properties, methods and signals for each class.
An item prototype is a set of item properties that all items based on that prototype will contain. Items based on a specific prototype can override these properties or add new properties that are not defined in the prototype.
Item protosets represent a number of item prototypes based on which future inventory items will be created. An item prototype is defined by its ID and its properties.
There are a few requirements each protoset JSON must fulfill:
- The JSON must be a JSON array containing JSON objects.
- Each element of the array must contain the
idproperty uniquely identifying the prototype.
Below is an example of a minimal item protoset JSON:
[
    {
        "id": "minimal_item"
    }
]Prototypes of items contained in stack based inventories support the following additional properties:
stack_size- Defines the default stack size of the item. Newly created items that use this prototype will have this stack size. Has the value of 1 if not defined.weight- Defines the unit weight of the item. Has the value of 1.0 if not defined. NOTE: The total weight of an item is defined as its unit weight multiplied by its stack size.
Example:
[
    {
        "id": "stackable_item",
        "stack_size": 10
    },
    {
        "id": "heavy_item",
        "weight": 20.0
    },
    {
        "id": "very_heavy_item",
        "stack_size": 10,
        "weight": 20.0
    }
]- The total weight of a
stackable_itemis 10 - The unit weight is not defined and the default value of 1.0 is used. Multiplied withstack_sizeof 10 gives a total weight of 10.0. - The total weight of a
heavy_itemis 20.0 - The stack size is not defined and the default value of 1 is used. Multiplied withweightof 20.0 gives a total weight of 20.0. - The total weight of a
very_heavy_itemis 200.0 - The stack size of 10 is multiplied with the unit weight of 20.0.
Prototypes of items contained in stack based inventories support the following additional properties:
width- Defines the width of the item. Has the value of 1 if not defined.height- Defines the height of the item. Has the value of 1 if not defined.
Example:
[
    {
        "id": "1x1_knife",
        "width": 1,
        "height": 1
    },
    {
        "id": "1x3_spear",
        "width": 1,
        "height": 3
    },
    {
        "id": "2x2_bomb",
        "width": 2,
        "height": 2
    }
]Apart from the previously mentioned properties, item prototypes can hold all kinds of additional user-defined data. Properties like "name" or "description" are often used and can be easily added alongside the predefined properties.
Example:
[
    {
        "id": "knife_01",
        "weight": "2.0",
        "name": "Kitchen Knife",
        "description": "A knife intended to be used in food preparation."
    }
]
Any of the item properties can be accessed from code through the get_property() methods of the InventoryItem classes:
var item_name = item.get_property("name", "")
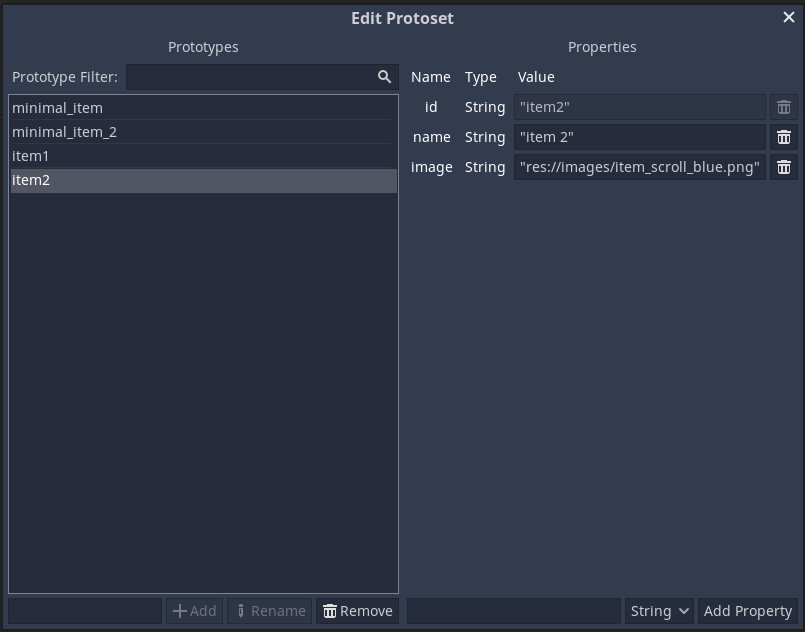
var item_description = item.get_property("description", "")Protosets can also be edited with the GUI based protoset editor. It can be opened using "Edit Protoset" button in the inspector when a protoset resource is selected.
Item properties defined in the ItemProtoset resource can be overridden for each individual item using the set_property() method and overridden property values can be cleared using the clear_property() method:
# Decrease the size of an item stack by 1
var stack_size: int = item.get_property("stack_size")
if stack_size > 0:
    item.set_property("stack_size", stack_size - 1)
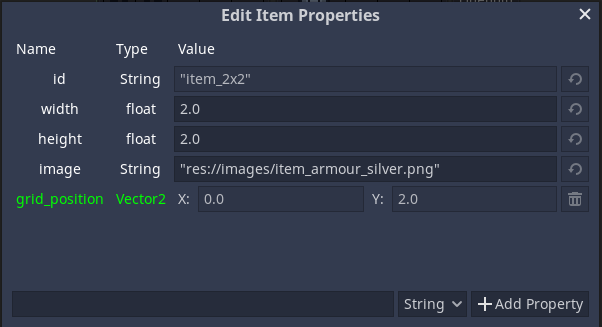
Item properties can also be modified and overridden using the inspector when an InventoryItem is selected. Properties marked with green color represent overridden properties. Some properties are disabled for editing, as they are managed by the plugin itself (for example id and grid_position).
All GLoot classes have a serialize() and a deserialize() method that can be used for serialization.
The serialize() methods serializes the class into a dictionary, that can be further serialized into JSON, binary or some other format.
Example:
# Serialize the inventory into a JSON string
var inventory: Inventory = get_node("inventory")
var dict: Dictionary = inventory.serialize()
var json: String = JSON.stringify(dict)
The deserialize methods receive a dictionary as argument that has been previously generated with serialize() and apply the data to the current class instance.
Example:
# Deserialize the inventory from a JSON string
var inventory: Inventory = get_node("inventory")
var res: JSONParseResult = JSON.parse(json)
if res.error == OK:
    var dict = res.result
    inventory.deserialize(dict)
The docs can be found here.
Take a look at the examples directory for some example scenes:
inventory_transfer.tscn- Displaying two basic inventories (Inventory) and transferring items between them.
inventory_stacked_transfer.tscn- Displaying two stack based inventories (InventoryStacked) and transferring items between them.
inventory_grid_transfer.tscn- Displaying two grid based inventories (InventoryGrid) and transferring items between them using drag and drop.
inventory_grid_ex_transfer.tscn- Similar toinventory_grid_transfer.tscn, but usingCtrlInventoryGridExandCtrlItemSlotEx.
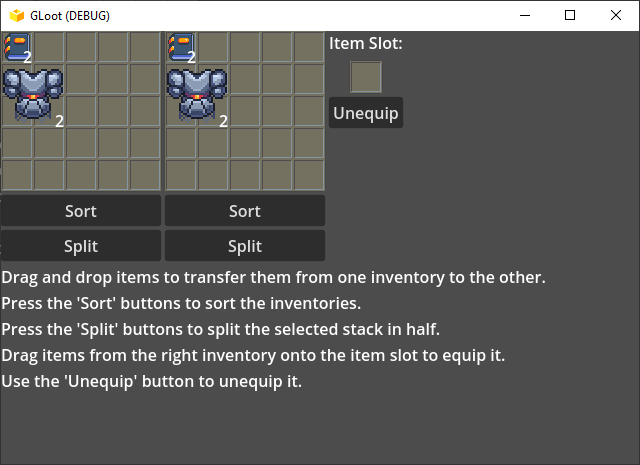
inventory_grid_stacked_ex_transfer.tscn- Similar toinventory_grid_ex_transfer.tscn, but usingInventoryGirdStacked.
