Firebase인증의 내용은 Document에서 확인할 수 있습니다.
우리는 가장 많이사용하는 FirebaseUI인증 기능을 이용해 Firebase인증을 진행해보도록 하겠습니다.
FirebaseUI인증 기능
FirebaseUI 인증 삽입형 인증 솔루션 전체 로그인 시스템을 추가할 때 권장하는 방법입니다.
FirebaseUI는 이메일 주소와 비밀번호, 전화번호는 물론 Google 로그인 및 Facebook 로그인을 비롯한 인기 ID 제공업체를 이용한 사용자 로그인의 UI 흐름을 처리하는 삽입형 인증 솔루션을 제공합니다.
FirebaseUI 인증 구성요소는 휴대기기 및 웹사이트를 통한 인증의 모범 사례를 구현하여 앱의 로그인 및 가입 전환을 극대화합니다.
또한 제대로 처리하자면 오류가 발생하기 쉽고 보안에 민감한 계정 복구와 계정 연결 등의 극단적인 문제도 처리해 줍니다.
FirebaseUI는 앱 전체의 시각적인 스타일에 어울리도록 외양을 변경하기가 쉽고 오픈 소스이므로 내가 바라는 사용자 경험을 아무런 제약 없이 구현할 수 있습니다.
iOS Android 웹
-
cocoapod 추가
pod 'Firebase/Core'
pod 'Firebase/Auth'
-
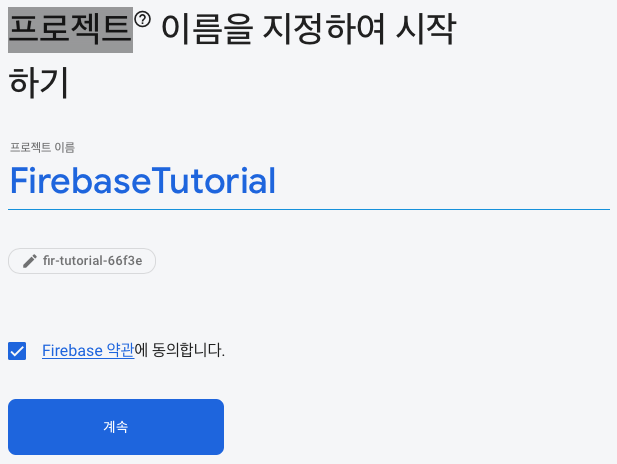
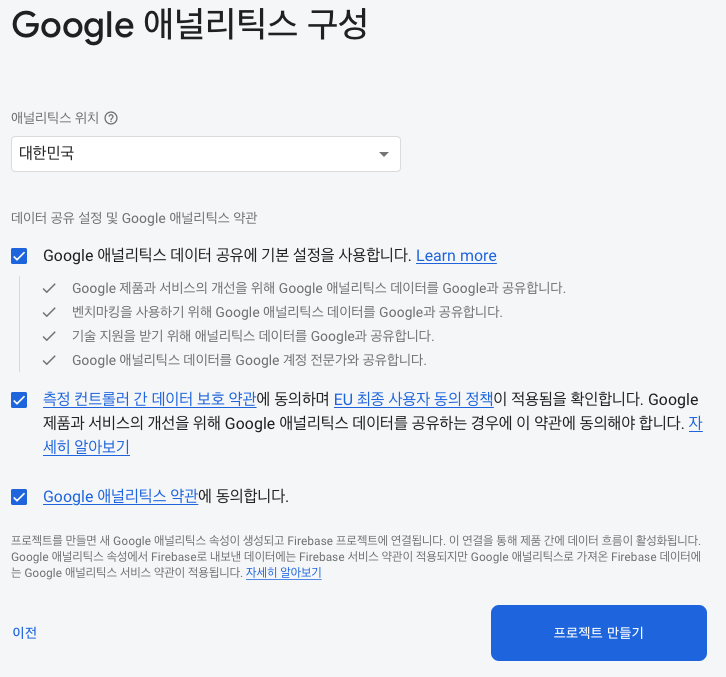
Firebase에서 프로젝트 만들기
https://console.firebase.google.com/u/0/?pli=1 에서 프로젝트를 만들어줍니다.
-
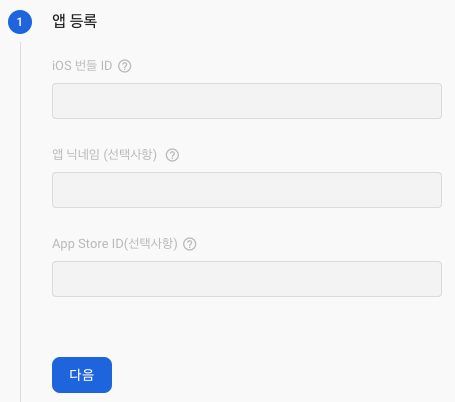
iOS앱에 Firebase추가하기
Xcode > General > Identity > Bundle Identifier 에있는 번들 ID를 넣어줍니다.

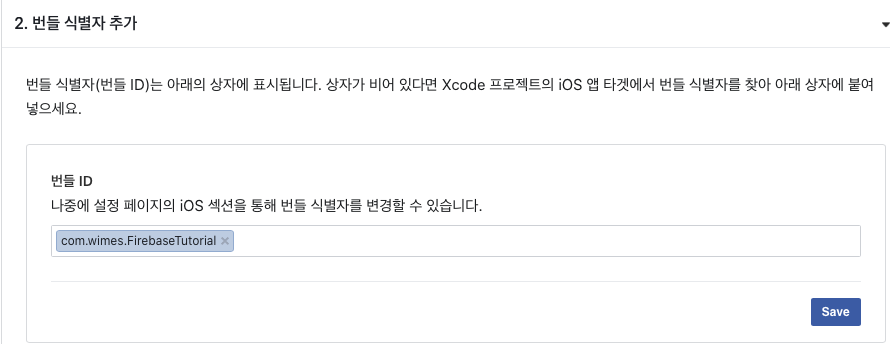
다시 Firebase Dashboard로 돌아와서 Bundle ID를 넣어줍니다.
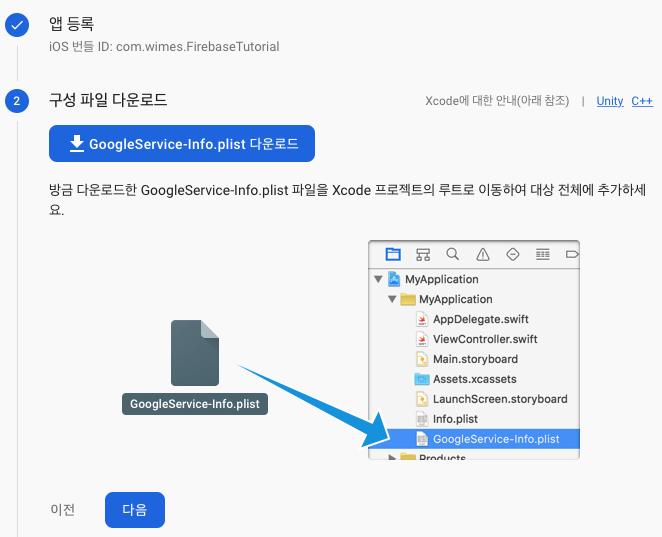
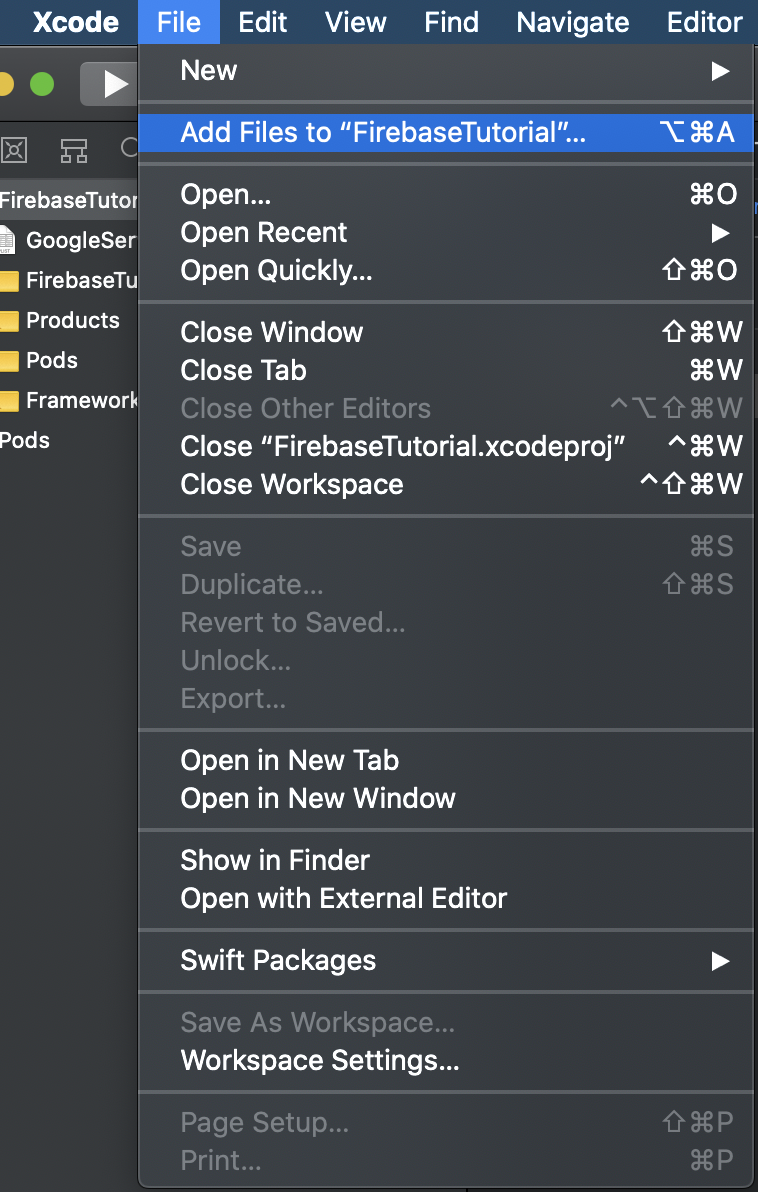
Xcode > File > Add Files to "FirebaseTutorial" ... 를 통해 plist 파일을 추가해줍니다.
-
초기화 코드 추가
AppDelegate.swift
import UIKit
import Firebase // 추가

@UIApplicationMain
class AppDelegate: UIResponder, UIApplicationDelegate {


    func application(_ application: UIApplication, didFinishLaunchingWithOptions launchOptions: [UIApplication.LaunchOptionsKey: Any]?) -> Bool {
        // Override point for customization after application launch.
        FirebaseApp.configure() // 추가

        return true
    }
// ...

}
App을 실행하여 설치를 확인합니다.
-
이메일/비밀번호로 로그인할 수 있도록 설정
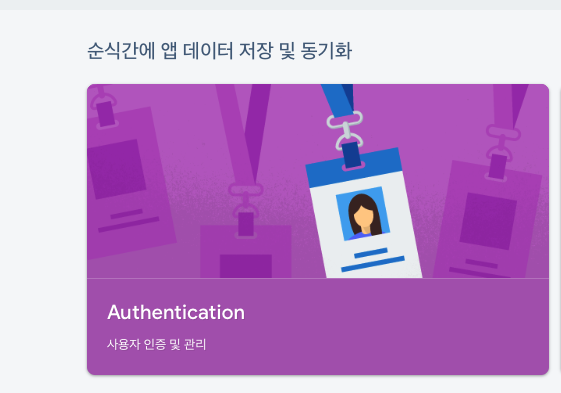
Dashboard 가운데에 있는 Authentication 을 선택
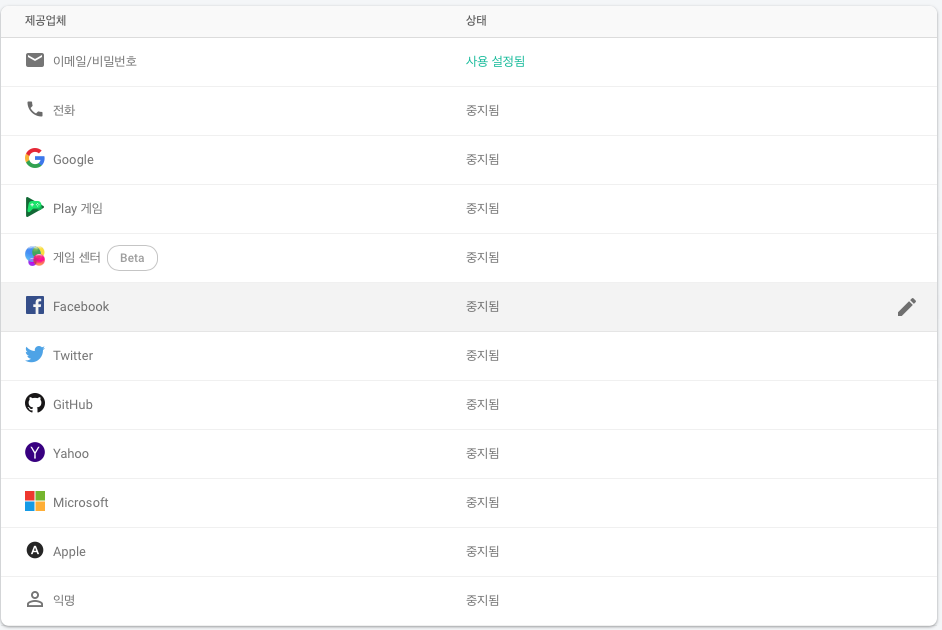
로그인 방법 설정을 정합니다. 아리의 그림에서 "이메일/비밀번호"를 선택합니다.
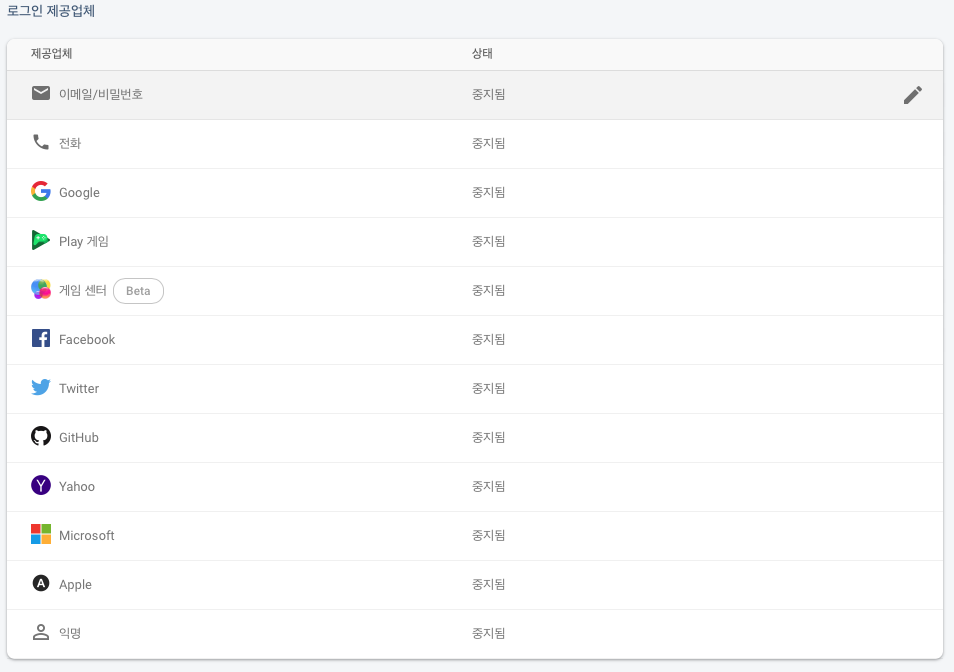
다음과 같이 설정하고 저장합니다.
-
코드 작성
ContentView.swift
import SwiftUI
import Firebase
import FirebaseAuth

class ViewModel{
    func login() {

    }
}

struct ContentView: View {
    @State private var email: String = ""
    @State private var pw: String = ""

    var body: some View {
        VStack {
            Text("E-mail")
                .bold()
            TextField("Enter your email", text: $email)

            Text("Password")
                .bold()
            SecureField("password", text: $pw)

            Button(action: self.login) {
                Text("Login")
            }
        }
    }

    func login(){
        Auth.auth().signIn(withEmail: self.email, password: self.pw) { (user, error) in
            if user != nil{
                print("login success")
                print(user)
            }else{
                print(error)
            }
        }

    }
}
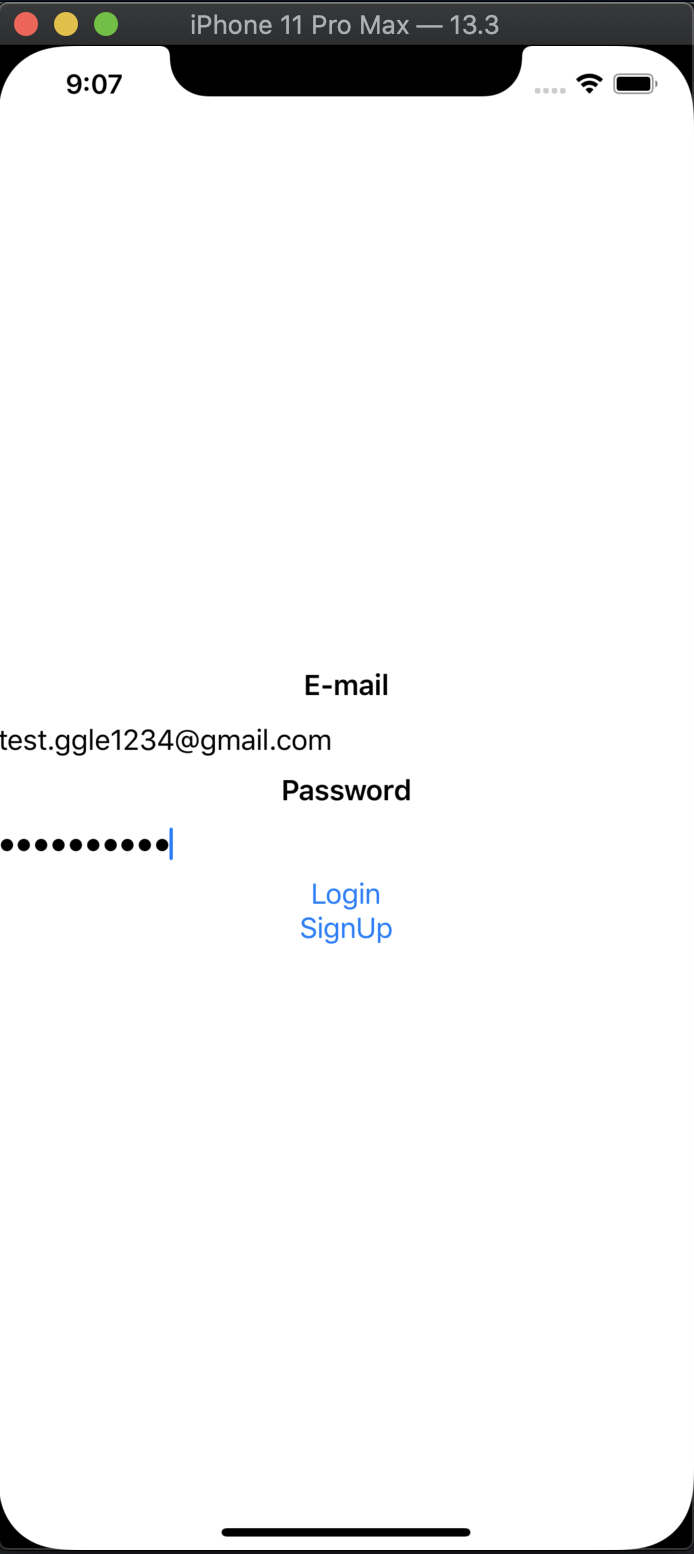
회원가입은 지금 까지 세팅해준 Firebase 설정을 건드릴필요는 없고 코드 몇부분을 추가해주면 됩니다.
struct ContentView: View {
    @State private var email: String = ""
    @State private var pw: String = ""

    var body: some View {
        VStack {
            Text("E-mail")
                .bold()
            TextField("Enter your email", text: $email)

            Text("Password")
                .bold()
            SecureField("password", text: $pw)

            Button(action: self.login) {
                Text("Login")
            }

            Button(action: self.signUp) {
                Text("SignUp")
            }
        }
    }

    func login(){
        Auth.auth().signIn(withEmail: self.email, password: self.pw) { (user, error) in
            if user != nil{
                print("login success")
                print(user)
            }else{
                print(error)
            }
        }
    }

    func signUp(){
        Auth.auth().createUser(withEmail: self.email, password: self.pw) { (user, error) in
            if(user != nil){
                print("register successs")
                print(user)
            }else{
                print("register failed")
            }
        }
    }
}
회원가입을 누르면 아래의 사진과 같이 FirebaseDash에 데이터가 들어간 것을 볼 수 있습니다.
아래의 내용은 https://developers.facebook.com/apps/141477280607703/fb-login/quickstart/?sdk=cocoapods 에서 볼 수 있습니다.
-
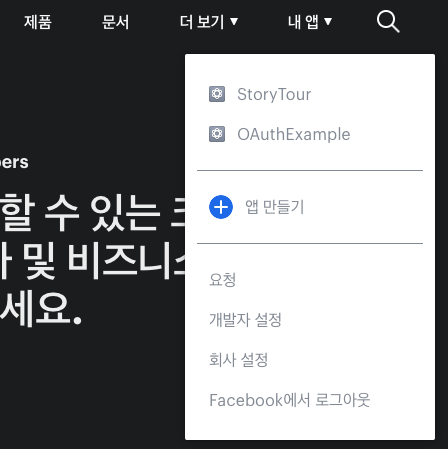
https://developers.facebook.com에서 내앱 > + 앱만들기를 클릭합니다.
-
적절한 이름 선택후 ID를 만들어 줍니다.
-
cocoapod을 이용해 SDK를 설치해줍니다.
pod 'FBSDKLoginKit' -
번들 ID를 넣어줍니다.
-
SSO는 설정해주지 않습니다.
SSO(Single-Sign-On)은 간단히 말해서 한번 접속하고 나면 다음에 접속할땐 아이디랑 비밀번호를 물어보지 않고 바로 접속해주는 기능입니다.
-
Info.plist 구성
아래의 코드를 Info.plist를 코드로 열어서 <dict> ... </dict> 사이에 넣어줍니다.
<!--facebook-->
    <key>CFBundleURLTypes</key> <array> <dict> <key>CFBundleURLSchemes</key> <array> <string>fb141477280607703</string> </array> </dict> </array> <key>FacebookAppID</key> <string>141477280607703</string> <key>FacebookDisplayName</key> <string>iOS_FirebaseTutorial.neowiz</string>
    <!--facebook communication box-->
    <key>LSApplicationQueriesSchemes</key> <array> <string>fbapi</string> <string>fbapi20130214</string> <string>fbapi20130410</string> <string>fbapi20130702</string> <string>fbapi20131010</string> <string>fbapi20131219</string> <string>fbapi20140410</string> <string>fbapi20140116</string> <string>fbapi20150313</string> <string>fbapi20150629</string> <string>fbapi20160328</string> <string>fbauth</string> <string>fbauth2</string> <string>fbshareextension</string> </array>
-
Delegate method 추가
AppDelegate.swift
func application(_ app: UIApplication, open url: URL, options: [UIApplication.OpenURLOptionsKey : Any] = [:]) -> Bool {
        // 'FBSDKApplicationDelegate' has been renamed to 'ApplicationDelegate'
        return ApplicationDelegate.shared.application(
            app,
            open: (url as URL?)!,
            sourceApplication: options[UIApplication.OpenURLOptionsKey.sourceApplication] as! String,
            annotation: options[UIApplication.OpenURLOptionsKey.annotation])
    }
SceneDelegate.swift
func scene(_ scene: UIScene, openURLContexts URLContexts: Set<UIOpenURLContext>) {
        if let openURLContenxt: UIOpenURLContext = URLContexts.first{
            ApplicationDelegate.shared.application(
                UIApplication.shared,
                open: openURLContenxt.url,
                sourceApplication: openURLContenxt.options.sourceApplication,
                annotation: openURLContenxt.options.annotation)

        }else{
            return
        }

    }
-
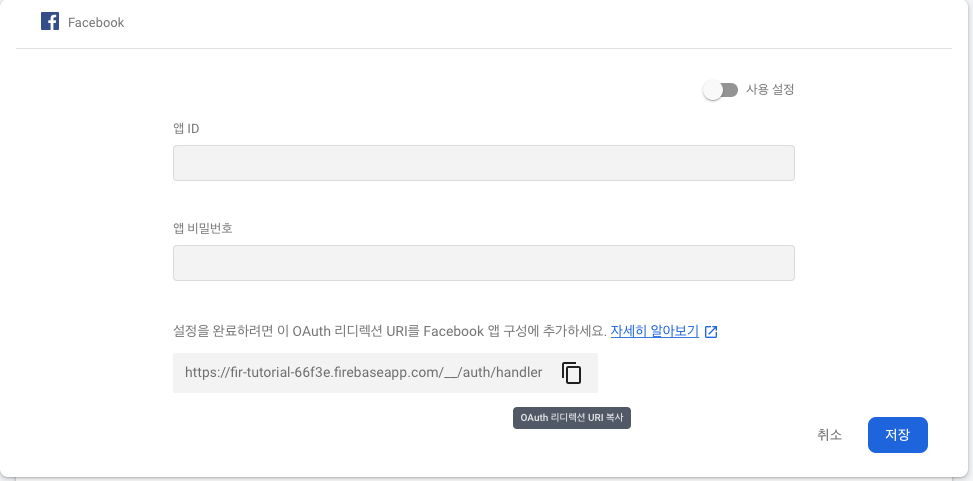
Firebase에 OAuth 리디렉션 URI 가져오기
Facebook 로그인 > 설정 > 유효한 OAuth 리디렉션 URI 에 채워넣기 위해 Firebase에서 작업을 진행하겠습니다.
Firebase dashboard에서 Facebook을 선택하면
아래와 같이 OAuth 리디렉션 URI가 있습니다.
이를 복사해 Facebook 대시보드에 넣어줍니다.
-
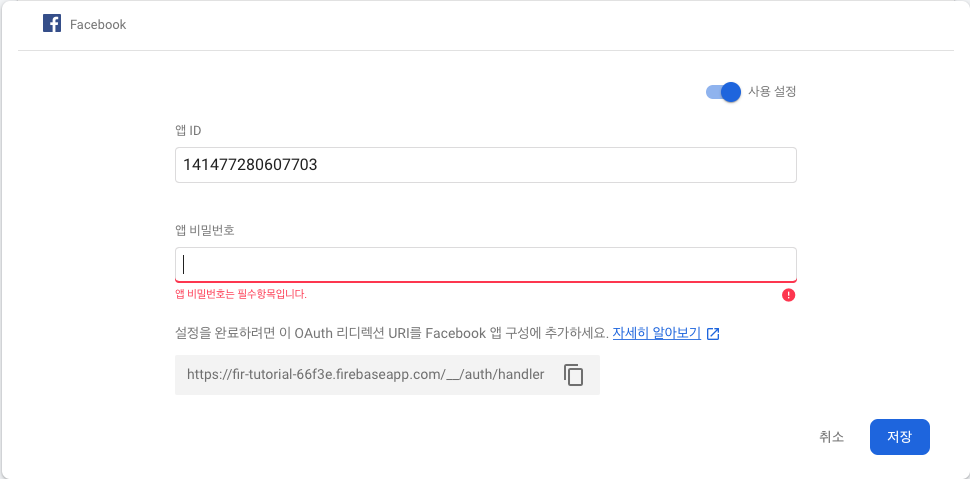
firebase에 앱 ID 비밀번호 설정
Facebook dashboard > 설정 > 기본 설정 에서
앱 ID와앱시크릿 코드를 가져옵니다.그리고 Firebase dashboard의 facebook에 각각 채워넣어 줍니다.
-
개발자 문서를 참고해 앱에 Facebook 인증을 통합합니다. SwiftUI를 사용하기에 LoginButton은 사용하기가 까다롭습니다. 우리는 Custom Button을 사용하겠습니다.
우선 FacebookLogin 함수를 호출합니다.
func fbLogin(){
        let cont = UIHostingController(rootView: self) // convert to UIController from SwiftUI
        // 'FBSDKLoginManager' has been renamed to 'LoginManager'
        let fbLoginManager: LoginManager = LoginManager()
        fbLoginManager.logIn(permissions: ["email"], from: cont) { (result, err) in
            if err != nil{
                print("Process error")
            }else if result?.isCancelled == true{
                print("Cancelled")
            }else{
                print("Logged in")
                self.getFBUserData()
            }
        }

    }
-
성공적으로 Login이 되었다면 UserData를 받아옵니다.
func getFBUserData(){
        if AccessToken.current != nil{
            GraphRequest(graphPath: "me", parameters: ["fieldds": "id, name, first_name, last_name, picture.type(large), email"]).start { (connection, result, err) in
                if(err == nil){
                    print(result)
                }else{
                    self.fbFirebaseAuth()
                }
            }
        }
    }
-
마지막으로 Firebase에 SignIn 리다이렉션을 보냅니다.
func fbFirebaseAuth(){
        // 'FIRFacebookAuthProvider' has been renamed to 'FacebookAuthProvider'
        // 'FBSDKAccessToken' has been renamed to 'AccessToken'
        let credential = FacebookAuthProvider.credential(withAccessToken: AccessToken.current!.tokenString)
        Auth.auth().signIn(with: credential) { (user, error) in
            if(user != nil){
                print("FB login success")
                print(user)
            }else{
                print("FB login failed")
                print(error)
            }
        }
    }
-
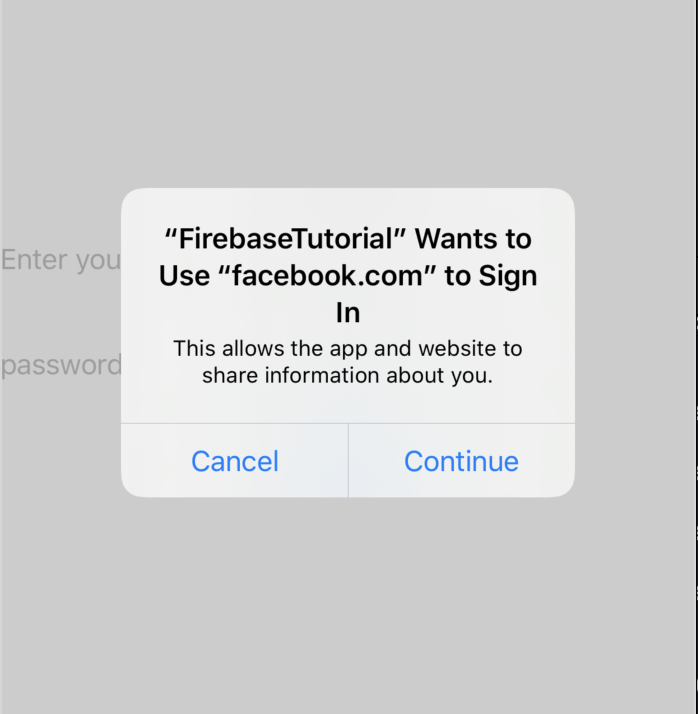
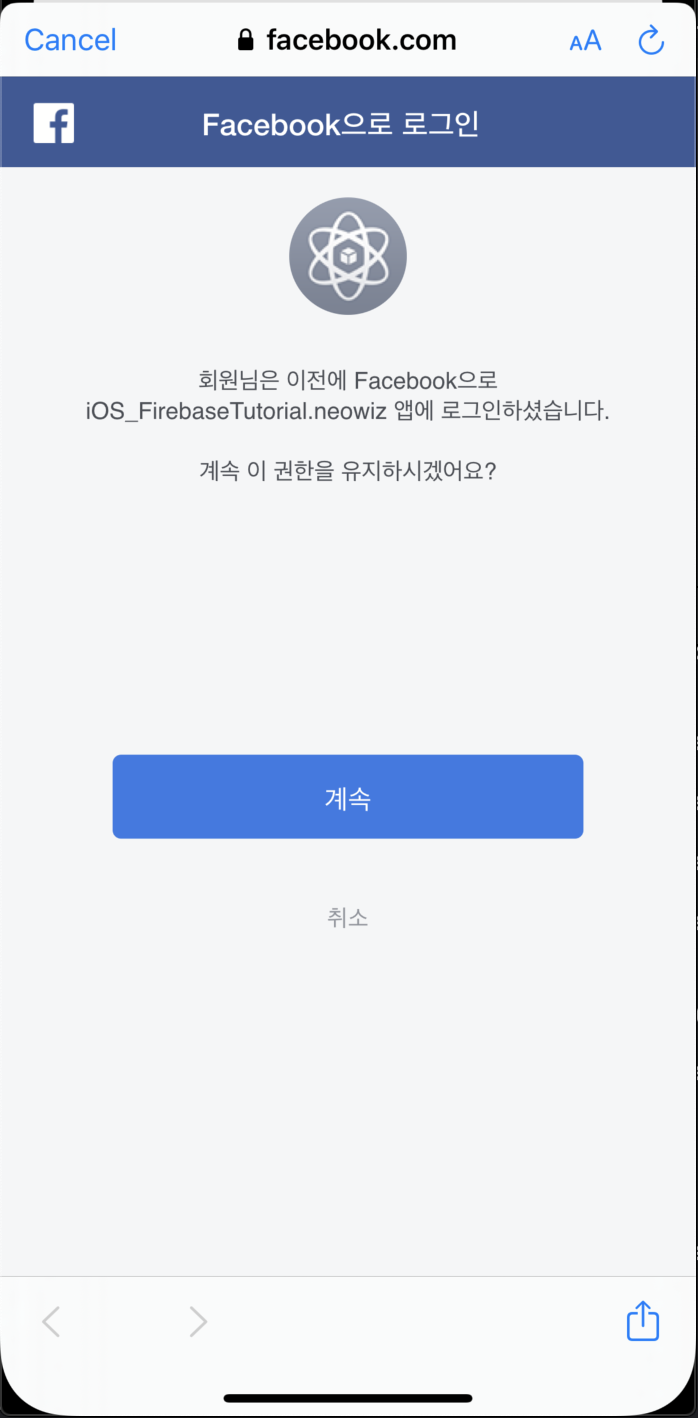
버튼을 눌러 로그인을 해봅니다.
제대로 UserData를 받아오는 것을 볼 수 있습니다.
https://github.com/kiryun/iOS-FirebaseAuthTutorial/tree/5d813b1944c4eb0a974a0975ff698b9e3e063e38 에서 볼 수 있습니다.
