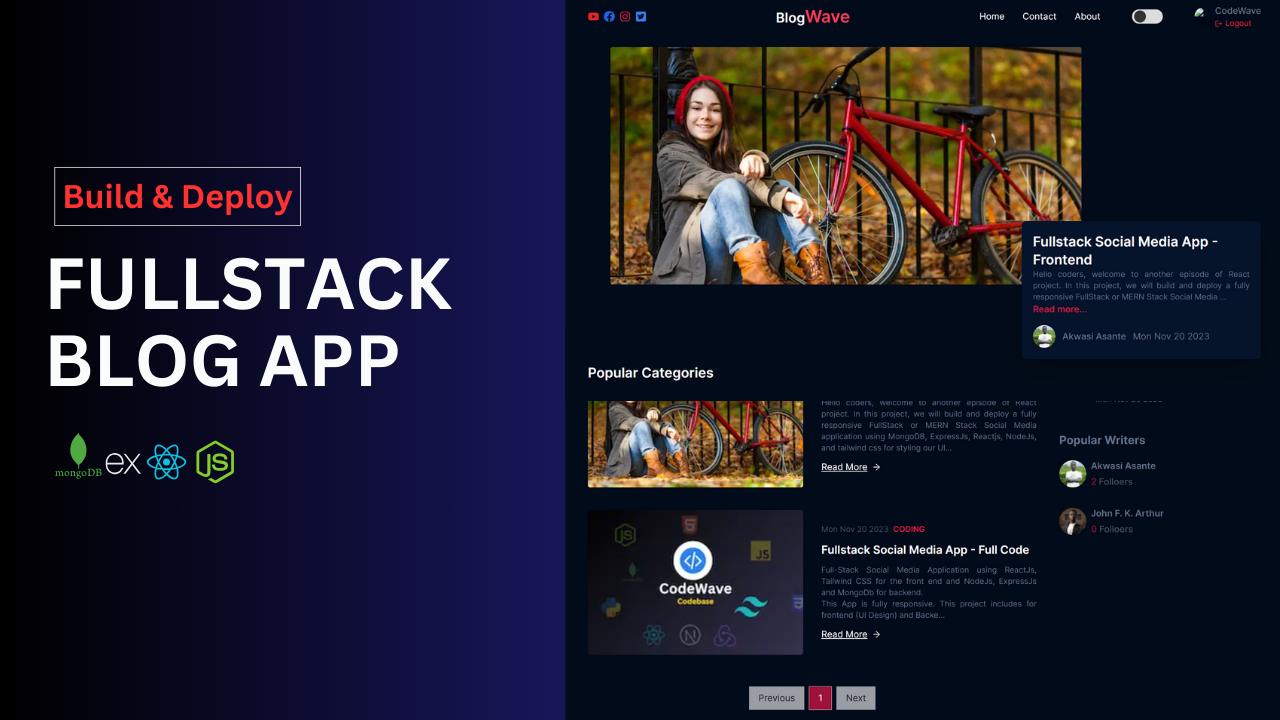
Welcome to the Fullstack Blog Application documentation! This application allows users to explore a variety of blog posts with a user-friendly interface. Below is a detailed guide on how to set up and run the application.
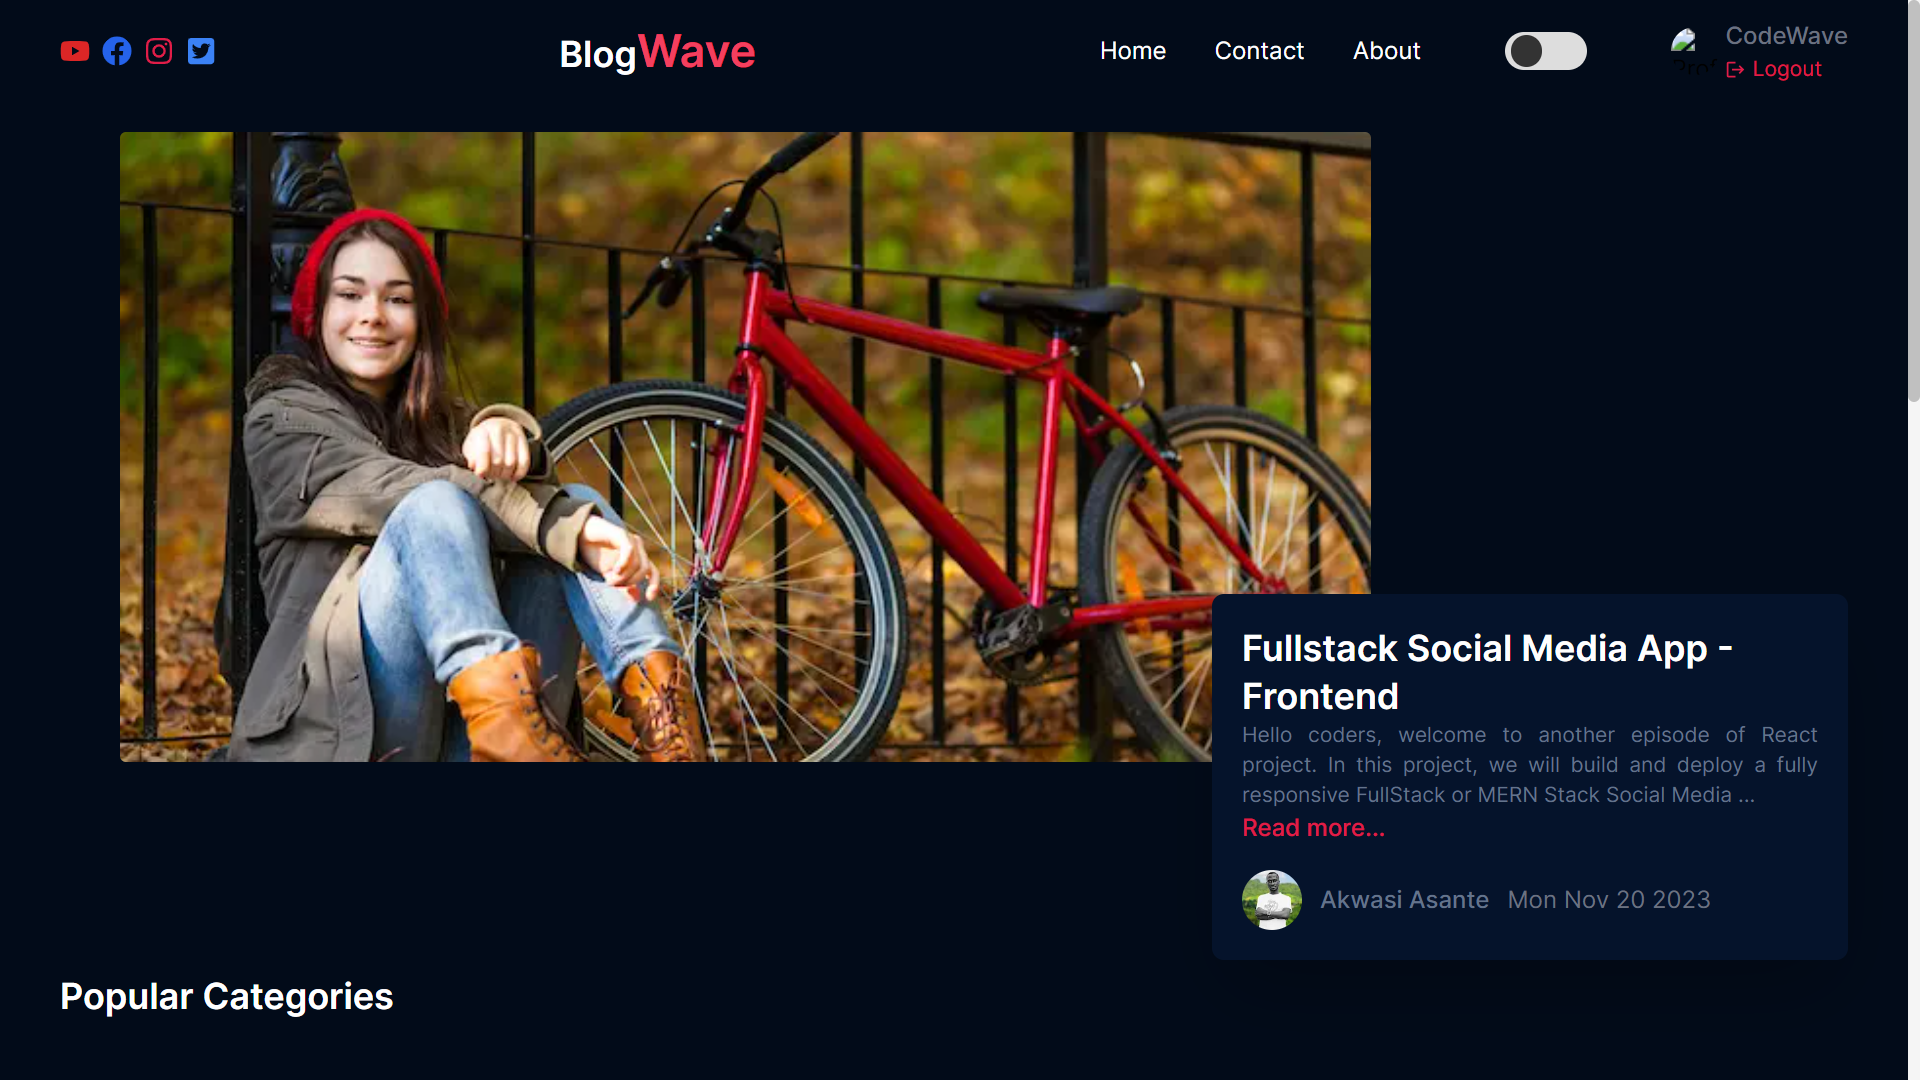
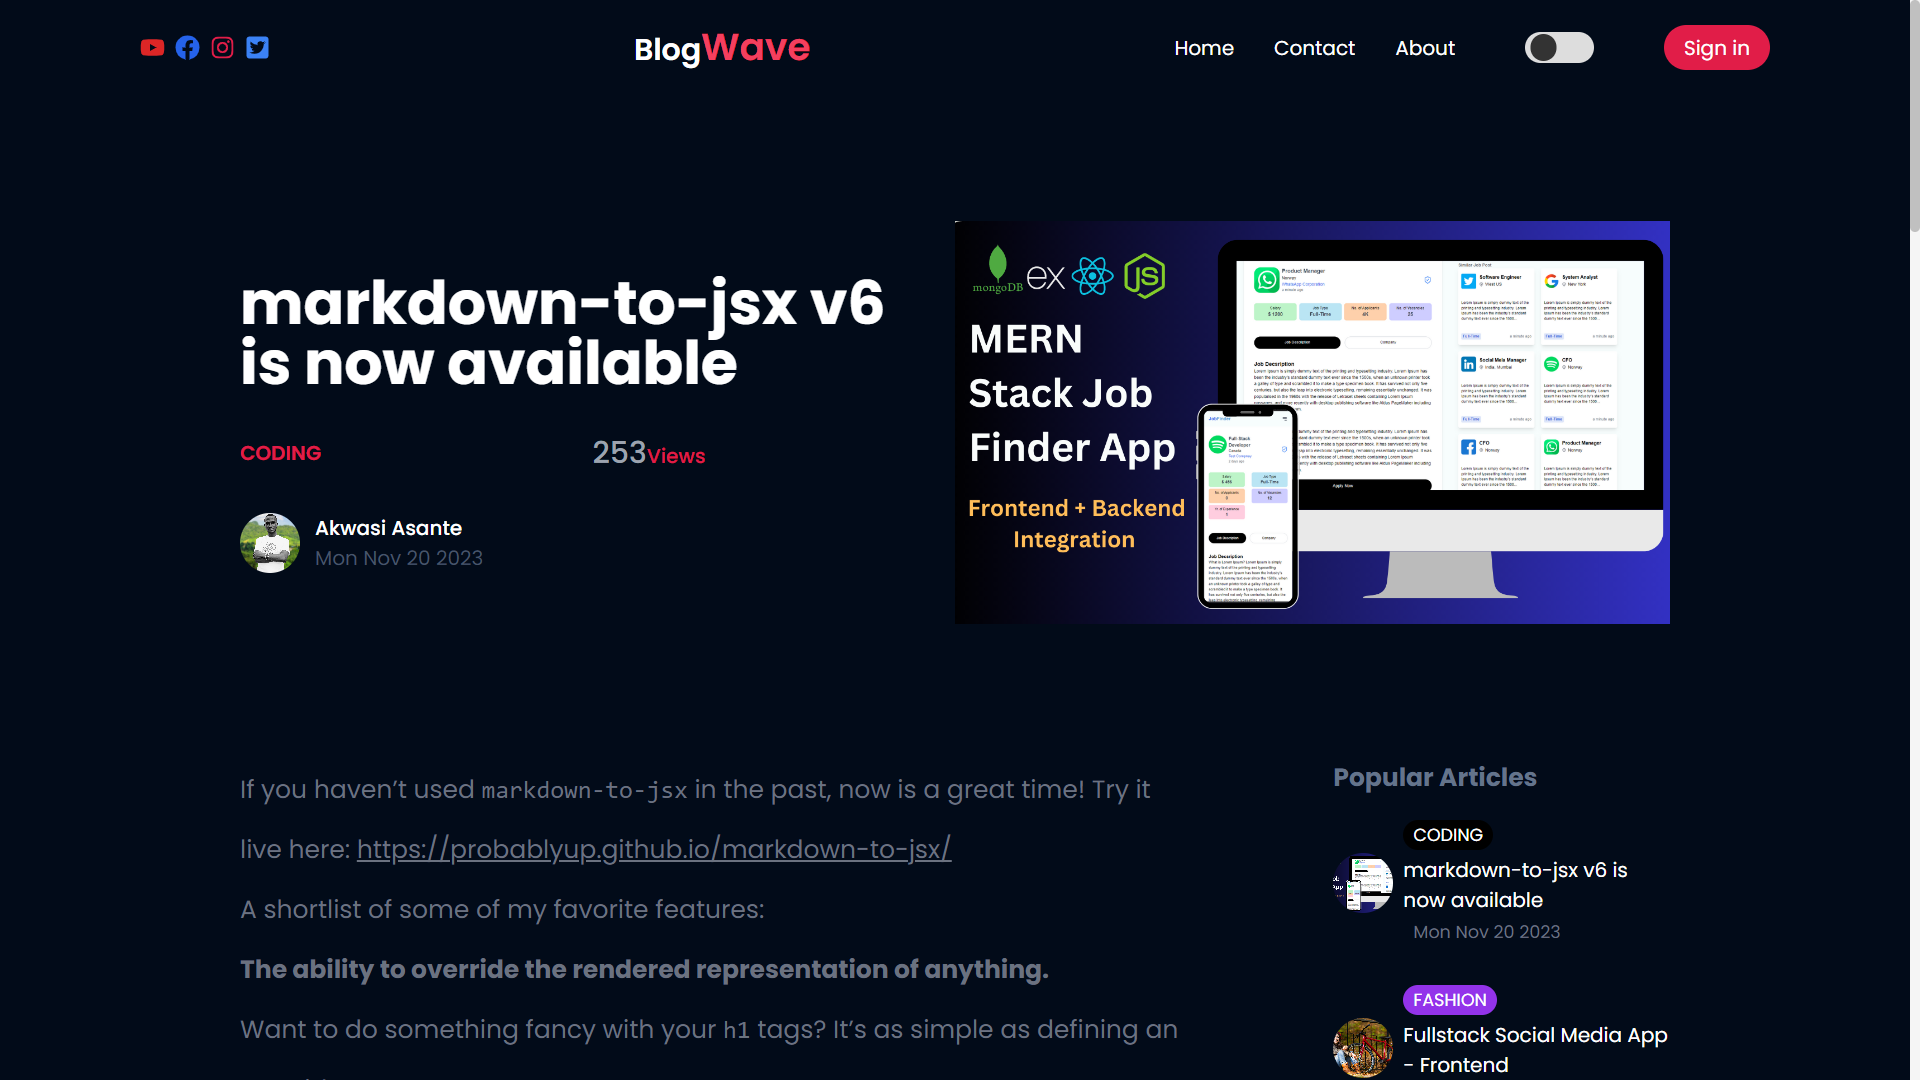
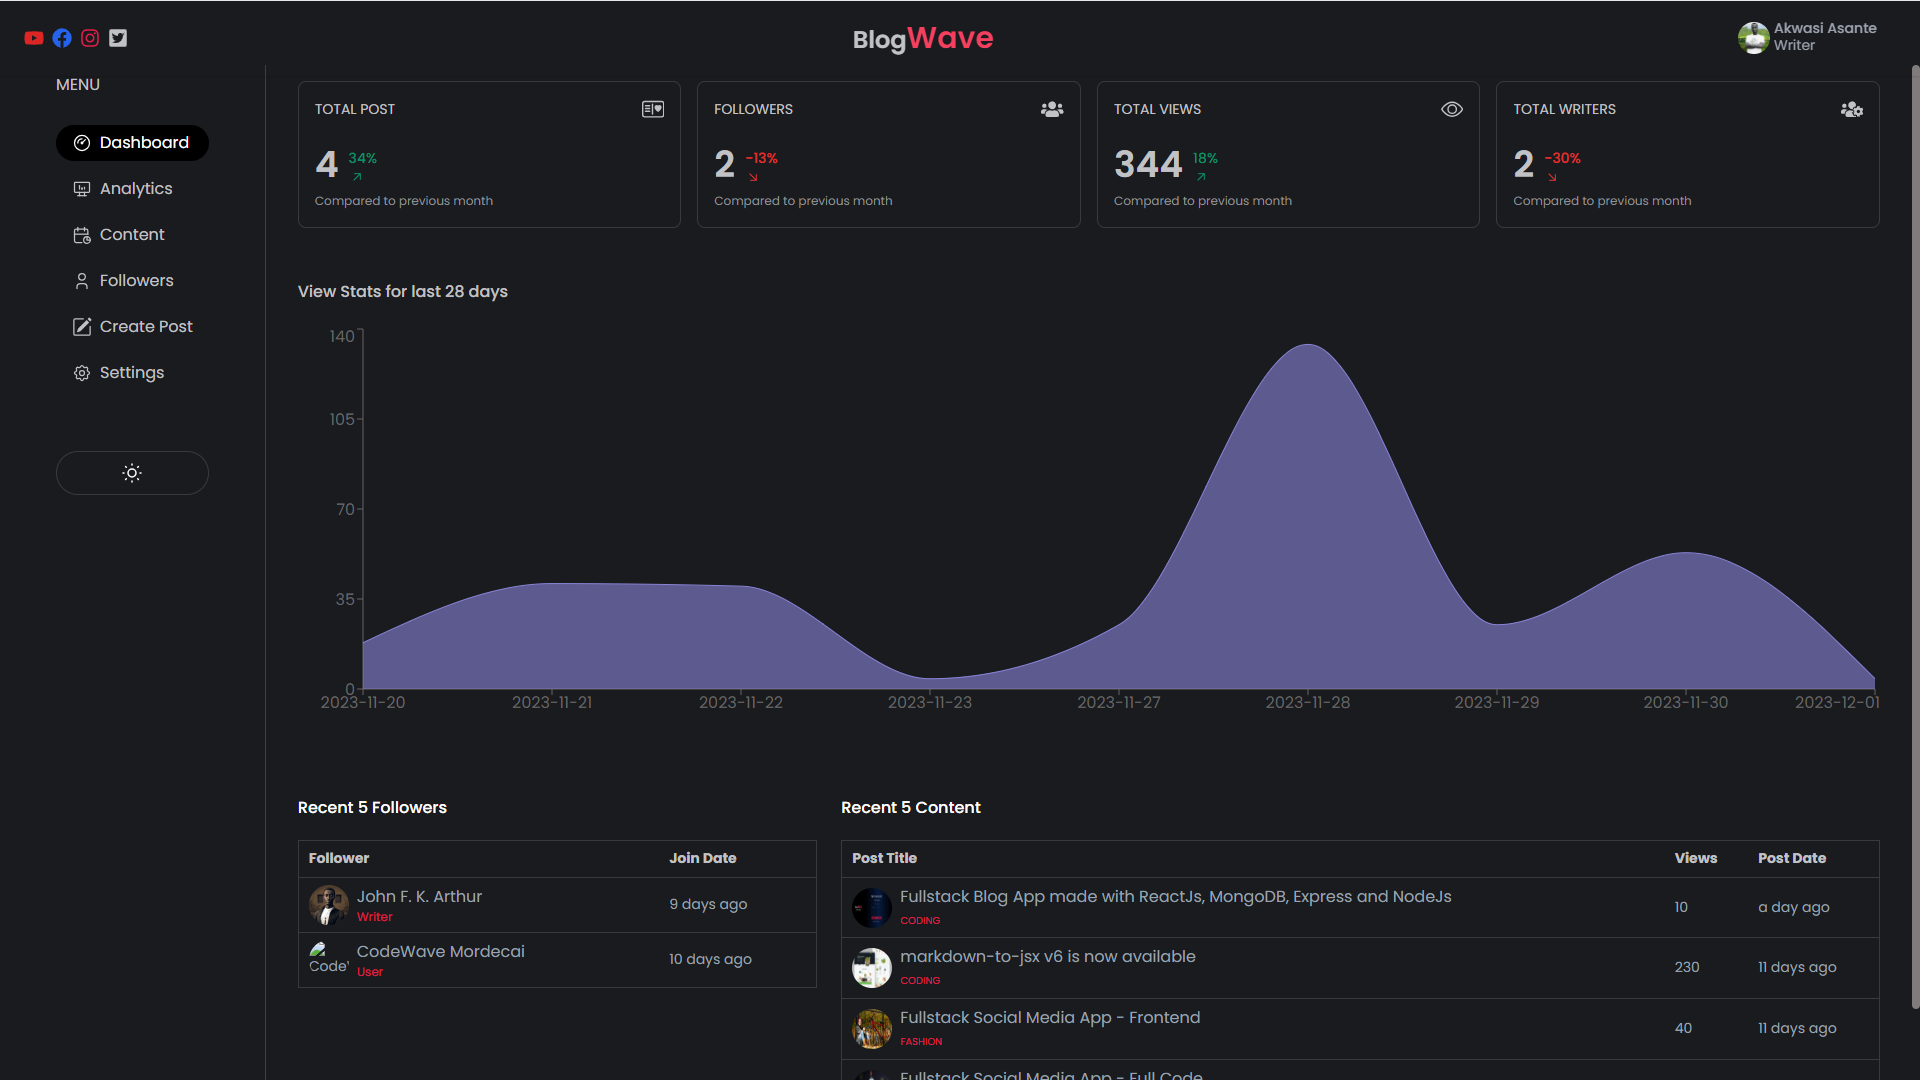
This full-stack blog application is built using the MERN stack (MongoDB, Express, React, Node.js). The state management is handled using Zustand instead of Redux. Users can enjoy features like post categorization, pagination, commenting, and a dual Dark & Light theme UI. Admins have access to additional functionalities in the Admin Dashboard, including analytics on post content and views.
- Node.js version 18 or above.
- npm version 10.2.3.
- MongoDB Atlas
- Text Editor or IDE
- Git
- Postman (Optional)
- ReactJs
- NodeJs (Node version 18 or above)
- ExpressJs
- MongoDB (Database)
- Tailwind CSS (for Styling)
- Zustand (for State Management)
- User Account Creation (Optional)
- Google Sign In (Optional) - Client side only
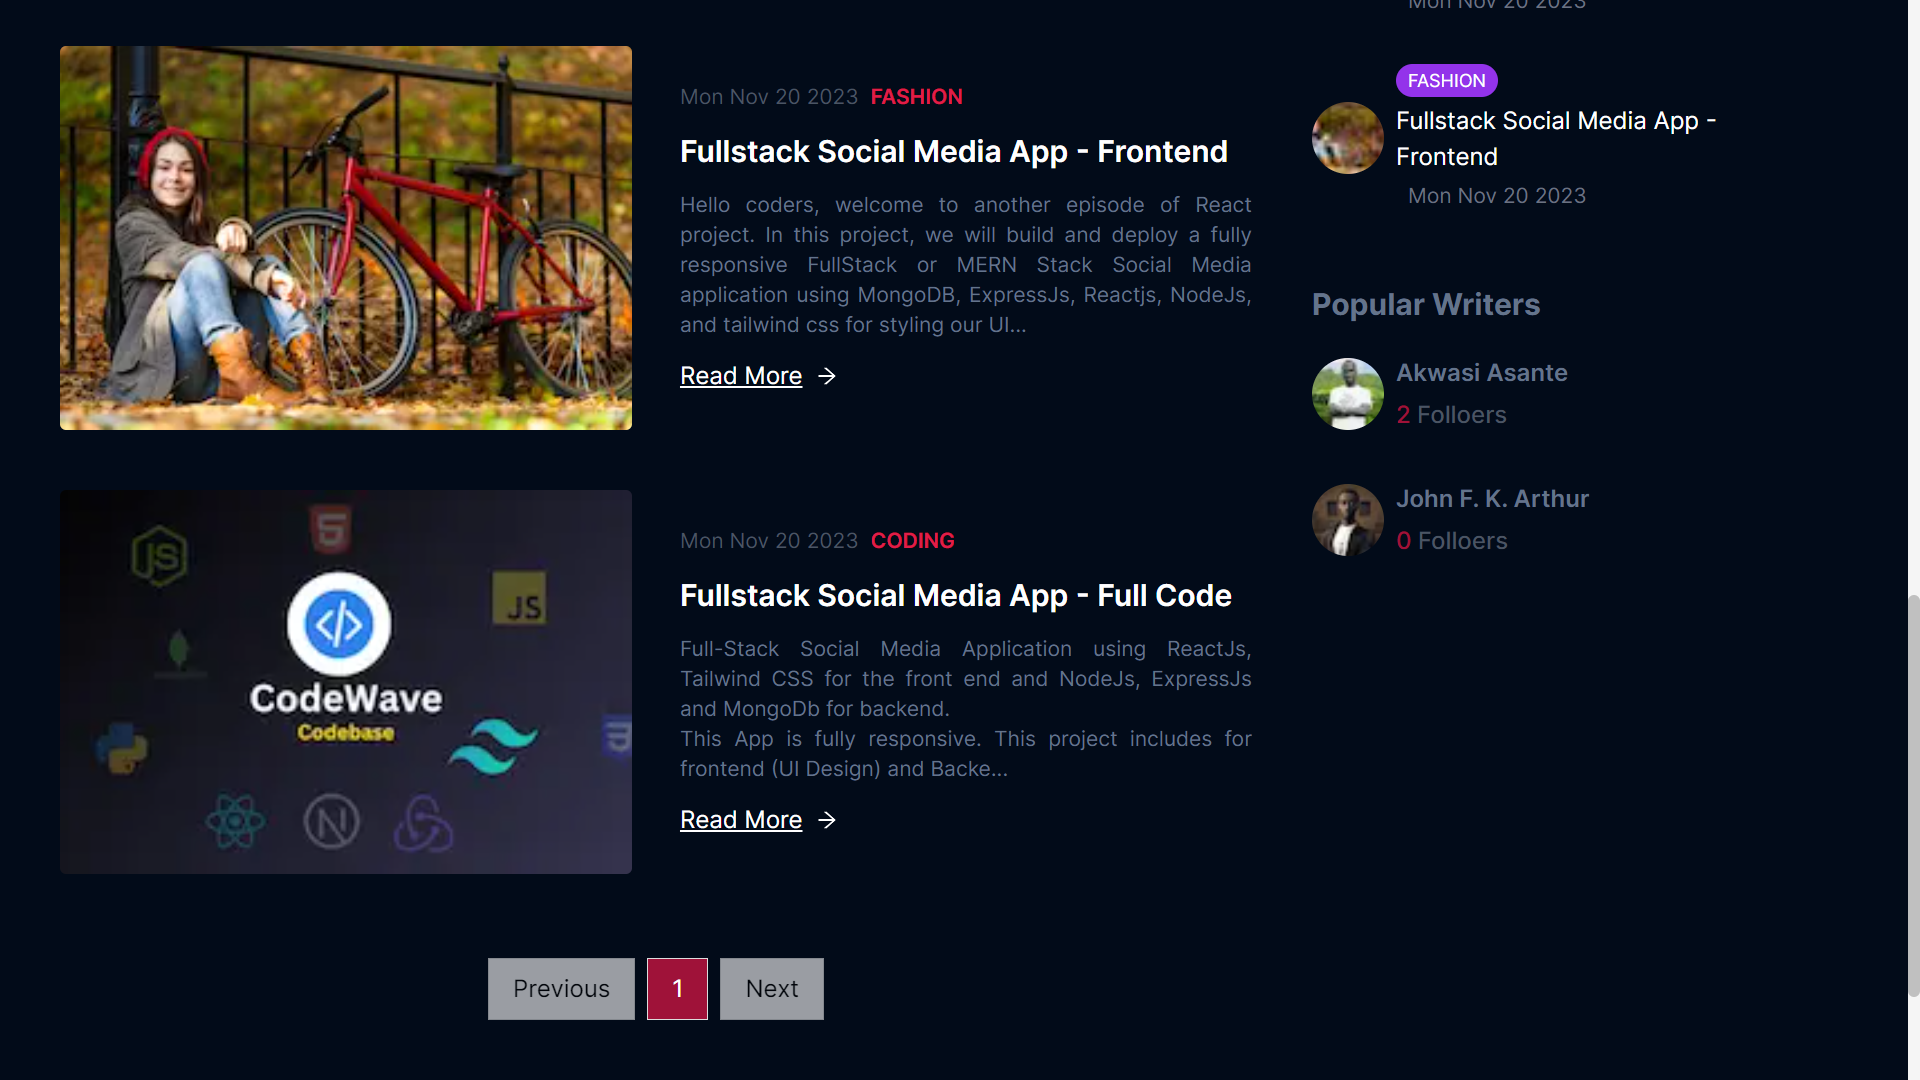
- Post Categories
- Pagination with Page Numbers
- Commenting on Posts (Only Available to Signed-in Users)
- Dark and Light Theme Settings
- Blog Details Page with Dynamic URL (Slug)
- Fully Mobile-Responsive Design
- Account Creation
- Email Verification with OTP
- Create Posts, Delete Posts, Enable or Disable Posts
- Dashboard Analytics
- Content and Views Analytics (7 days, 28 days, 900 days & 365 days)
- Ability to delete user comments on a blog post
- Dark and Light Theme Settings
- Fully Mobile-Responsive Design
Classic UI with DARK & LIGHT theme settings
First, create the environment variables file .env in the server folder. The .env file contains the following environment variables:
- MONGODB_URL =
your MongoDB URL - JWT_SECRET_KEY =
any secret key - must be secured - PORT =
8800or any port number - AUTH_EMAIL =
your email address to send the OTP - AUTH_PASSWORD =
password to your email account(used Hotmail for email verification)
-
Setting up MongoDB involves a few steps:
-
Visit MongoDB Atlas Website
- Go to the MongoDB Atlas website: https://www.mongodb.com/cloud/atlas.
-
Create an Account
-
Log in to your MongoDB Atlas account.
-
Create a New Cluster
-
Choose a Cloud Provider and Region
-
Configure Cluster Settings
-
Create Cluster
-
Wait for Cluster to Deploy
-
Create Database User
-
Set Up IP Whitelist
-
Connect to Cluster
-
Configure Your Application
-
Test the Connection
-
-
Create a new database and configure the
.envfile with the MongoDB connection URL.
- Open the project in any editor of choice.
- Navigate into the server directory
cd server. - Run
npm ito install the packages. - Run
npm startto start the server.
If configured correctly, you should see a message indicating that the server is running successfully and Database Connected.
First, create the environment variables file .env in the client folder. The .env file contains the following environment variables:
- REACT_APP_GOOGLE_CLIENT_ID =
Google client ID for Google Sign In - REACT_APP_FIREBASE_API_KEY =
Firebase key
- Navigate into the client directory
cd client. - Run
npm ito install the packages. - Run
npm startto run the app onhttp://localhost:3000. - Open http://localhost:3000 to view it in your browser.
First, create the environment variables file .env in the admin folder. The .env file contains the following environment variables:
- REACT_APP_FIREBASE_API_KEY =
Firebase key
- Navigate into the admin directory
cd admin. - Run
npm ito install the packages. - Run
npm startto run the app onhttp://localhost:3000or any other available port.
-
Safeguard your environment variables by storing them securely and not exposing them unintentionally.
-
Ensure that only authorized personnel have access to the environment variable configurations.
- Email: codewavewithasante@gmail.com
- Telegram Chat: https://t.me/Codewave_with_asante