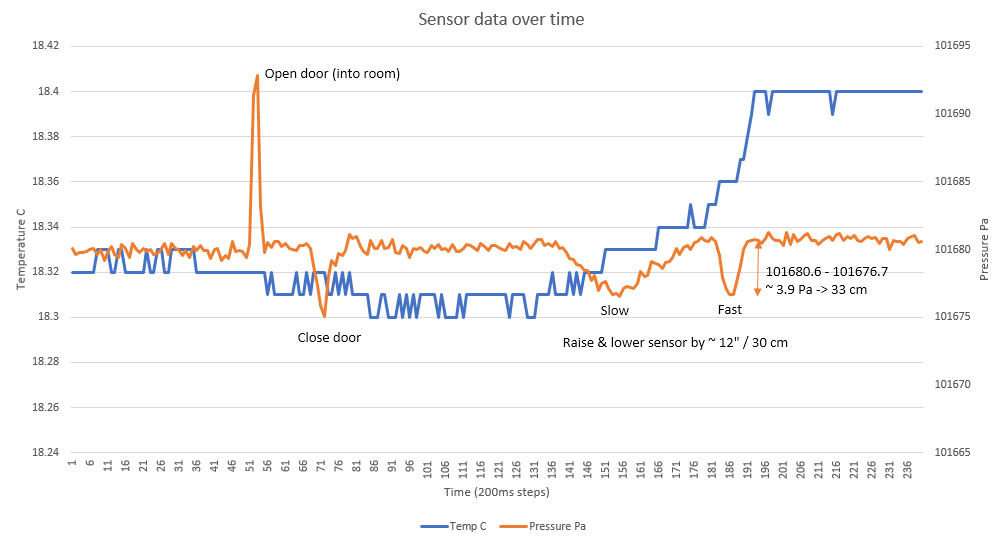
The TDK InvenSense ICP-101xx is a family of very low power, very high accuracy barometric pressure sensors. These sensors can measure pressure difference of as little as +/- 1 Pascal, which is equivalent to altitude differences of 8.5cm.
Documentation by TDK InvenSense:
- Product pages and datasheets: TDK InvenSense
- Application Note: Differential Pressure Sensing for Drones
Besides the library for Arduino, this repository also includes basic libraries compatible with the STM32 HAL here and Mbed OS here, and KiCad projects for three breakout boards.
The Arduino library ICP101xx provides a simple API to read temperature and pressure. The library was developed and tested with the ICP-10100 and ICP-10125 but should also work with other sensors of the family.
The library includes 3 examples that demonstrate its use.
Use the ICP101xx object to create an instance of the sensor. For example, by declaring a global variable:
ICP101xx mysensor;
To initialize the sensor, use the begin method.
mysensor.begin();
By default, the sensor will use the Arduino Wire object for I2C. If you want to use the sensor on a different I2C port, pass a pointer to the Wire object the library should use. For example:
mysensor.begin(&Wire1);
The begin method connects to the sensor and reads the calibration data. It will return false, if the sensor does not respond. This can be used for error handling.
if (!mysensor.begin()) {
	// sensor did not respond, do error handling here
}
This method is used to check whether the sensor is responding. This method returns true if the sensor can be reached.
if (mysensor.isConnected()) {
	// do some measurements
} else {
	// report an error
}
isConnected will return false in the following situations:
- No response from the sensor. Check your connections and pull-up resistors.
- Sensor responds with an unknown or unsupported device ID.
The method measure performs a measurement and doesn't return control until the measurement is completed.
The time to complete a measurement depends on the selected sensor mode that can be passed as an optional parameter. The options are:
| Mode | Duration | Noise | Sensor Mode | Notes |
|---|---|---|---|---|
| FAST | 3 ms | ±3.2 Pa | Low Power (LP) | |
| NORMAL | 7 ms | ±1.6 Pa | Normal (N) | default |
| ACCURATE | 24 ms | ±0.8 Pa | Low Noise (LN) | |
| VERY_ACCURATE | 95 ms | ±0.4 Pa | Ultra Low Noise (ULN) |
mysensor.measure(mysensor.VERY_ACCURATE);	// high accuracy measurement
// process data
If mode is not specified, NORMAL will be used.
mysensor.measure();	  // normal measurement
// process data
Sometimes you may not want to wait idly until a measurement is complete but do something useful while the sensor is busy. Especially when using the VERY_ACCURATE mode, which takes almost 100ms to complete.
measureStart initiates a new measurement and immediately returns control to the calling program. Like the method measure, an optional parameter can be used to specify the accuracy. You can then use dataReady to check whether the sensor completed its task.
mysensor.measureStart(mysensor.VERY_ACCURATE);
while (!mysensor.dataReady()) {
	// do some other useful stuff
}
// the sensor is done, process the data
When measurement is complete, the result is stored in the sensor object and can be read with the getPressurePa method.
getPressurePa returns the pressure in Pascal (Pa) as a float.
mysensor.measure();
Serial.print("Pressure is ");
Serial.print(mysensor.getPressurePa());
Serial.println(" Pa");
Pascal is mostly of interest to measure tiny pressure differences. For absolute pressure, you may want to apply some simple math.
| Target unit | Formula |
|---|---|
| hPa | Pa / 100 |
| mbar | Pa / 100 |
| mmHg | Pa / 133.322365 |
| inHg | Pa / 3386.389 |
| atm | Pa / 101325 |
The ICP-101xx also includes a very precise temperature sensor with an absolute accuracy of ±0.4 Celsius. The temperature is sampled together with the pressure during each measurement cycle. Use getTemperatureC or getTemperatureF to get the temperature as float in Celsius or Fahrenheit respectively.
mysensor.measure();
Serial.print("The current temperature is ");
Serial.print(mysensor.getTemperatureF());
Serial.println(" Fahrenheit");
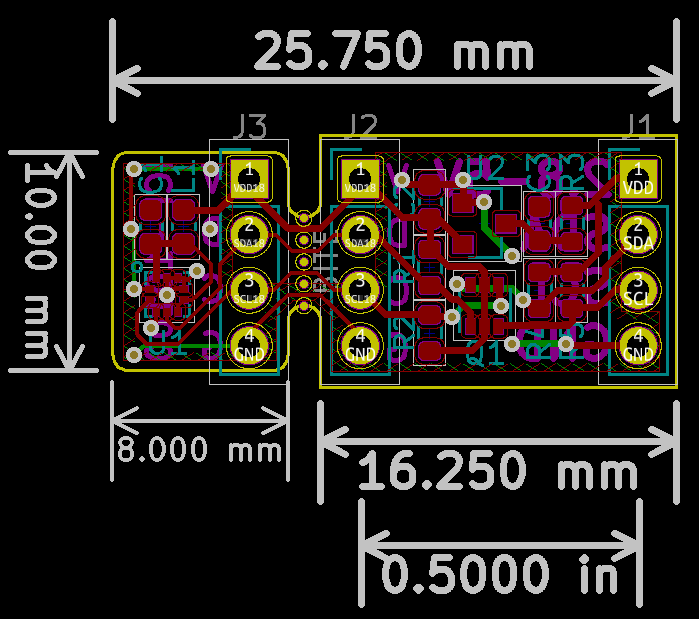
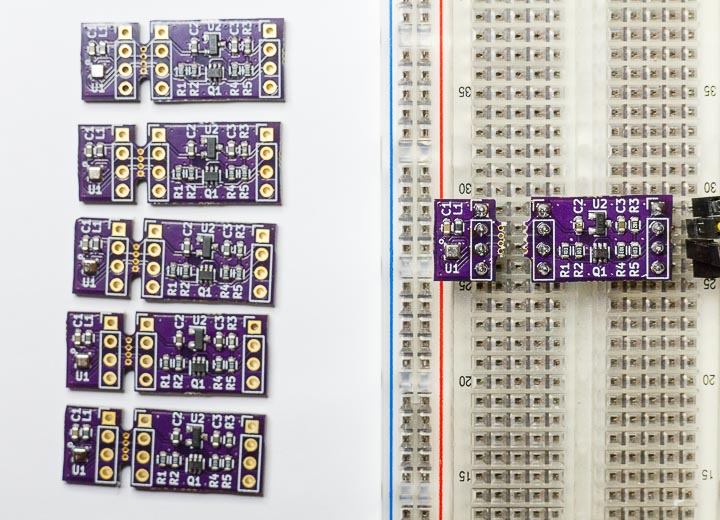
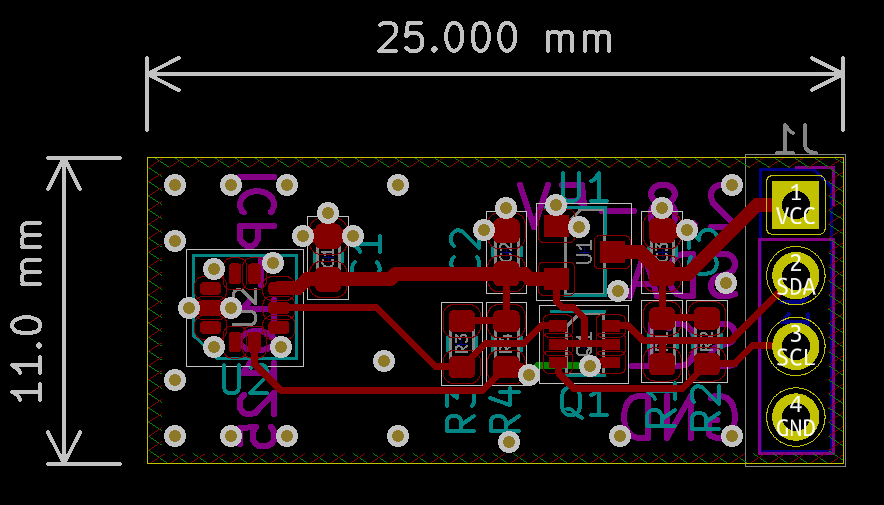
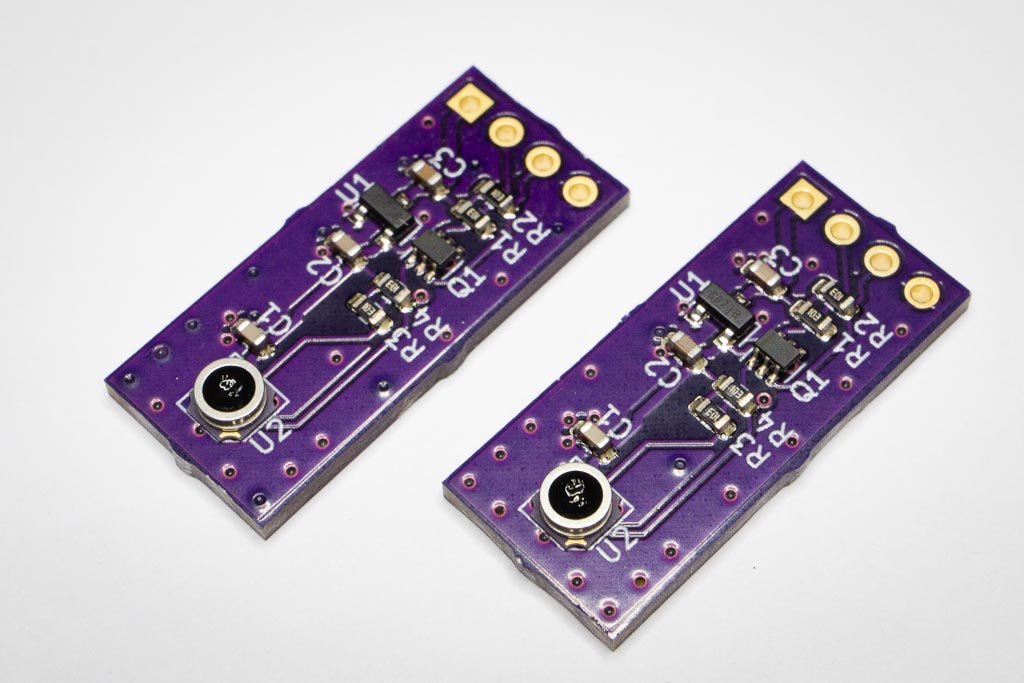
This repository includes the design files for three breakout boards in the folder extras/KiCad. These breakout boards were designed with Kicad 5.x.
The ICP-101xx is a 1.8V part, but the boards include a voltage regulator and I2C level-shifter. This allows to interface the sensor to 2.8V, 3.3V or 5V logic.
Soldering the sensor requires a solder paste stencil and reflow oven or hotplate, though experienced tinkerers may manage to assemble it only using a hot air station.
Contact me if you are interested in buying populated and tested breakout boards, I may have a few at hand. There's also an inexpensive breakout board by Mikroe (search MIKROE-3328 on Digi-Key, Mouser and other distributors), which should work with this library.
The sensor can be separated from the rest of the breakout board, for example to put into confined and/or exposed spaces.
You can order the PCB on OSH Park
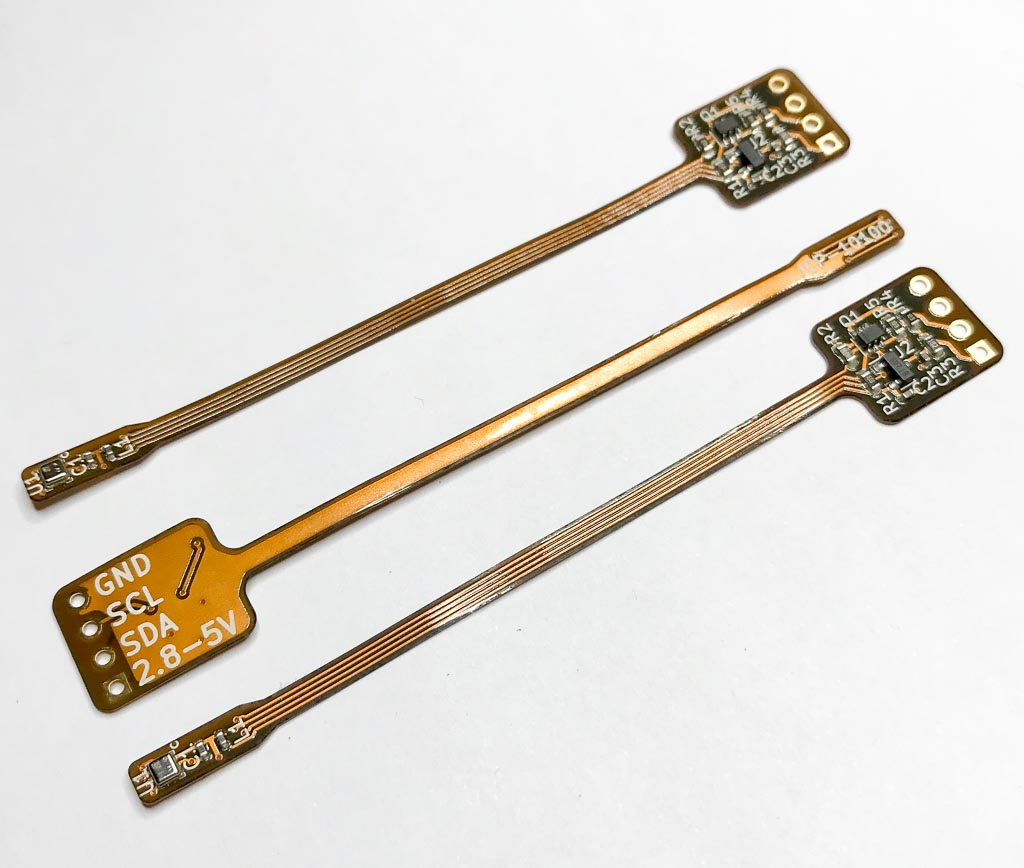
A probe style breakout board, ideal to shove the sensor into narrow places.
This design works best with very thin or flexible PCB material.
You can order the PCB on OSH Park
A breakout board for the new ICP-10125 pressure sensor.
This part is larger than the ICP-10100 and may be easier to assemble, though the pads are still under the component.
You can order the PCB on OSH Park
