Add custom menu bar programs on macOS in three easy steps:
- Write a shell script
- Add it to SwiftBar
- ... there is no 3rd step!
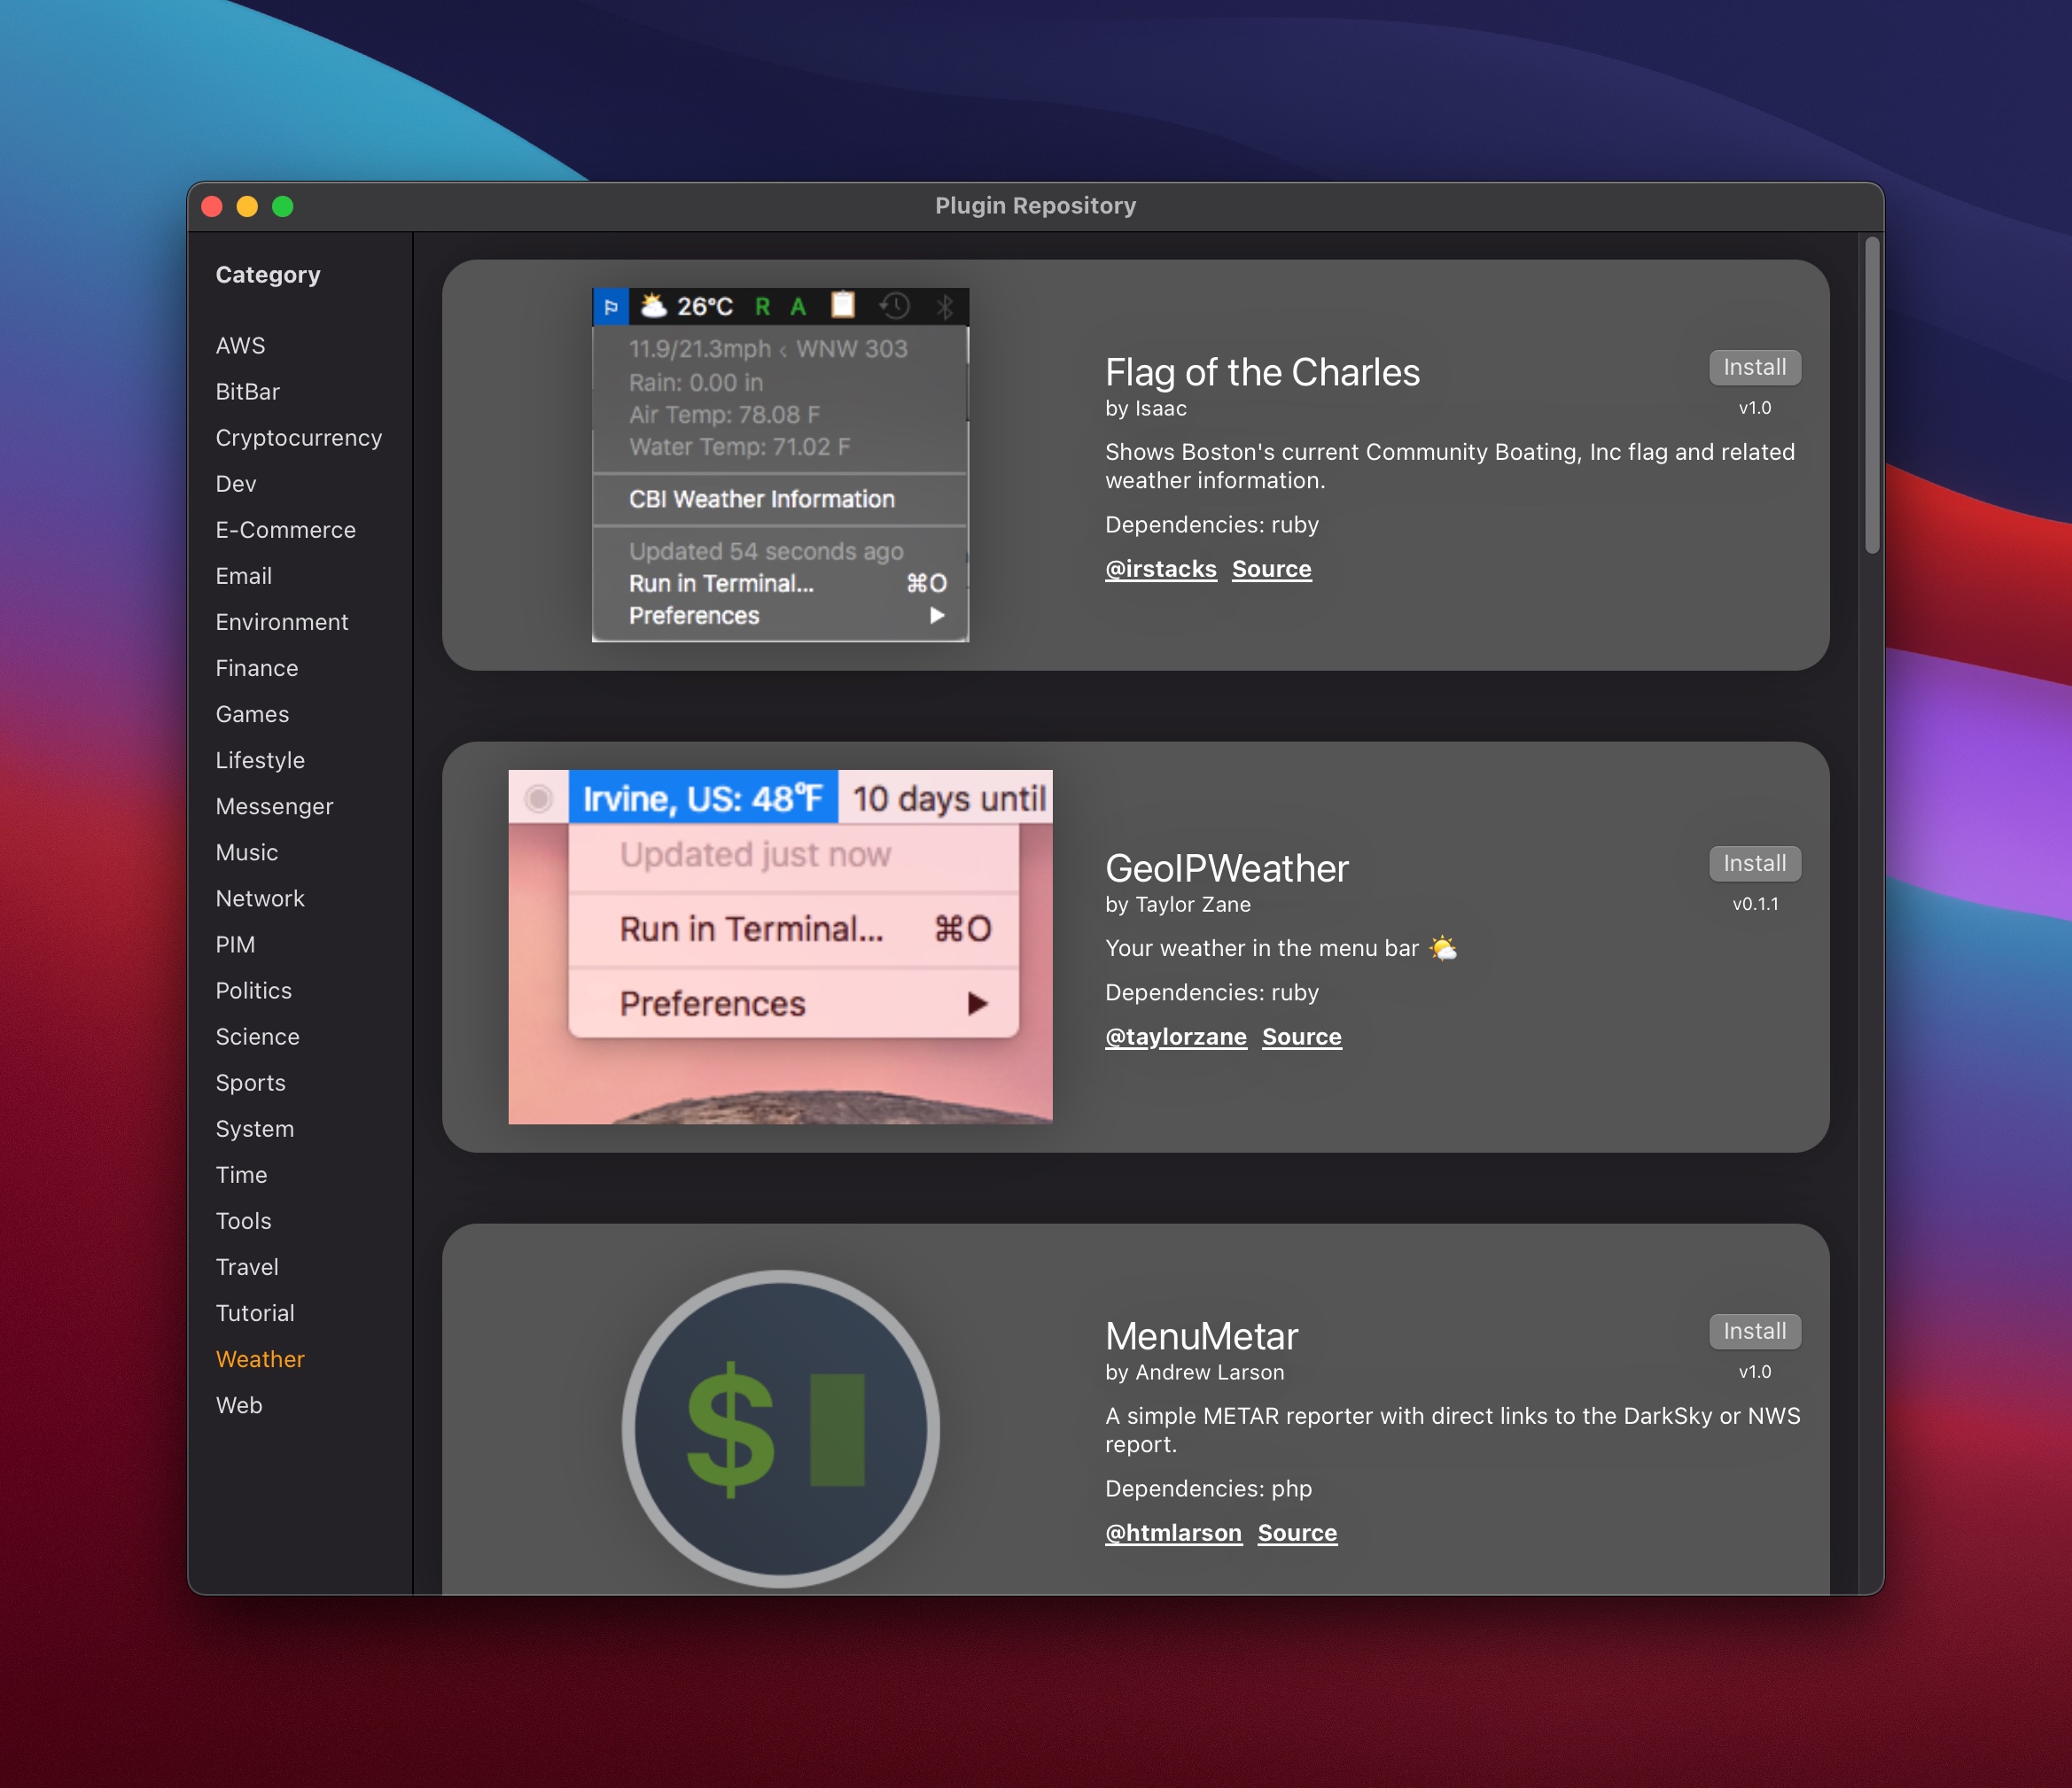
You can get plugins from awesome BitBar repository, or in SwiftBar itself using the Get Plugins... menu item.
Download from GitHub Releases
or Install with Homebrew
brew tap melonamin/formulae
brew cask install SwiftBar
Runs on macOS Catalina (10.15) and up.
- Clone or download a copy of this repository
- Open SwiftBar/SwiftBar.xcodeproj
- Press play
SwiftBar bundled with Plugin Repository, you can access it at Swiftbar → Get Plugins...
To add a new plugin to SwiftBar you need to create an executable script following the required format (see below) and put it into Plugin Folder.
With the first launch, Swiftbar will ask you to set the Plugin Folder, SwiftBar will try to import every file in this folder as a plugin.
Important:
- hidden folders are ignored
- nested folders are traversed by SwiftBar
Plugin files must adopt the following format:
{name}.{time}.{ext}
- name - anything you want
- time - resresh interval, optional, should be a number + duration modifier (see below)
- ext - file extension
Duration modifier:
- s - seconds, i.e. 1s - refresh every second
- m - minute, i.e. 10m - refresh every ten minutes
- h - hour, i.e. 3h - refresh every three hours
- d - day, i.e. 1d - refresh every day
Example filename: date.1m.sh
Plugin is an executable script in the language of your choice. When SwiftBar detects a new file in Plugin Folder it makes this file executable if needed and runs it.
Script should produce output (STDOUT) in the required format (see next chapter), error should be redirected to STDERR.
Plugin API is adopted from the BitBar, which means that SwiftBar can run any existing BitBar plugin.
When parsing plugin output SwiftBar recognizes the following blocks:
- Header - responsible for what you see in the menu bar
- Body - responsible for dropdown menu contents
Header is everything before first ---, each --- after the first one will be interpreted as a menu separator.
You have one or more lines in the header.
The simplest plugin looks like this:
echo "This is Menu Title"
If you provide multiple titles, the provided titles will be cycled in the menu bar and shown in the dropdown menu:
echo "This is a primary Menu Title"
echo "This is a secondary Menu Title"
echo "This is a n-th Menu Title"
---
echo "This is not a Menu Title, this will be showed in the drop-down menu only"
Script output for both header and body is split by line(\n), each line must follow this format:
<Item Title> | [param = ...]
where:
- "Item Title" can be any string, this will be used as a menu item title.
- [param = ...] is an optional set of parameters\modificators, each parameter is a key-value separated by
=. Use|to separate parameters from the title.
Here is the list of supported parameters:
Text Formatting:
| Parameter | Value | Description |
|---|---|---|
color |
CSS color or HEX | Sets item text color |
font |
macOS font name | Sets font name to use in item text |
size |
Number | Sets item text size |
length |
Number | Trims item text to a provided number of characters, the full title will be displayed in a tooltip |
trim |
True | Trims whitespace characters |
emojize |
False | Disables parsing of GitHub style emojis, i.e. :mushroom: into 🍄 |
Visuals:
| Parameter | Value | Description |
|---|---|---|
dropdown |
False | Applicable to items in Header, when set to False item will not be displayed in dropdown menu, but will be cycled in the menu bar |
alternate |
True | Marks a line as an alternative to the previous one for when the Option key is pressed in the dropdown |
image |
Image encoded in Base64 | Sets an image for item |
templateImage |
Image encoded in Base64 | Same as image, but the image is a template image. Template images consist of black and clear colors (and an alpha channel). Template images are not intended to be used as standalone images and are usually mixed with other content to create the desired final appearance. |
sfimage |
SFSymbol name | Sets an image for item from SF Symbol. Only available on Big Sur and above. |
checked |
True | Sets a checkmark in front of the item |
tooltip |
Text | Sets a tooltip for the item |
Actions:
| Parameter | Value | Description |
|---|---|---|
refresh |
True | Plugin Script will be executed on item click |
href |
Absolute URL | Sets an URL to open when item clicked |
bash |
Absolute file path | Executable script to run in Shell |
terminal |
False | bash script will be run in the background, instead of launching the Terminal |
params |
param0=,param1=,param10=... |
Parameters for bash script |
shortcut |
CMD+OPT+T | Hotkey assigned to item, if item is in header hotkey will show the menu, otherwise hotkey will launch associated action |
It is recommended to include metadata in plugin script, metadata is used in the About Plugin screen in SwiftBar. SwiftBar adopts metadata format suggested by BitBar:
# <bitbar.title>Title goes here</bitbar.title>
# <bitbar.version>v1.0</bitbar.version>
# <bitbar.author>Your Name</bitbar.author>
# <bitbar.author.github>your-github-username</bitbar.author.github>
# <bitbar.desc>Short description of what your plugin does.</bitbar.desc>
# <bitbar.image>http://www.hosted-somewhere/pluginimage</bitbar.image>
# <bitbar.dependencies>python,ruby,node</bitbar.dependencies>
# <bitbar.abouturl>http://url-to-about.com/</bitbar.abouturl>
If plugin fails to run SwiftBar will show Console.app to view SwiftBar logs.

