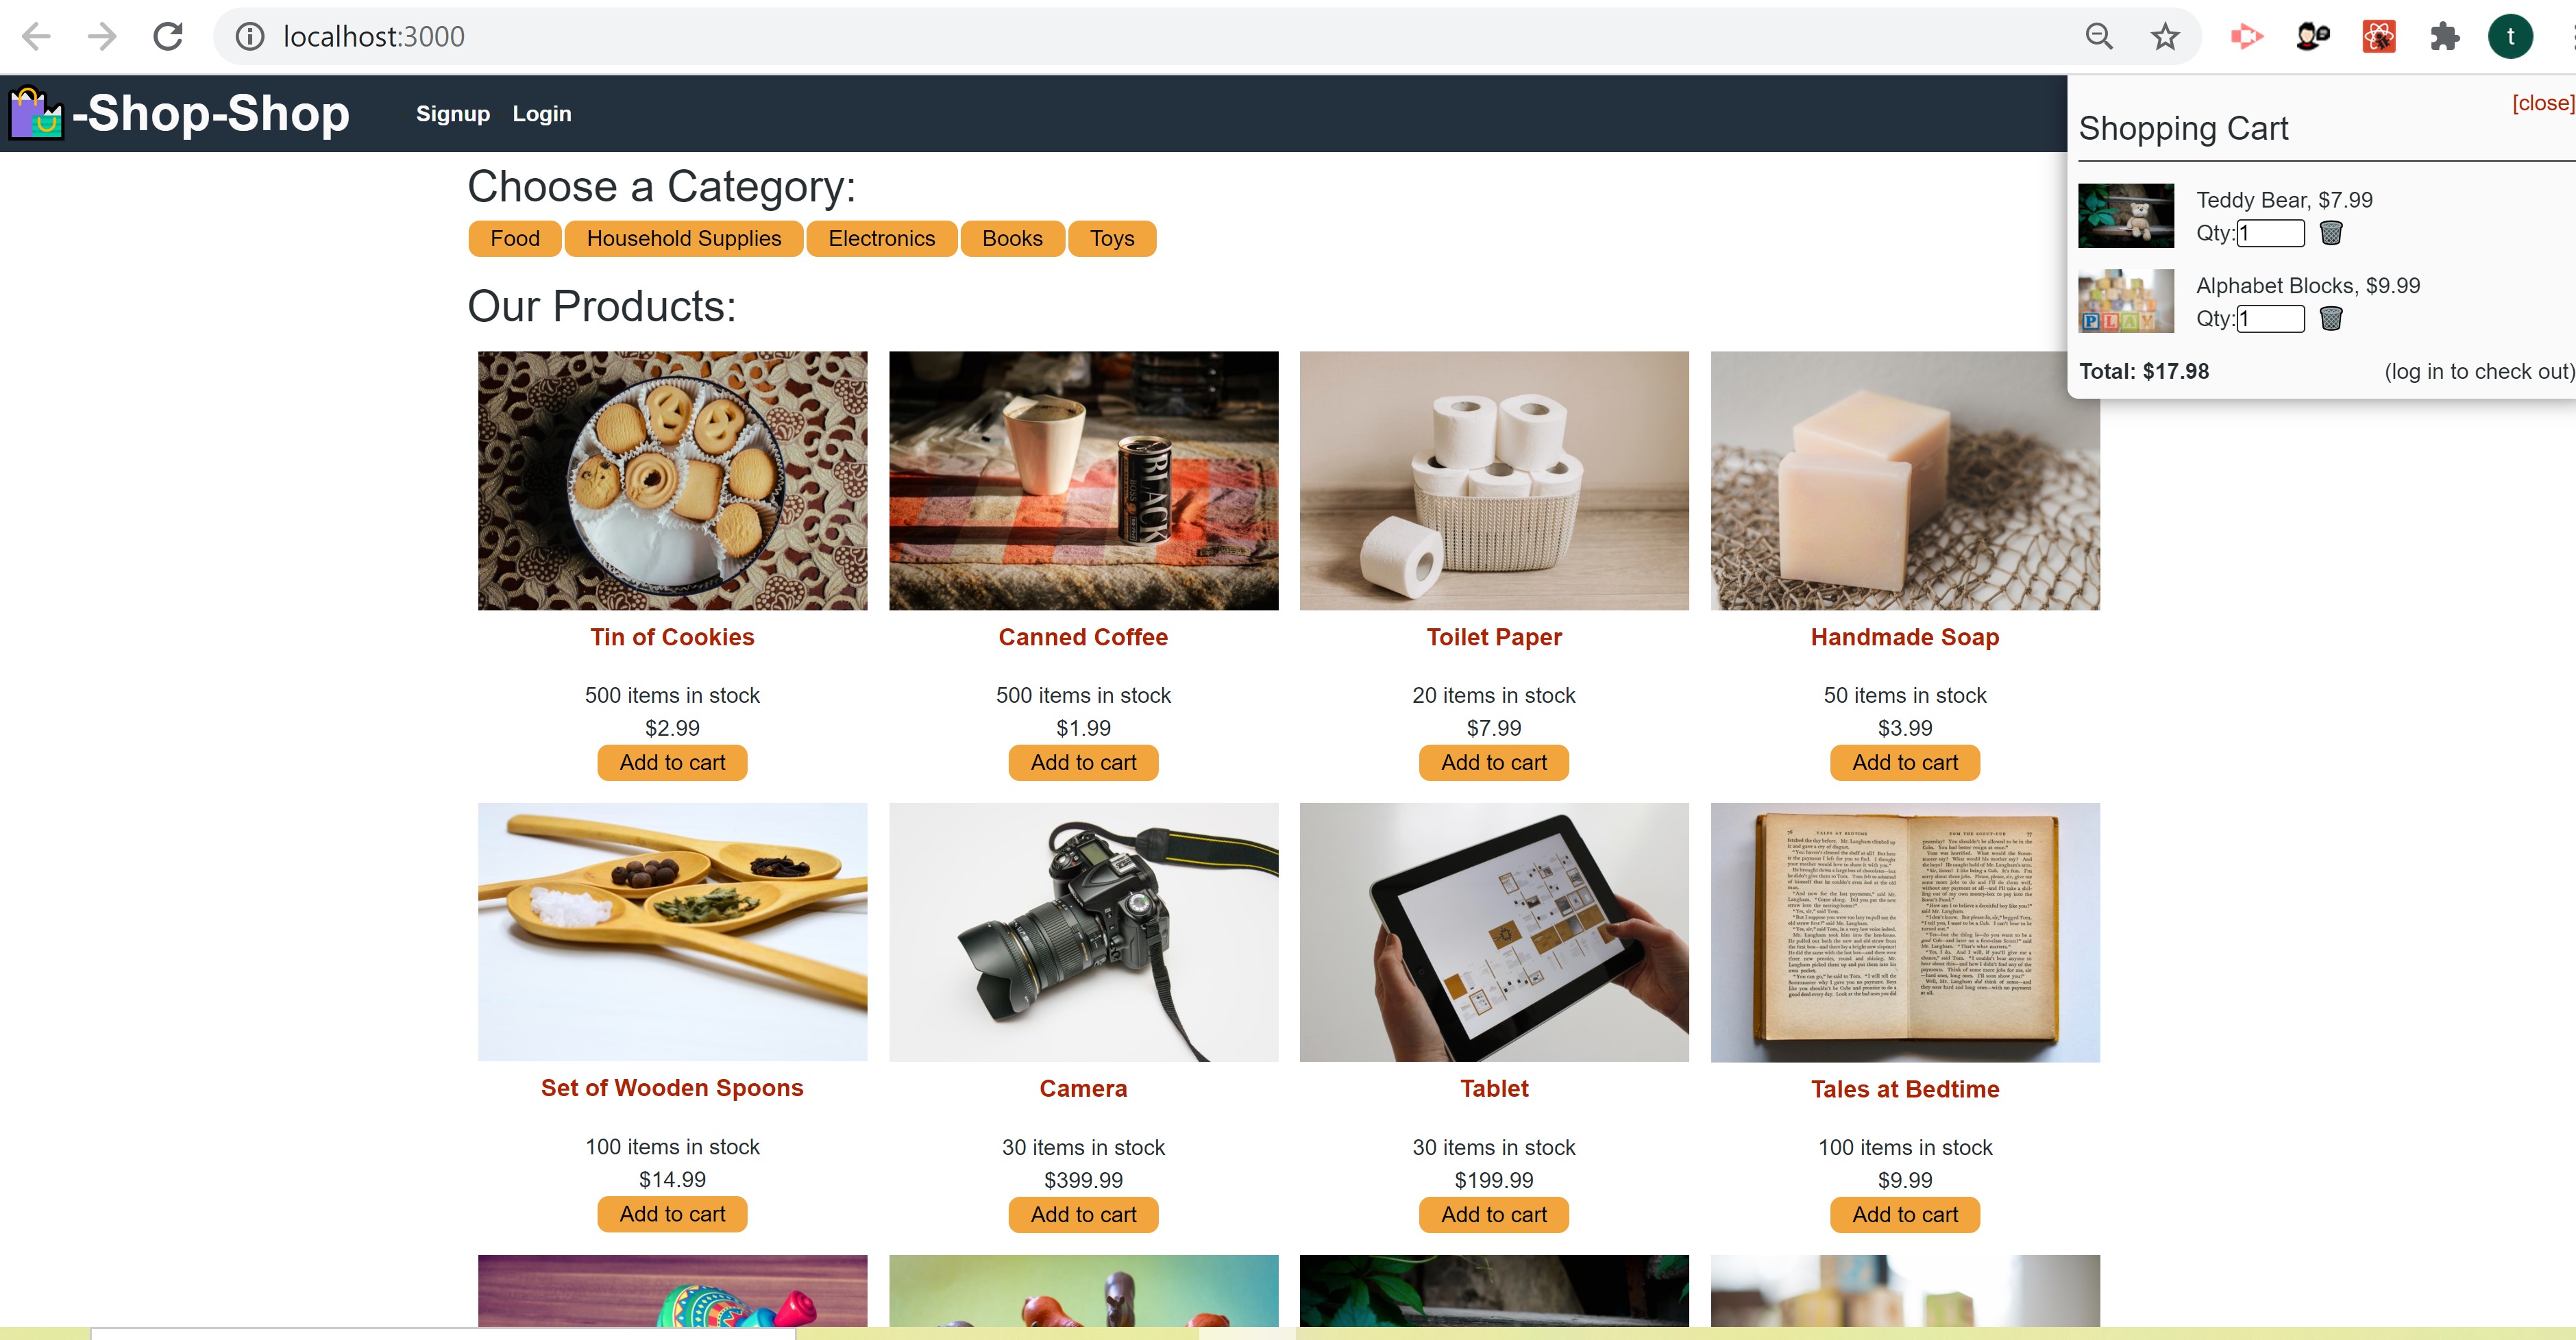
E-commerce online application focusing on enhancing an existing website with Redux global state management, offline functionality, and secure online payments through a Stripe API built in a MERN-stack application.
-
Redux-Store Challenge: https://github.com/ktrnthsnr/Redux-Store
-
Shop-Shop Module w\feature working branches: https://github.com/ktrnthsnr/shop-shop
-
Challenge Redux-Shop website: https://ktrnthsnr-redux-store.herokuapp.com/
-
Module Shop-Shop website: https://ktrnthsnr-shop.herokuapp.com/
Working with an existing application, the enhancements for this e-commerce online codebase have been to:
-
Completed initial setup of the frontend and backend to receive the product data from the server, with Apollo caching the results.
-
Removed local state management and replaced with global state management within various components (not login\signup) such as CategoryMenu, ProductList and Home - through a Redux-like store implemented by the React Context API, through Redux-like actions and reducers.
-
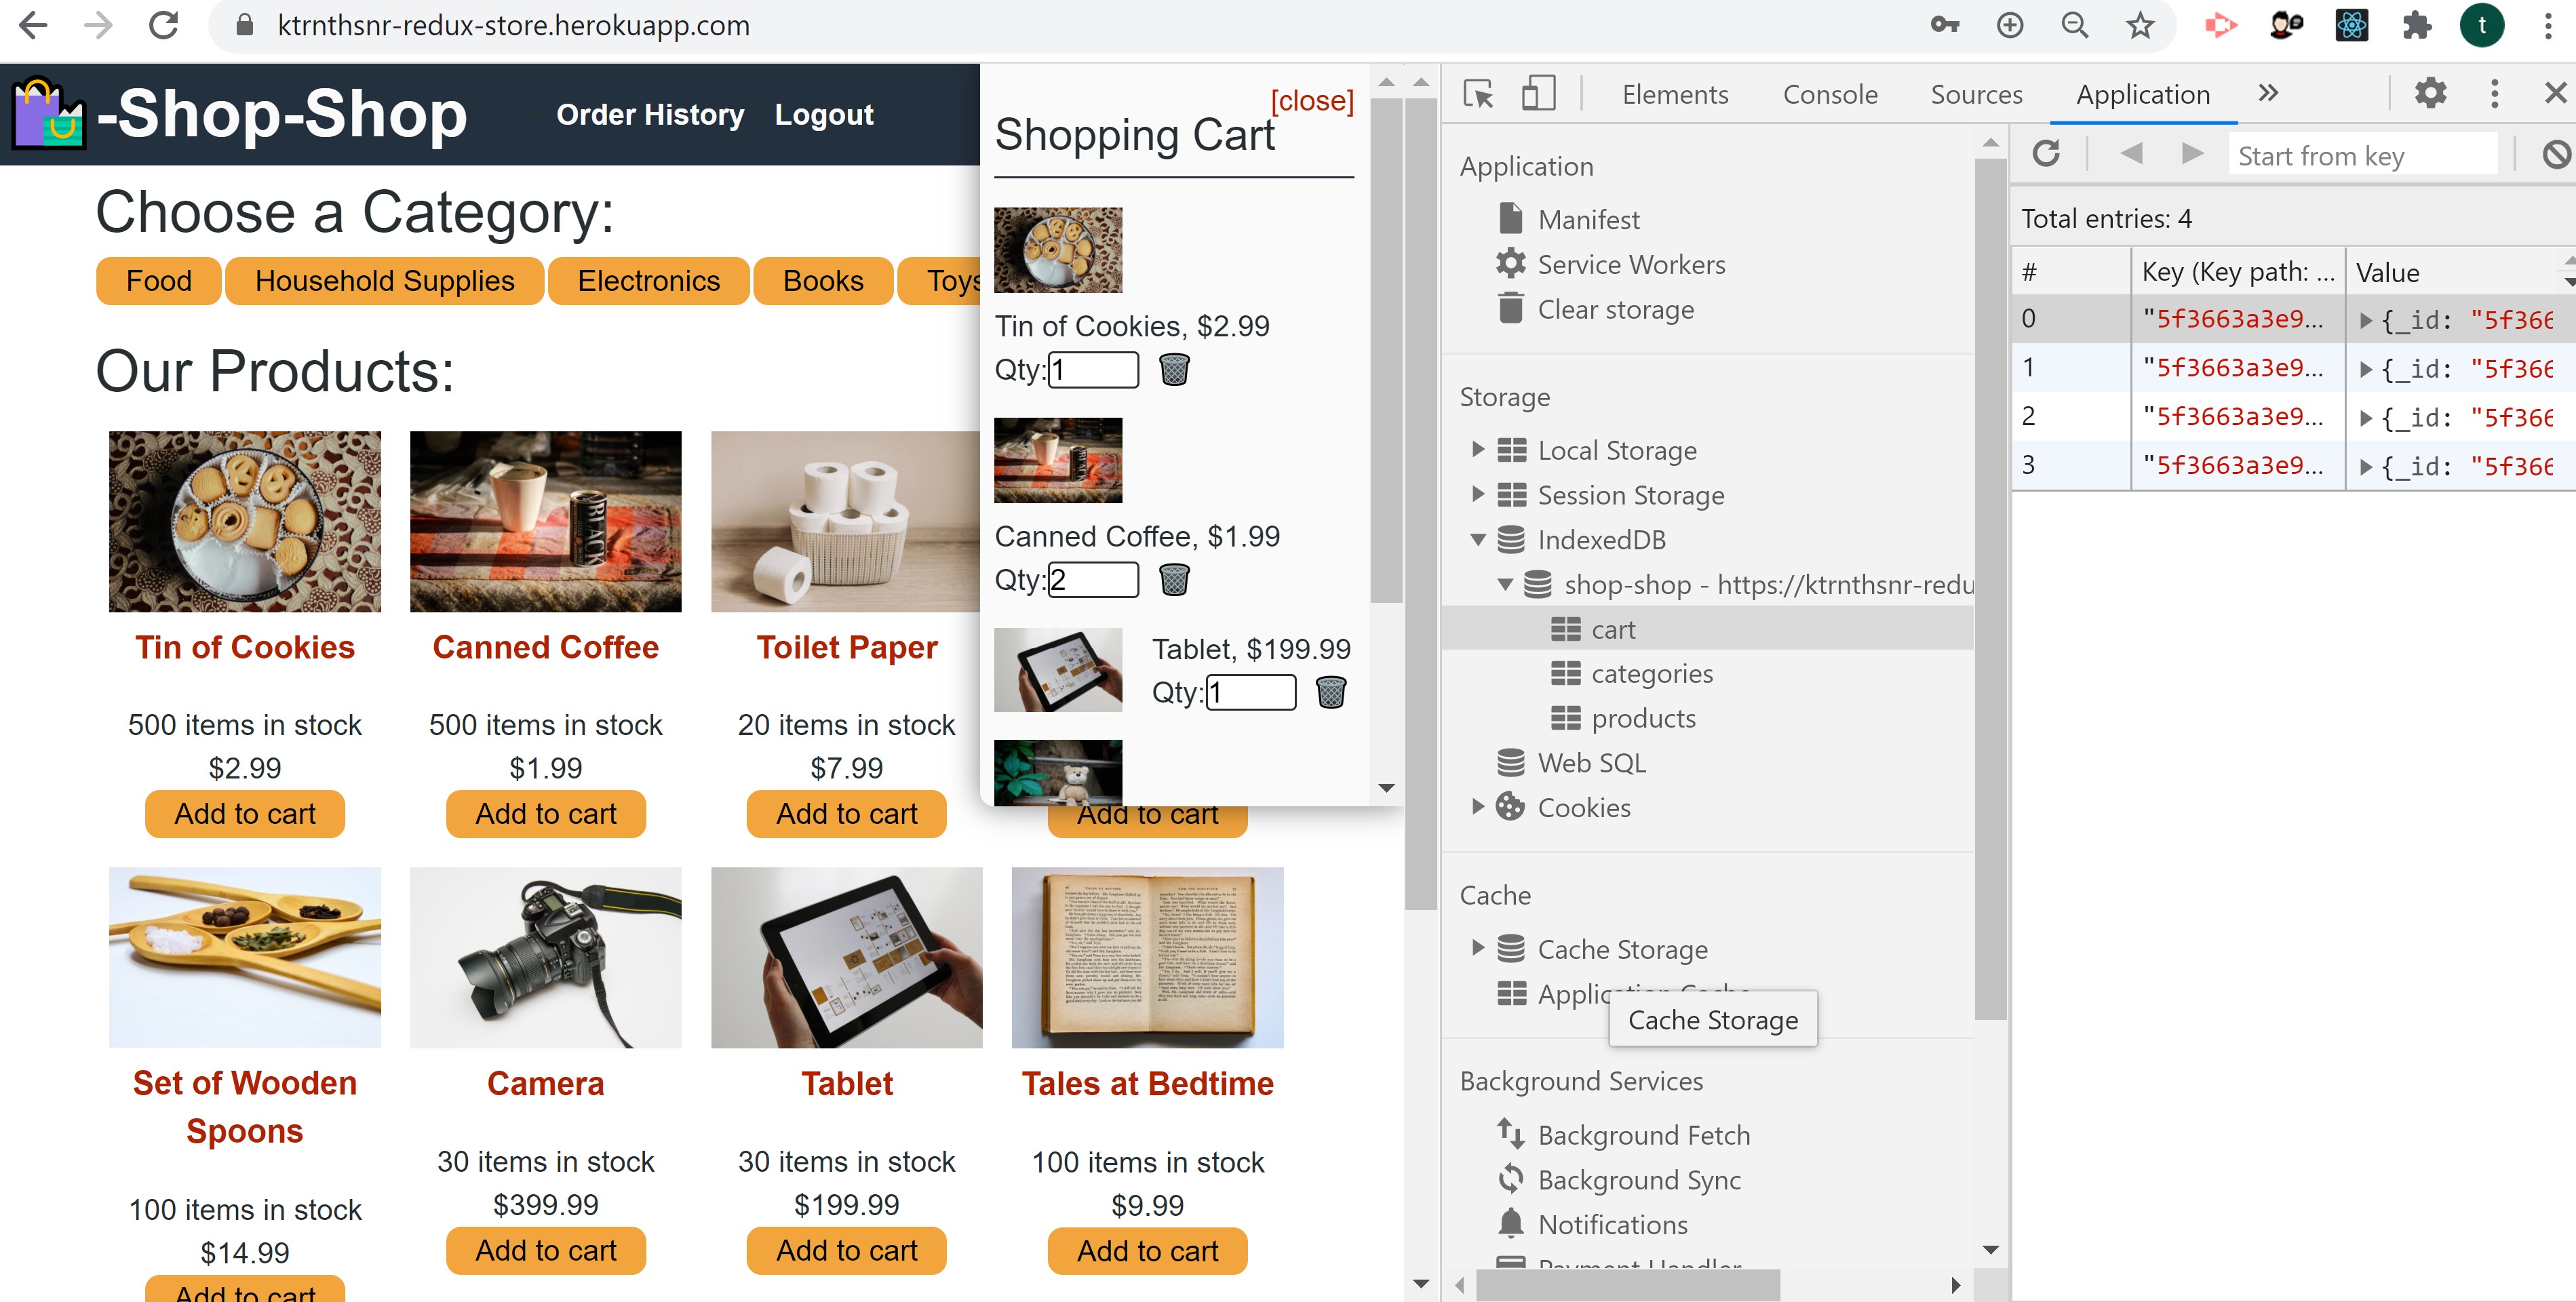
Added offline capabilities and functionality to persist data by implementing cached server-side data using IndexedDB so a user may continue to shop if temporarily losing internet connectivity. Once back online, the transaction was saved to the MongoDB.
-
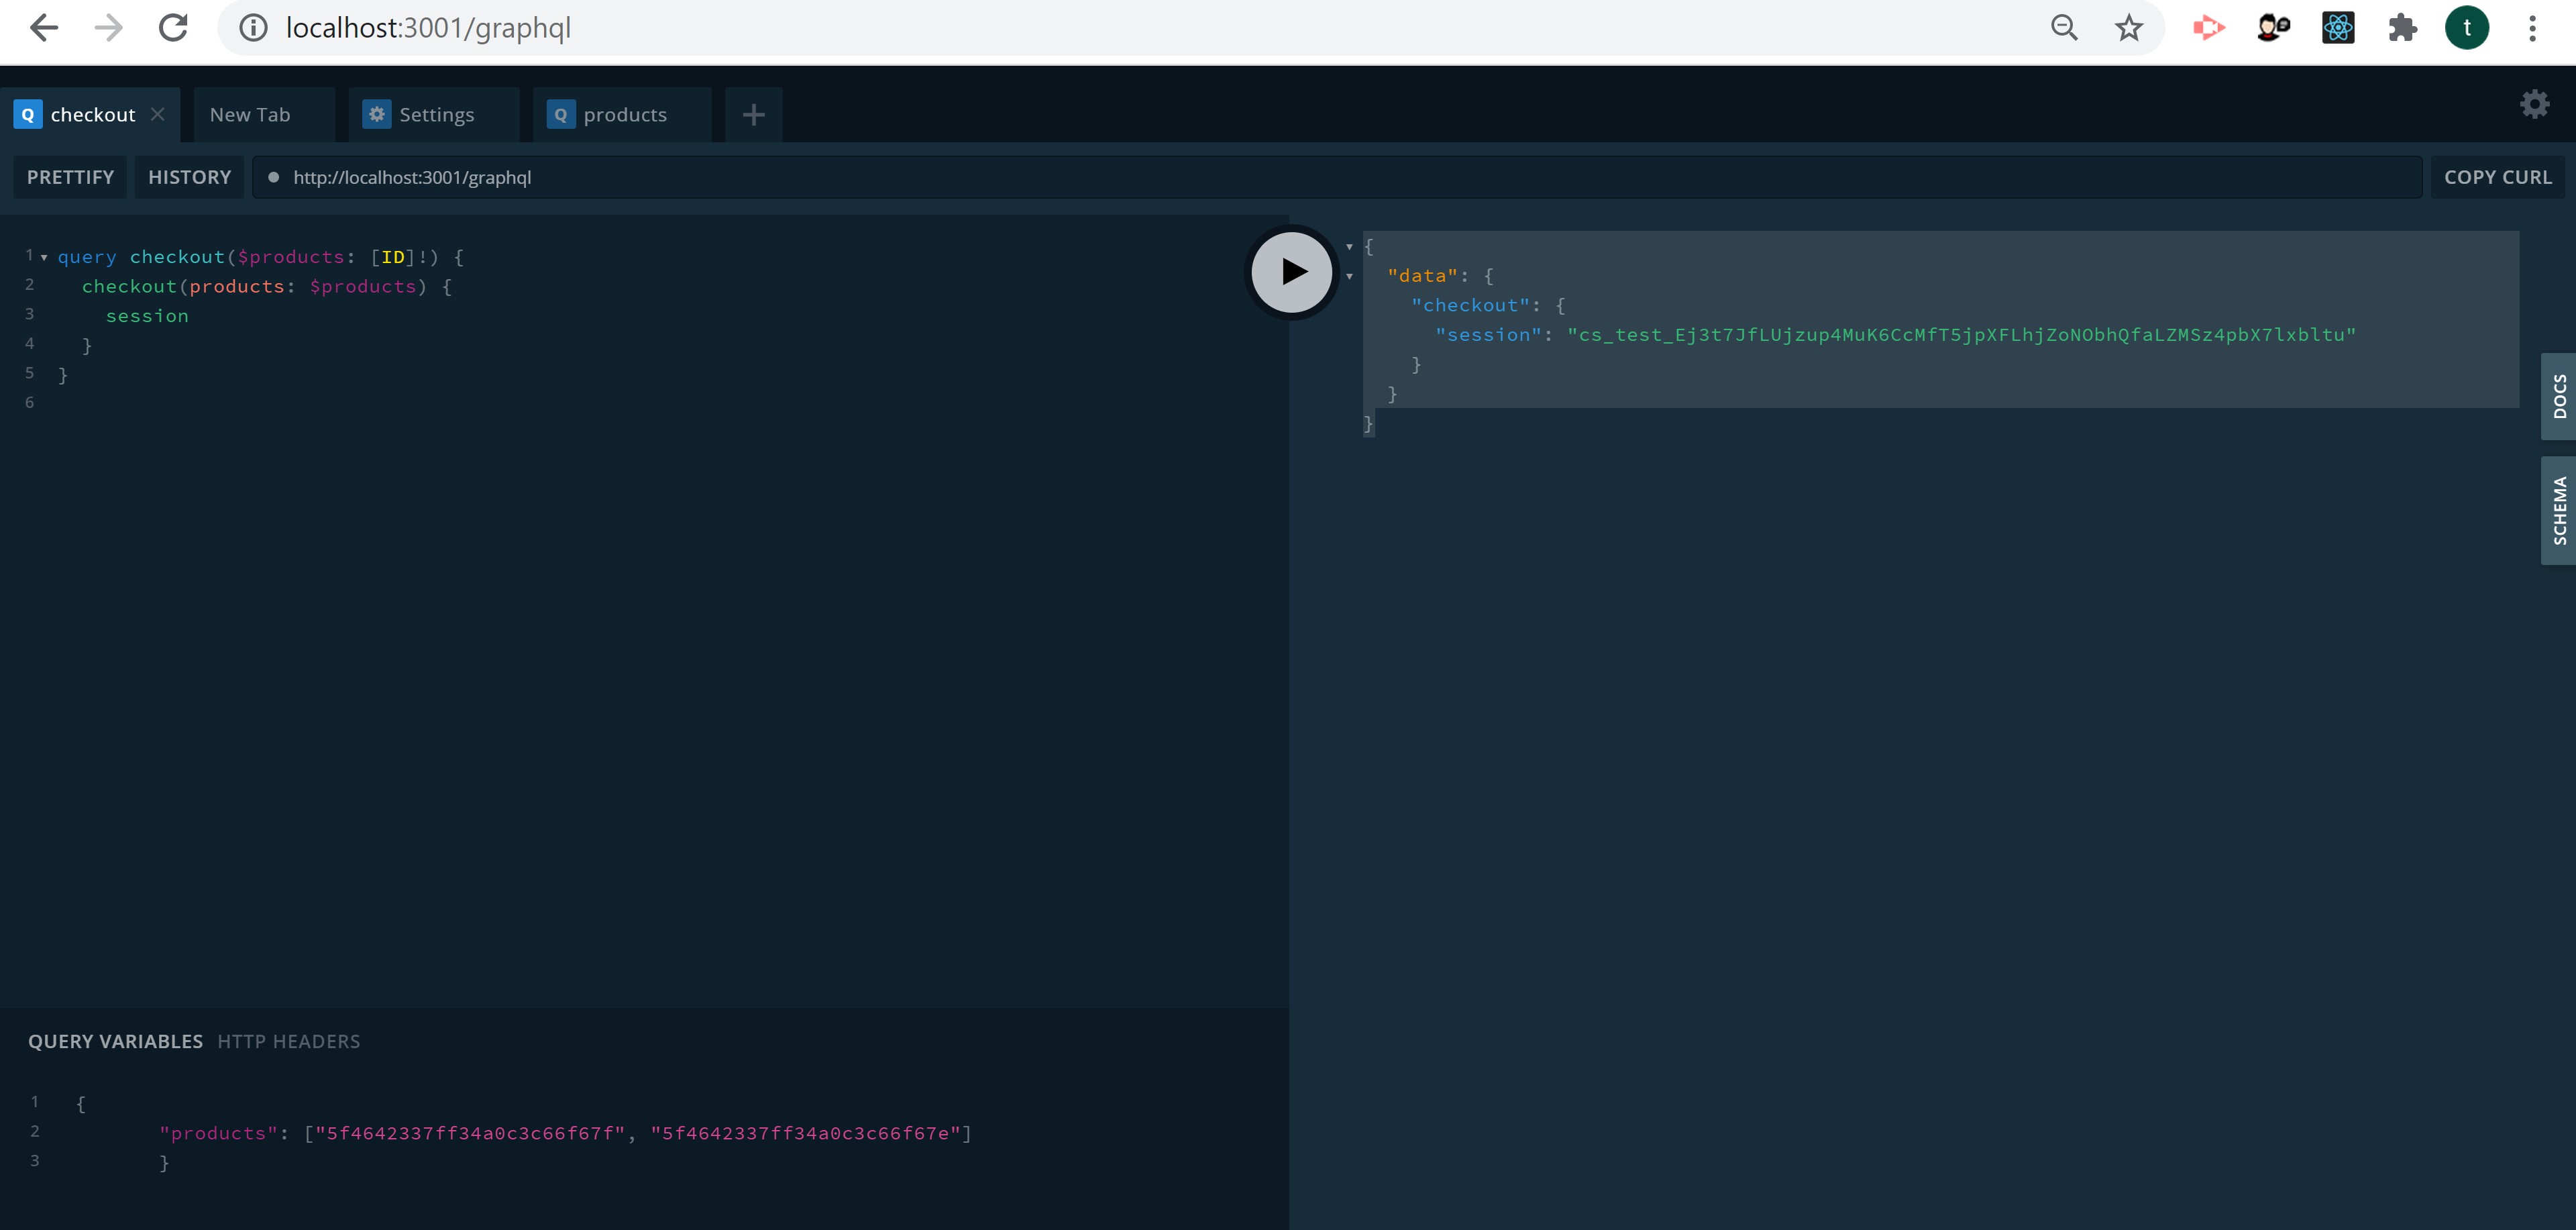
Updated code to handle secure online payments coordinated with a Stripe payment service.
-
Updated middleware and front-end GraphQL and React.
Node.js, JavaScript, ES6, npm MongoDB, Mongoose, Express.js, React.js, GraphQL, GraphQL Playground, Apollo Server, Apollo-Client, graphql-tag, apollo-server-express, apollo-boost, React Router, react-router-dom, apollo/react-hooks, if-env, concurrently, jsonwebtoken, jwt-decode, faker, nodemon, bcrypt, moment, stripe, @stripe/stripe-js
-
Prereq: install VSCode, Node.js, and MongoDB
-
After cloning the GitHub repo to your local drive, run the following in the VSCode command-line terminal
-
Install all components listed within the package.json file for npm
- cd to the root, then run
- $
npm iornpm install - Seed the MongoDB collections $
npm run seed
-
Check if all the dependencies were installed per the package.json files with the client, server, and root directories. If any are missing you may have to install the npm packages from each of the folders in addition to the root folder. For example, run in the bash terminal command window,
- Server
- $
cd server - $
npm i - Client
- $
cd client - $
npm i
-
Stripe npm installations included
- cd to the server directory, then run in the bash terminal window
- $
npm install stripe - cd to the client directory, then run in the bash terminal window
- $
npm install @stripe/stripe-js
-
If cloning and installing locally, start by running in the terminal bash window,
-
$
npm start -
This will bring up the development server and browser on your localhost to begin querying
-
Use GraphQL at
http://localhost:3001/graphql -
To seed the content, run
-
$
cd serverthennpm run seed
- The website has been deployed to Heroku through an mLab resource add-on at this location:
https://ktrnthsnr-redux-store.herokuapp.com/
-
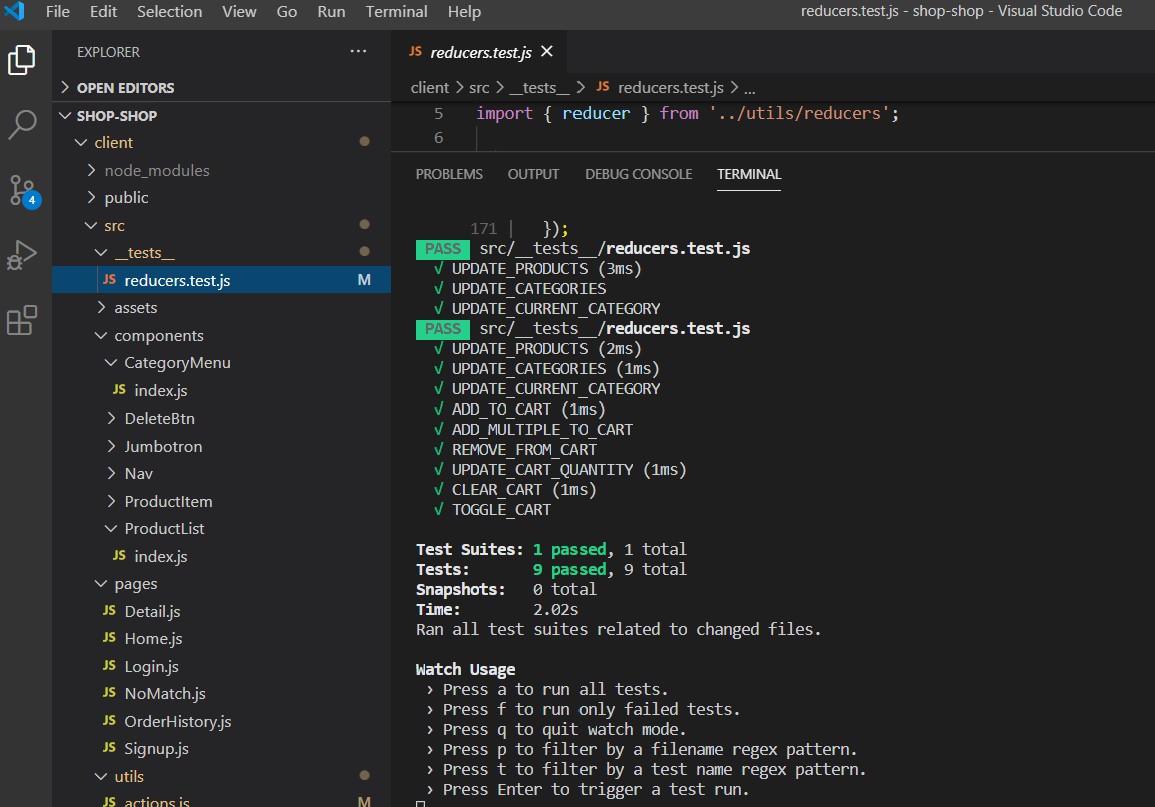
Within the client folder, run
npm run testto run various reducer action tests. -
Jest tests
-
Validating offline functionality through IndexedDB
- Validate offline functionality is stored in the IndexedDB by starting up DevTools within the Chrome browser (right-click > Inspect or F12), then under the Network tab, change the throttling setting to Offline. Then under devTools, Applications, under the Storage > IndexedDB, view the cart, categories, and products key\value pairs listed under the IDB. Alternatively, you may clone the application and after installations have been completed, cd to the client directory, and run npm start, which will only start the client, not the server, to validate the offline functionality.
- IndexedDB is storing the data while the application is not connected to the the internet, a setup for performance web application (PWA).
 .
.
-
GraphQL Playground
ktrnthsnr
This project was bootstrapped with Create React App.
In the project directory, you can run:
Runs the app in the development mode.
Open http://localhost:3000 to view it in the browser.
The page will reload if you make edits.
You will also see any lint errors in the console.
Launches the test runner in the interactive watch mode.
See the section about running tests for more information.
Builds the app for production to the build folder.
It correctly bundles React in production mode and optimizes the build for the best performance.
The build is minified and the filenames include the hashes.
Your app is ready to be deployed!
See the section about deployment for more information.
Note: this is a one-way operation. Once you eject, you can’t go back!
If you aren’t satisfied with the build tool and configuration choices, you can eject at any time. This command will remove the single build dependency from your project.
Instead, it will copy all the configuration files and the transitive dependencies (webpack, Babel, ESLint, etc) right into your project so you have full control over them. All of the commands except eject will still work, but they will point to the copied scripts so you can tweak them. At this point you’re on your own.
You don’t have to ever use eject. The curated feature set is suitable for small and middle deployments, and you shouldn’t feel obligated to use this feature. However we understand that this tool wouldn’t be useful if you couldn’t customize it when you are ready for it.
You can learn more in the Create React App documentation.
To learn React, check out the React documentation.
This section has moved here: https://facebook.github.io/create-react-app/docs/code-splitting
This section has moved here: https://facebook.github.io/create-react-app/docs/analyzing-the-bundle-size
This section has moved here: https://facebook.github.io/create-react-app/docs/making-a-progressive-web-app
This section has moved here: https://facebook.github.io/create-react-app/docs/advanced-configuration
This section has moved here: https://facebook.github.io/create-react-app/docs/deployment
This section has moved here: https://facebook.github.io/create-react-app/docs/troubleshooting#npm-run-build-fails-to-minify


