This tutorial takes RTFNet as an example. We assume that you have successfully clone the RTFNet repo and built the RTFNet docker image docker_image_rtfnet by following the instructions in the RTFNet repo.
Make sure you have Docker, Docker Compose and NVIDIA Container Toolkit installed.
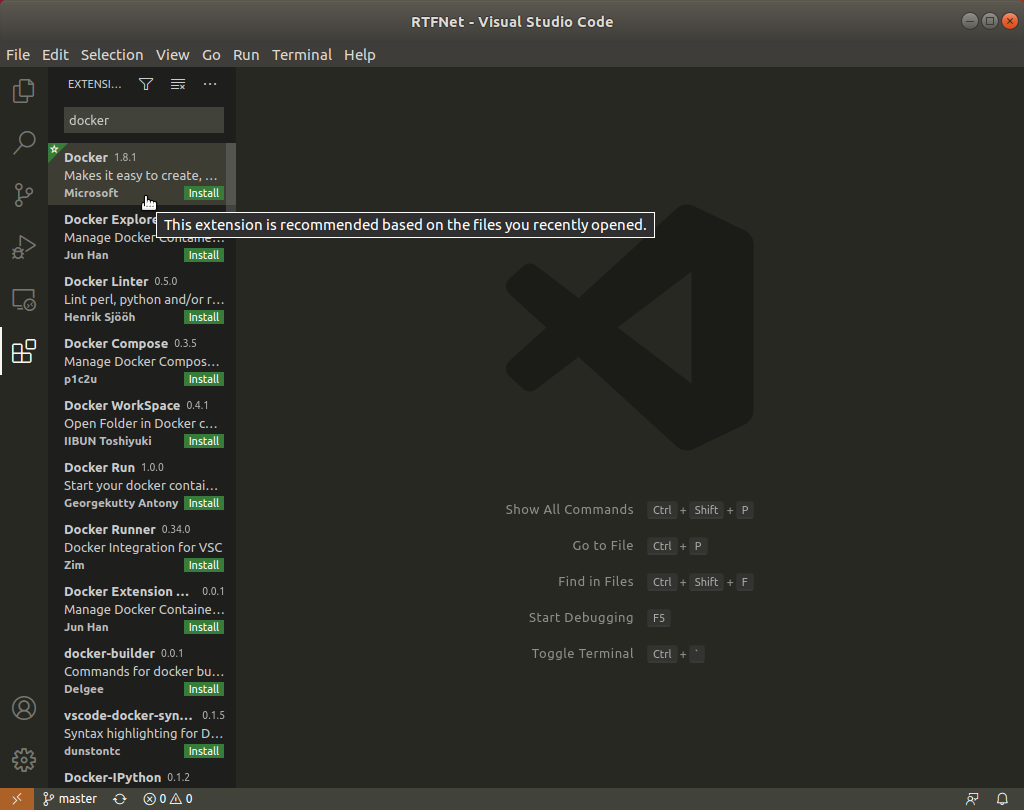
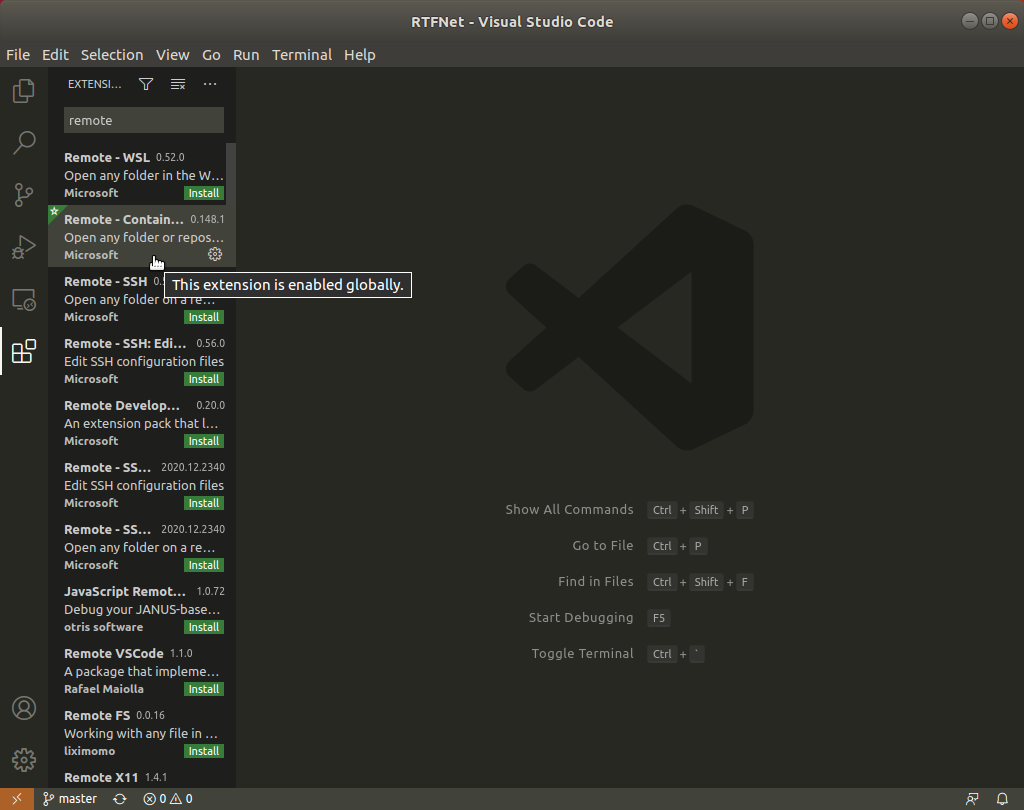
Open VSCode and click File->New Window->Open Folder to open the RTFNet folder on your computer. Note that using New Window is a good habit. If you do not new a window, the current window will be automatically closed after opening the folder. Then, click the Extensions. Search and install extensions Docker, Docker Compose and Remote-Containers.
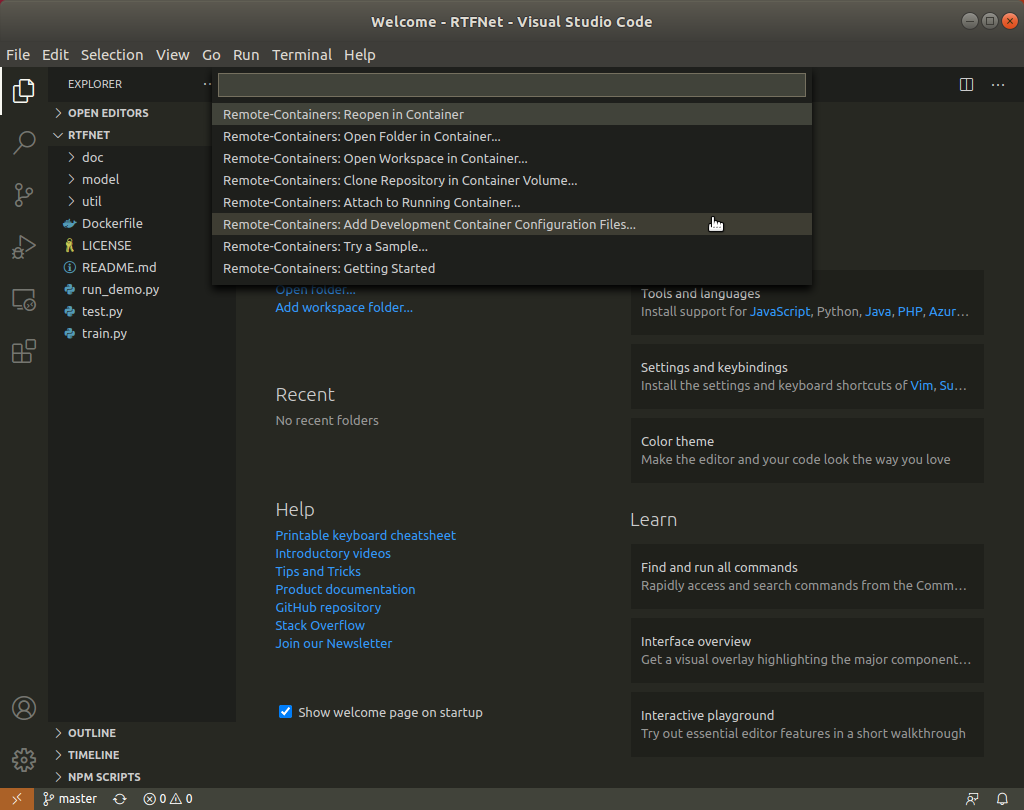
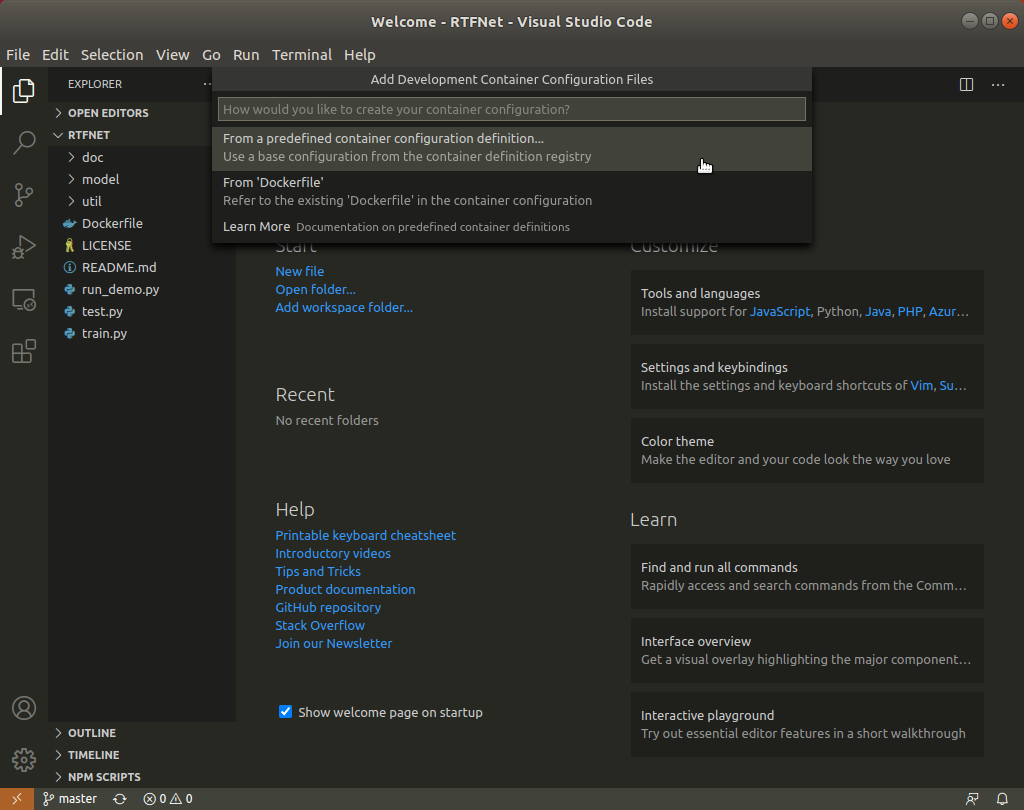
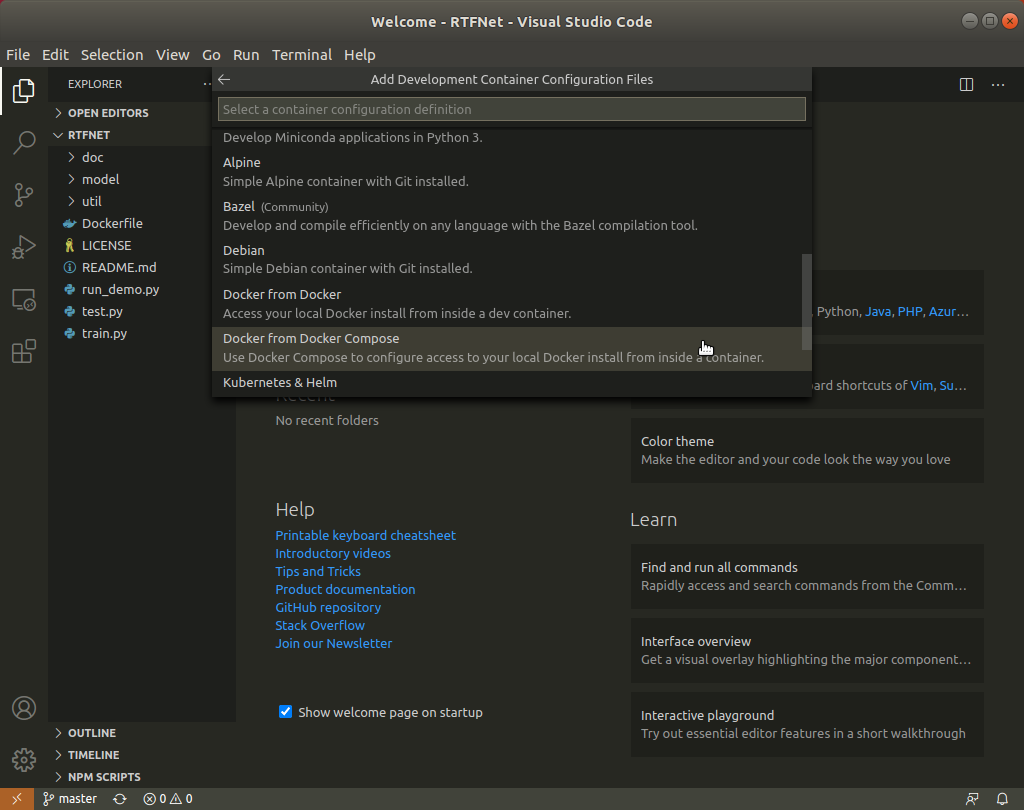
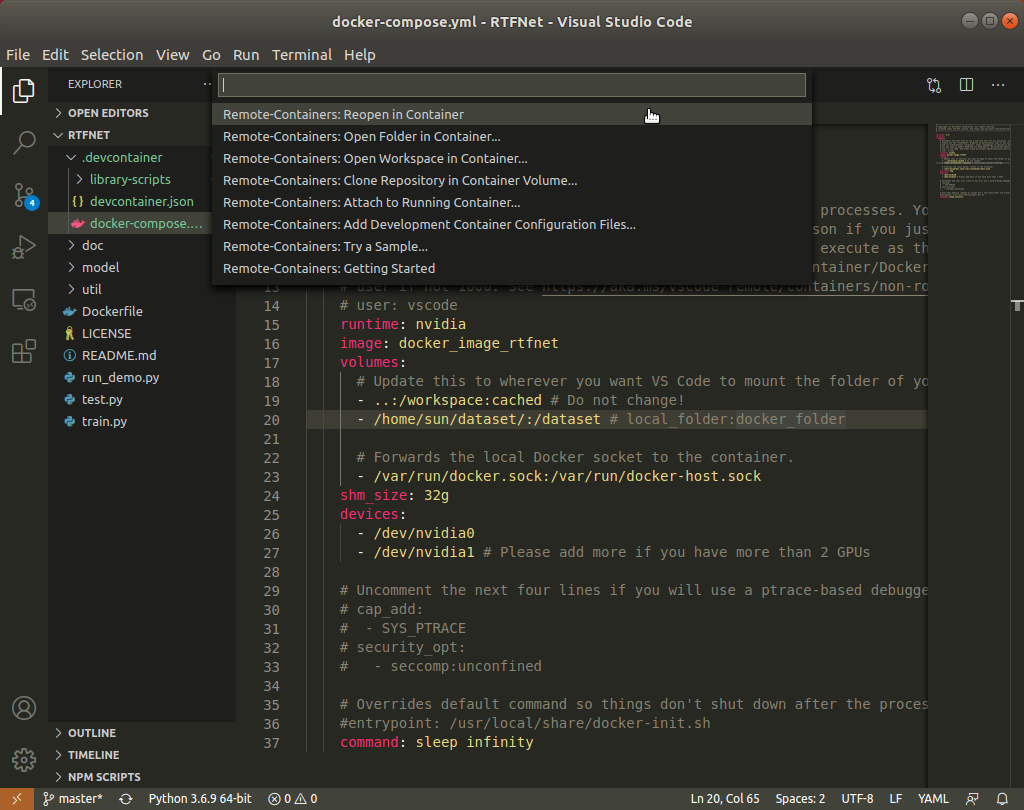
Click the left bottom square button, then follow the below figures.
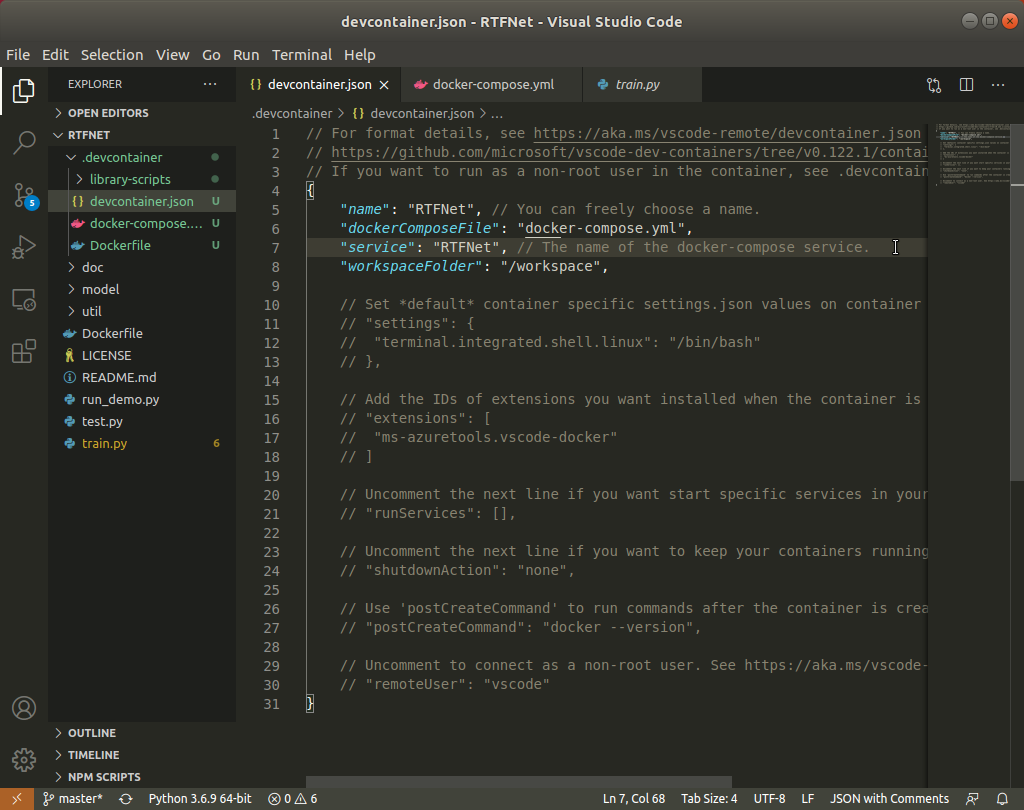
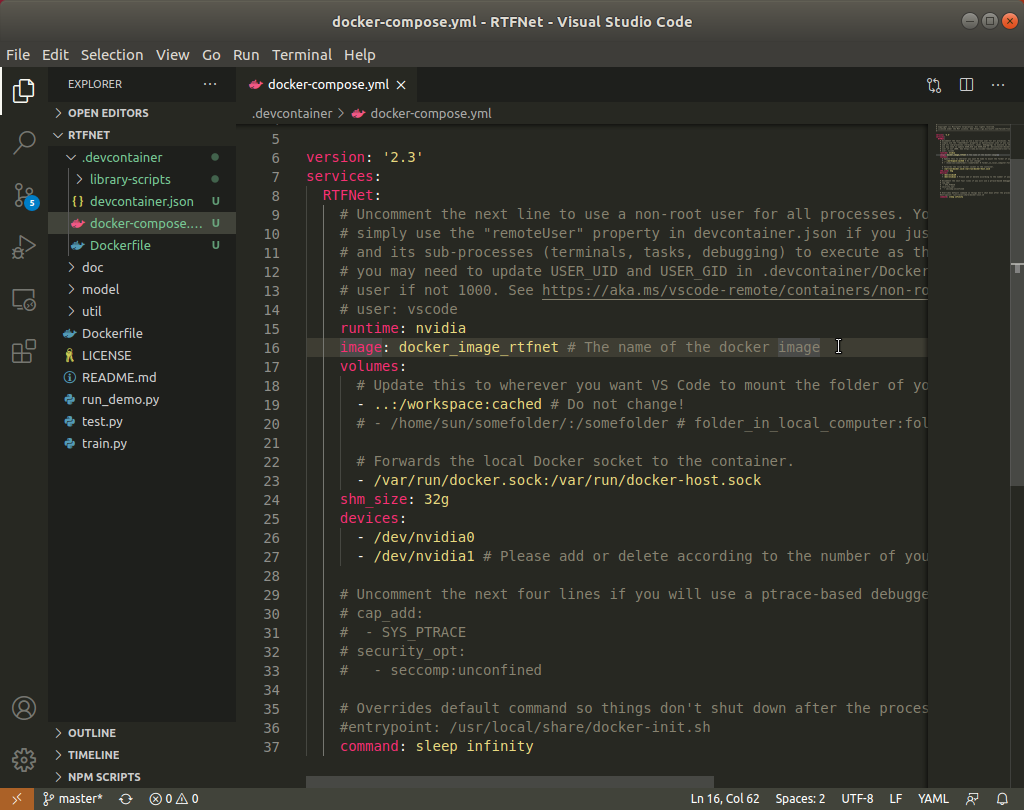
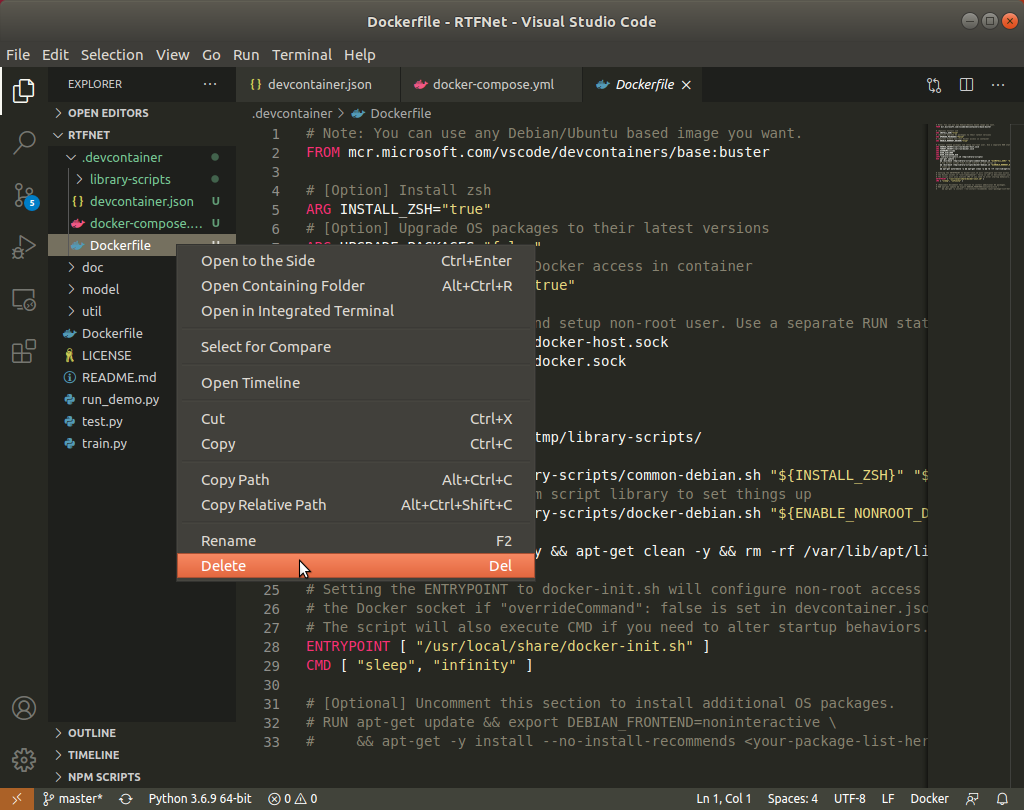
Overwrite the devcontainer.json and docker-compose.yml files using the ones given in this repo. Then delete the Dockerfile, because you have already built the docker image using a Dockerfile. You may need to add the volumn mapping to let docker container to access some folder in your local computer. Please also modify the devices list according to the number of your GPU cards.
Click the left bottom square button again, then follow the below figures to reopen the project in a docker container that will be built by VSCode automatically. Then, the RTFNet folder will be automatically mounted on the /workspace folder in the container.
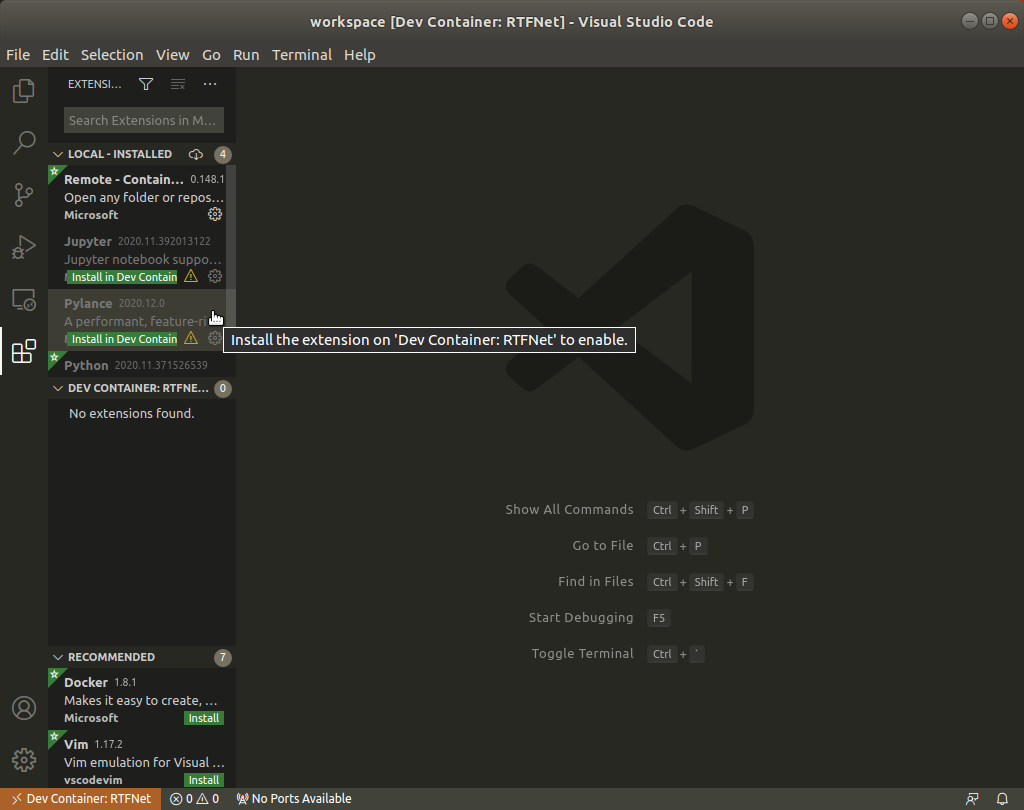
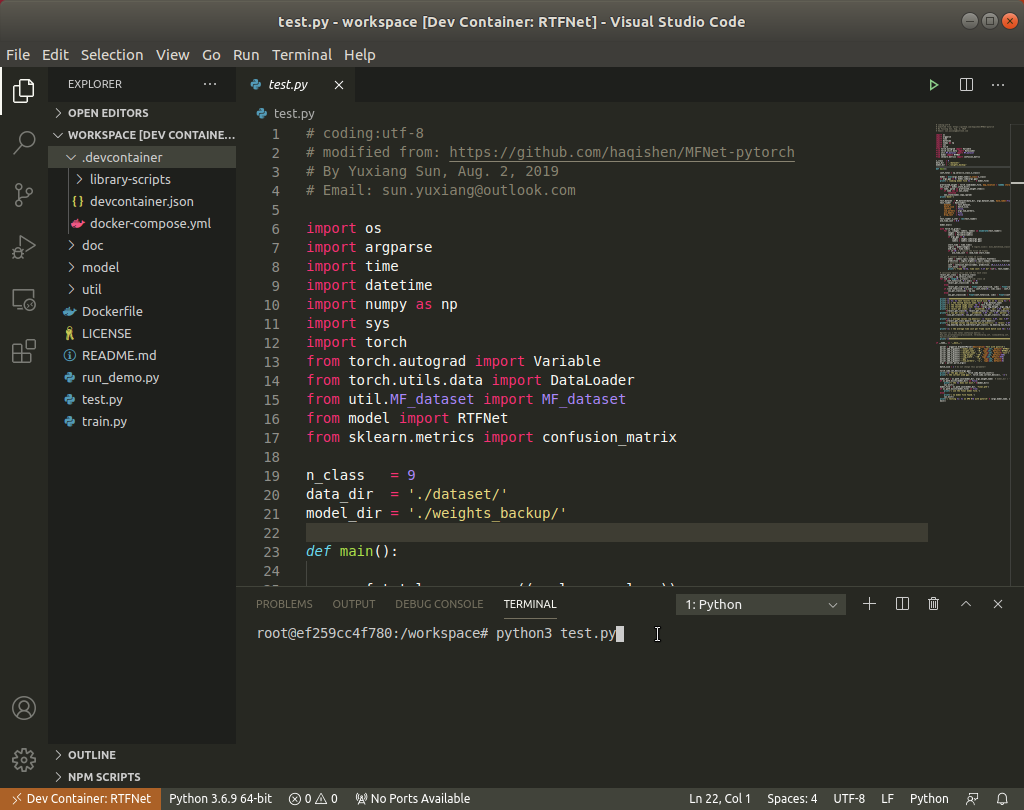
Finally, install the Pylance and Python extensions. The extensions will be installed in this container. If you do not install the two extensions, you may not be able to use code auto-completion, highlighting, etc. After that, you can write codes in the docker container using VSCode. You can run a program using command like python3 train.py in the VSCode TERMINAL, and terminate the program using Ctrl+C. You can also click the + button to add one more terminal, then in this terminal you can start the tensorboard program using: tensorboard --bind_all --logdir=./runs/tensorboard_log. Then, go to the website http://localhost:1234 in your browser to watch the tensorboard log data.
