My initial version of the chatbot was implemented using a router chain, where I can define the sequence of actions in a hardcoded way. However, issues arose with this approach:
- The router chain includes a classification chain to determine if a user's query is off-topic.
- If a user's previous query was "What is LLM fine-tuning?" and the next question is "Why is it important?", the latter might be classified as off-topic despite memory being fed to the classification chain.
The agent leverages the reasoning capabilities of LLMs, allowing it to decompose tasks into smaller subtasks and determine the order of actions and identifie the most appropriate tools for each specific action. Memory plays a more crucial role here. I switched from using initialize_agent, which is more common in tutorials but now deprecated, to create_react_agent for creating an agent.
Despite its advantages, the agent implementation has its drawbacks:
-
Due to the dependency on the LLM's reasoning capabilities, the thinking process may not finish in time or within the iteration limit, resulting in no answer being returned. Unlike the agent-based approach, the router chain design consistently returns an answer, although it may not always be accurate or relevant.
-
There is essentially a single, comprehensive prompt that governs the behavior of the Large Language Model (LLM). This prompt includes e.g, final answer formatting, final answer requirement, tool usage suggestions and more. Adhering to these complex requirements poses significant challenges, particularly for GPT-3.5. For example, despite explicit demands for source uniqueness in the final answers, GPT-3.5 sometimes fails to comply. Additionally, there are occasions where it does not adhere to the requested answer format, highlighting the limitations in its ability to retain sets of instructions compared to its successor, GPT-4.
While the upgrade from GPT-3.5 to GPT-4 offers minimal improvements in a router chain setup, it is significantly more effective in an agent-based implementation.
For the next phase, I plan to implement LangGraph to apply control flow constraints on the Large Language Model (LLM).
- Create and activate a Conda environment:
conda create -y -n chatbot python=3.11
conda activate chatbot
- Install required packages:
pip install -r requirements.txt
- Set up environment variables:
- Write your
OPENAI_API_KEYin the.envfile. A template can be found in.env.example.
source .env - Write your
To start the application, use the following command:
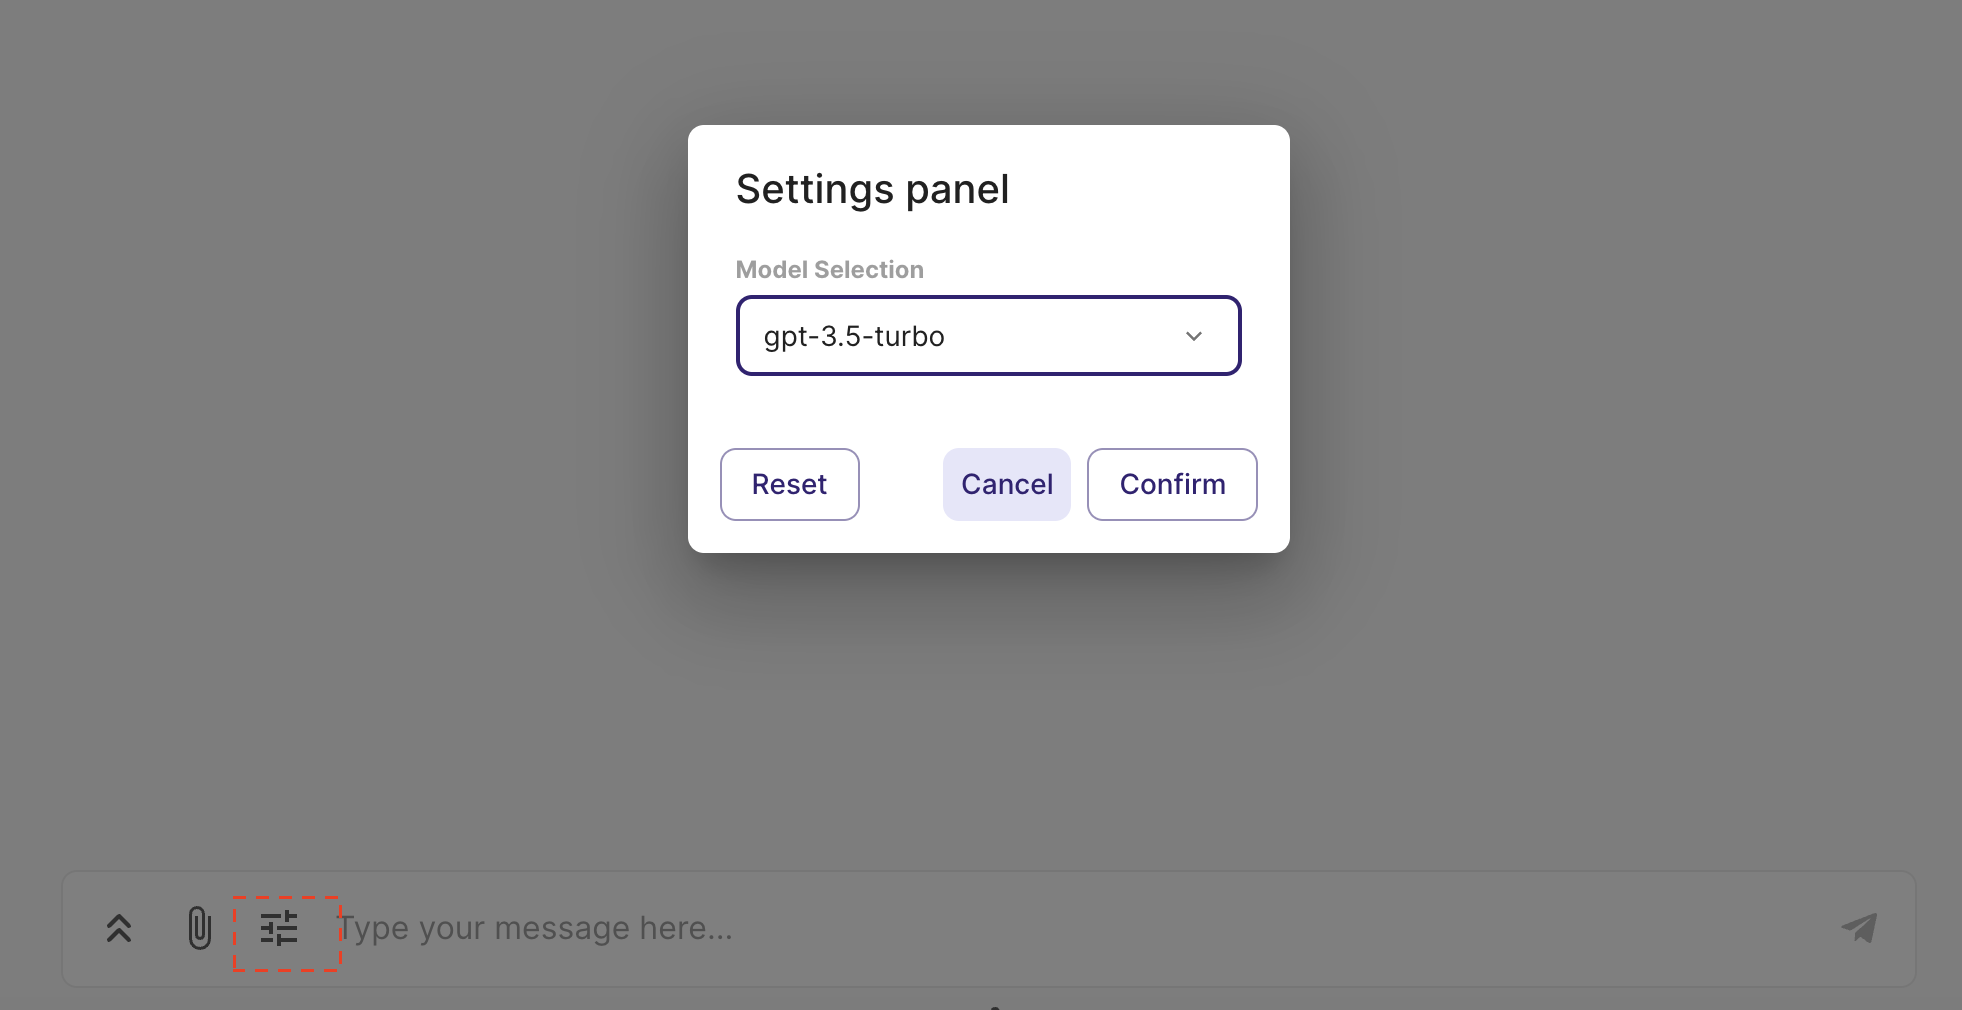
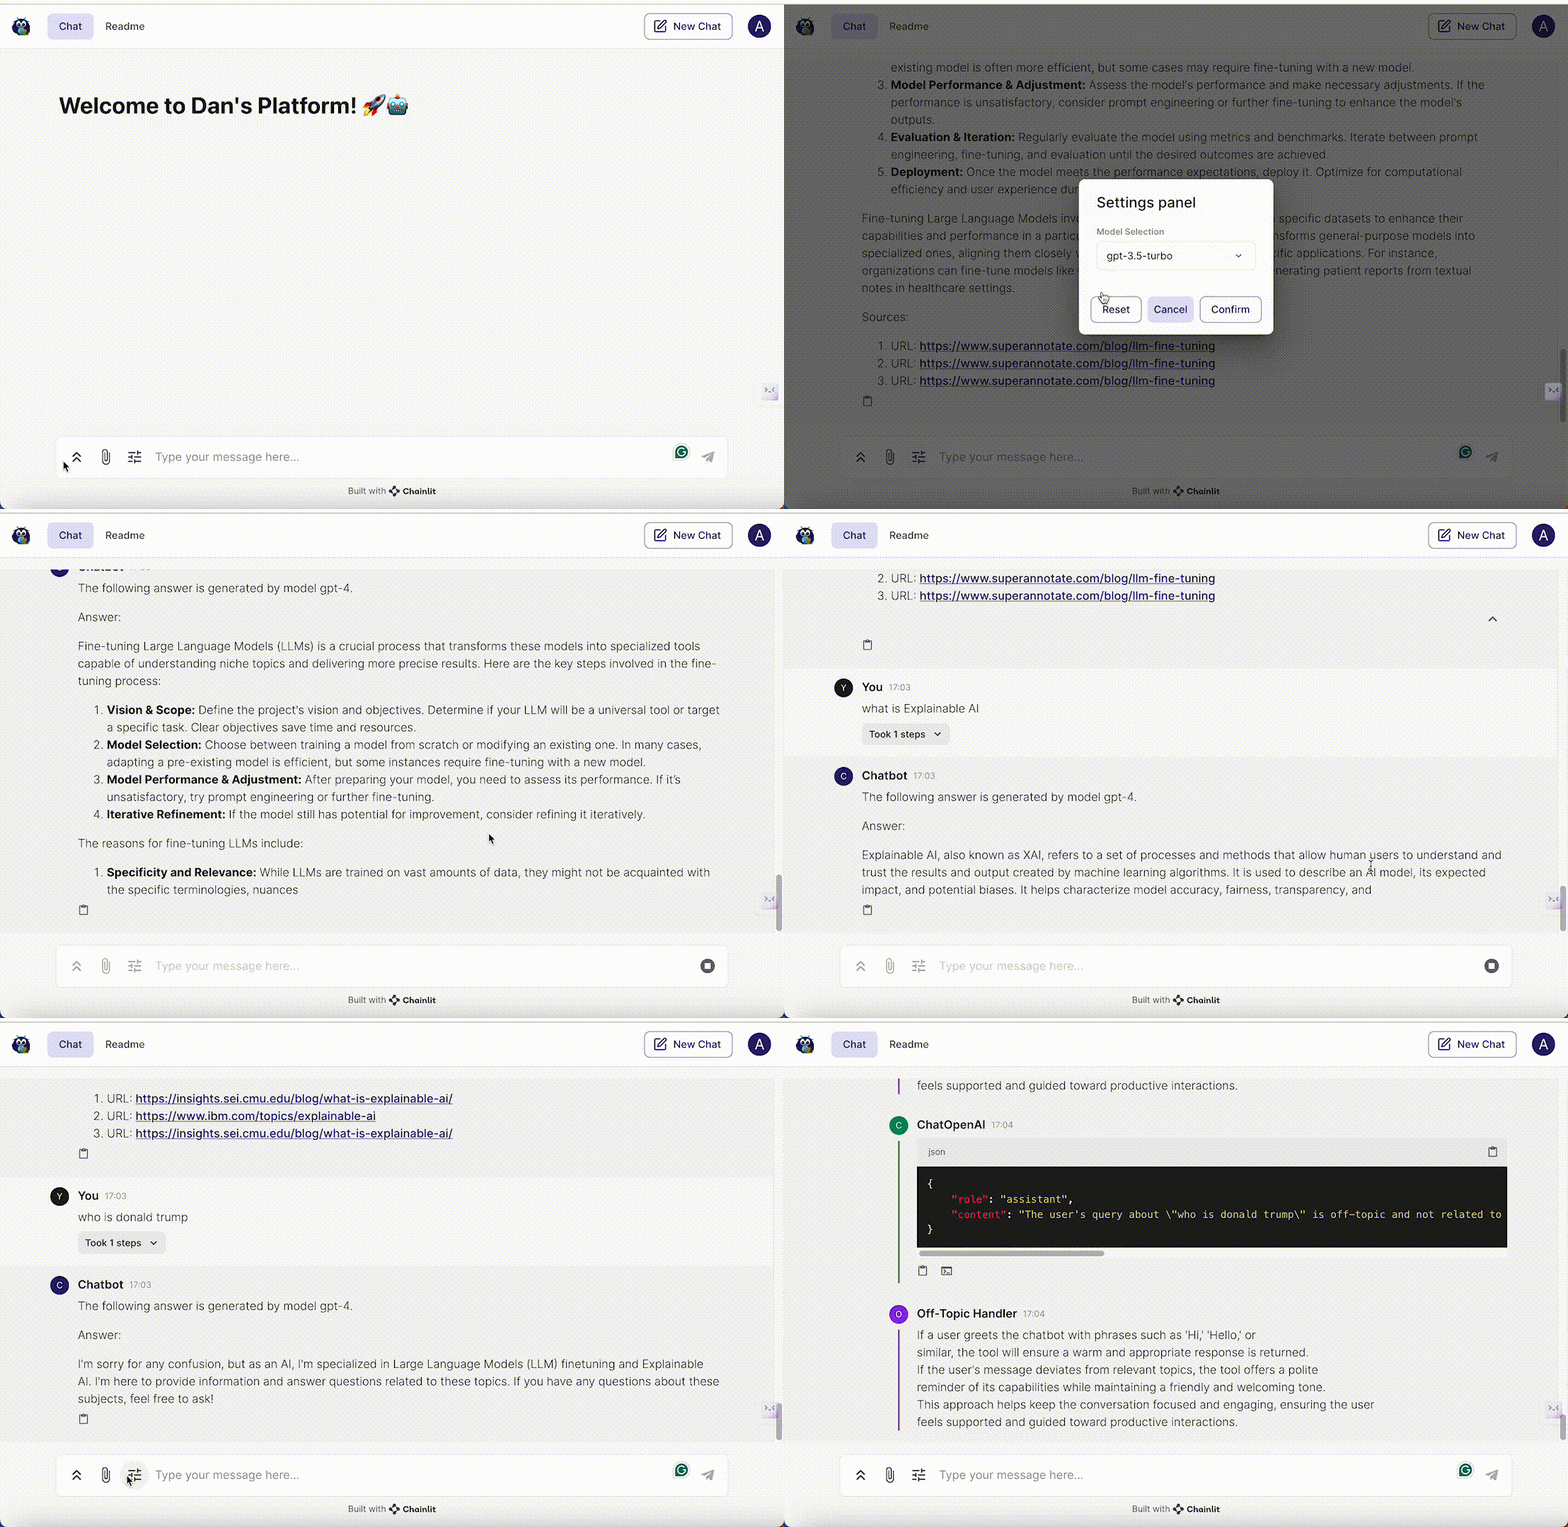
chainlit run app.pyUsers have the option to select the specific LLM (language learning model) they prefer for generating responses. The switch between different LLMs can be accomplished within a single conversation session.
- Various Information Source: The chatbot can retrieve information from web pages, YouTube videos, and PDFs.
- Source Display: You can view the source of the information at the end of each answer.
- LLM Model Identification: The specific LLM model utilized for generating the current response is indicated.
- Router retriever: Easy to adapt to different domains, as each domain can be equipped with a different retriever.
- Memory Management: The chatbot is equipped with a conversation memory feature. If the memory exceeds 500 tokens, it is automatically summarized.
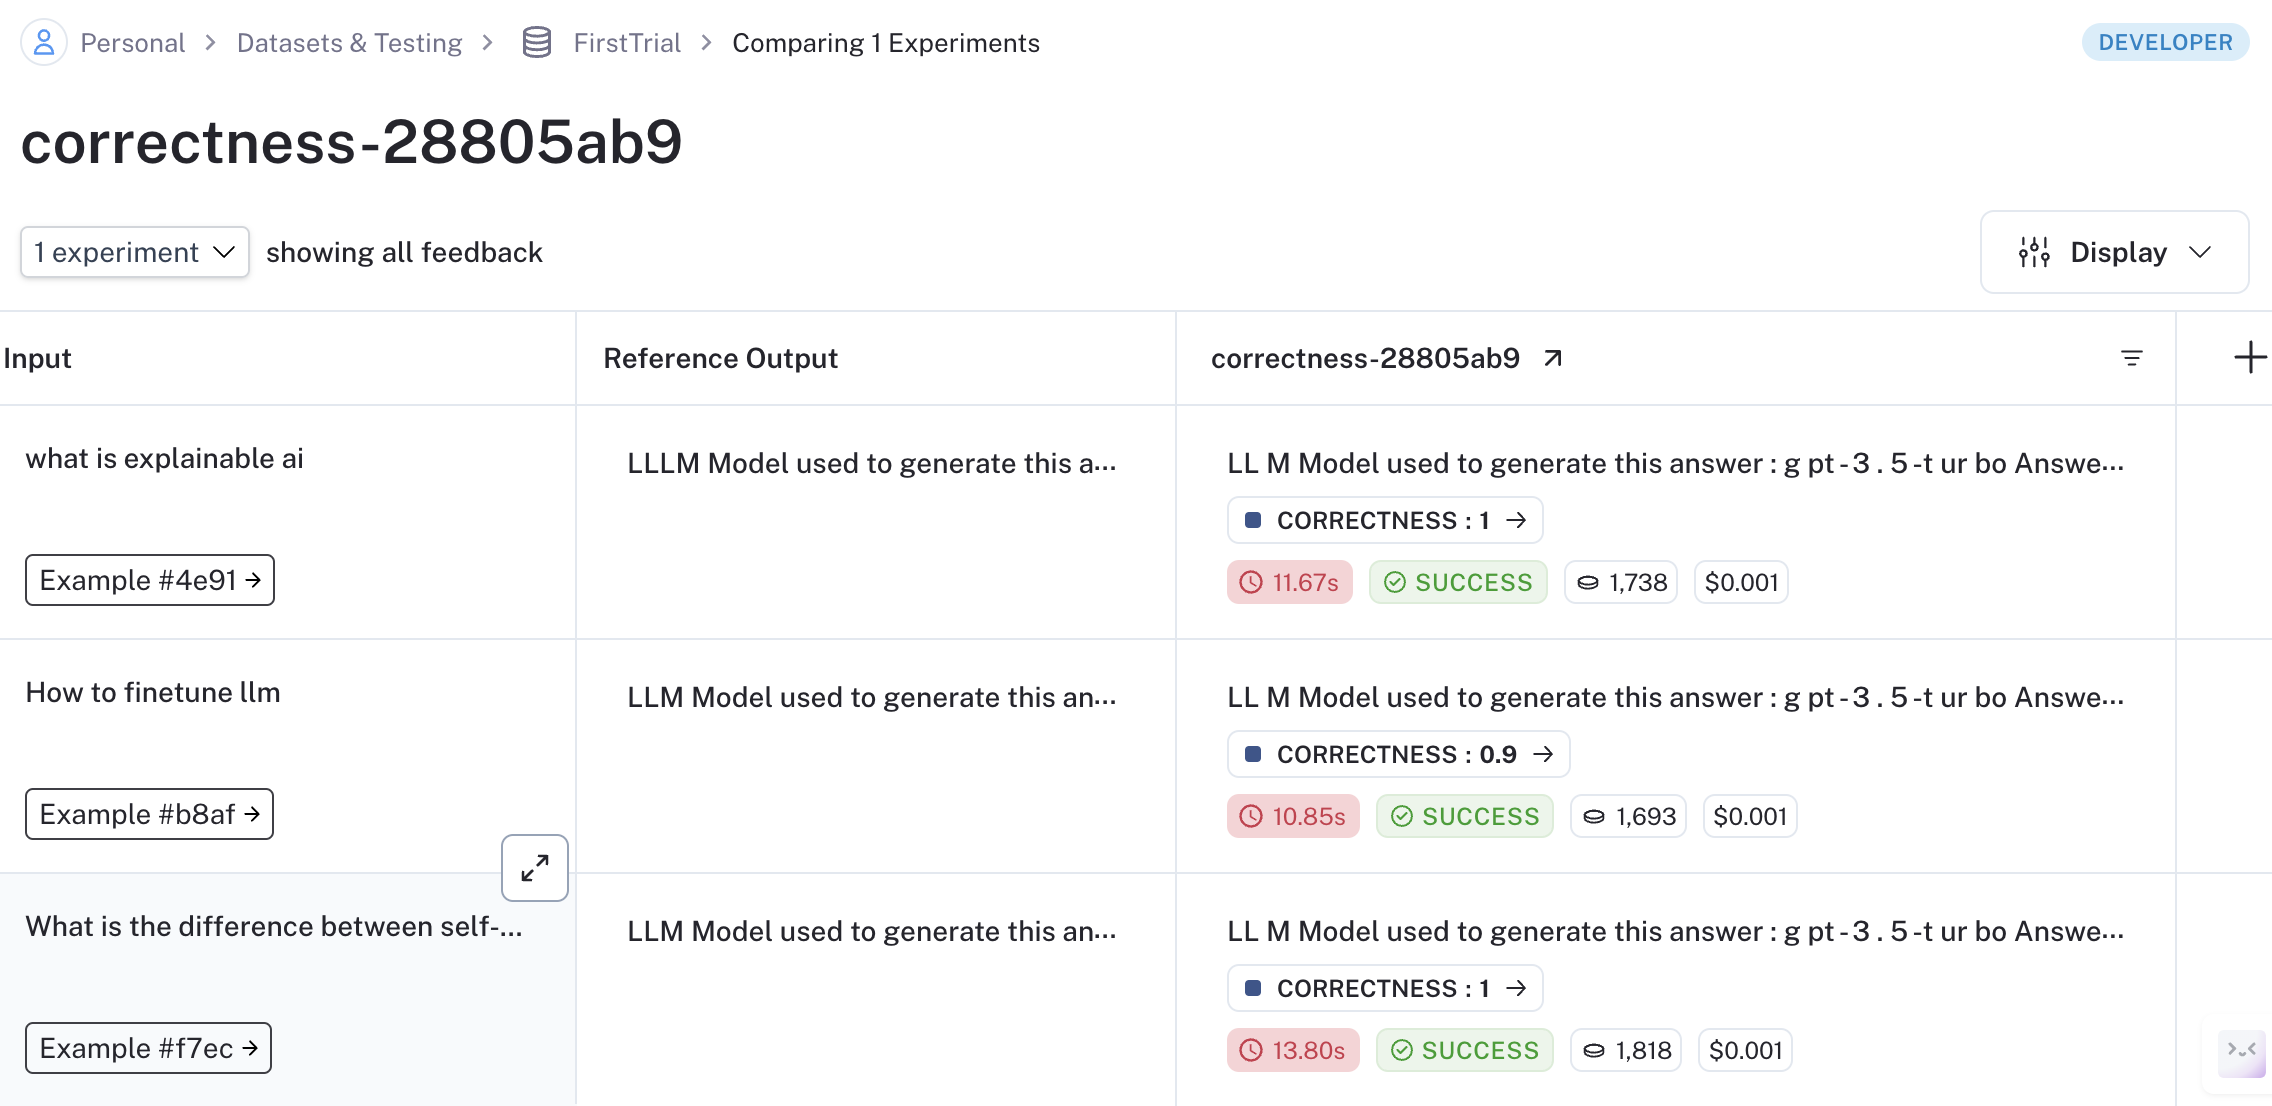
To evaluate model generation against human references or log outputs for specific test queries, use Langsmith.
- Register an account at Langsmith.
- Add your
LANGCHAIN_API_KEYto the.envfile. - Execute the script with your dataset name:
python langsmith_tract.py --dataset_name <YOUR DATASET NAME>
- Modify the data path in
langsmith_evaluation/config.tomlif necessary (e.g., path to a CSV file with question and answer pairs).
Use Literal AI to record human feedback for each generated answer. Follow these steps:
- Register an account at Literal AI.
- Add your
LITERAL_API_KEYto the.envfile. - Once the
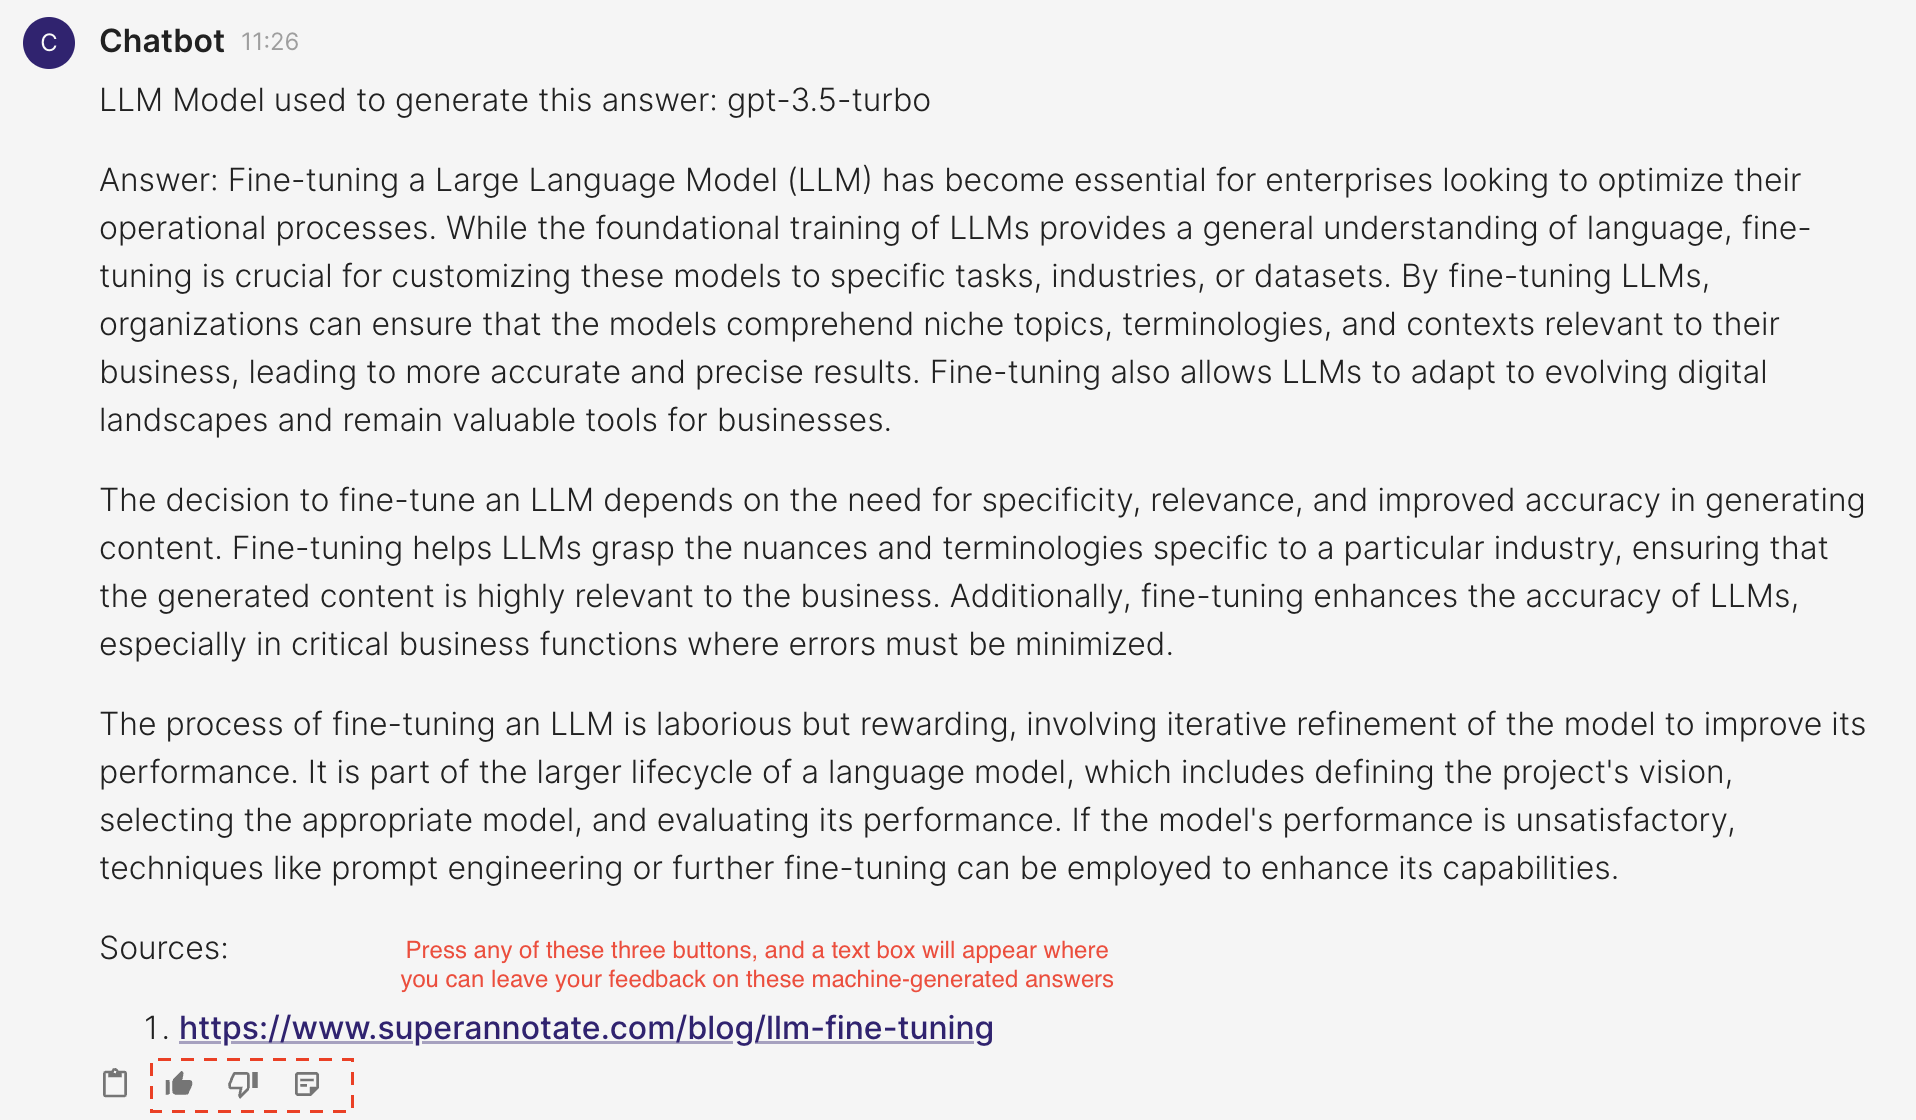
LITERAL_API_KEYis added to your environment, run the commandchainlit run app.py. You will see three new icons as shown in the image below, where you can leave feedback on the generated answers.
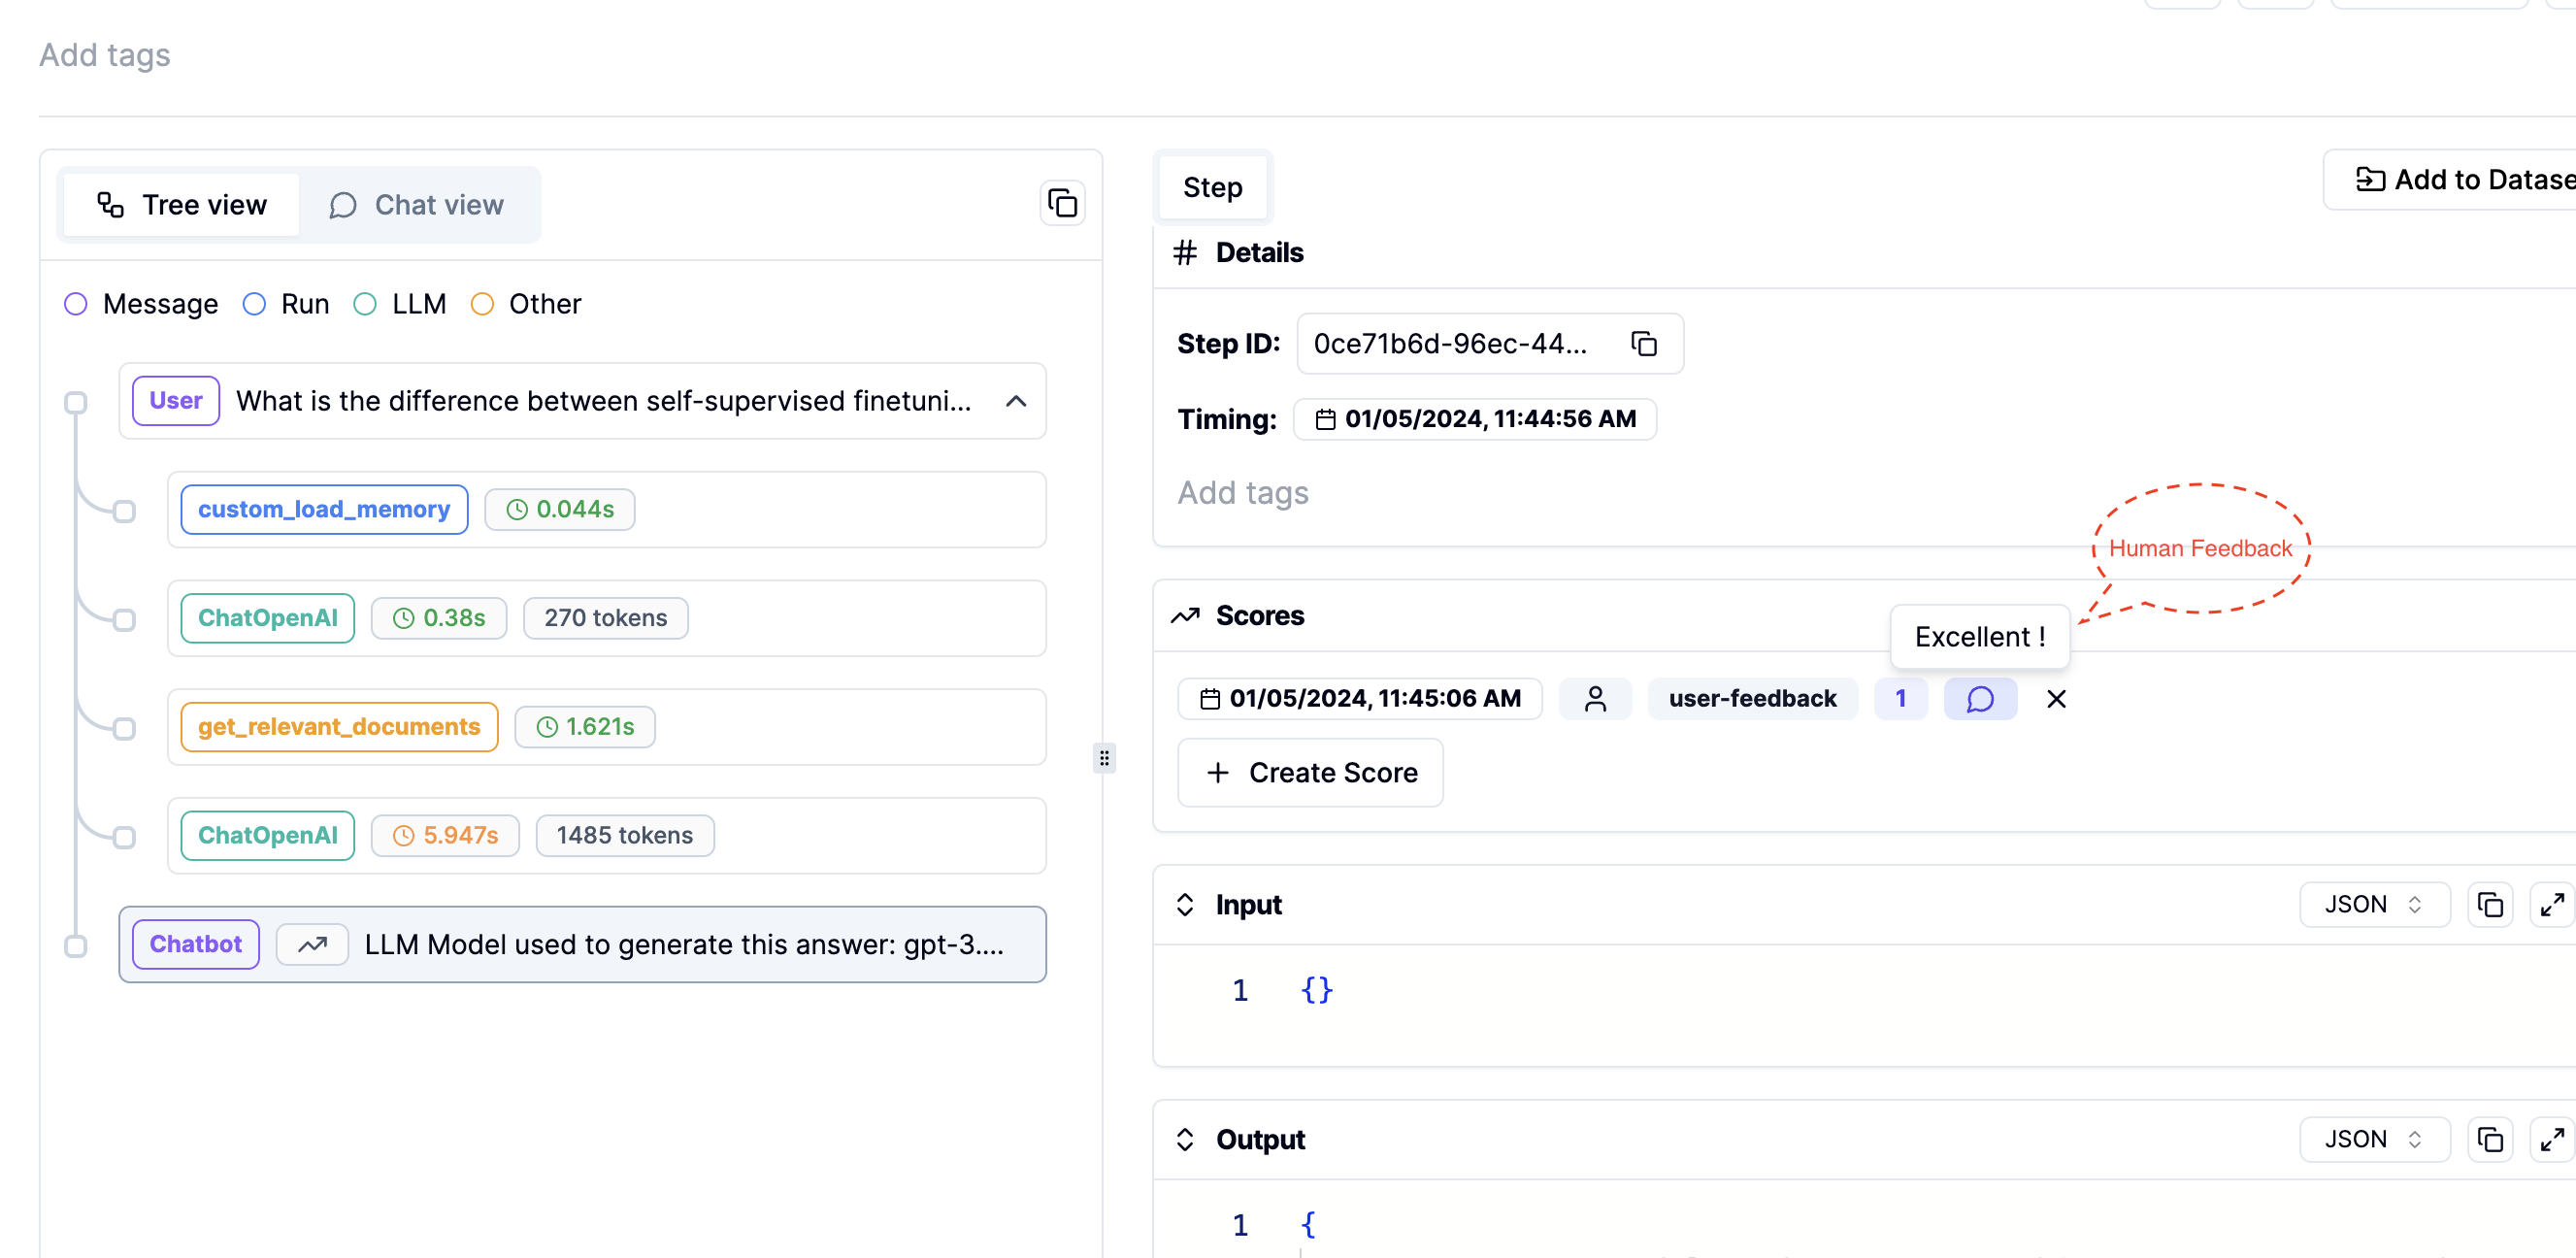
- Track this human feedback in your Literal AI account. You can also view the prompts or intermediate steps used to generate these answers.
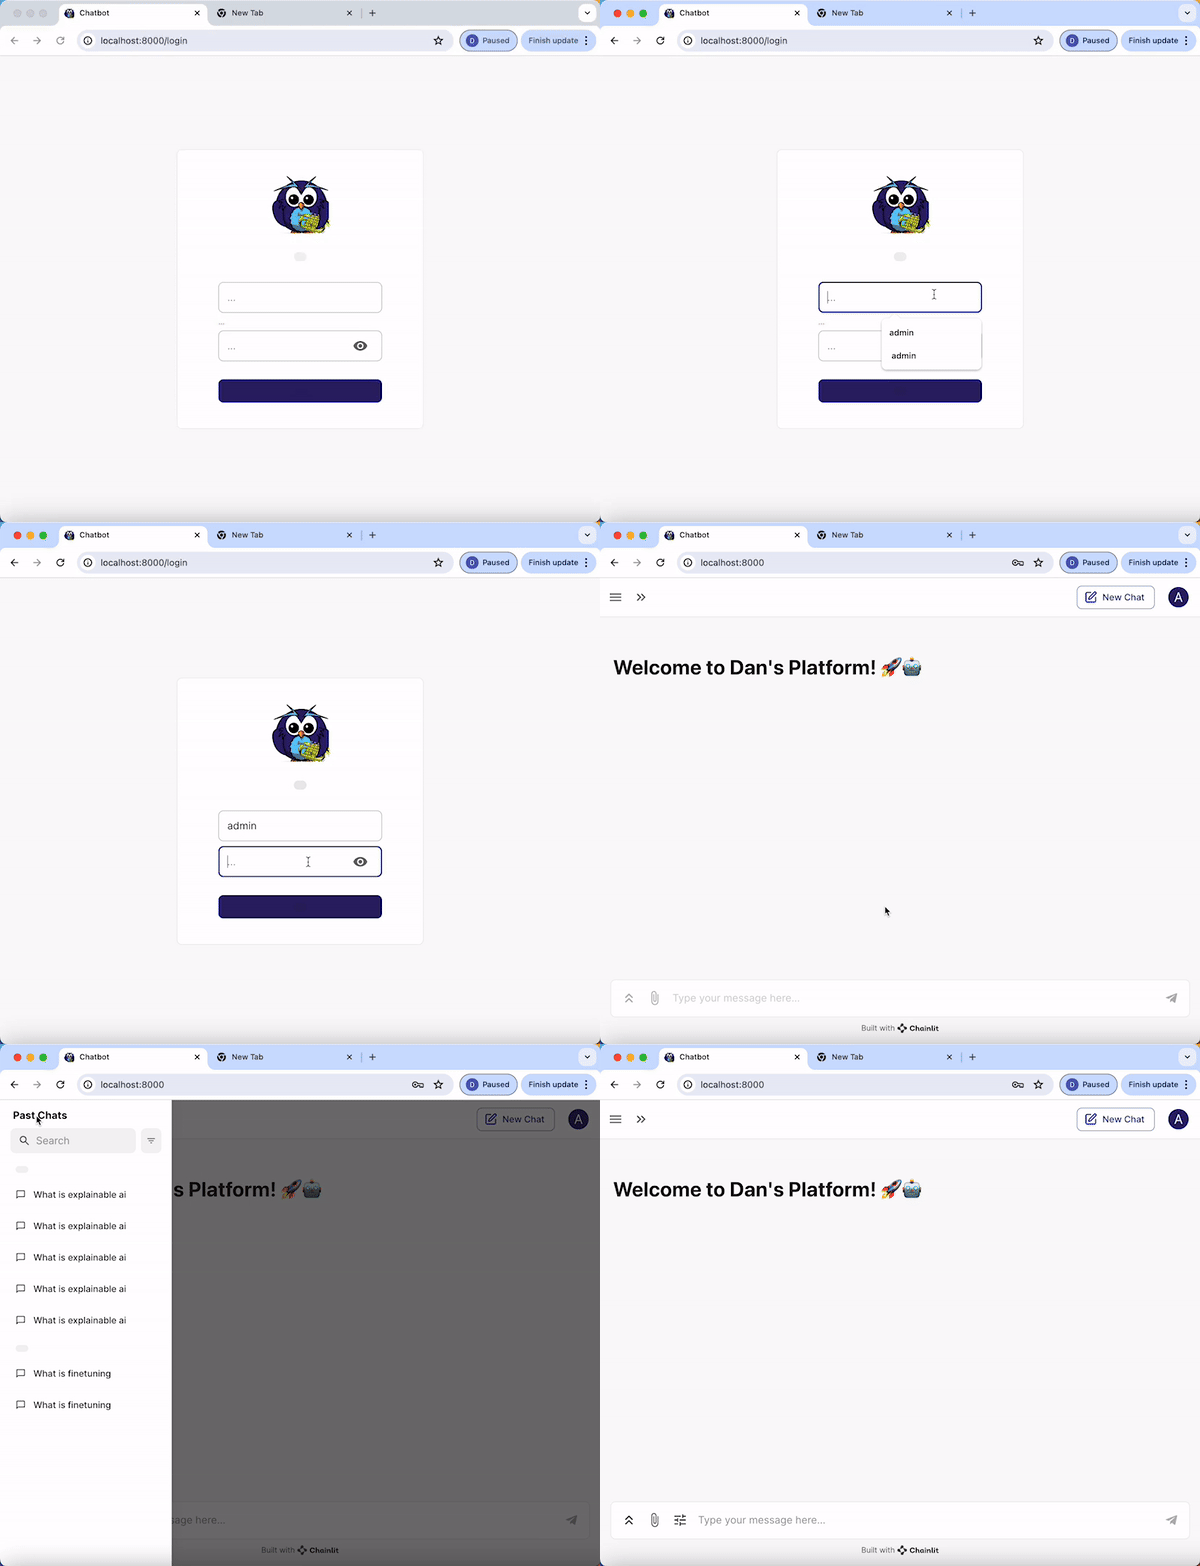
This guide details the steps for setting up user authentication in your application. Each authenticated user will have the ability to view their own past interactions with the chatbot.
- Add your APP_LOGIN_USERNAME and APP_LOGIN_PASSWORD to the
.envfile. - Run the following command to create a secret which is essential for securing user sessions:
Copy the outputted CHAINLIT_AUTH_SECRET and add it to your .env file
chainlit create-secret
- Once you launch your application, you will see a login authentication page
- Login with your APP_LOGIN_USERNAME and APP_LOGIN_PASSWORD
- Upon successful login, each user will be directed to a page displaying their personal chat history with the chatbot.
Below is a preview of the web interface for the chatbot:
To customize the chatbot according to your needs, define your configurations in the config.toml file and tool_configs.toml where you can define the name and descriptions of your tools.
