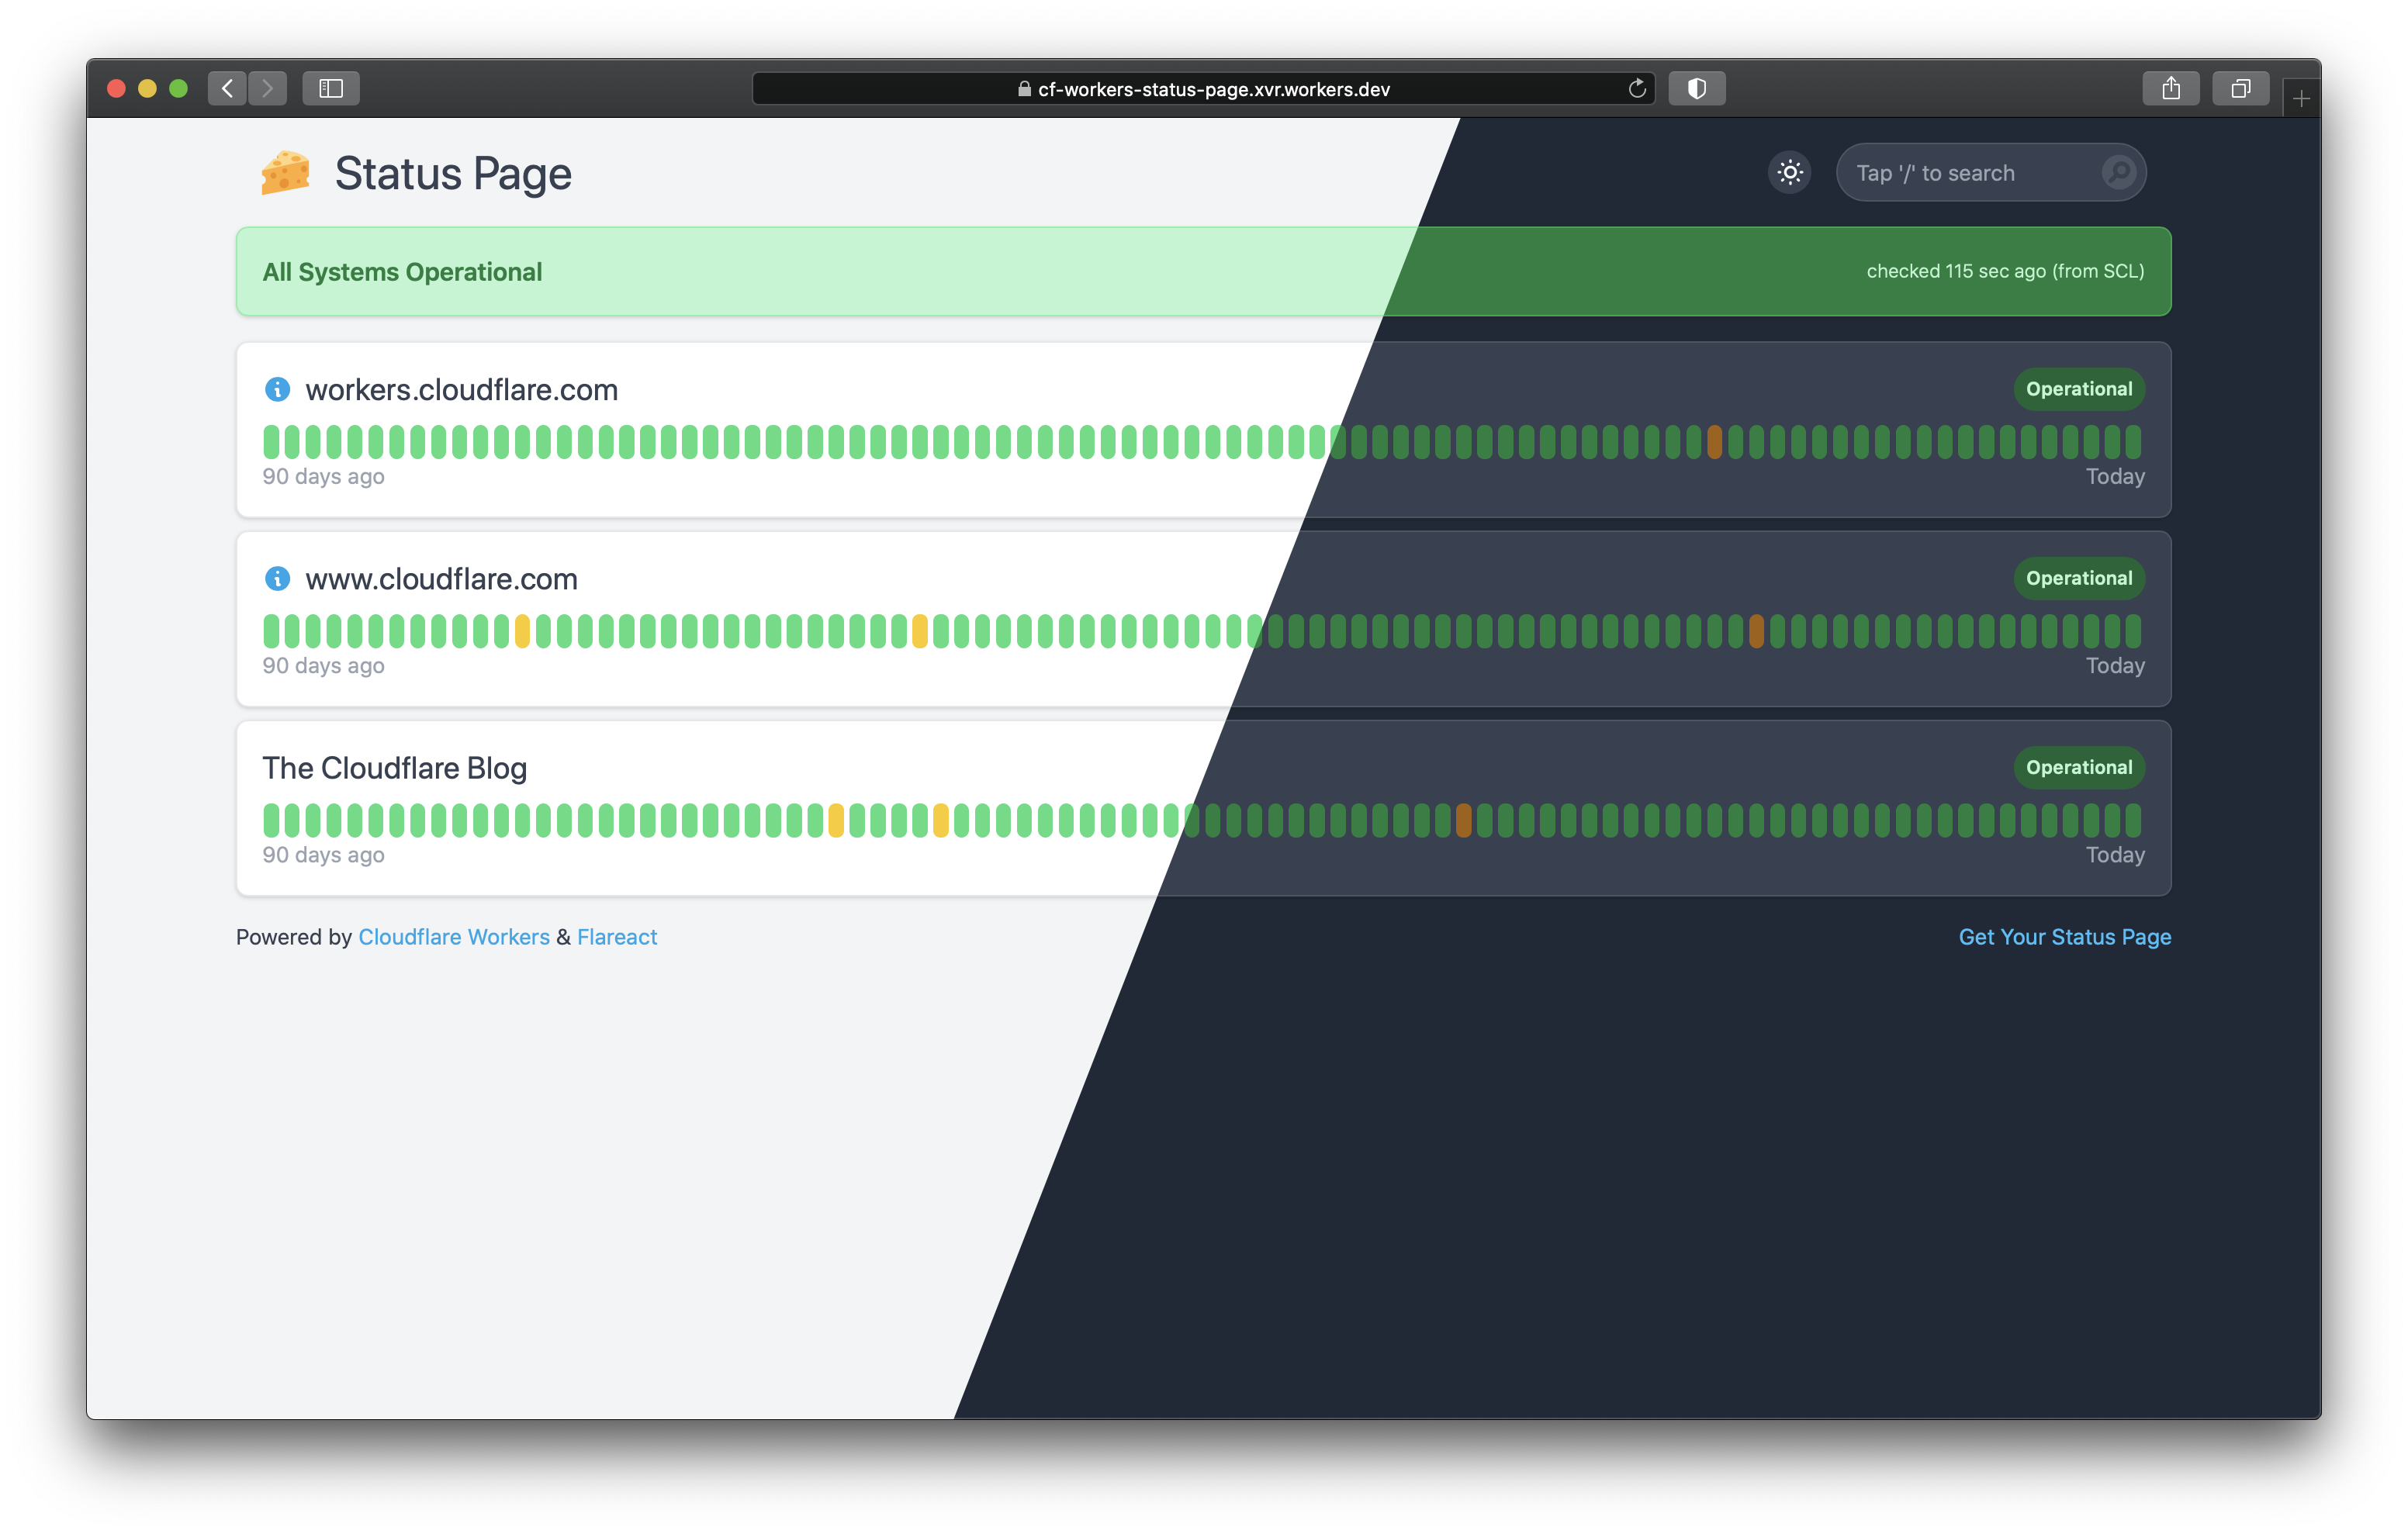
Monitor your websites, showcase status including daily history, and get Slack notification whenever your website status changes. Using Cloudflare Workers, CRON Triggers, and KV storage. Check my status page out! 🚀
You'll need a Cloudflare Workers account with
- A workers domain set up
- The Workers Bundled subscription ($5/mo)
- It works with Workers Free! Check more info on how to run on Workers Free.
- Some websites/APIs to watch 🙂
Also, prepare the following secrets
- Cloudflare API token with
Edit Cloudflare Workerspermissions - Slack incoming webhook (optional)
- Discord incoming webhook (optional)
You can either deploy with Cloudflare Deploy Button using GitHub Actions or deploy on your own.
-
Click the button and follow the instructions, you should end up with a clone of this repository
-
Navigate to your new GitHub repository > Settings > Secrets and add the following secrets:
- Name: CF_API_TOKEN (should be added automatically)

- Name: CF_ACCOUNT_ID (should be added automatically)

- Name: SECRET_SLACK_WEBHOOK_URL (optional)
- Value: your-slack-webhook-url

- Name: SECRET_DISCORD_WEBHOOK_URL (optional)
- Value: your-discord-webhook-url
-
Navigate to the Actions settings in your repository and enable them
-
Edit config.yaml to adjust configuration and list all of your websites/APIs you want to monitor
settings:
  title: 'Status Page'
  url: 'https://status-page.eidam.dev' # used for Slack & Discord messages
  logo: logo-192x192.png # image in ./public/ folder
  daysInHistogram: 90 # number of days you want to display in histogram
  collectResponseTimes: false # experimental feature, enable only for <5 monitors or on paid plans

  # configurable texts across the status page
  allmonitorsOperational: 'All Systems Operational'
  notAllmonitorsOperational: 'Not All Systems Operational'
  monitorLabelOperational: 'Operational'
  monitorLabelNotOperational: 'Not Operational'
  monitorLabelNoData: 'No data'
  dayInHistogramNoData: 'No data'
  dayInHistogramOperational: 'All good'
  dayInHistogramNotOperational: 'Some checks failed'

# list of monitors
monitors:
  - id: workers-cloudflare-com # unique identifier
    name: workers.cloudflare.com
    description: 'You write code. They handle the rest.' # default=empty
    url: 'https://workers.cloudflare.com/' # URL to fetch
    method: GET # default=GET
    expectStatus: 200 # operational status, default=200
    followRedirect: false # should fetch follow redirects, default=false
    linkable: false # should the titles be links to the service, default=true
-
Push to
mainbranch to trigger the deployment -
🎉
-
(optional) Go to Cloudflare Workers settings and assign custom domain/route
- e.g.
status-page.eidam.dev/*(make sure you include/*as the Worker also serve static files)
- e.g.
-
(optional) Edit wrangler.toml to adjust Worker settings or CRON Trigger schedule, especially if you are on Workers Free plan
To enable telegram notifications, you'll need to take a few additional steps.
- Create a new Bot
- Set the api token you received when creating the bot as content of the
SECRET_TELEGRAM_API_TOKENsecret in your github repository. - Send a message to the bot from the telegram account which should receive the alerts (Something more than
/start) - Get the chat id with
curl https://api.telegram.org/bot<YOUR TELEGRAM API TOKEN>/getUpdates | jq '.result[0] .message .chat .id' - Set the retrieved chat id in the
SECRET_TELEGRAM_CHAT_IDsecret variable - Redeploy the status page using the github action
You can clone the repository yourself and use Wrangler CLI to develop/deploy, extra list of things you need to take care of:
- create KV namespace and add the
KV_STATUS_PAGEbinding to wrangler.toml - create Worker secrets (optional)
SECRET_SLACK_WEBHOOK_URLSECRET_DISCORD_WEBHOOK_URL
The Workers Free plan includes limited KV usage, but the quota is sufficient for 2-minute checks only
- Change the CRON trigger to 2 minutes interval (
crons = ["*/2 * * * *"]) in wrangler.toml
-
Max 25 monitors to watch in case you are using Slack notifications, due to the limit of subrequests Cloudflare Worker can make (50).
The plan is to support up to 49 by sending only one Slack notification per scheduled run.
-
KV replication lag - You might get Slack notification instantly, however it may take couple of more seconds to see the change on your status page as Cron Triggers are usually running on underutilized quiet hours machines.
-
Initial delay (no data) - It takes couple of minutes to schedule and run CRON Triggers for the first time
WIP - Support for Durable Objects - Cloudflare's product for low-latency coordination and consistent storage for the Workers platform. There is a working prototype, however, we are waiting for at least open beta.
There is also a managed version of this project, currently in beta. Feel free to check it out https://statusflare.com (https://twitter.com/statusflare_com).
Requirements
- Linux or WSL
- Yarn (
npm i -g yarn) - Node 14+
Install wrangler
npm i -g wrangler
Login With Wrangler to Cloudflare
wrangler login
Create your KV namespace in cloudflare
On the workers page navigate to KV, and create a namespace
Update your wrangler.toml with
kv-namespaces = [{binding="KV_STATUS_PAGE", id="<KV_ID>", preview_id="<KV_ID>"}]
Note: you may need to change kv-namespaces to kv_namespaces
Install packages
yarn install
Create CSS
yarn run css
Run
yarn run dev
Note: If the styles do not come through try using localhost:8787 instead of localhost:8080


