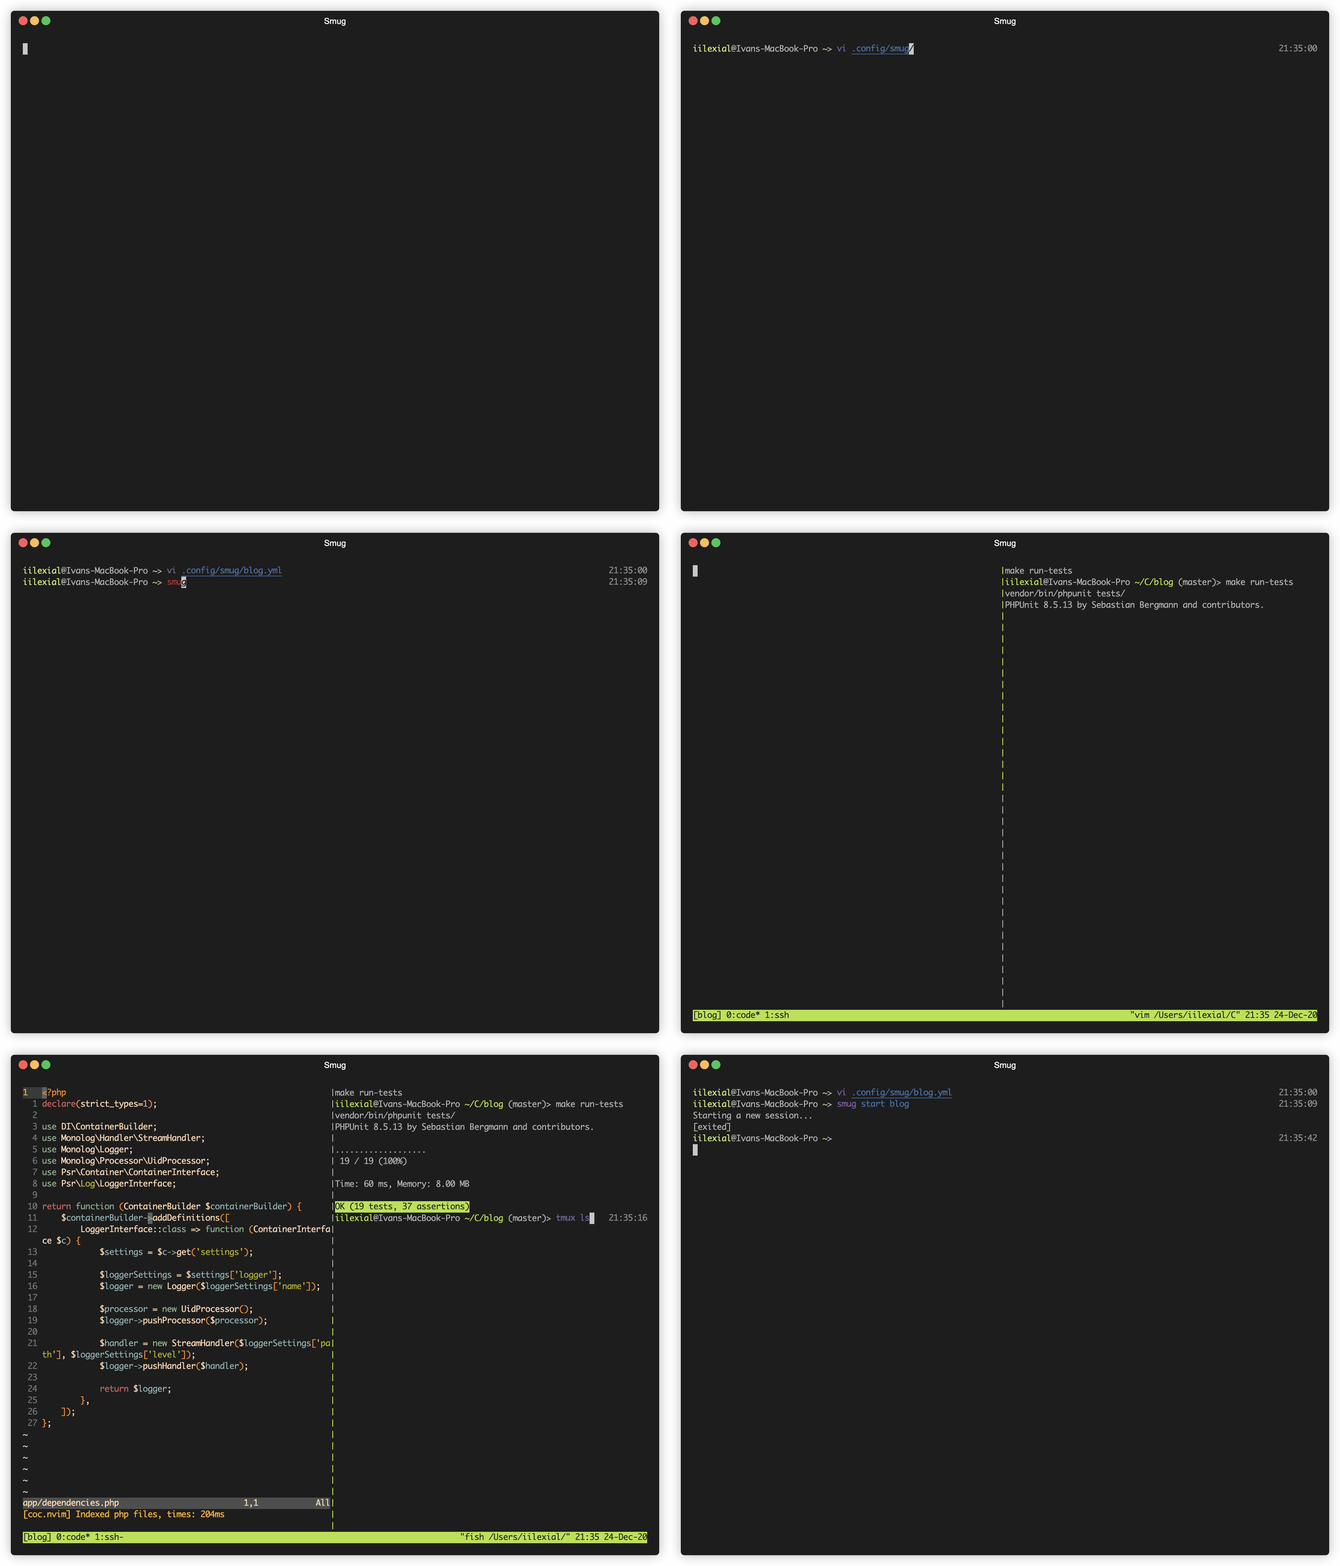
Inspired by tmuxinator and tmuxp.
Smug automates your tmux workflow. You can create a single configuration file, and Smug will create all the required windows and panes from it.
The configuration used in this GIF can be found here.
Download the latest version of Smug from the releases page and then run:
mkdir smug && tar -xzf smug_0.1.0_Darwin_x86_64.tar.gz -C ./smug && sudo mv smug/smug /usr/local/bin && rm -rf smugDon't forget to replace smug_0.1.0_Darwin_x86_64.tar.gz with the archive that you've downloaded.
The easiest way is to clone Smug from GitHub and install it using go-cli:
cd /tmp
git clone https://github.com/ivaaaan/smug.git
cd smug
go installsmug <command> [<project>] [-f, --file <file>] [-w, --windows <window>]... [-a, --attach] [-d, --debug]
-f, --file A custom path to a config file
-w, --windows List of windows to start. If session exists, those windows will be attached to current session.
-a, --attach Force switch client for a session
-d, --debug Print all commands to ~/.config/smug/smug.log
--detach Detach session. The same as `-d` flag in the tmux
To create a new project, or edit an existing one in the $EDITOR:
xyz@localhost:~$ smug new project

xyz@localhost:~$ smug edit project
To start/stop a project and all windows, run:
xyz@localhost:~$ smug start project

xyz@localhost:~$ smug stop project
When you already have a running session, and you want only to create some windows from the configuration file, you can do something like this:
xyz@localhost:~$ smug start project:window1

xyz@localhost:~$ smug start project:window1,window2

xyz@localhost:~$ smug start project -w window1

xyz@localhost:~$ smug start project -w window1 -w window2

xyz@localhost:~$ smug stop project:window1

xyz@localhost:~$ smug stop project -w window1 -w window2
Also, you are not obliged to put your files in the ~/.config/smug directory. You can use a custom path in the -f flag:
xyz@localhost:~$ smug start -f ./project.yml

xyz@localhost:~$ smug stop -f ./project.yml

xyz@localhost:~$ smug start -f ./project.yml -w window1 -w window2
Configuration files stored in the ~/.config/smug directory in the YAML format, e.g ~/.config/smug/your_project.yml.
session: blog

root: ~/Developer/blog

before_start:
  - docker-compose -f my-microservices/docker-compose.yml up -d # my-microservices/docker-compose.yml is a relative to `root`

stop:
  - docker stop $(docker ps -q)

windows:
  - name: code
    root: blog # a relative path to root
    manual: true # you can start this window only manually, using the -w arg
    layout: main-vertical
    commands:
      - docker-compose start
    panes:
      - type: horizontal
        root: .
        commands:
          - docker-compose exec php /bin/sh
          - clear

  - name: infrastructure
    root: ~/Developer/blog/my-microservices
    layout: tiled
    panes:
      - type: horizontal
        root: .
        commands:
          - docker-compose up -d
          - docker-compose exec php /bin/sh
- clearsession: blog
root: ~/Code/blog
before_start:
- docker-compose up -d
stop:
- docker-compose stop
windows:
- name: code
layout: main-horizontal
commands:
- $EDITOR app/dependencies.php
panes:
- type: horizontal
commands:
- make run-tests
- name: ssh
commands:
- ssh -i ~/keys/blog.pem ubuntu@127.0.0.1