This tutorial assumes the user has the following. Links are included to get them set up before moving to the next sections:
- Windows 10/11 device.
- Git installed (Tutorial here: Click to learn how to install Git on windows).
- Postgresql installed (Tutorial here: Click to learn how to install postgresql.)
- Access to MIMIC-IV data. or MIMIC-IV demo-data.
- Recommended: WinRAR to unzip files. Download WinRAR.
NB: Access to MIMIC-IV Data requires becoming a credentialed user and completing a training. More information can be found online.
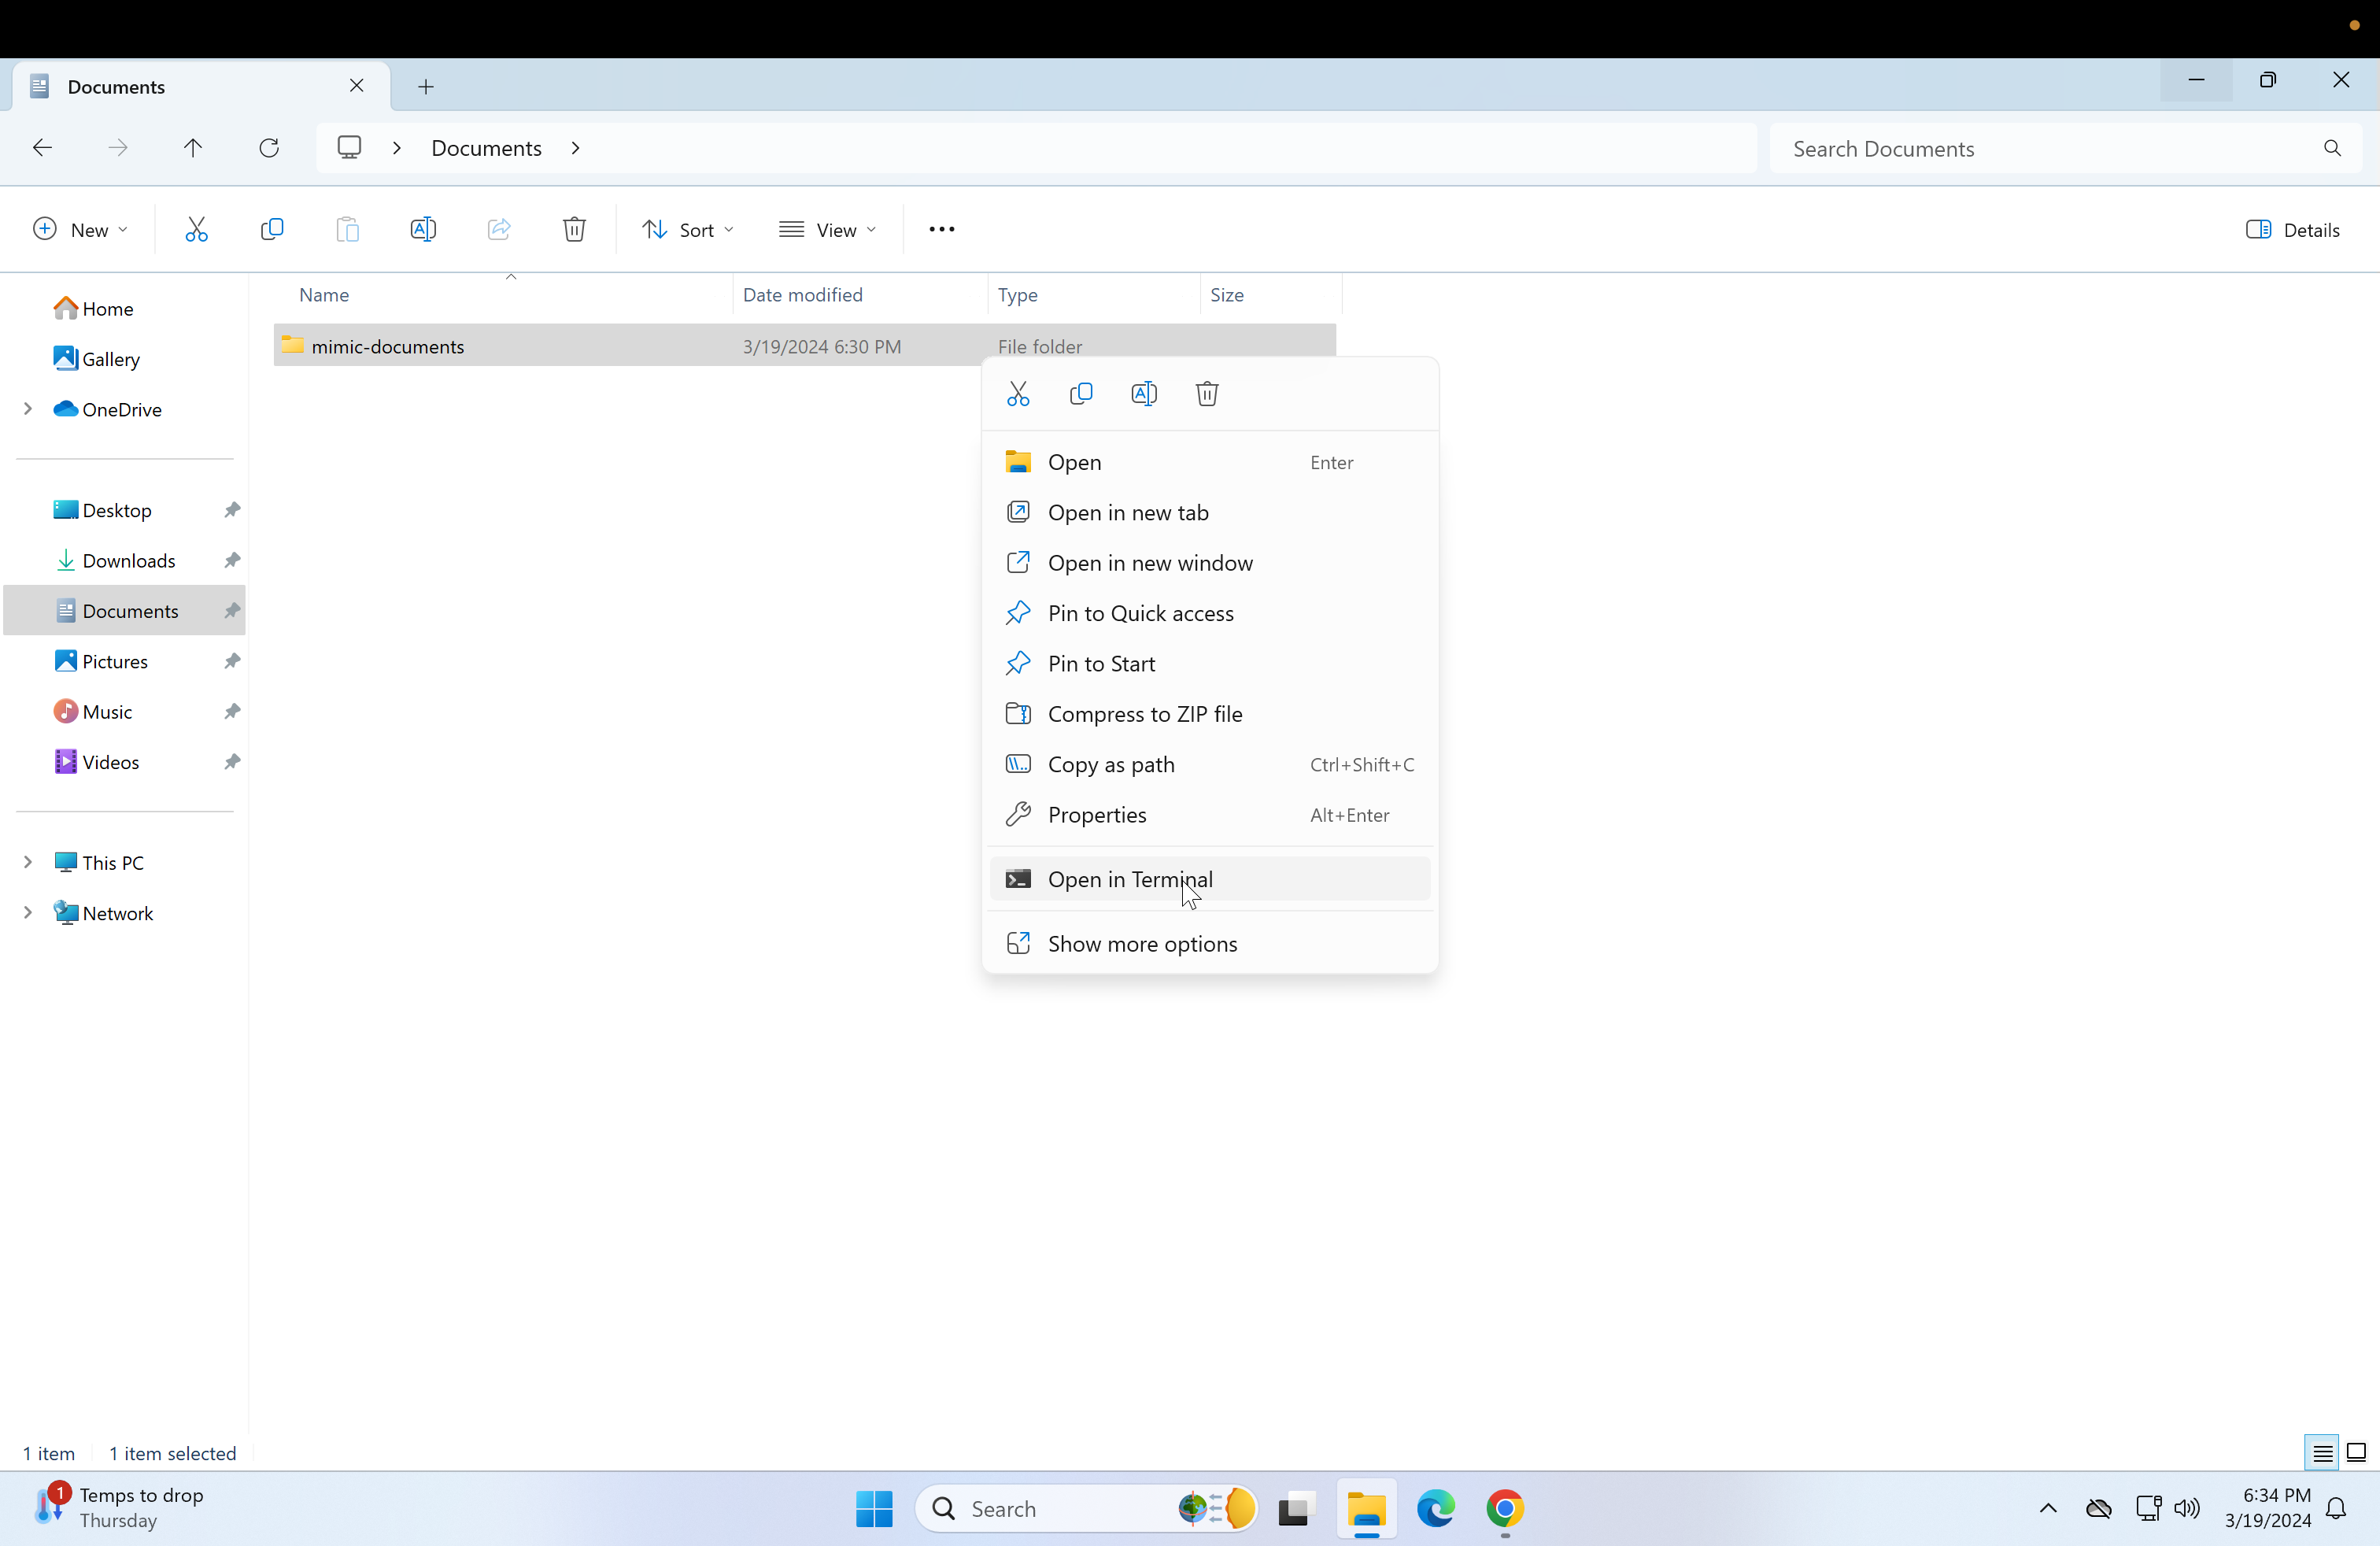
- Create a folder called mimic-documents in the documents folder.
NB: This can be stored in any folder but the documents folder is used for simplicity.
-
Right-click on the folder and click the option to open in terminal.
-
Then type in the following and press enter:

git clone https://github.com/MIT-LCP/mimic-code.git Now the contents of the mimic-documents folder should look like this:

NB: The demo data would be used here as a sample but the process is essentially the same for both versions
-
Download the mimic-demo file(links in requirements section):
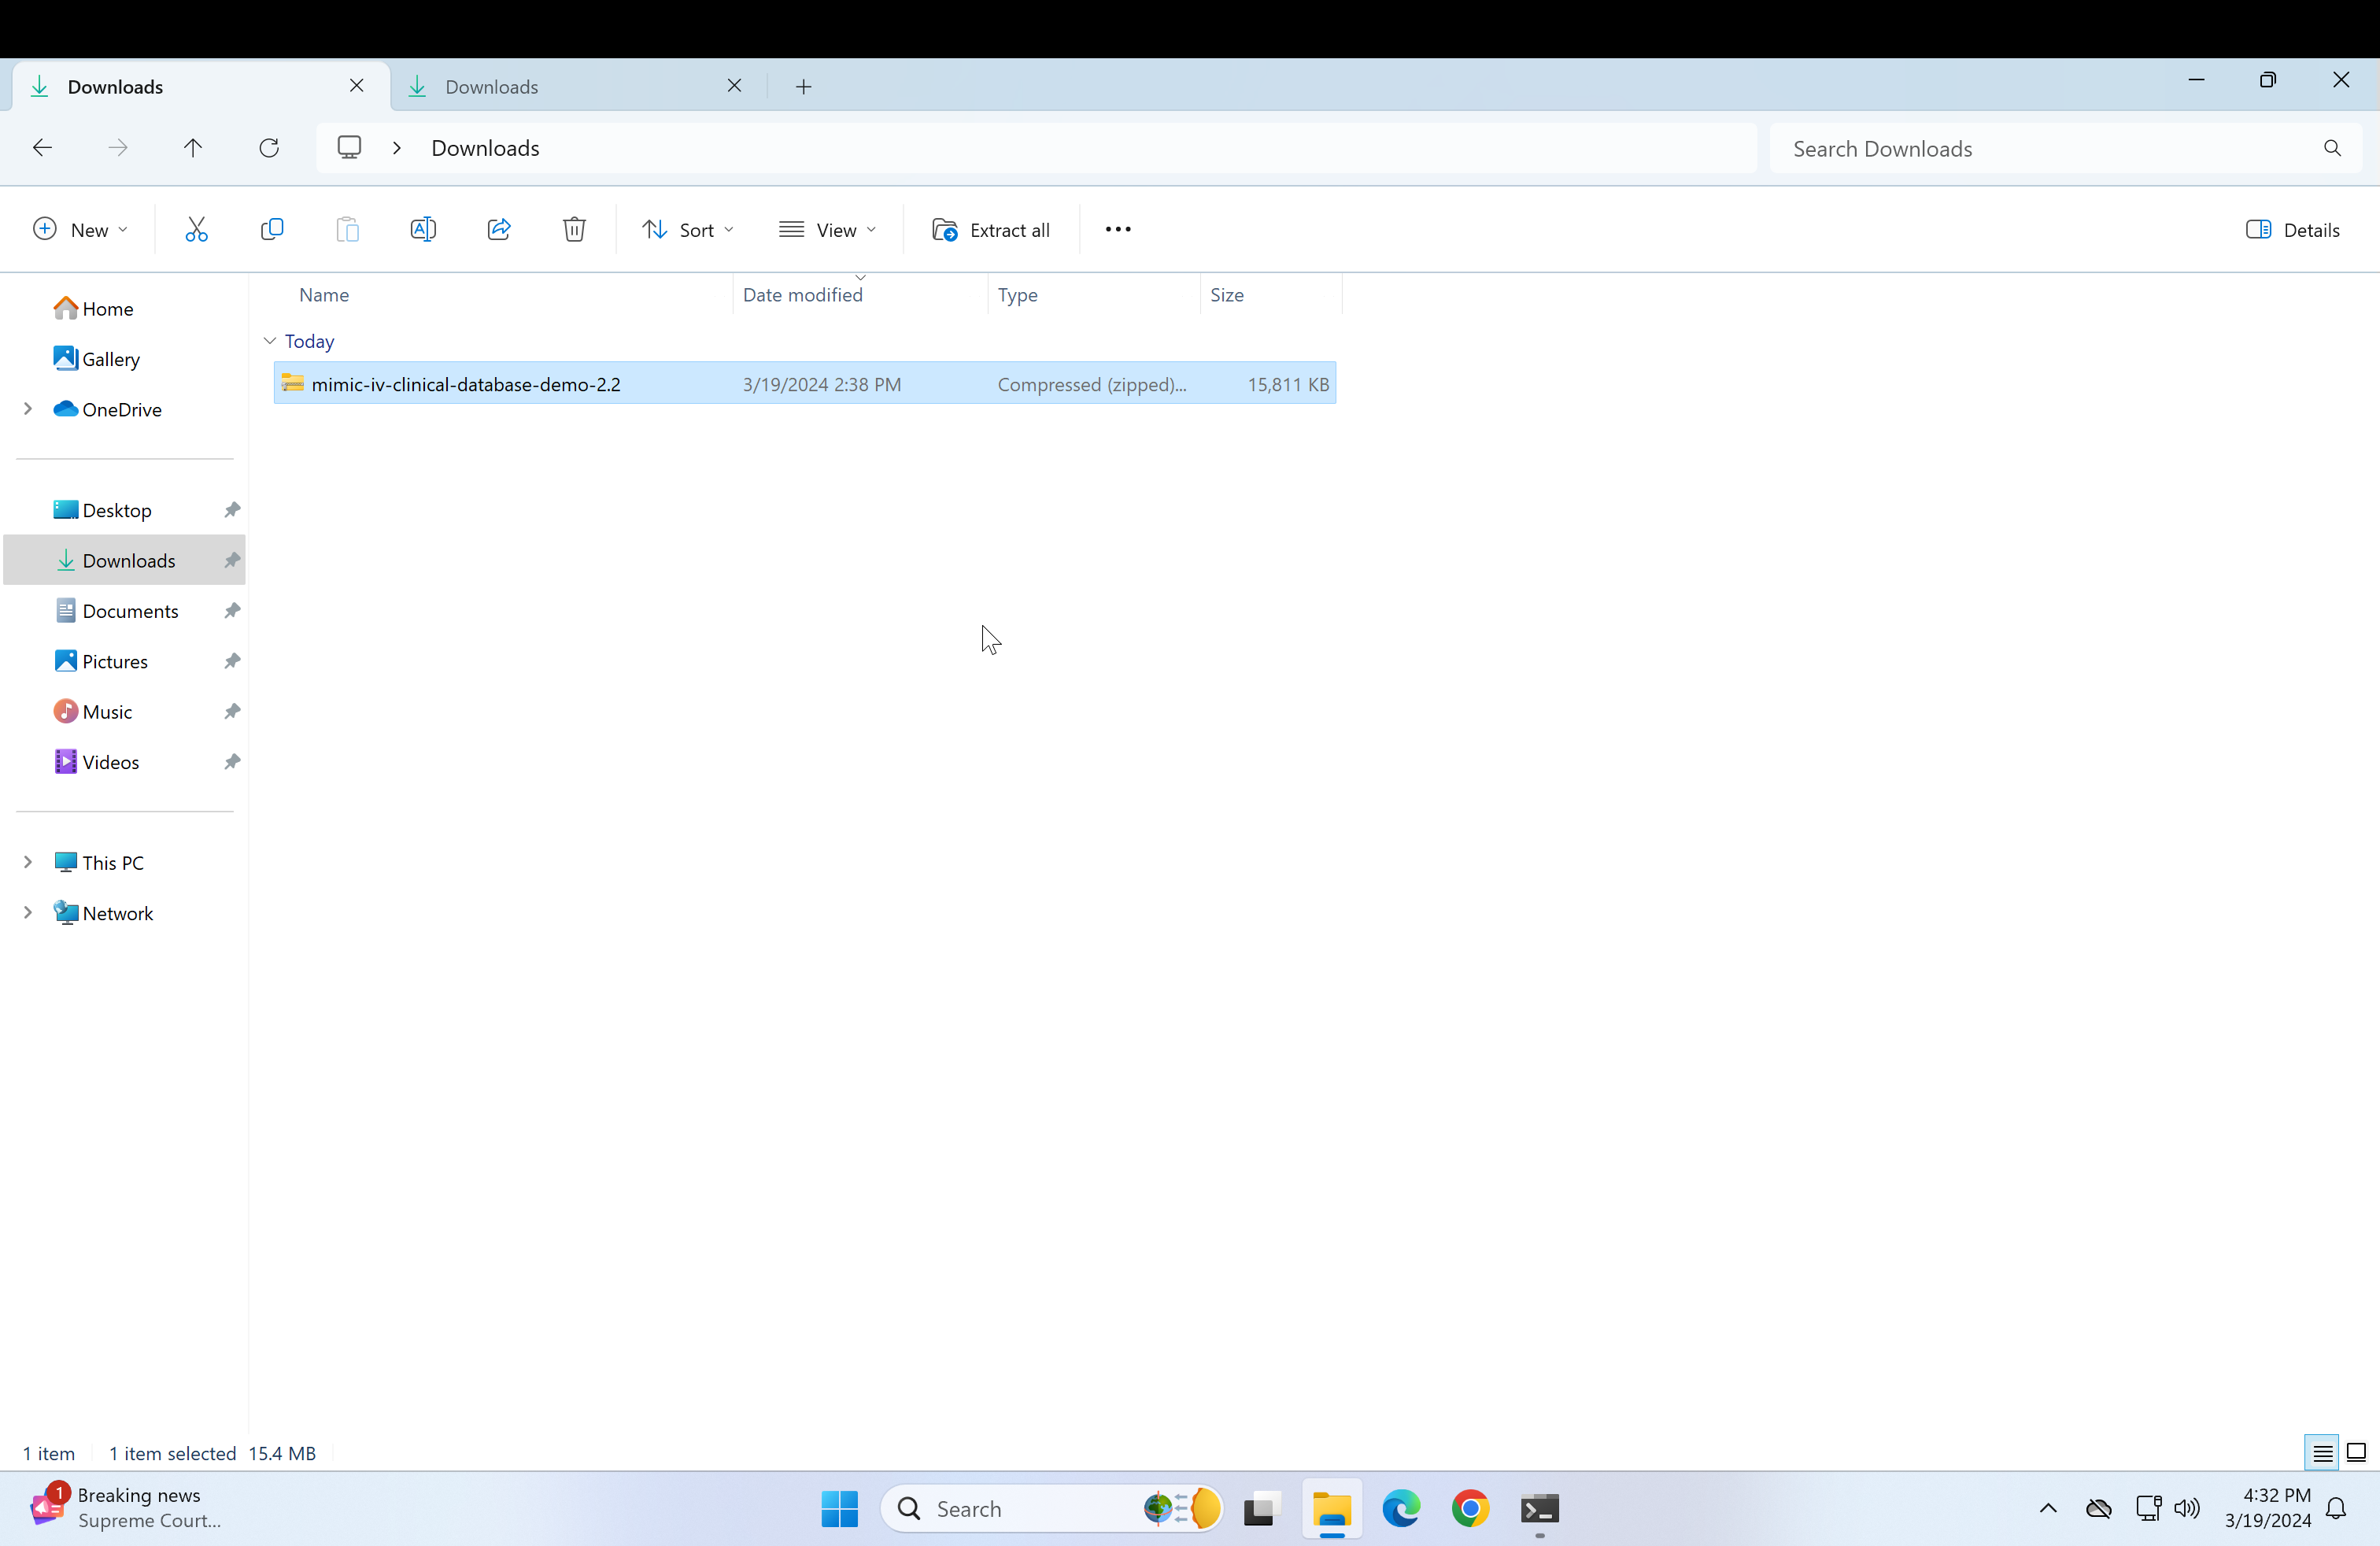 Downloaded demo file
 -
Using WinRAR, click on extract here.
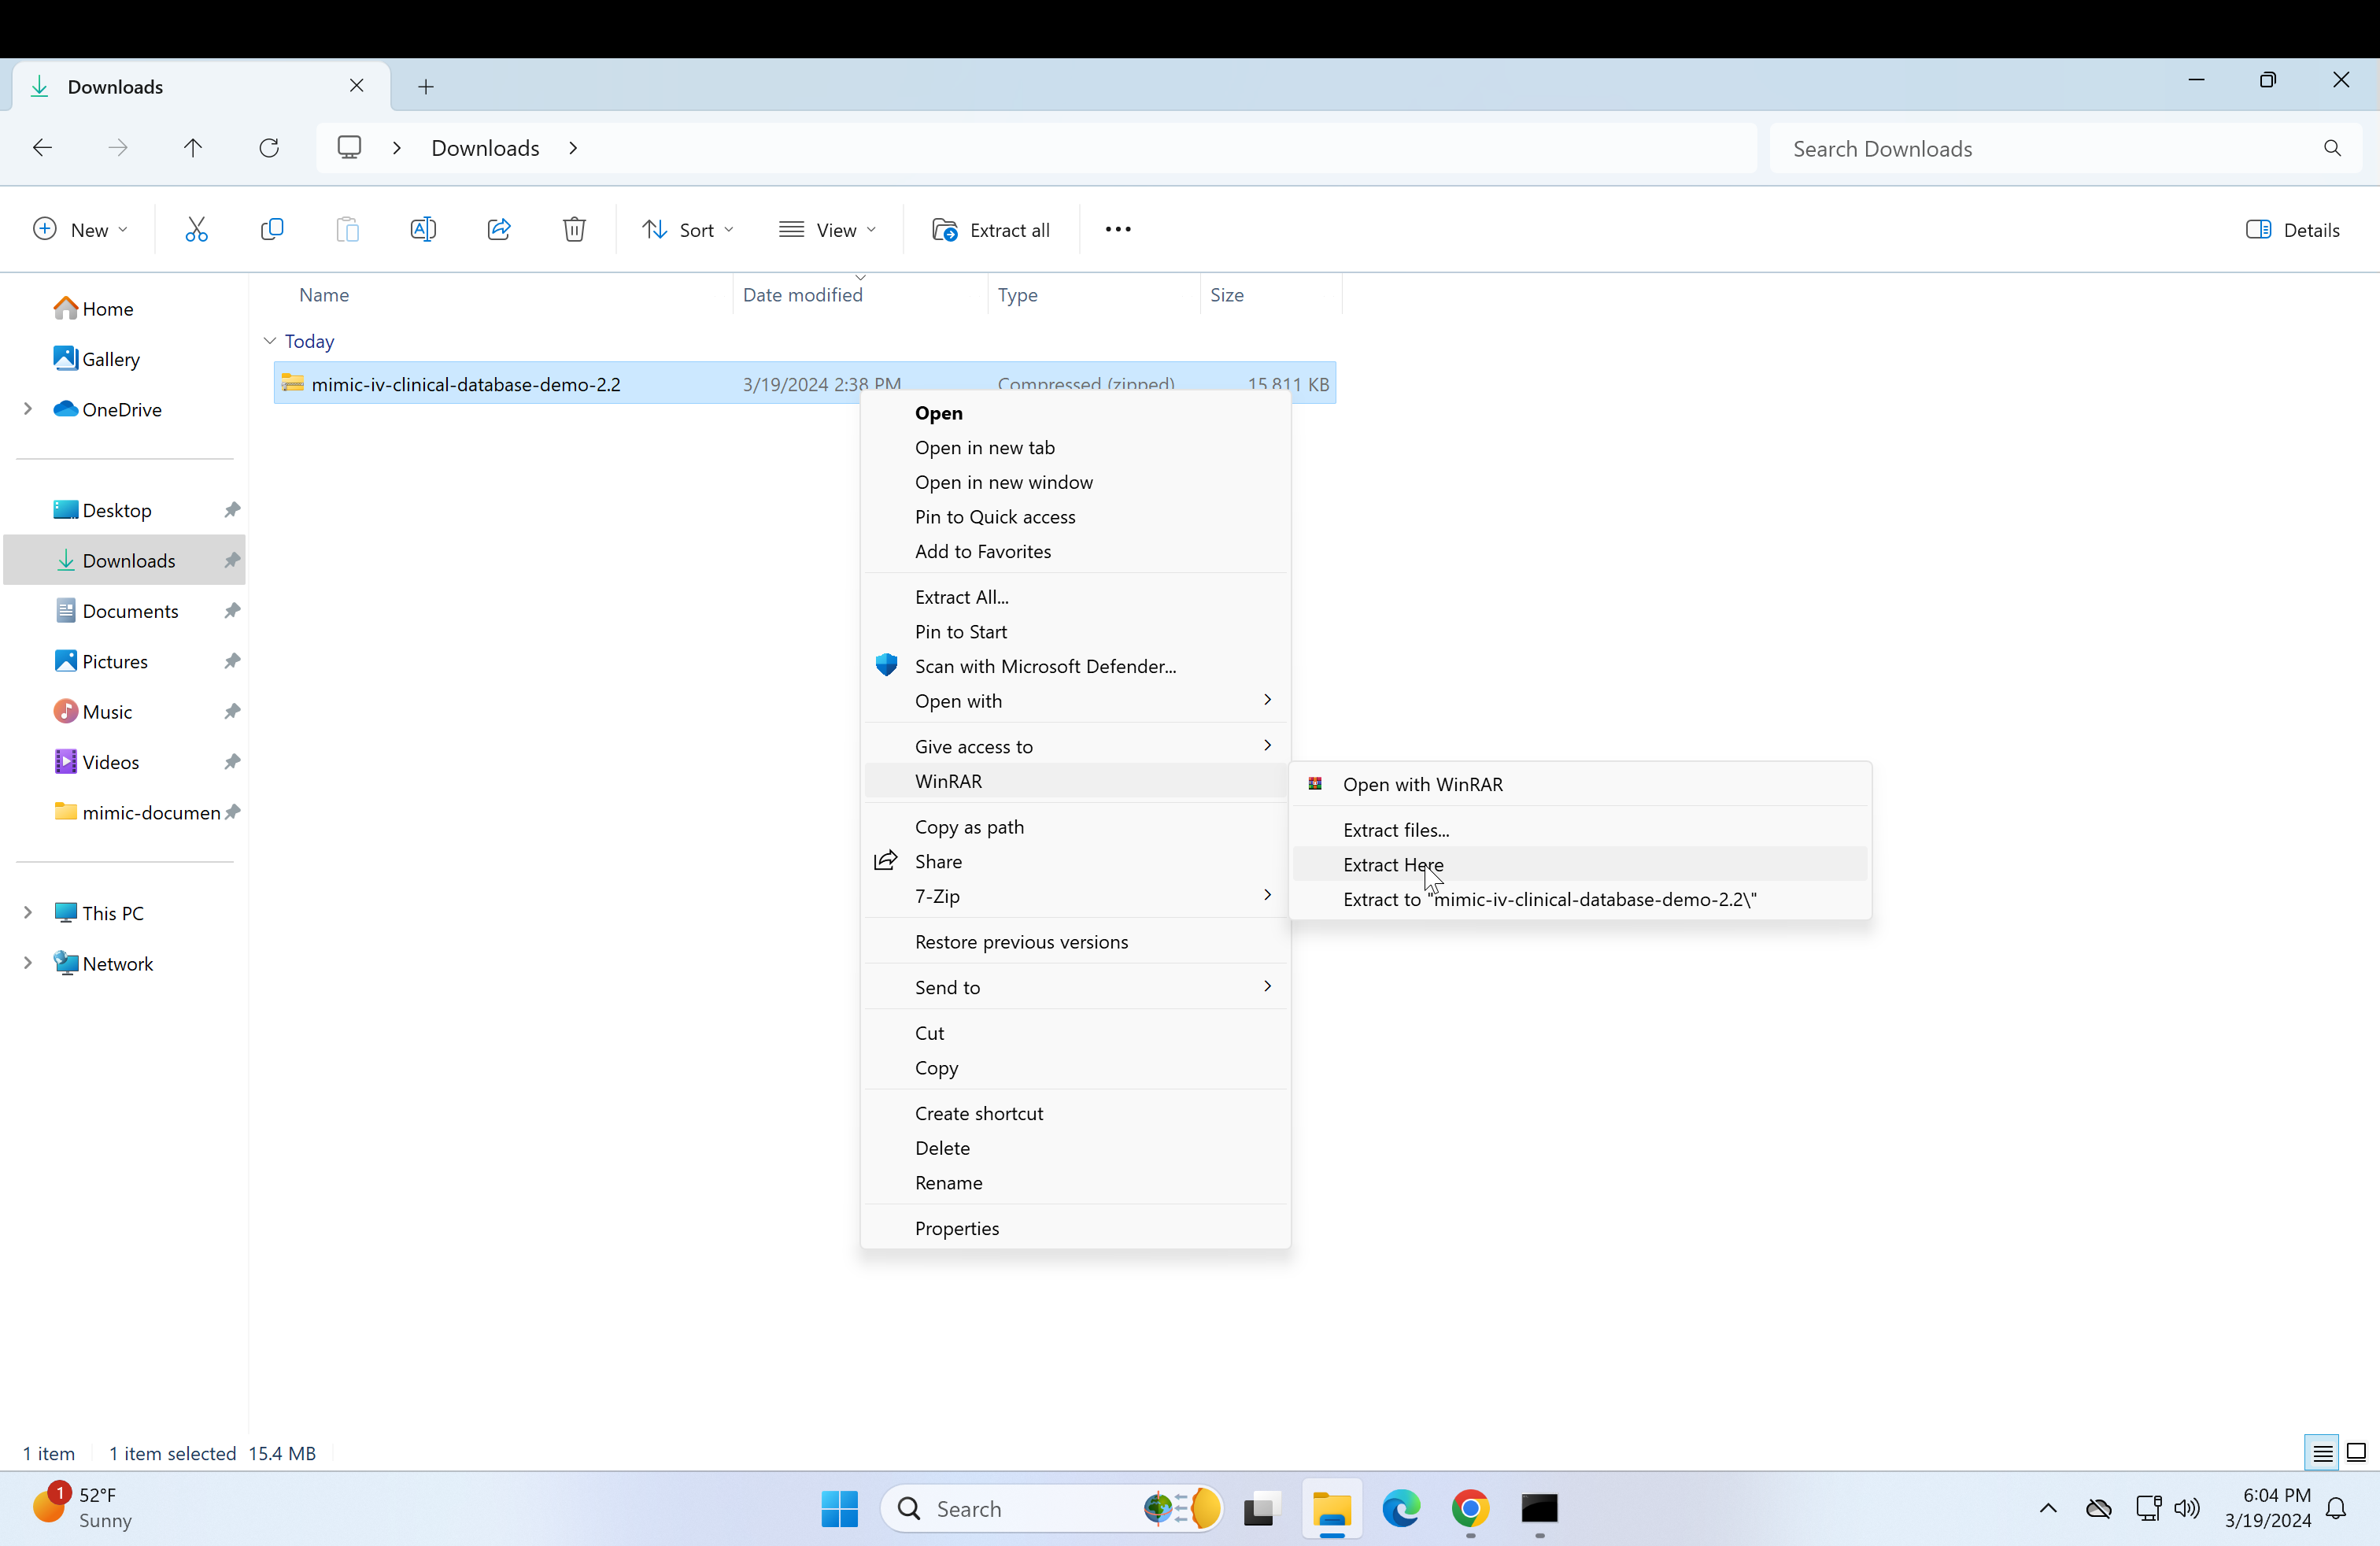
-
Copy the newly extracted folder - mimic-iv-clinical-database-demo-2.2 - and move it into the mimic-documents folder you created before.
-
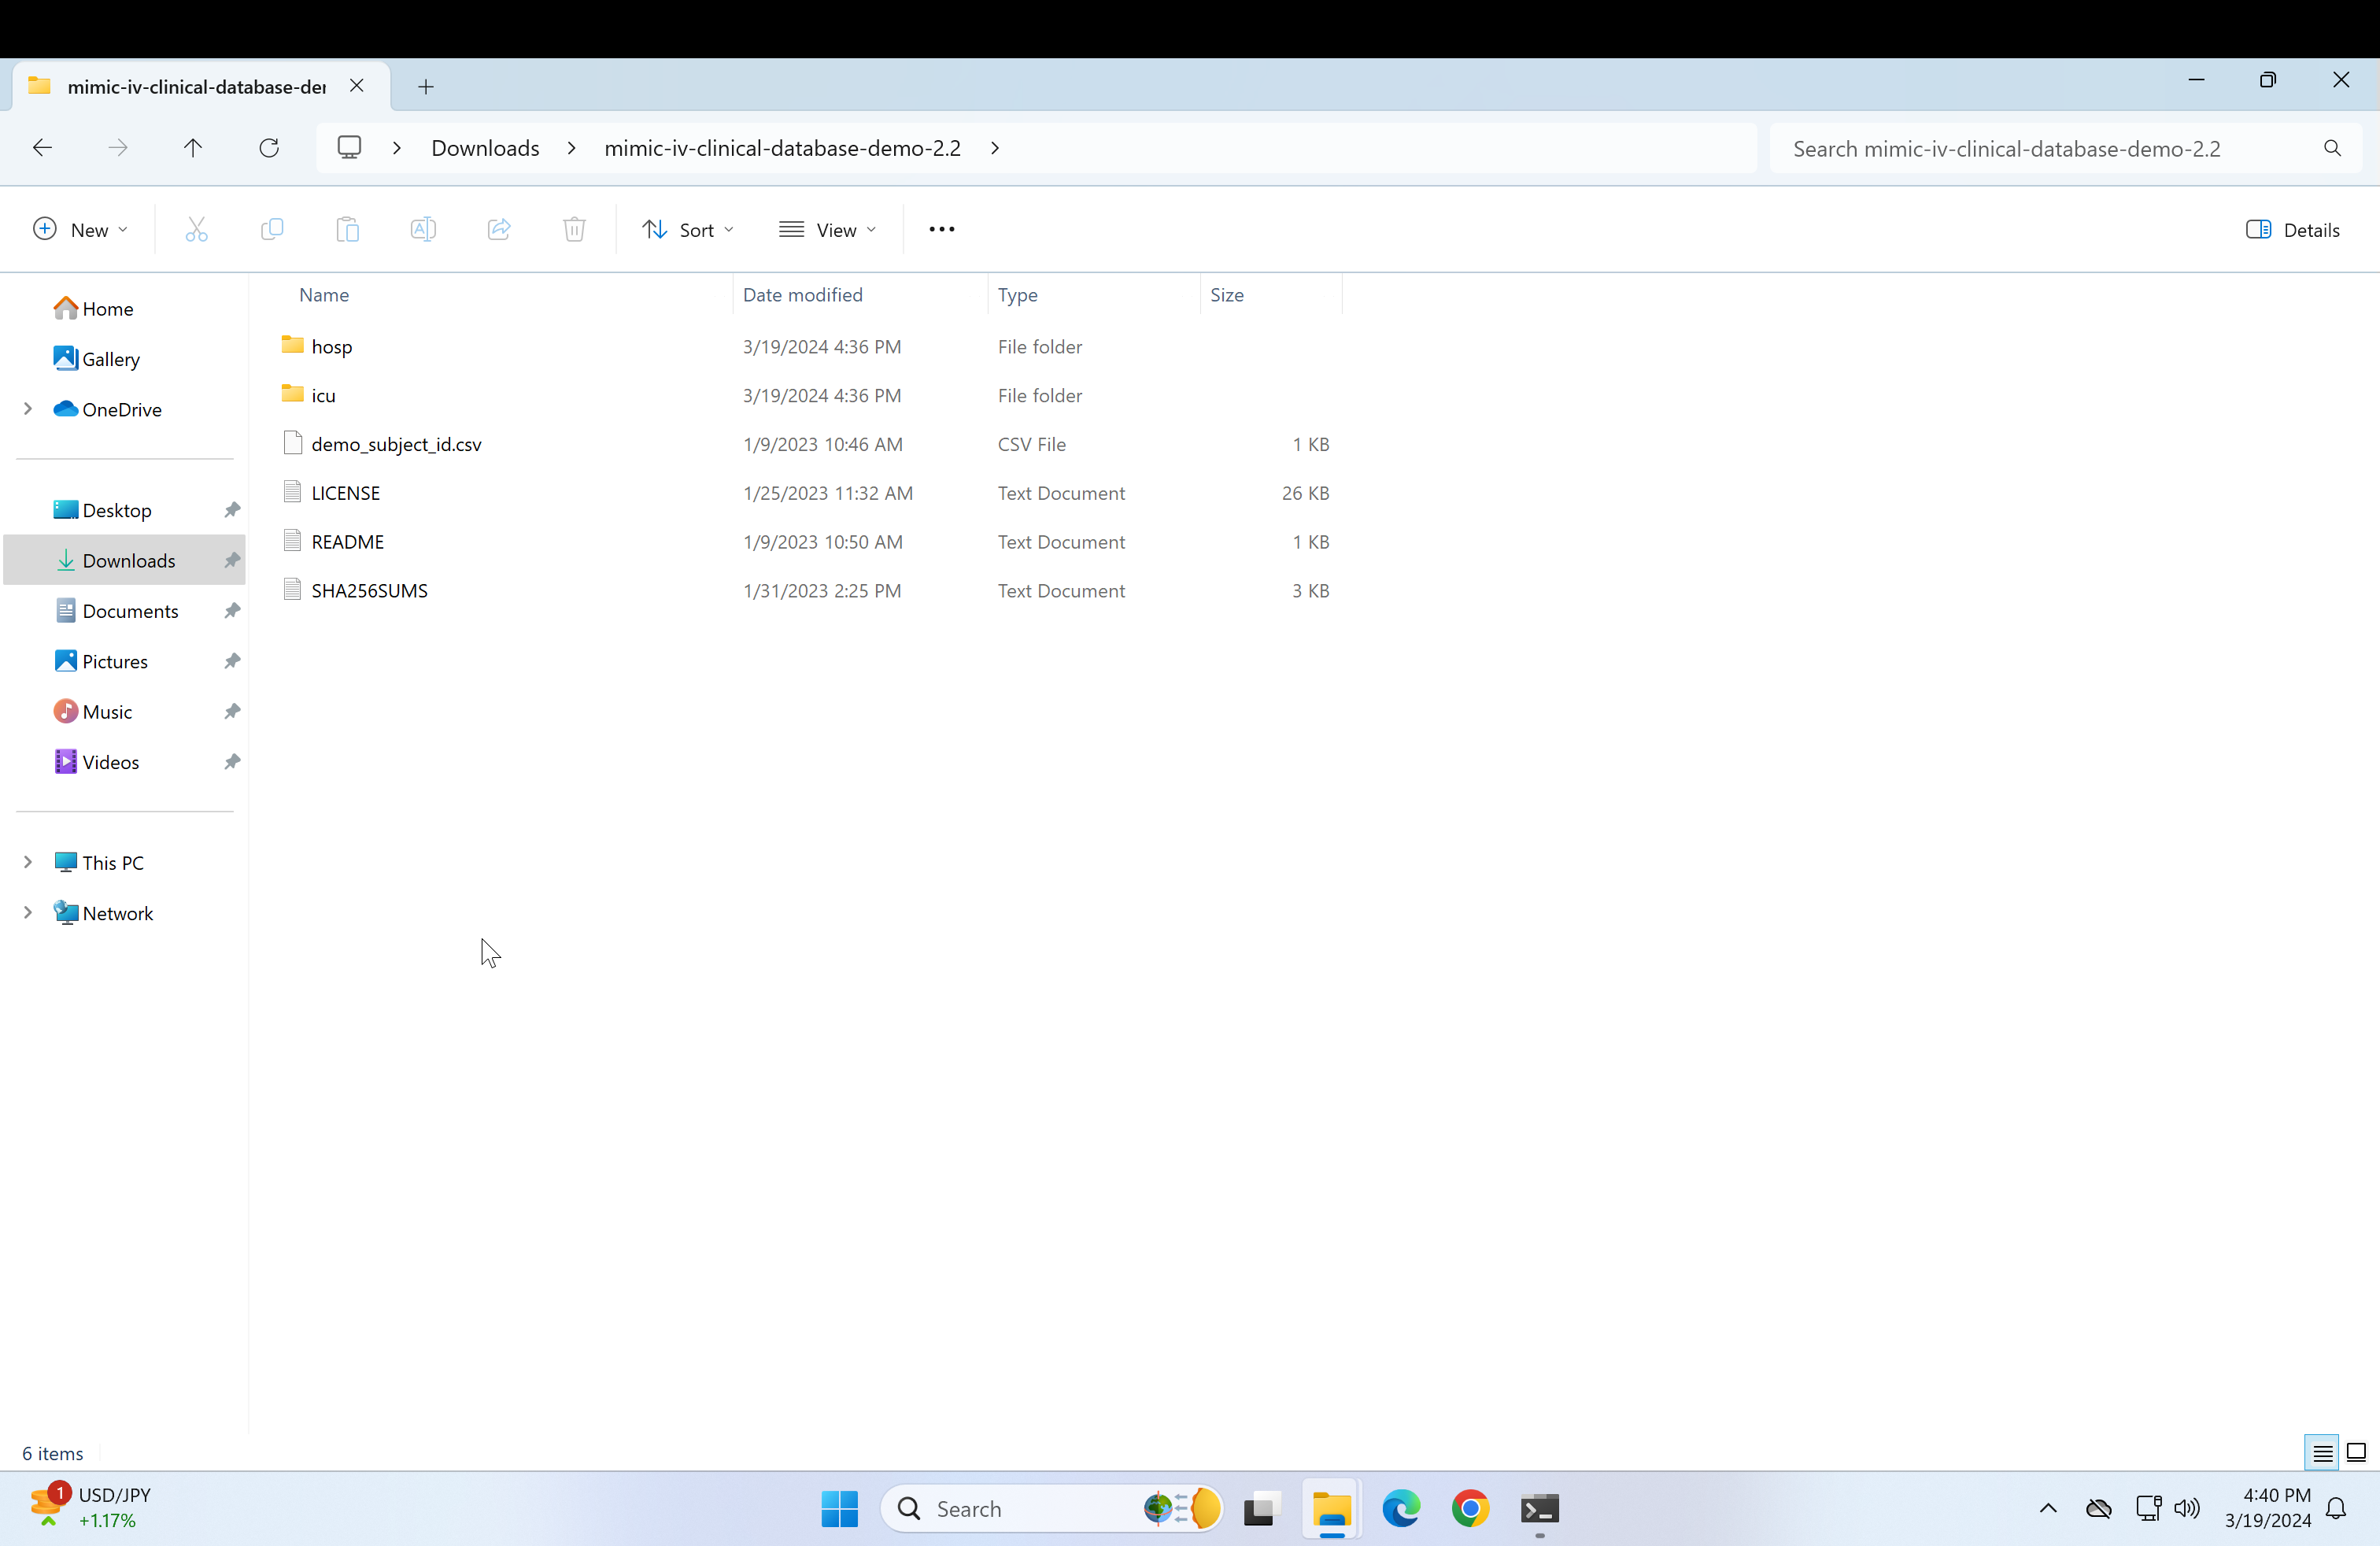
Open the mimic-iv-clinical-database-demo-2.2 that was just pasted in the mimic-documents and it should lead to a page containing a "hosp" and an "icu" folder.
-
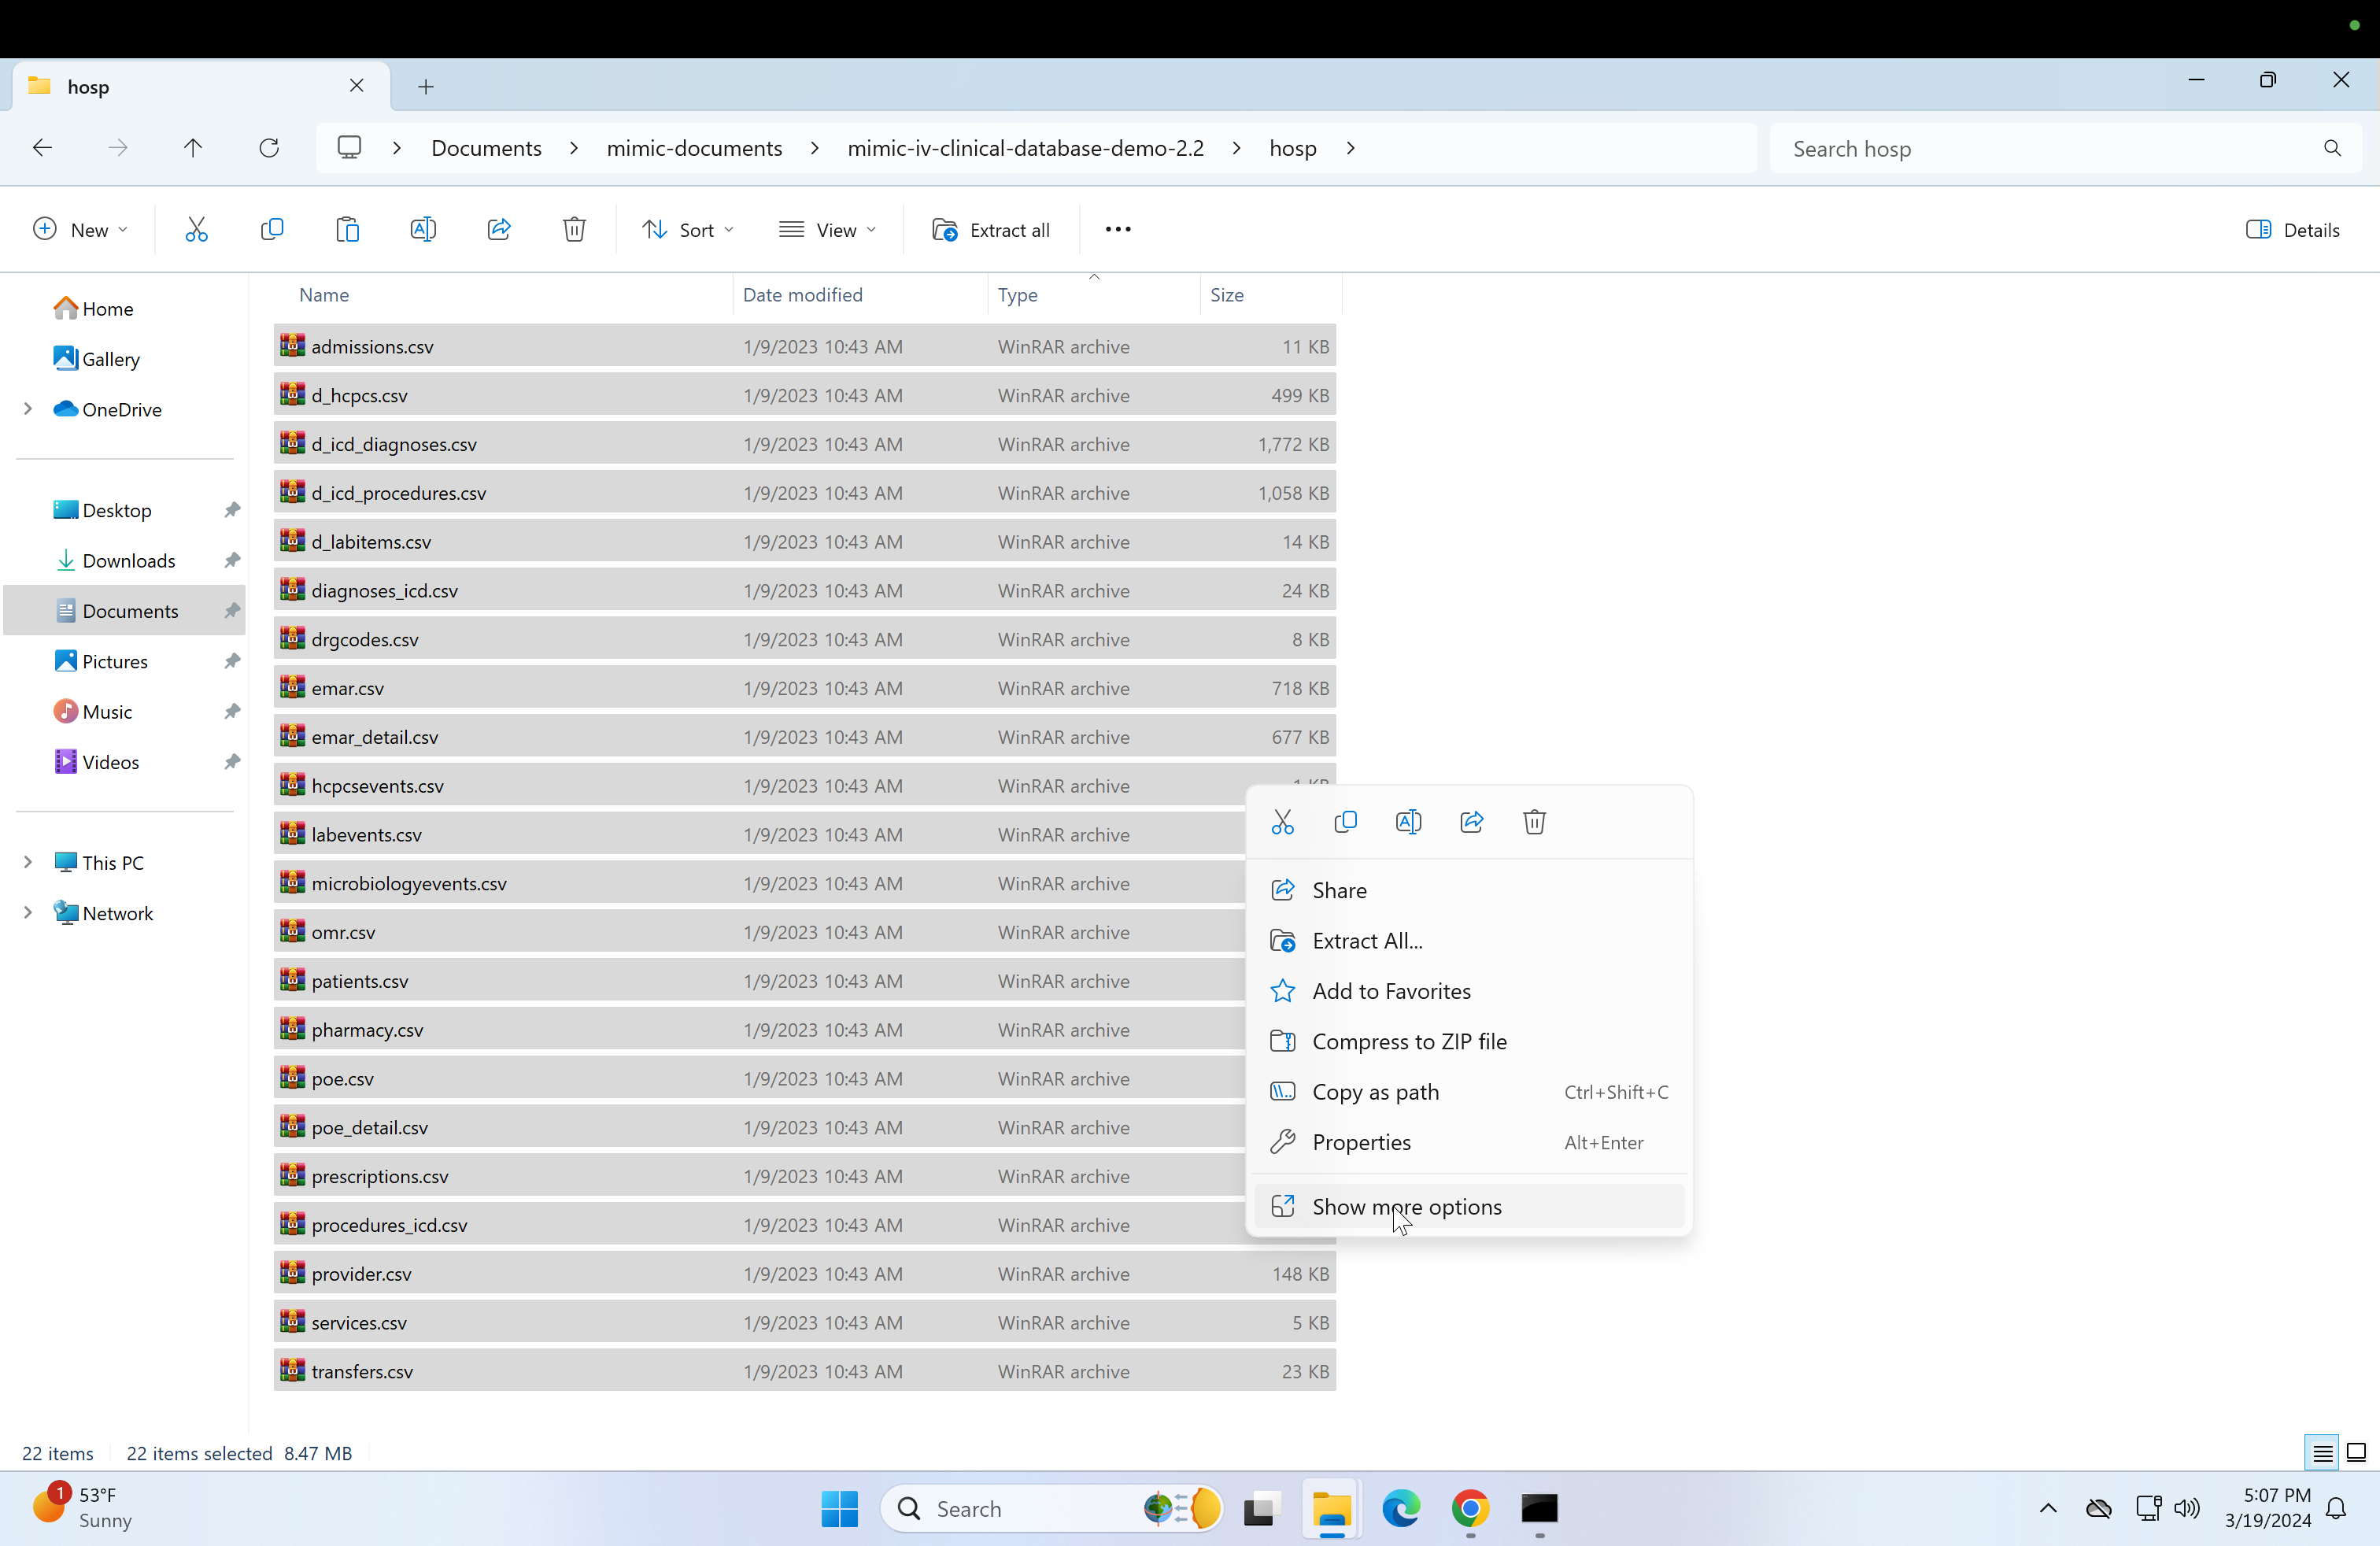
Click on the hosp folder.
 the hosp folder and all its files
 -
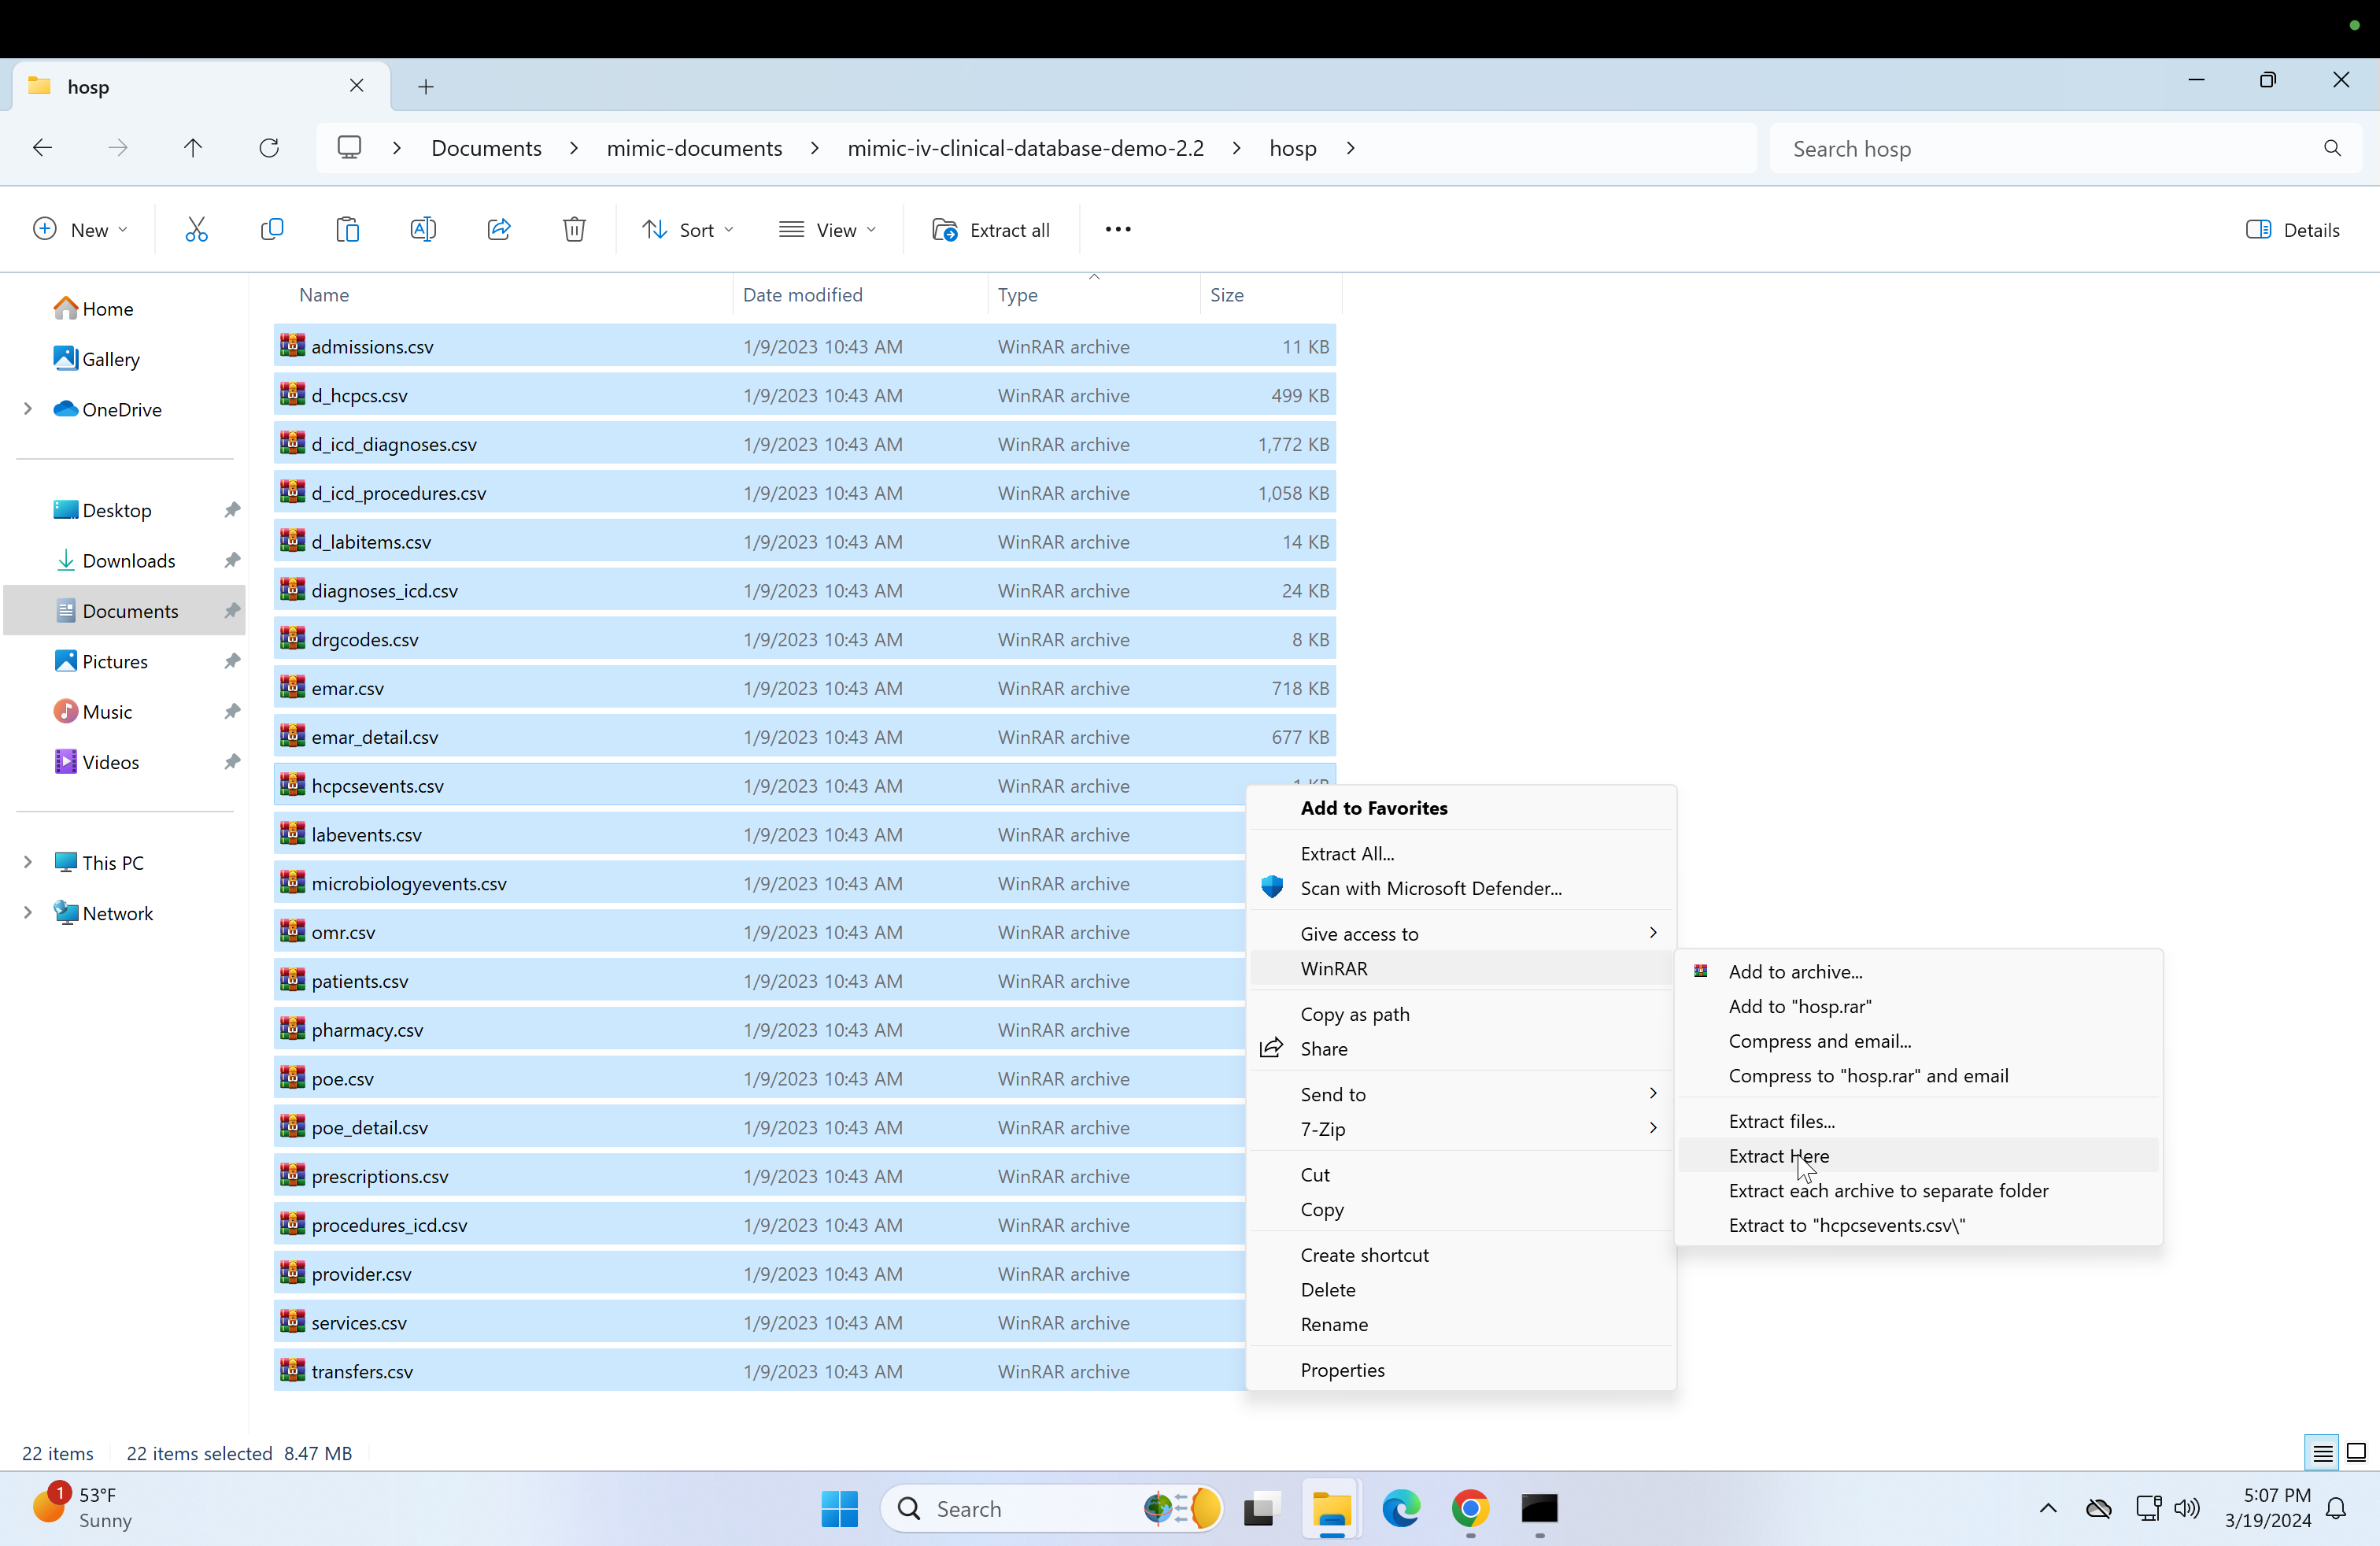
Select all files (Ctrl + a) and click on WinRAR, then click on "Extract here". This may take a while.
-
Do the same thing for the icu folder next to the hosp one.


-
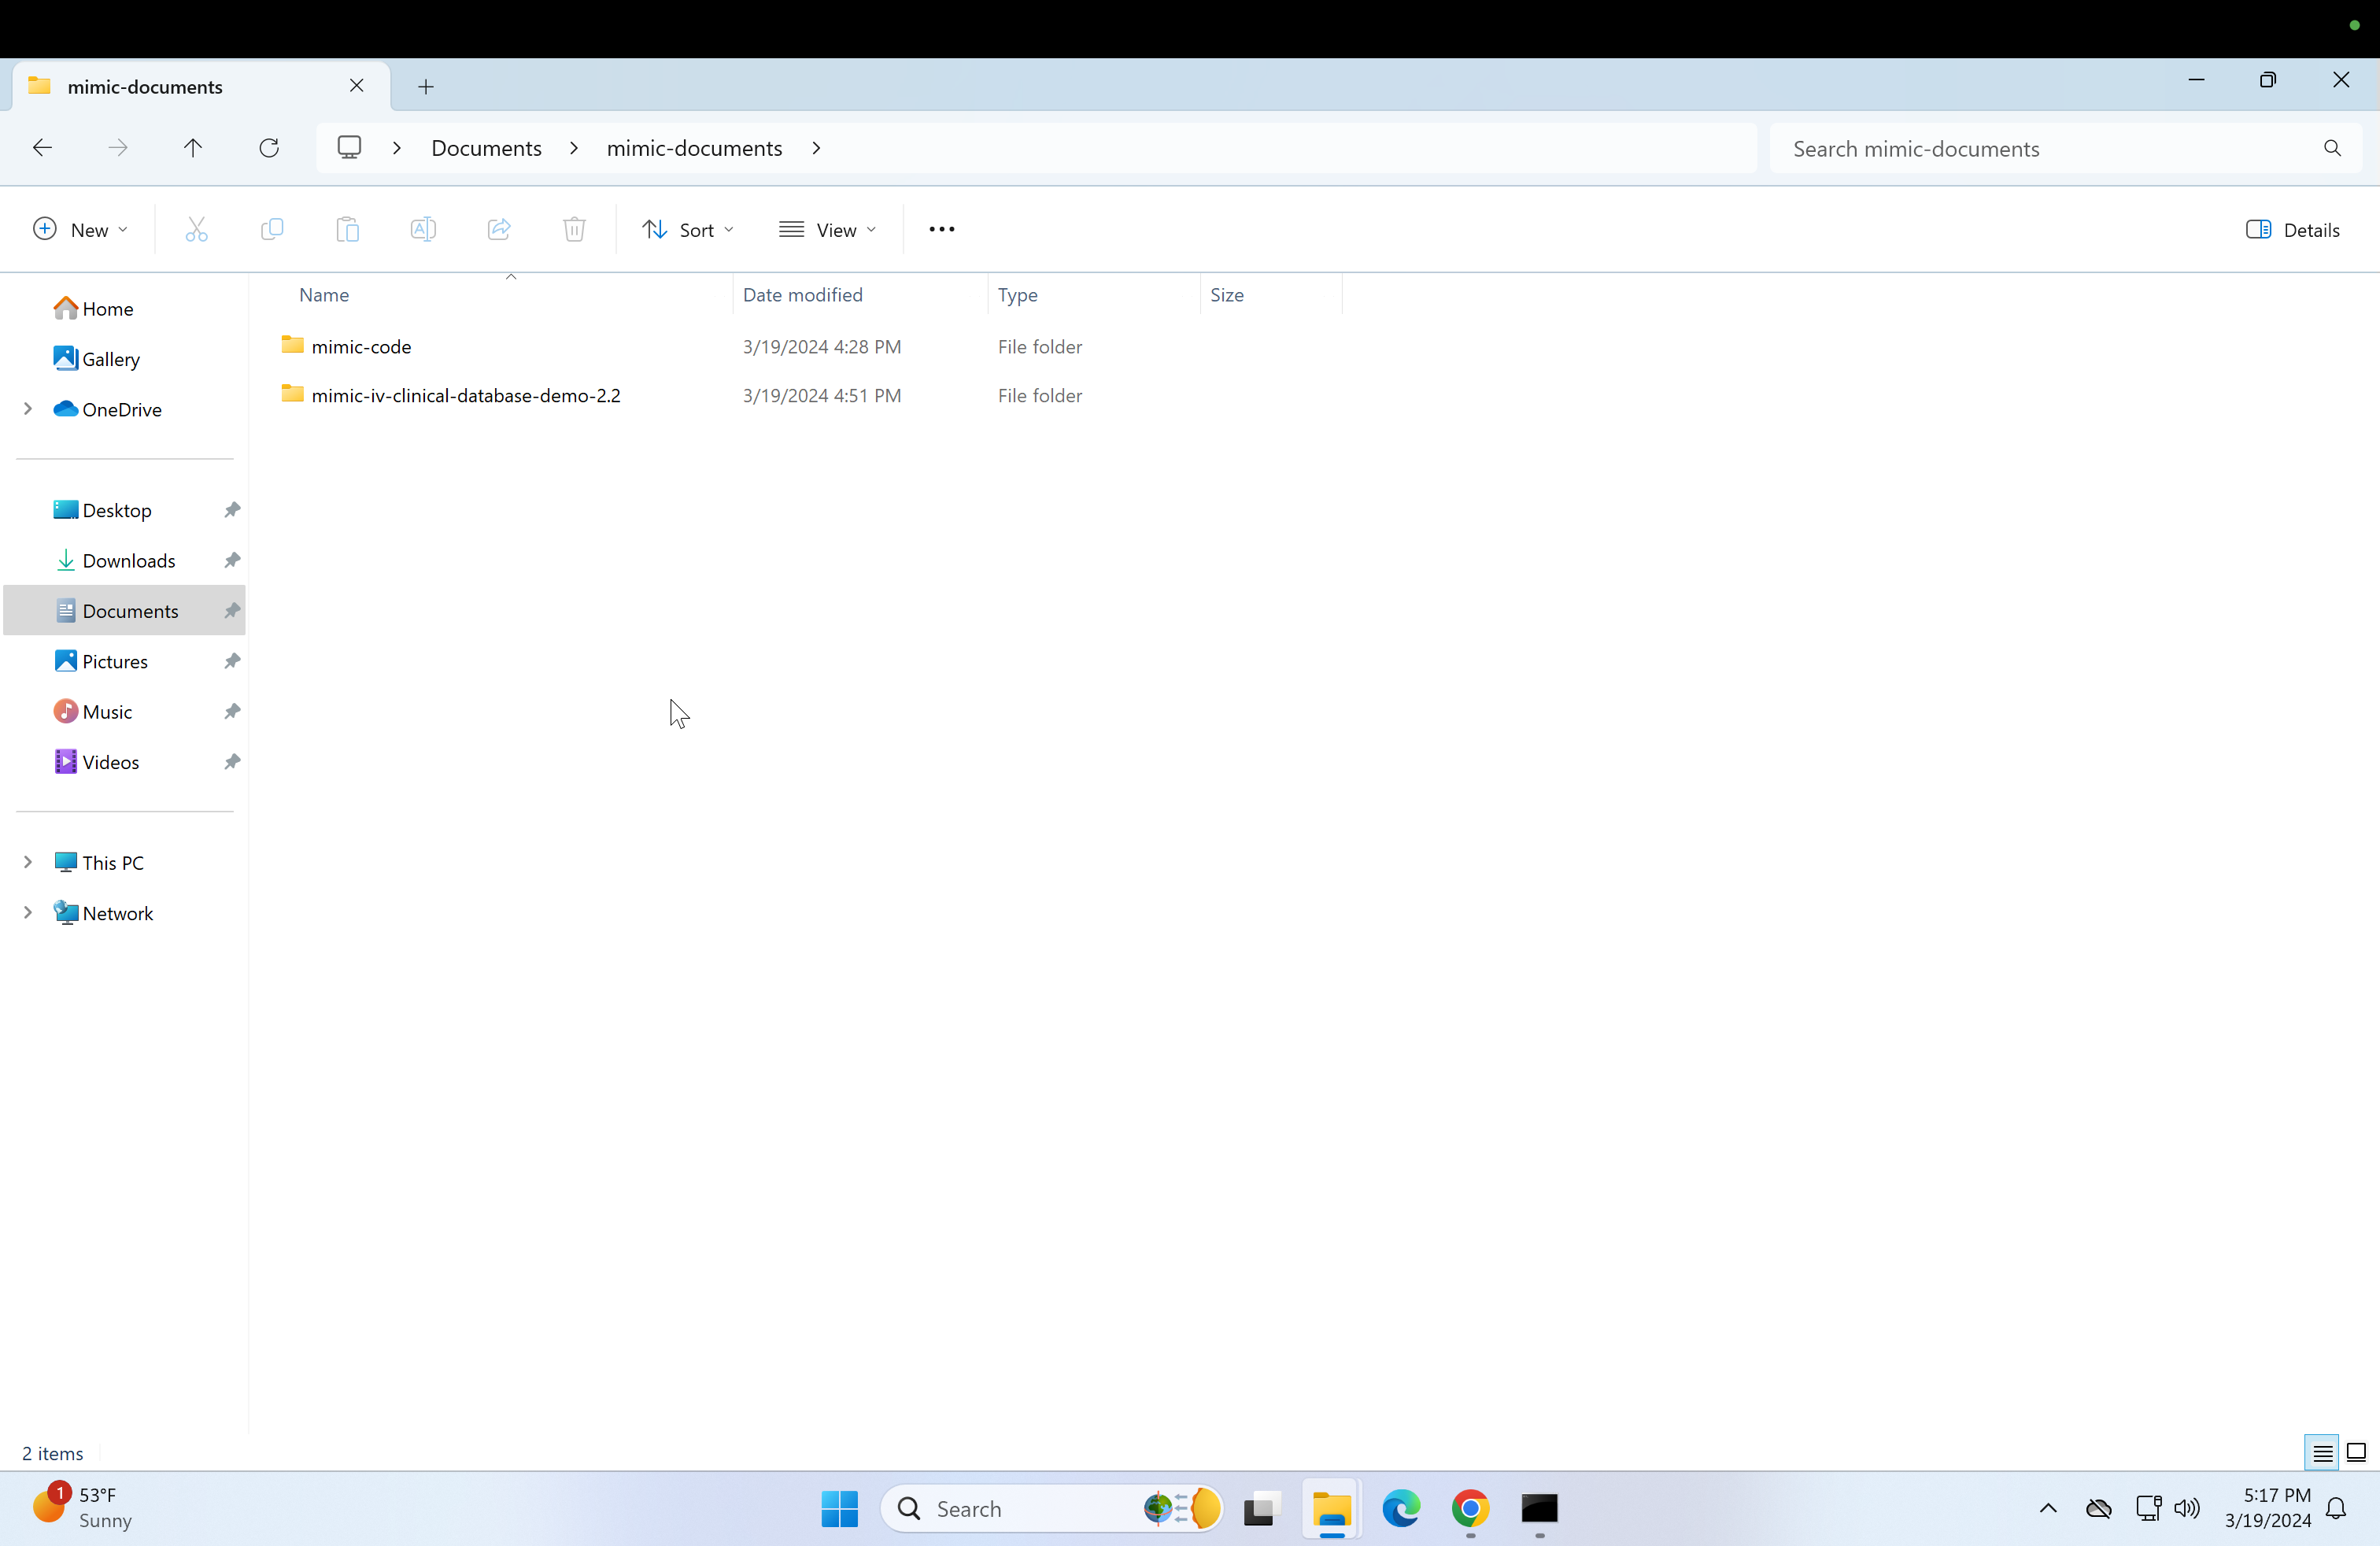
At this point, you should have unzipped contents of the "icu" and "hosp" folders in mimic-iv-clinical-database-demo-2.2, and the contents of mimic-documents should look like this:
-
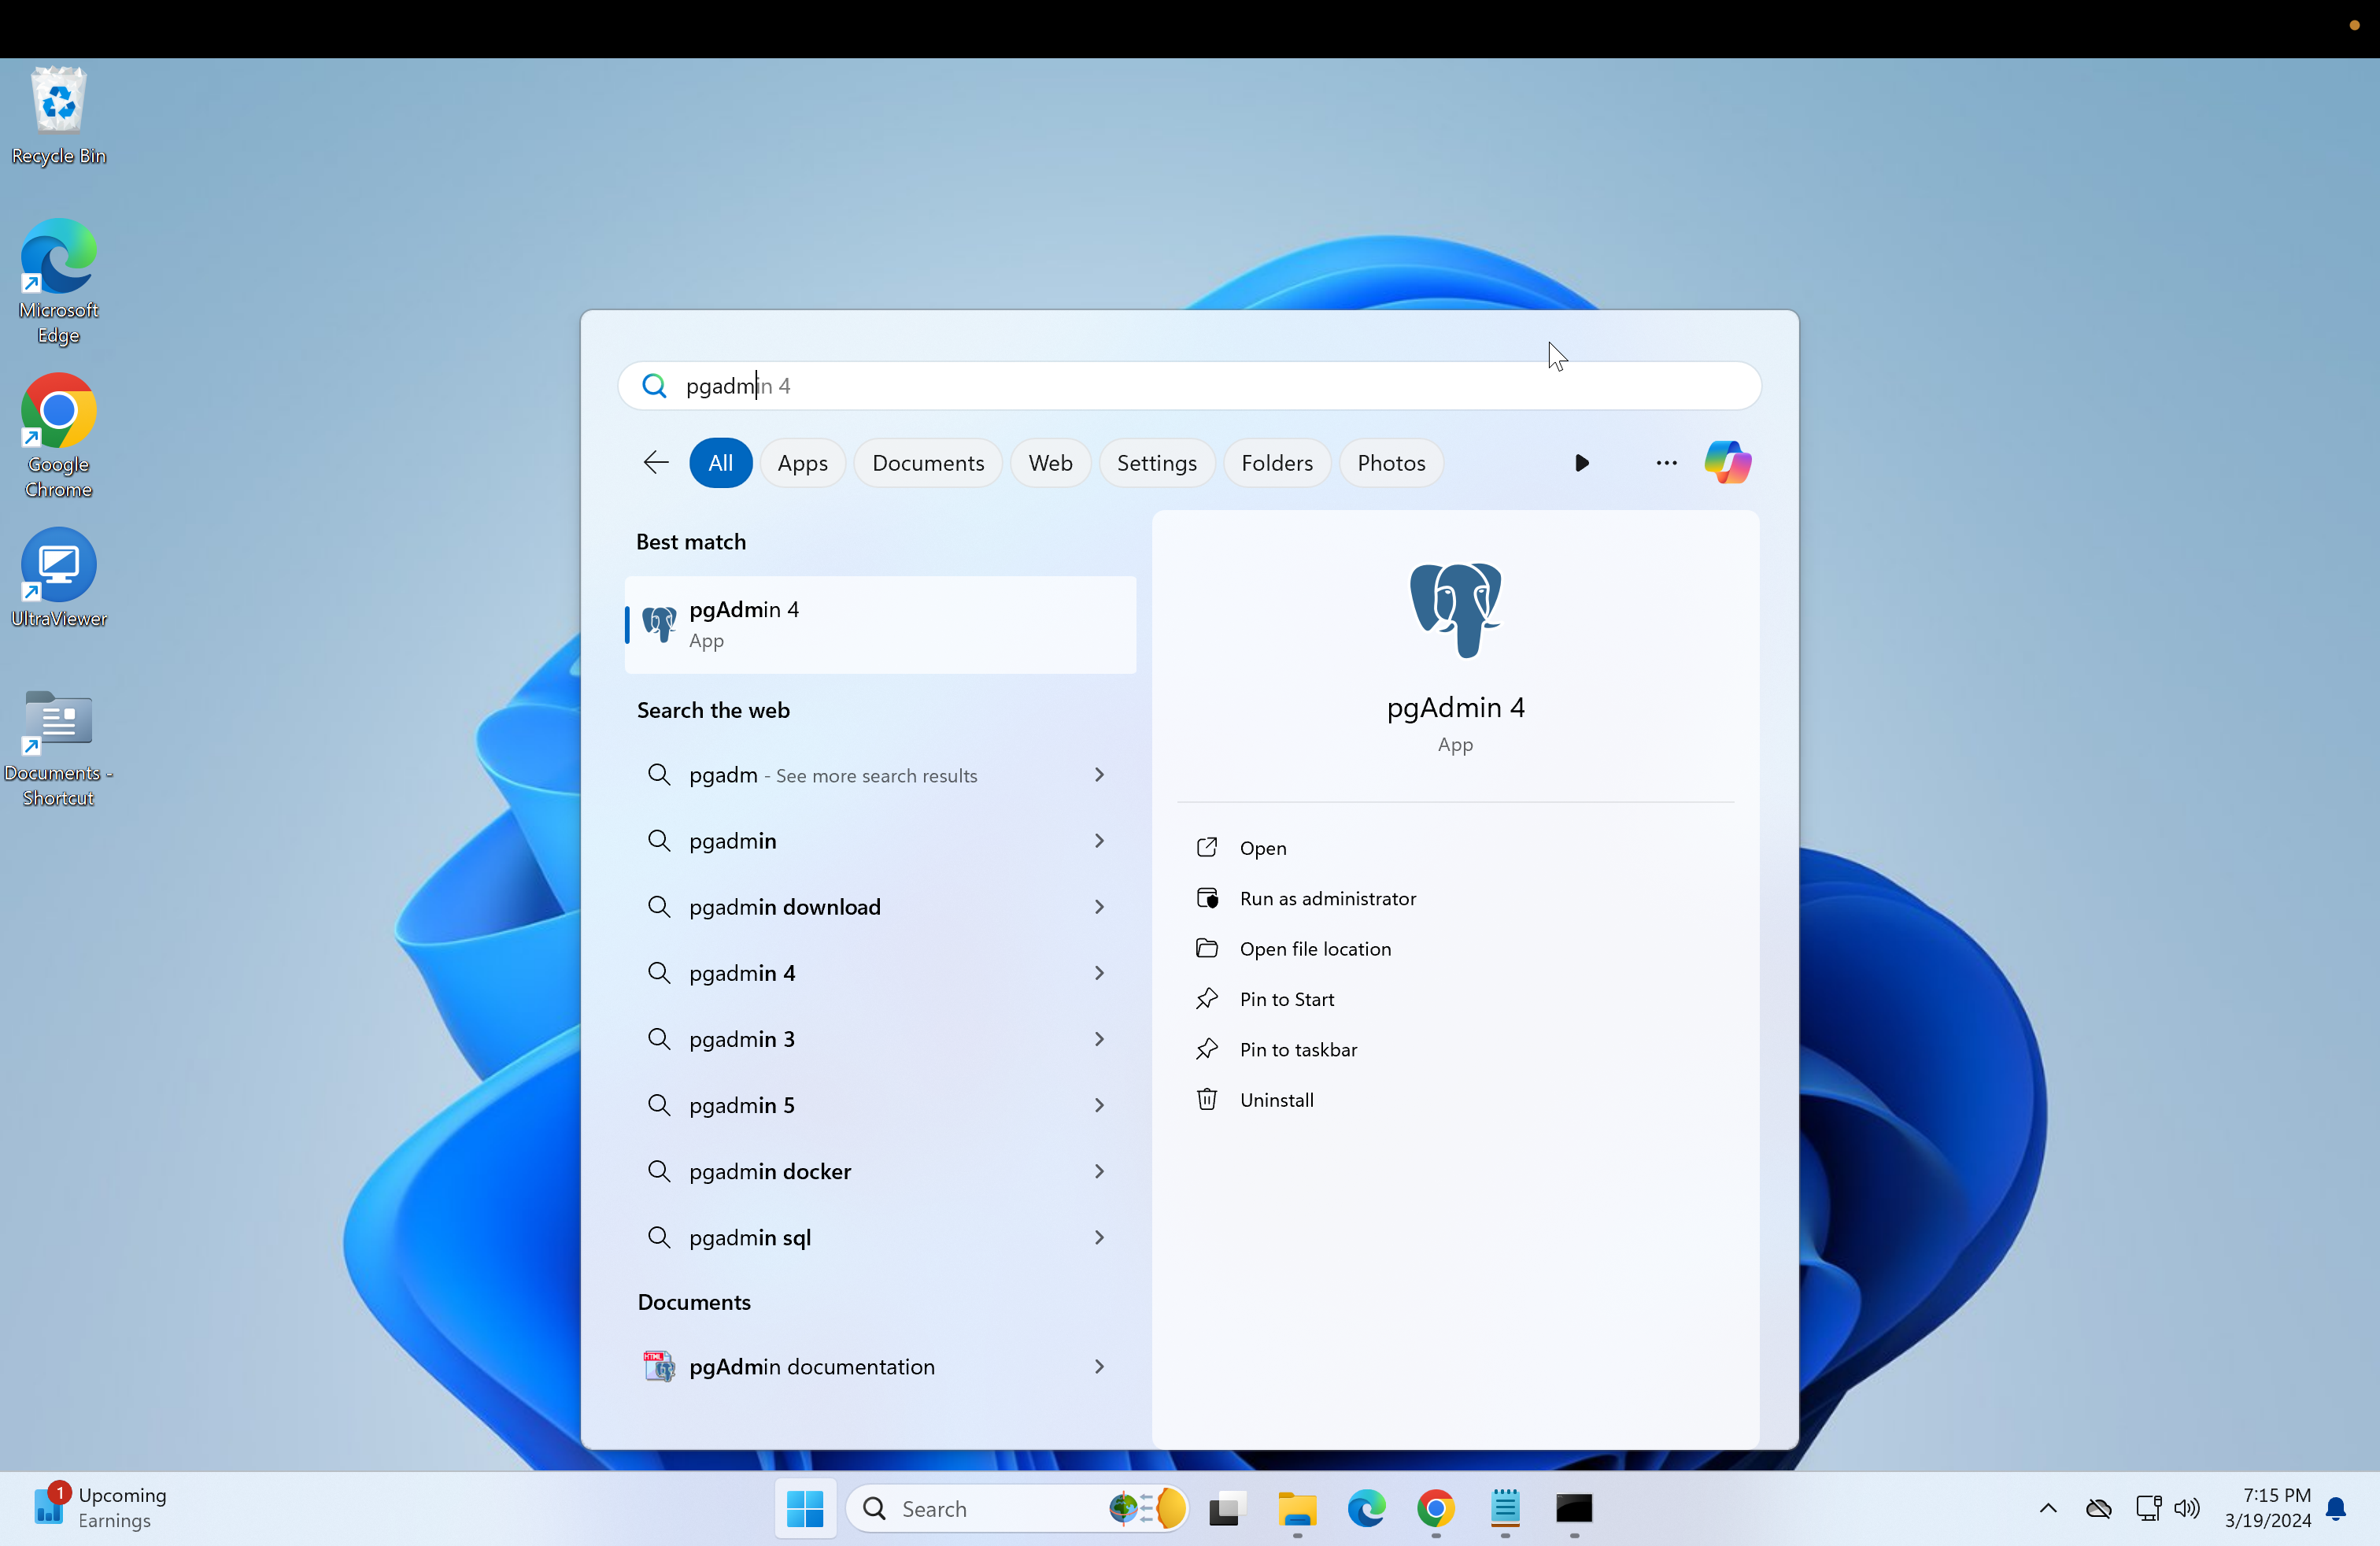
Click the Windows start button and type psql and click on it.

-
The option "Server [localhost]" should show up first, click enter without typing anything. Do the same for "Database [postgres]", "port[5432]" and "Username [postgres]". Next, enter your password and click enter.
-
Next, a "postgres=#" text should appear in the postgres console.

-
Next, we have to create a database for the mimic data in psql. And this is to be named mimic for simplicity purposes.
-
Run the following code in the postgres console.


NB: This would delete any previously made databases named "mimic"
DROP DATABASE IF EXISTS mimic;- After that, run:
CREATE DATABASE mimic OWNER postgres;
- Now connect to the mimic database and create the schema:
\c mimic;Next create the mimiciv schema.
CREATE SCHEMA mimiciv;- Now set the search_path:
set search_path to mimiciv;
-
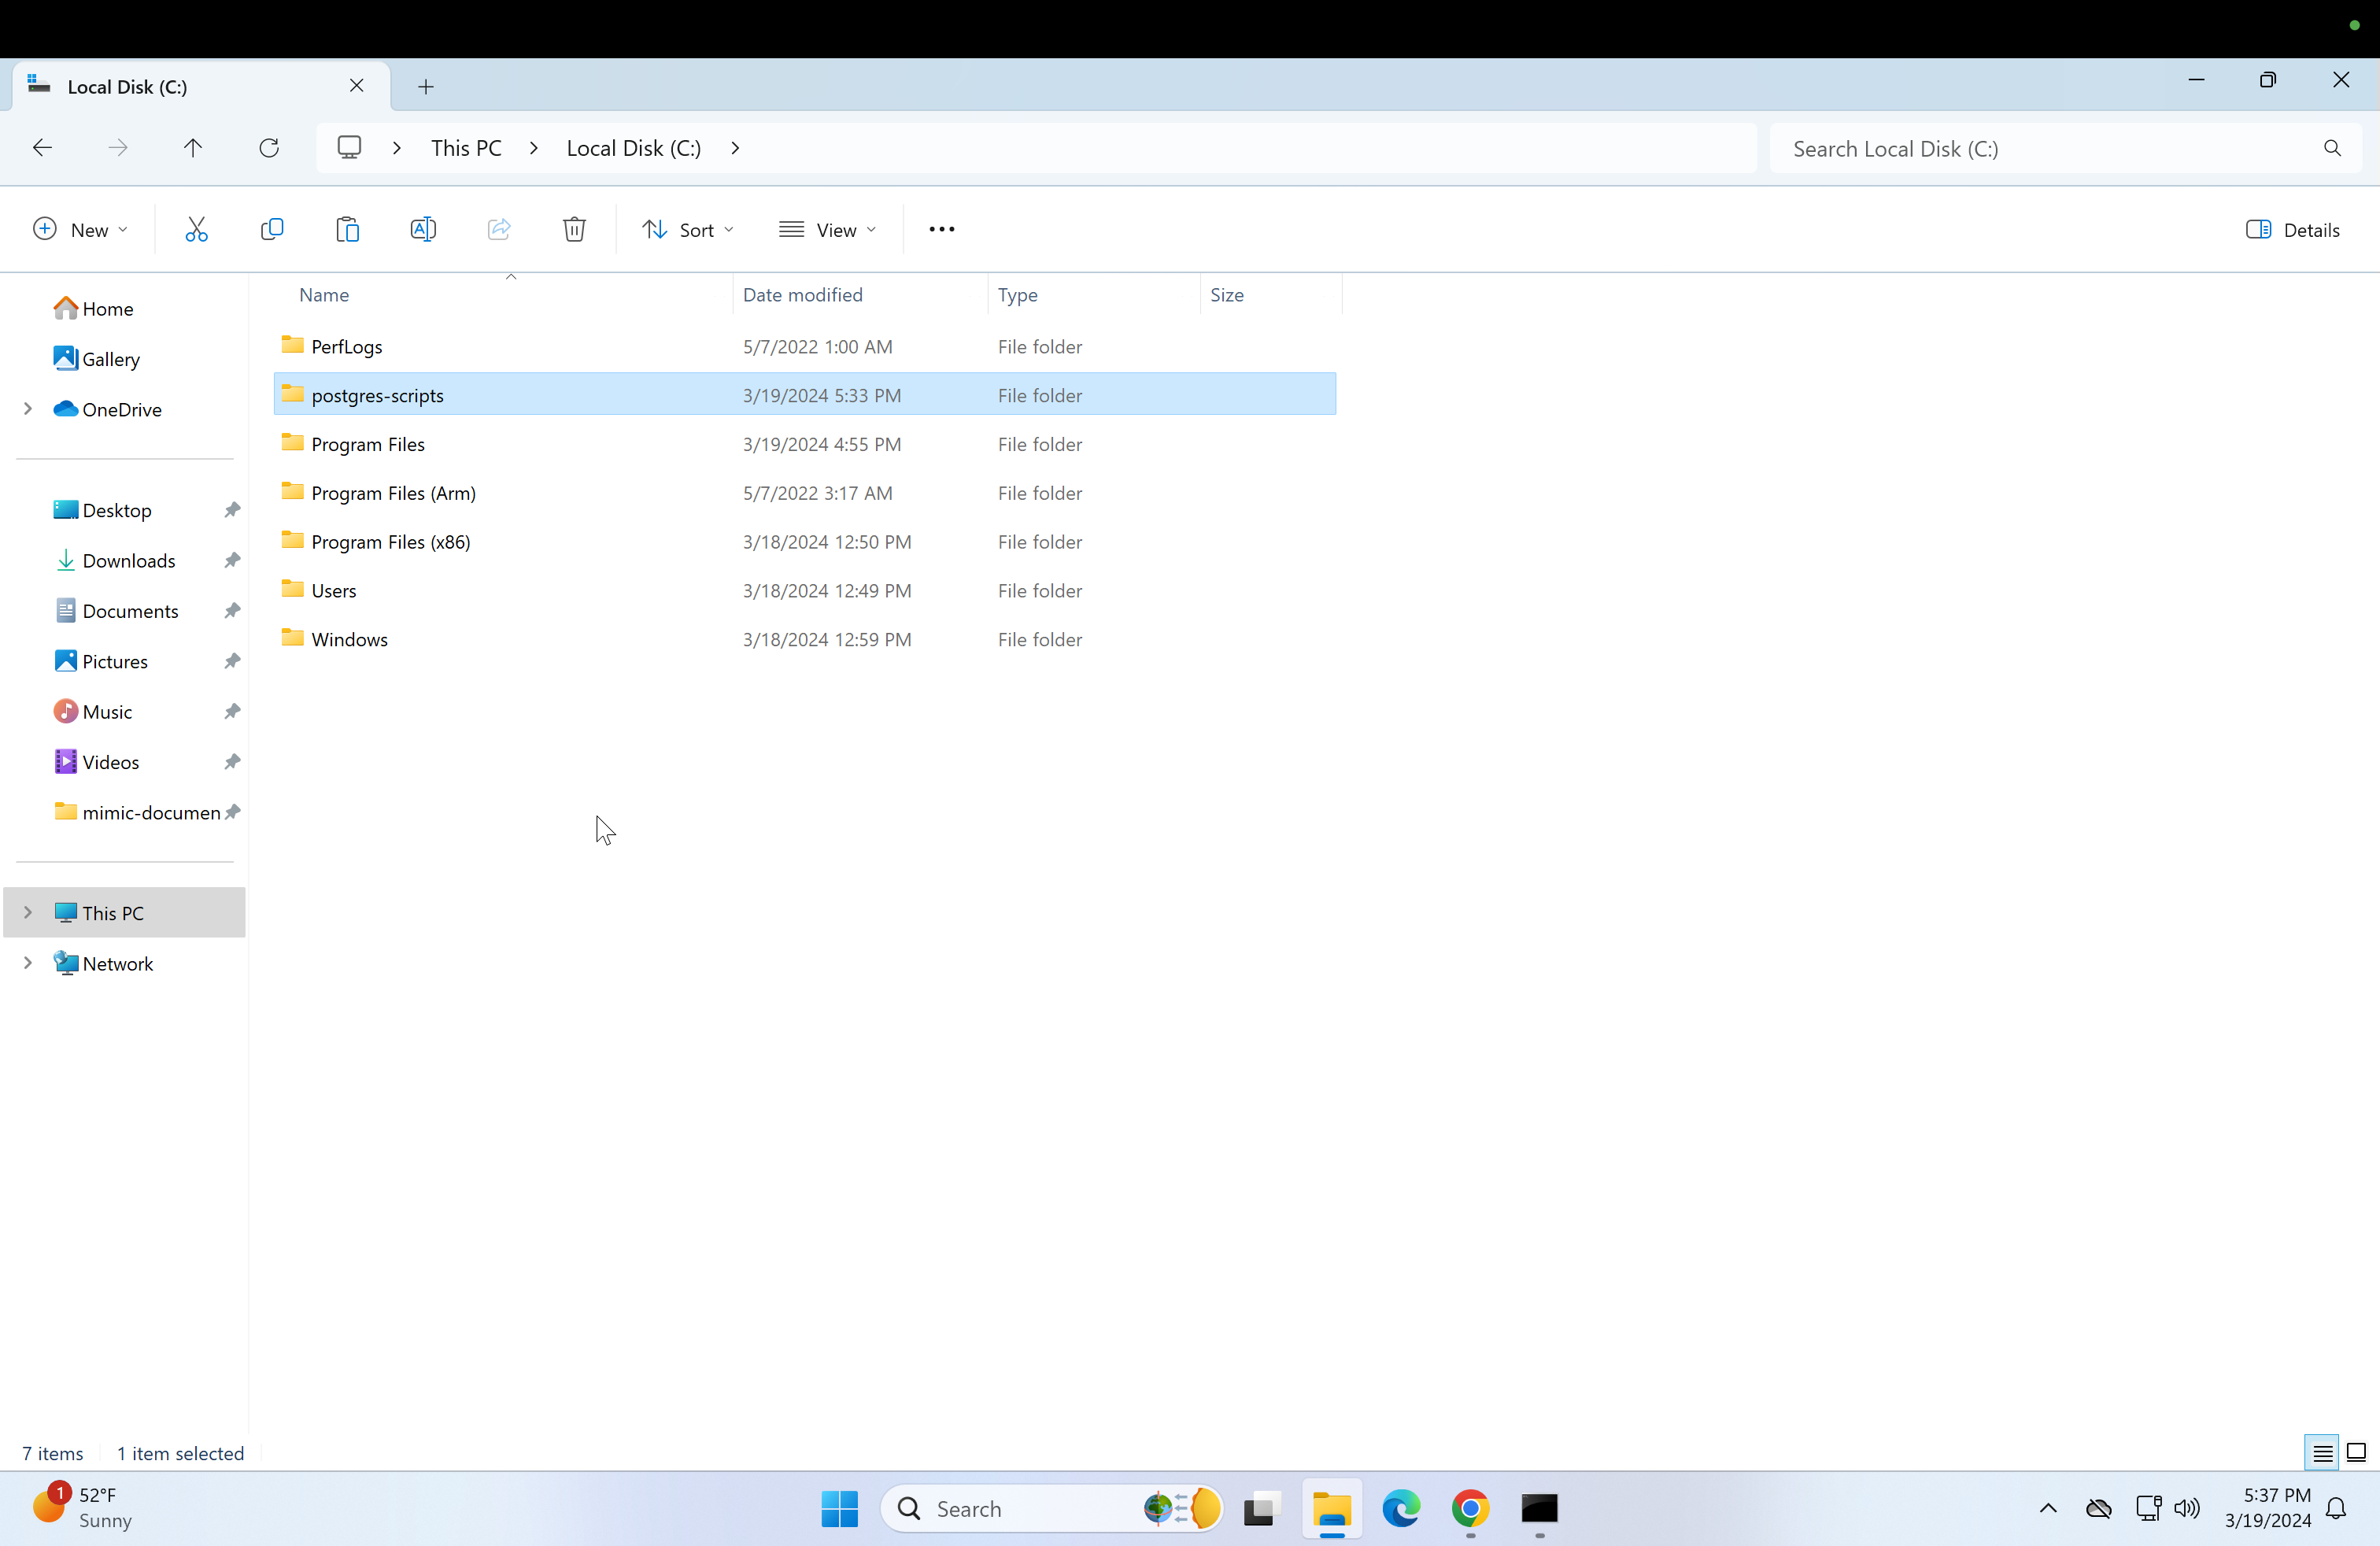
Click on "This PC" to go to the home directory and then click on the Local disk(C:) drive.

-
Then after clicking on it, create a folder called "postgres-scripts".
 .
. -
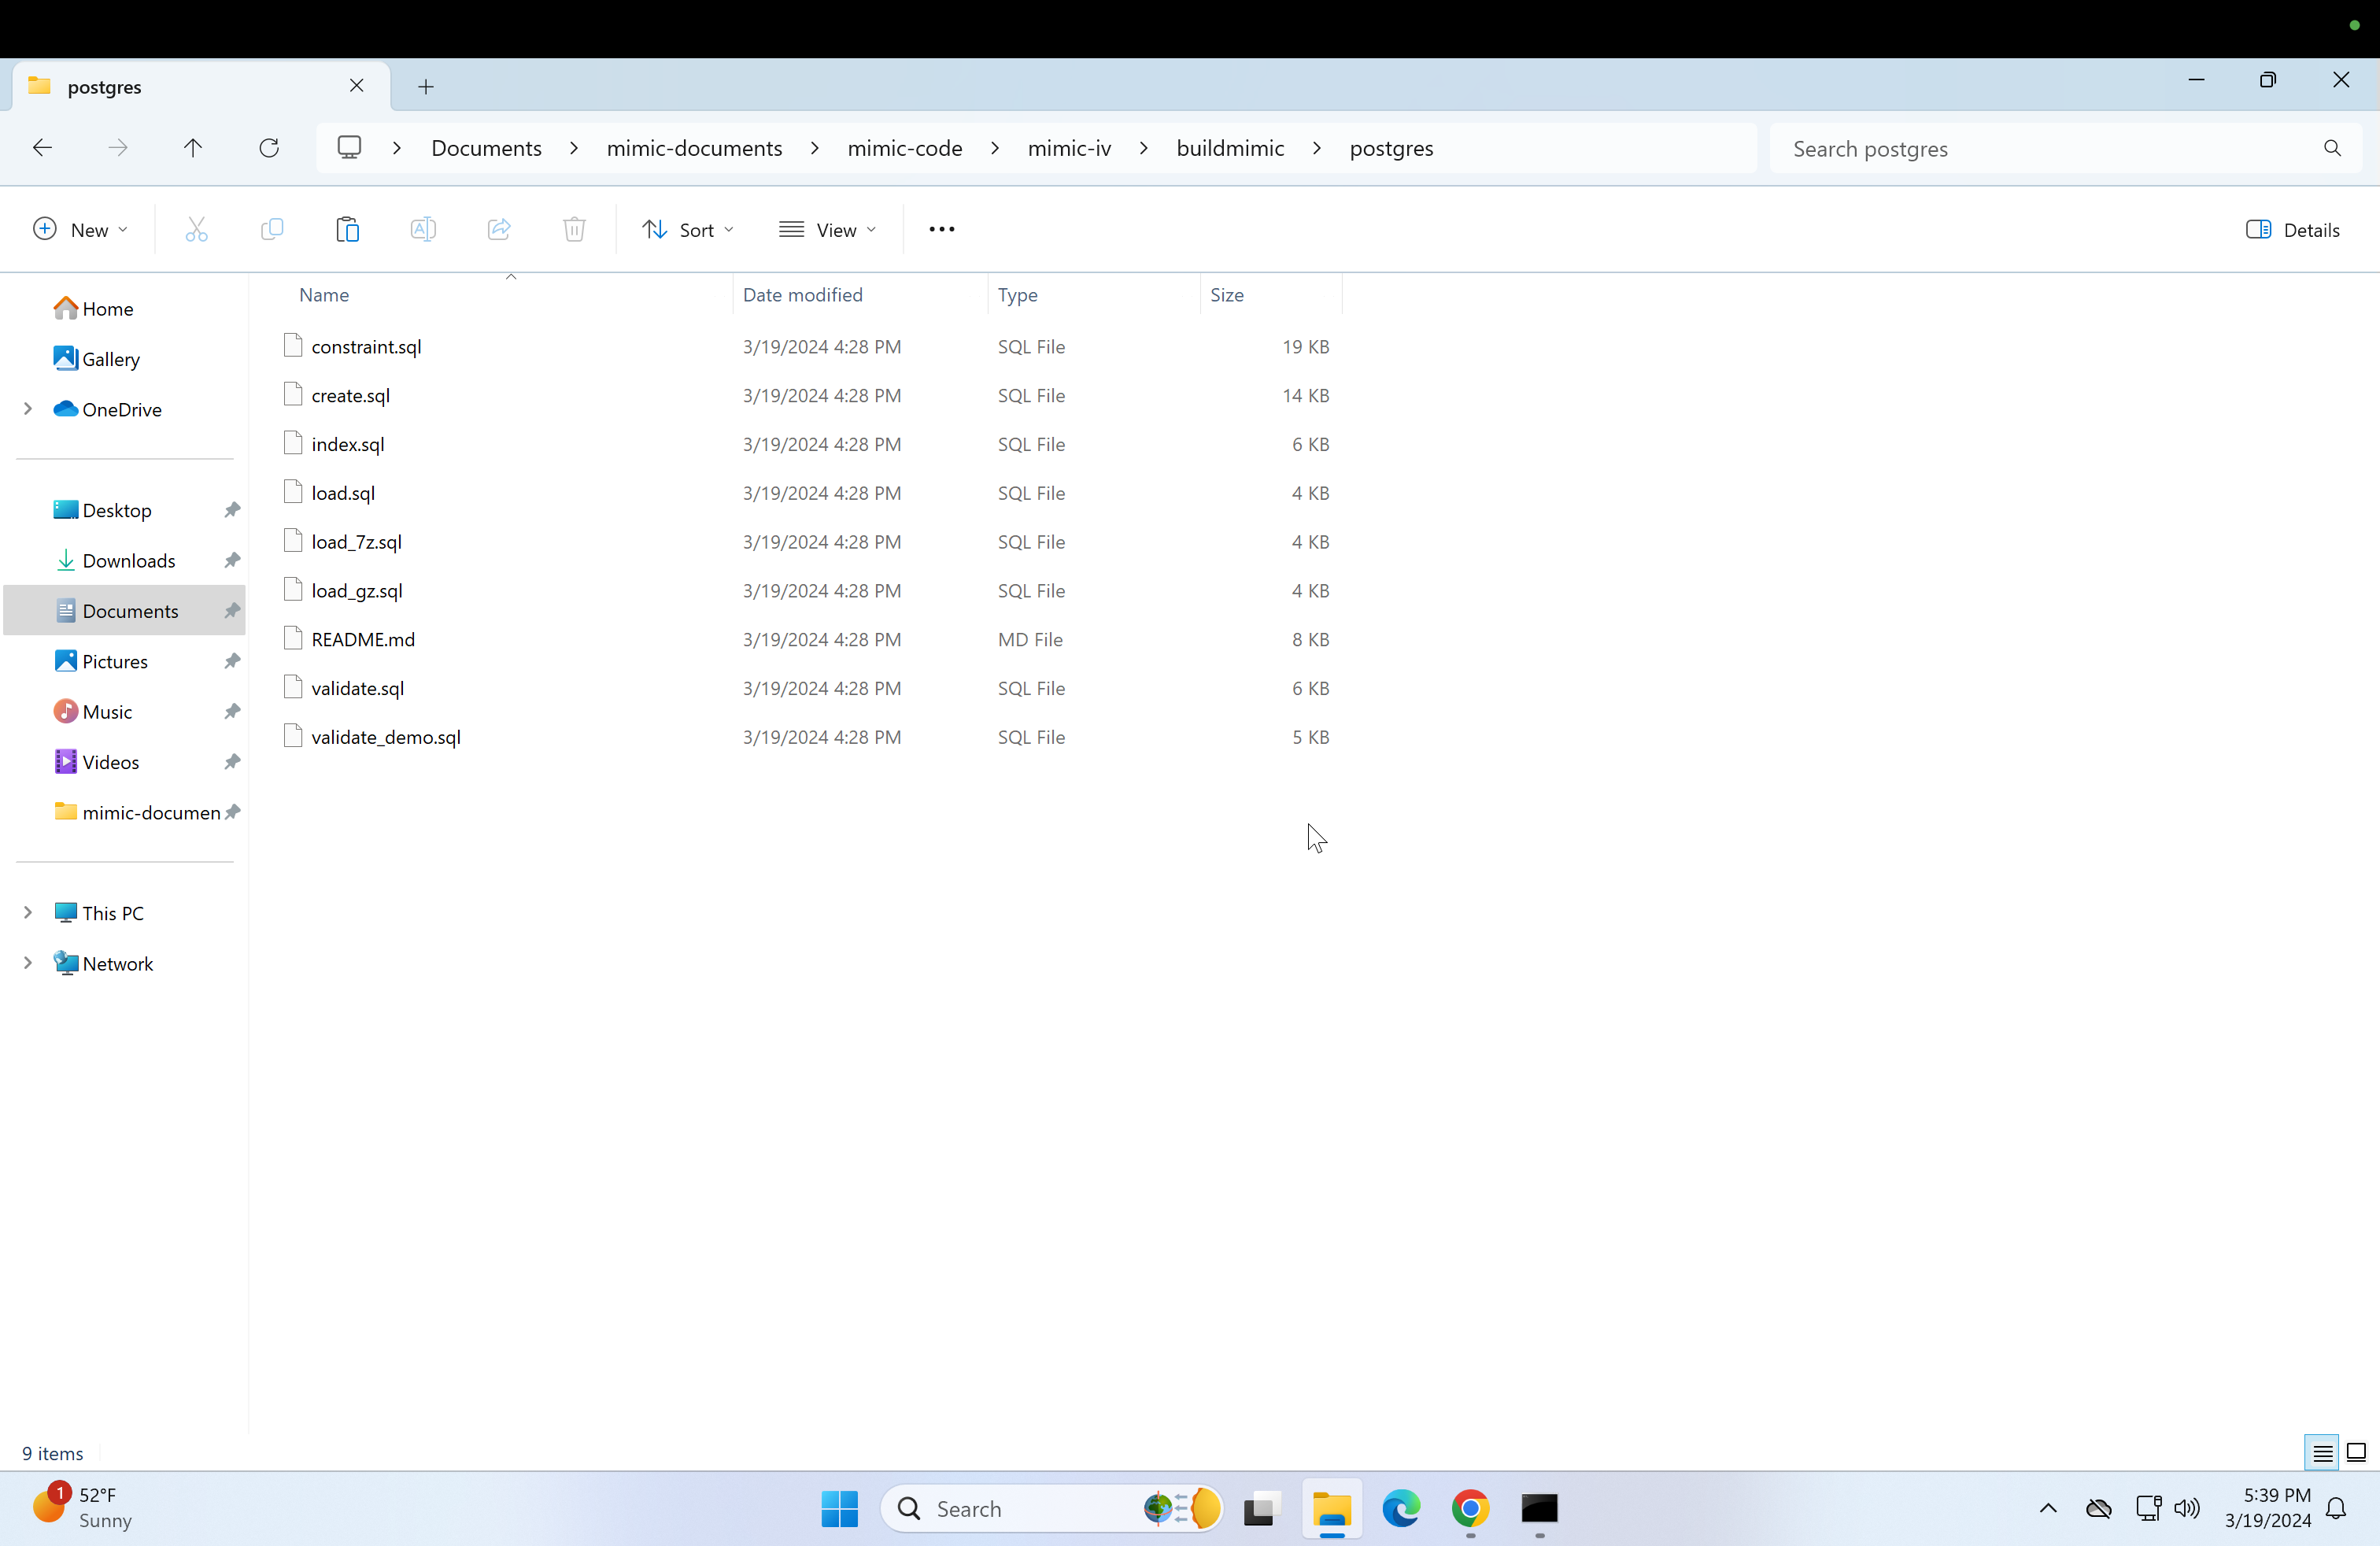
Now return to the mimic-documents folder and follow the following steps:


- Click on the mimic-code folder.
- Then click on the mimic-iv folder.
- Then click on the buildmimic folder.
- Then click on postgres folder, you should see some scripts that look like this

-
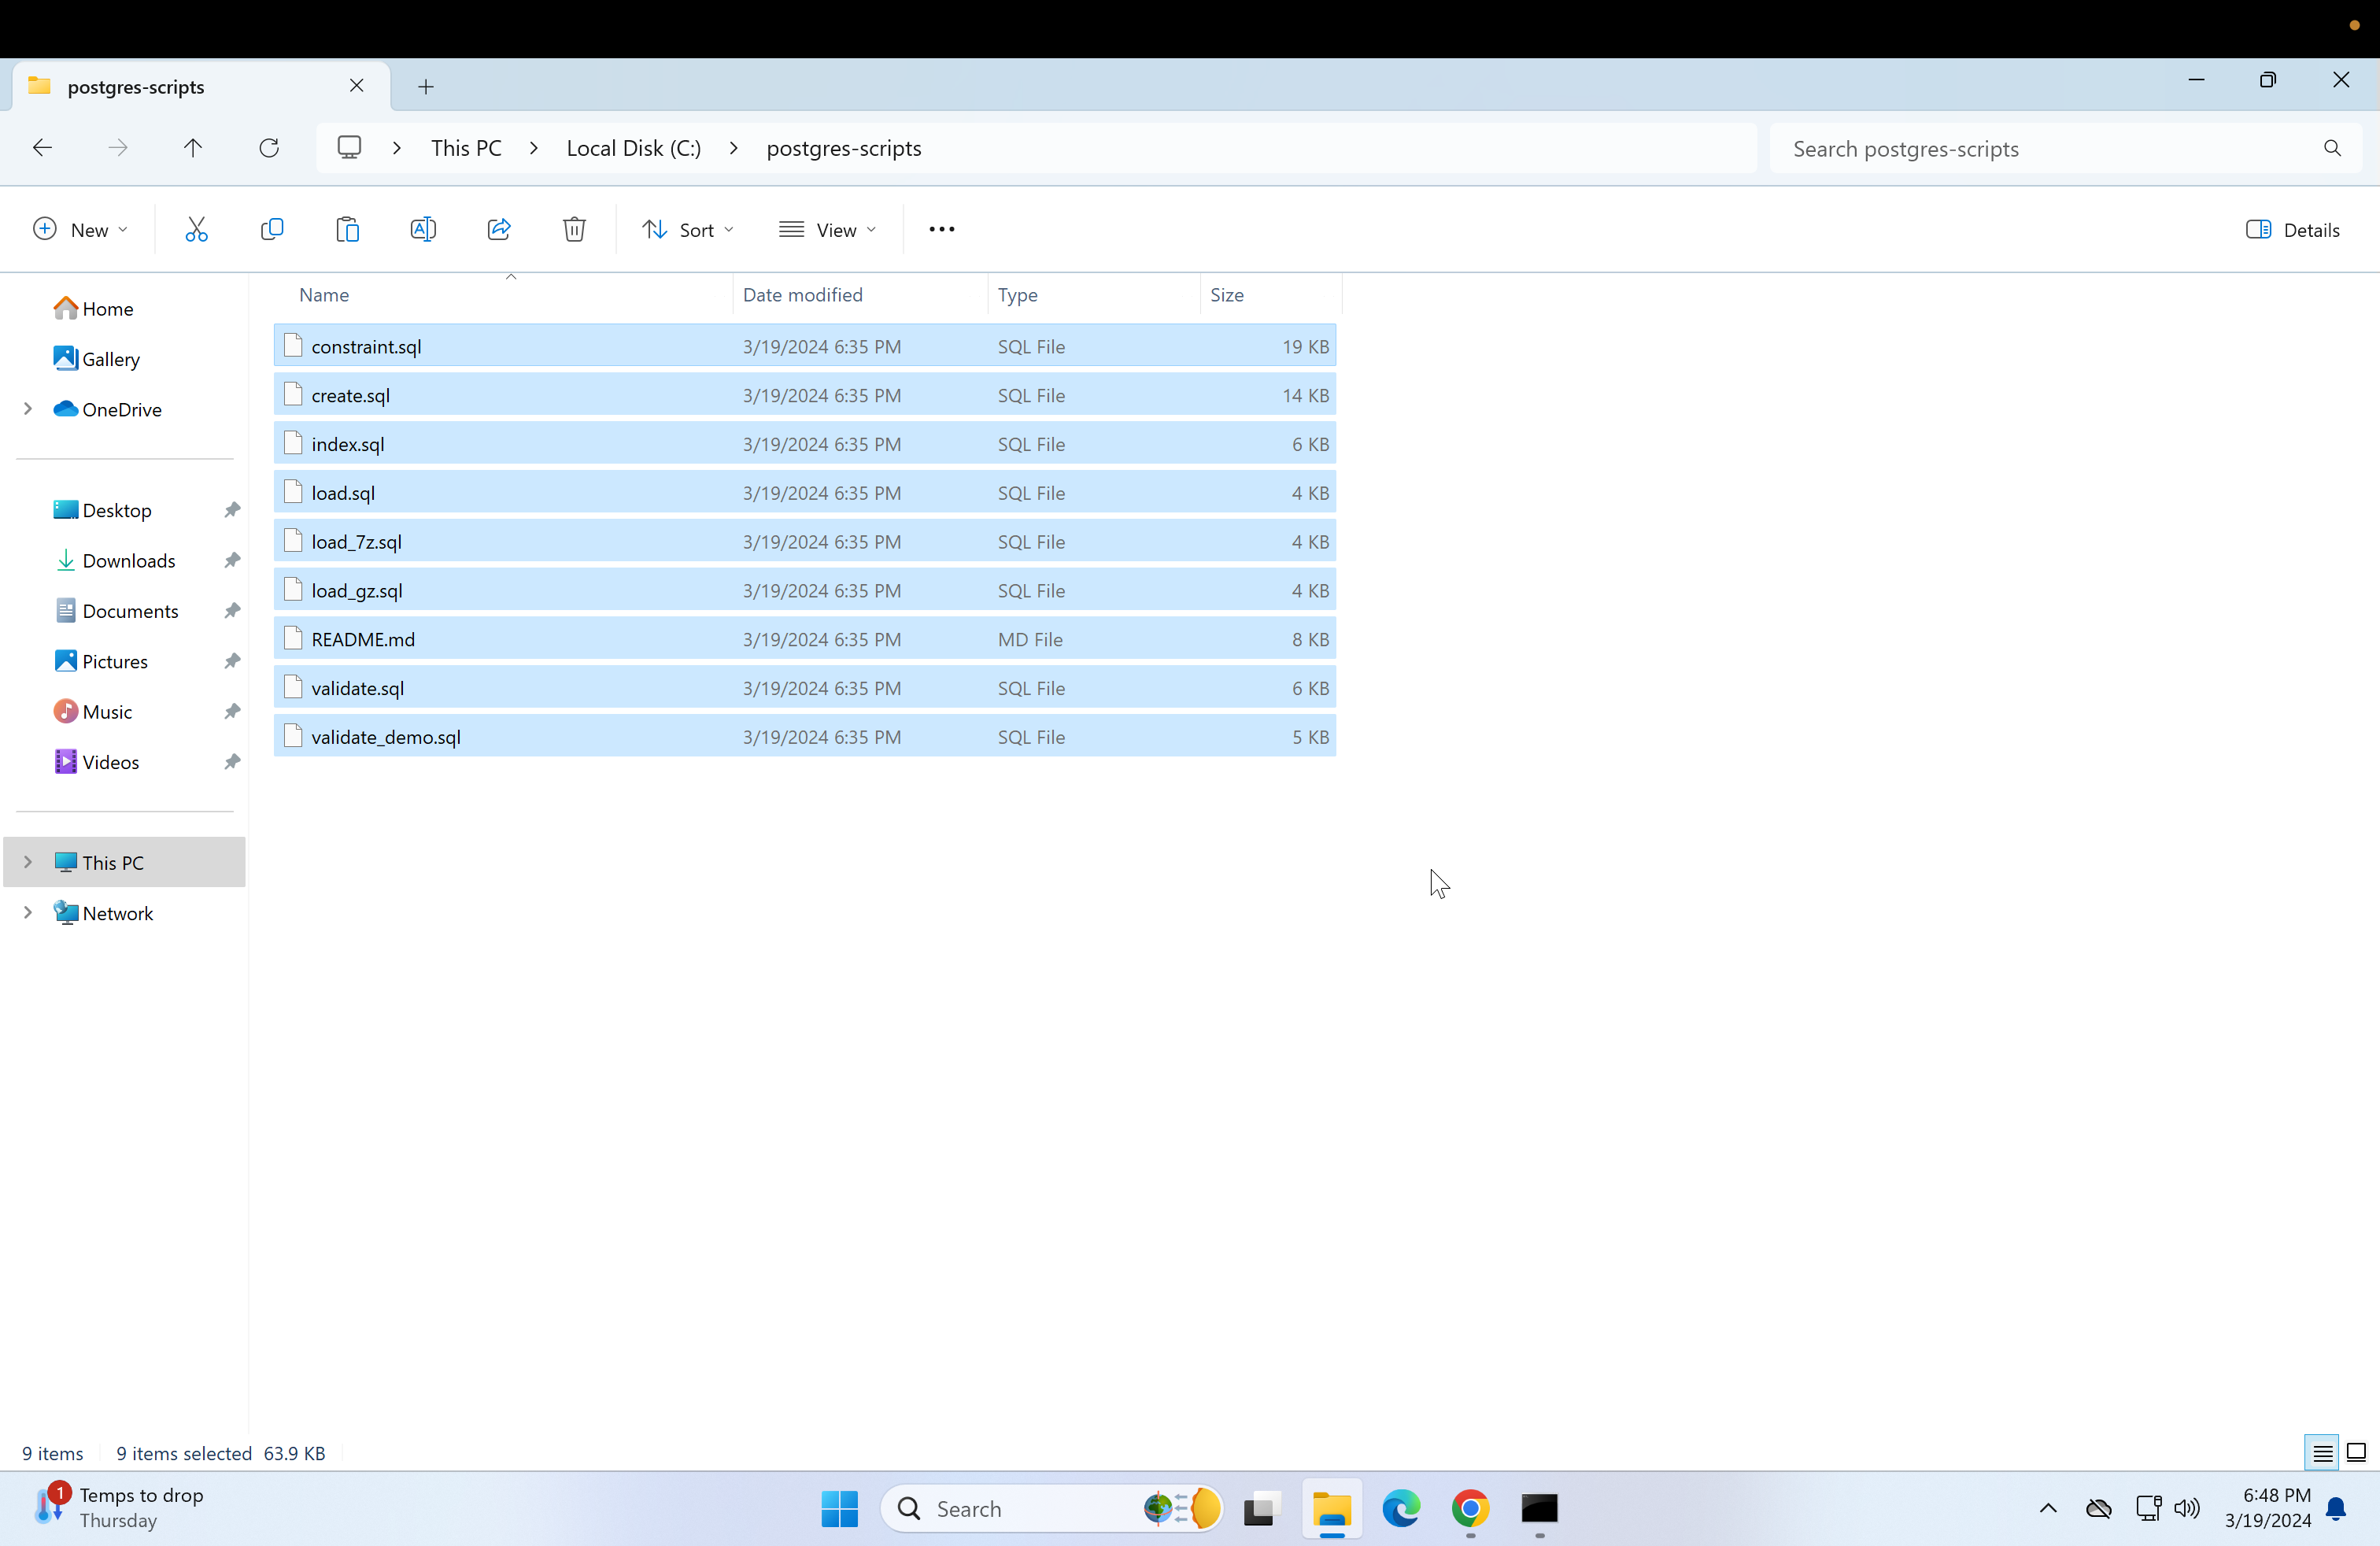
Select all the files, and paste them in the postgres-scripts folder made in step 2.
-
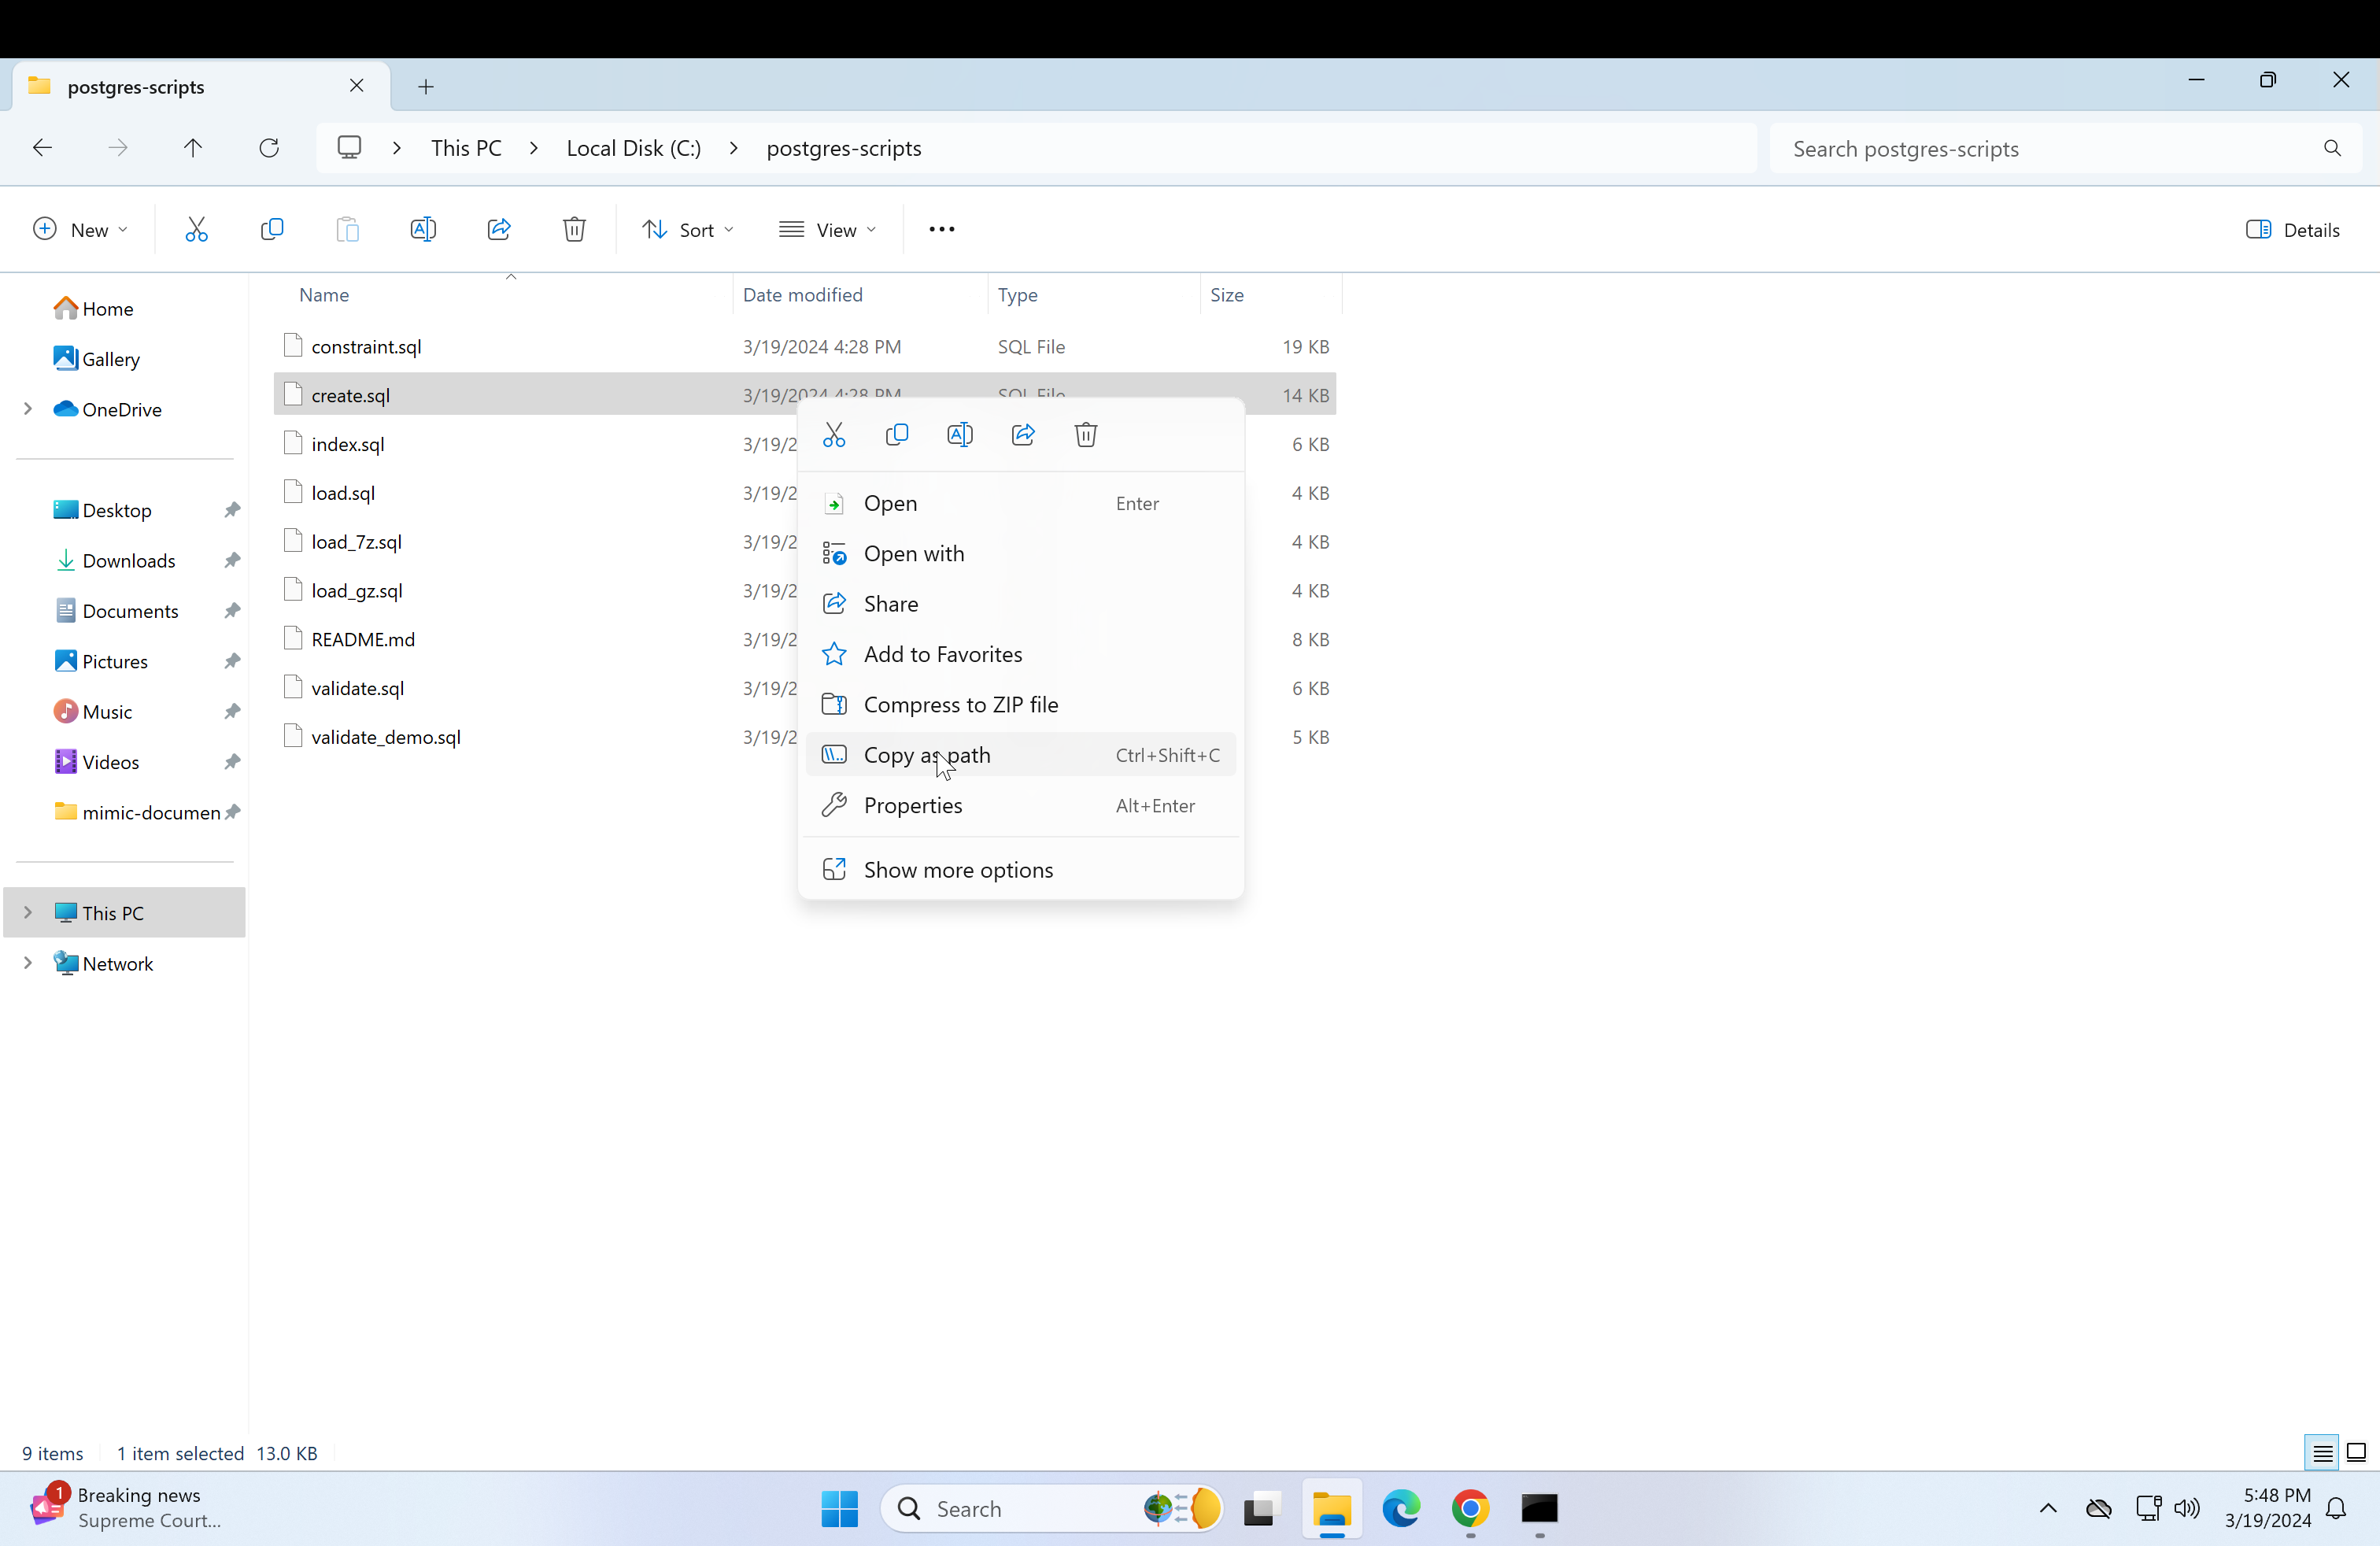
Right click on the "create.sql" file and copy as path.
-
Return to the psql console and type in \i followed by the copied path.


\i Do not press enter yet, change the backslashes to forward-slashes and remove the quotation marks. Reference image.

-
Press enter and it should create a similar response.

-
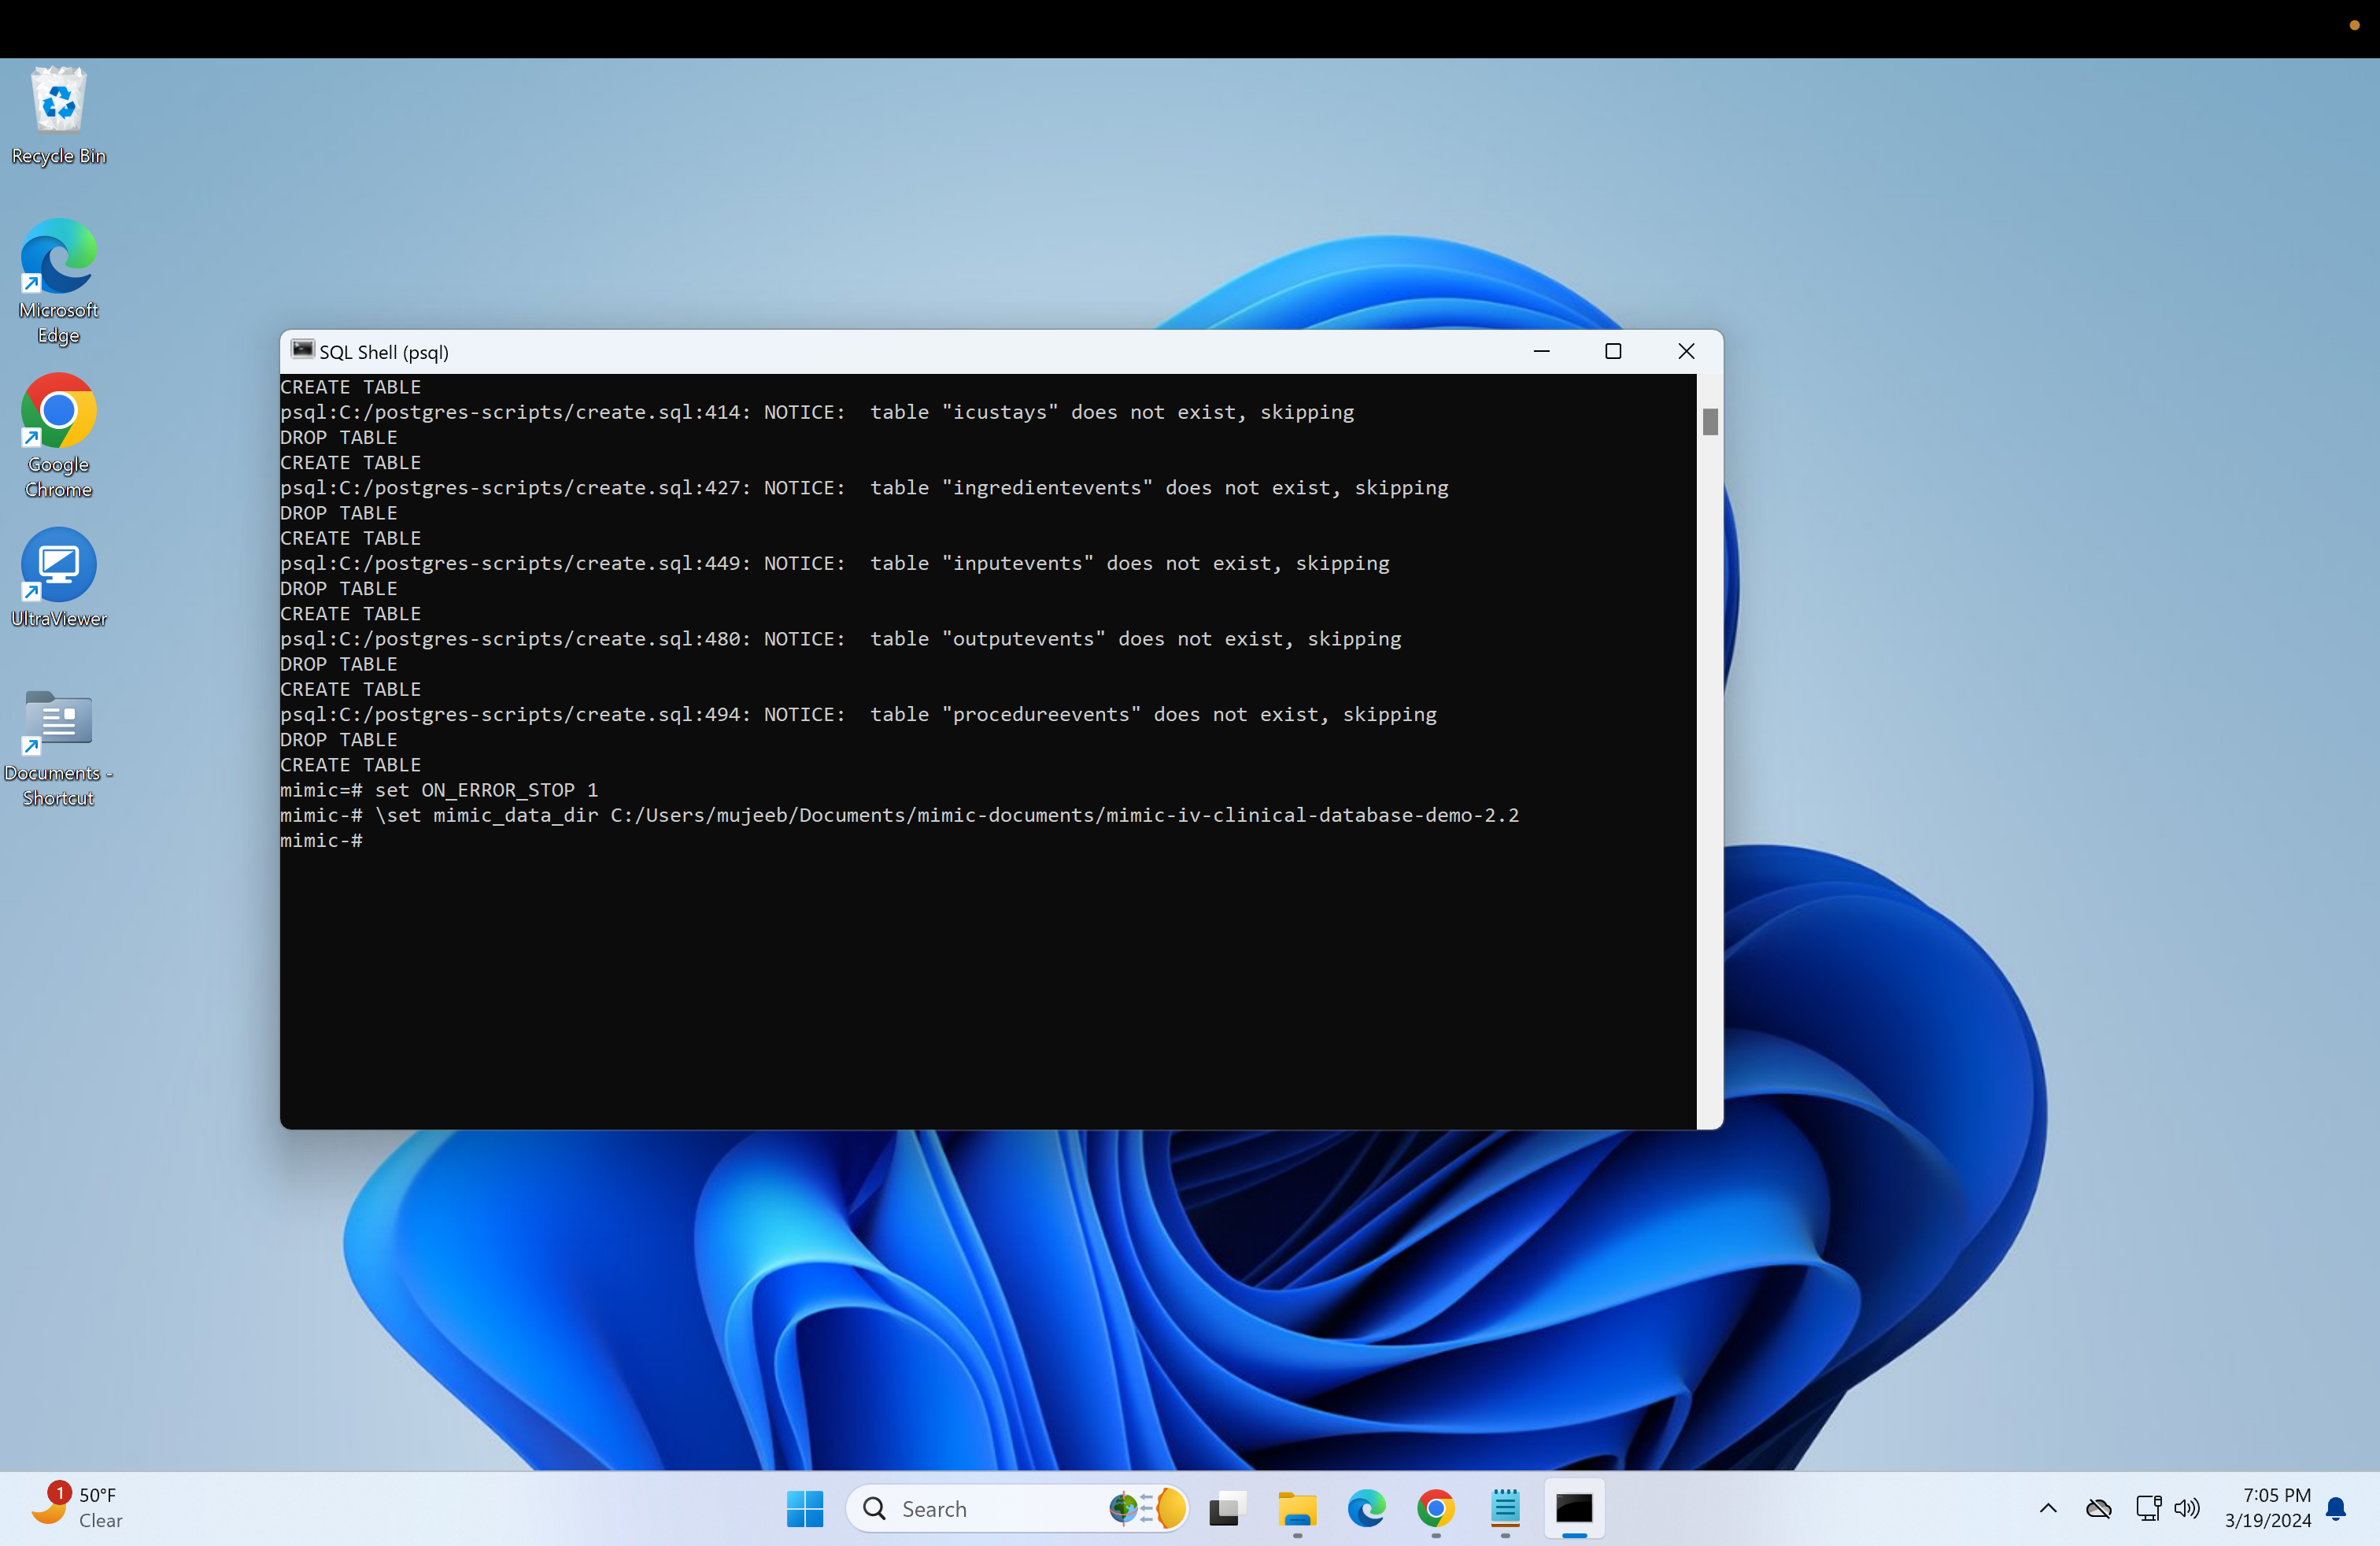
Next, type in the following and press enter:

set ON_ERROR_STOP 1
Next, we need to get the path of the mimic-iv files to load into the database. This is also very similar for both the regular mimic and the demo.
-
Return to the mimic-documents folder and open the mimic-iv-clinical-database-demo-2.2. Now copy the file path.
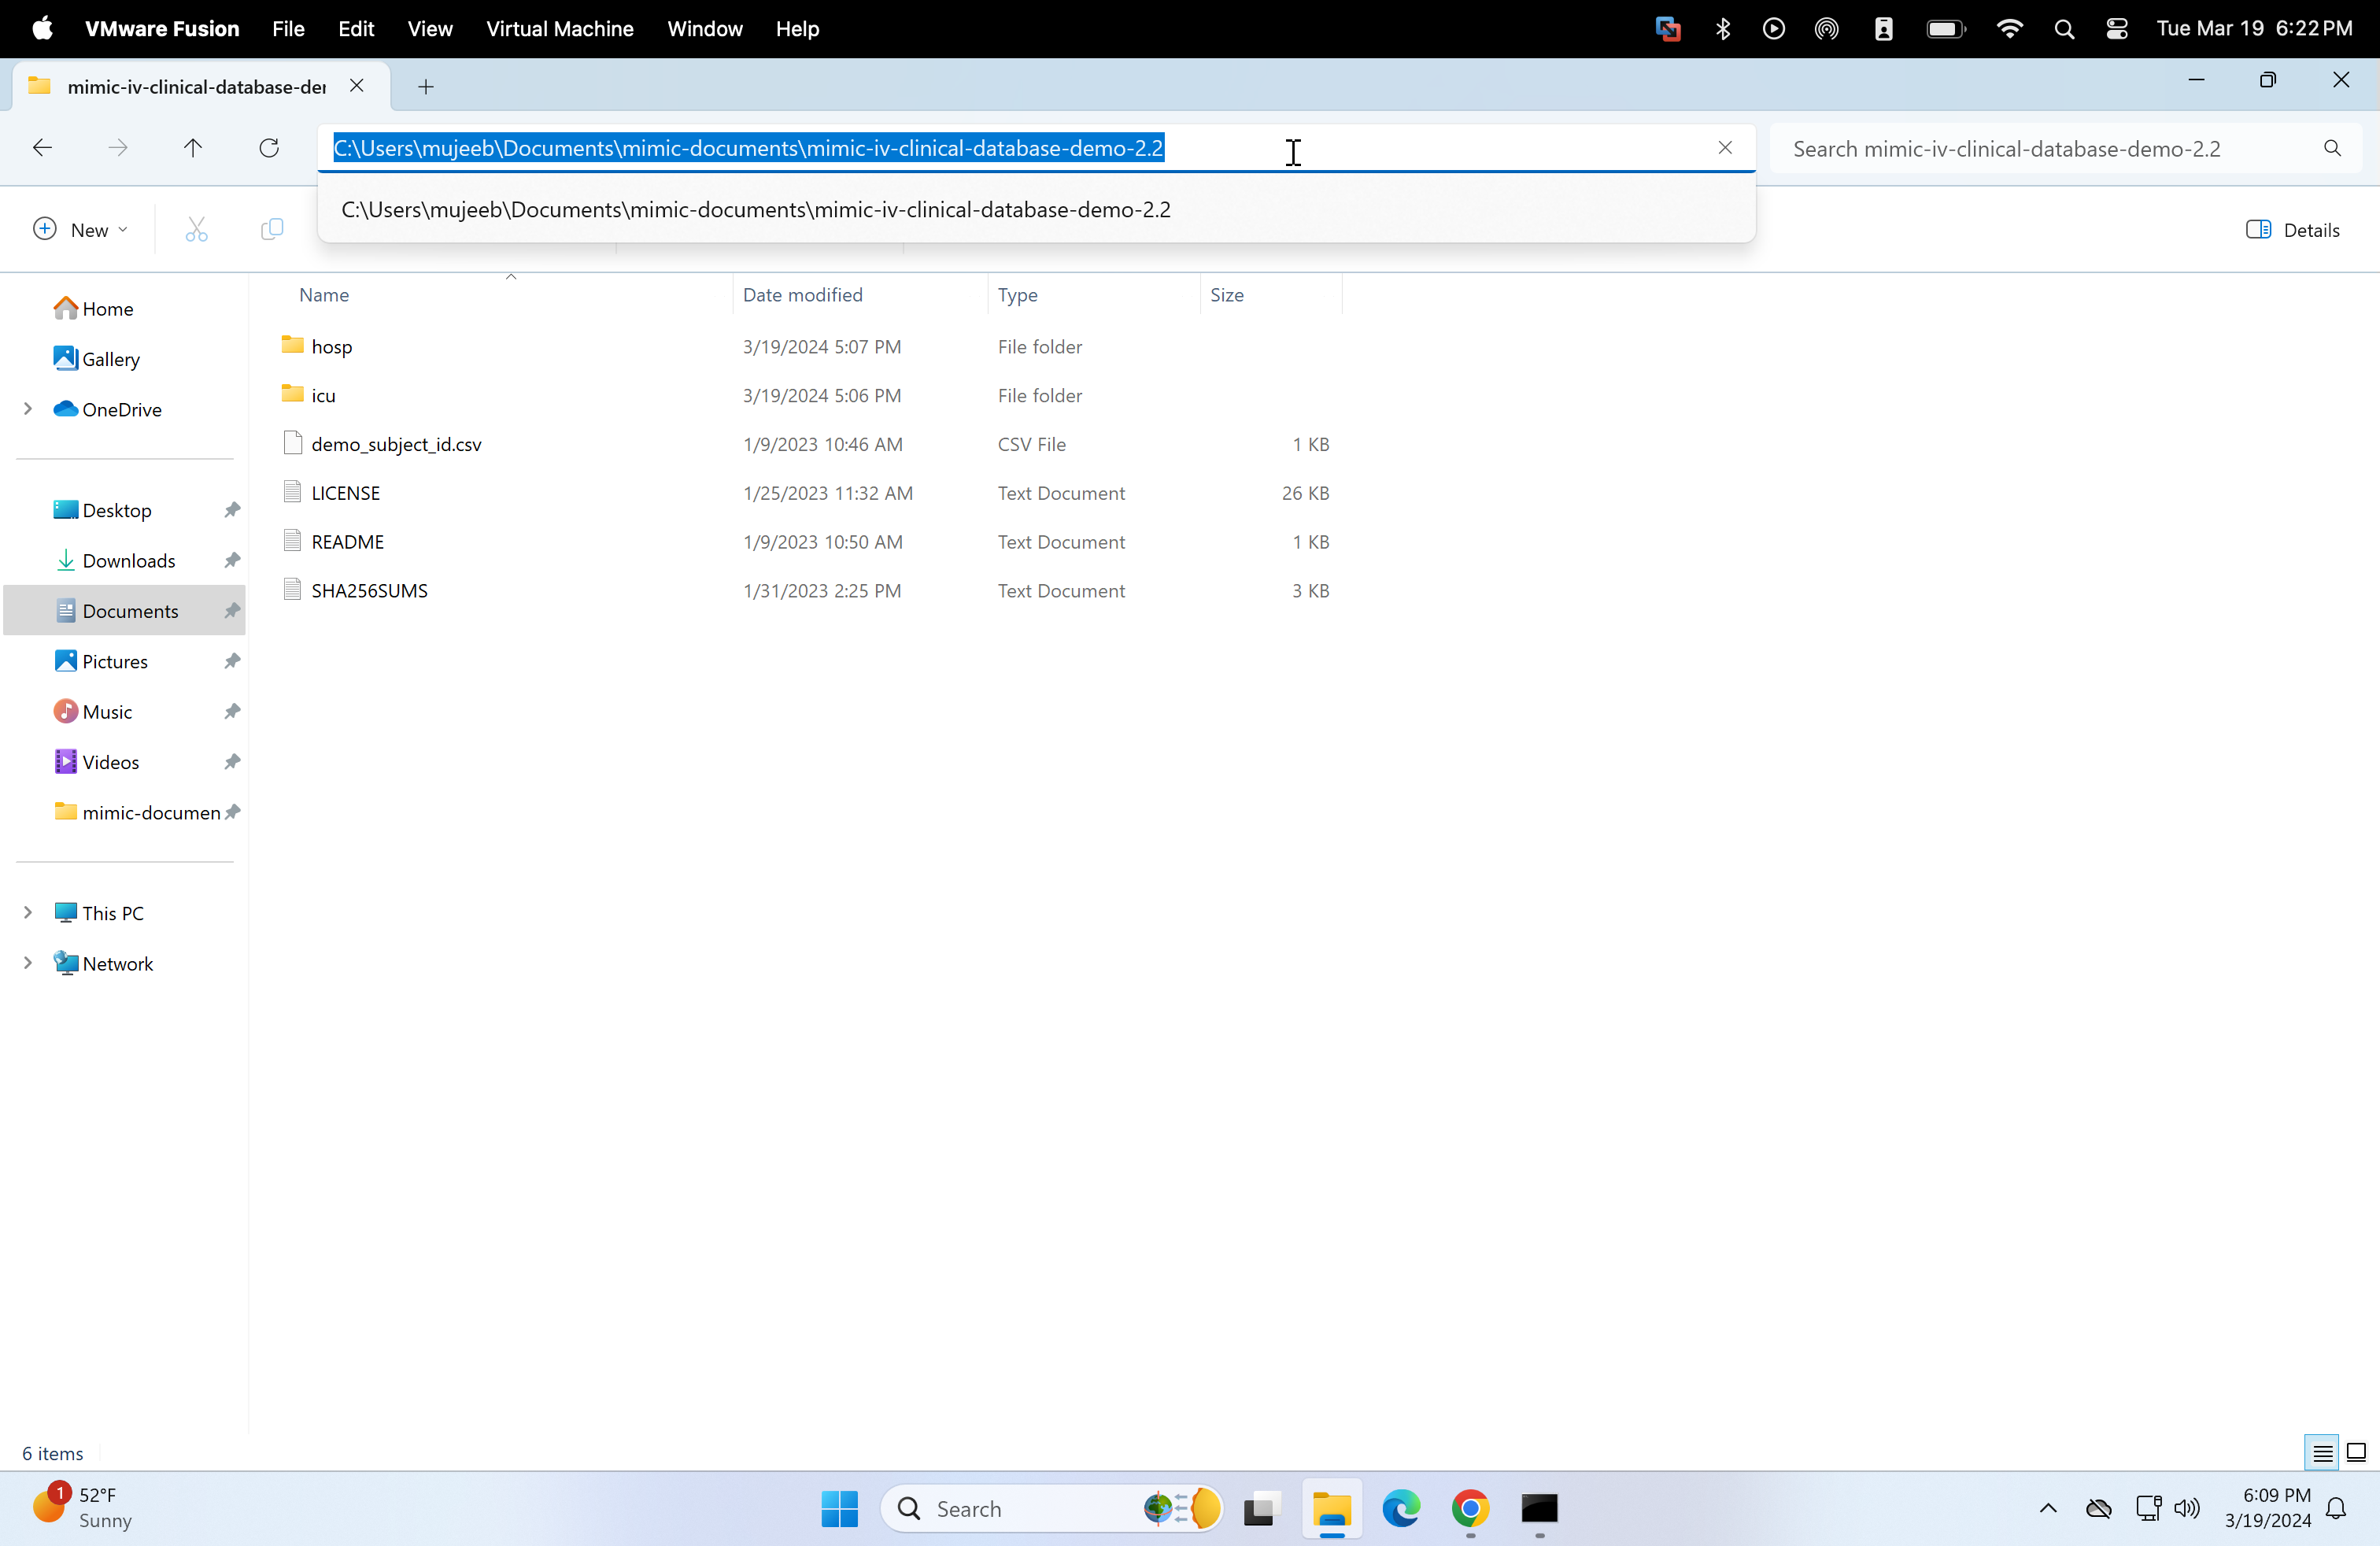
-
back in the psql terminal, type the following

\set mimic_data_dir **your file path**- and next to it should be the copied file path with single quotation marks and the back slashes changed to forward slashes. Then click enter:

- Next, we need to run the "load.sql" script. Repeat the steps used to run the "create.sql" or just run if the file paths are the same:
\i C:/postgres-scripts/load.sql

- Next, if primary keys are needed for the databases, then run the following.
\i C:/postgres-scripts/constraint.sql

- Next, run the script to create indexes for the database.
\i C:/postgres-scripts/index.sql
- Next, run the validation scripts to ensure everything is correct.
- if using the demo, run:
\i C:/postgres-scripts/validate_demo.sql- if using the main MIMIC-IV, run:
\i C:/postgres-scripts/validate.sql

-
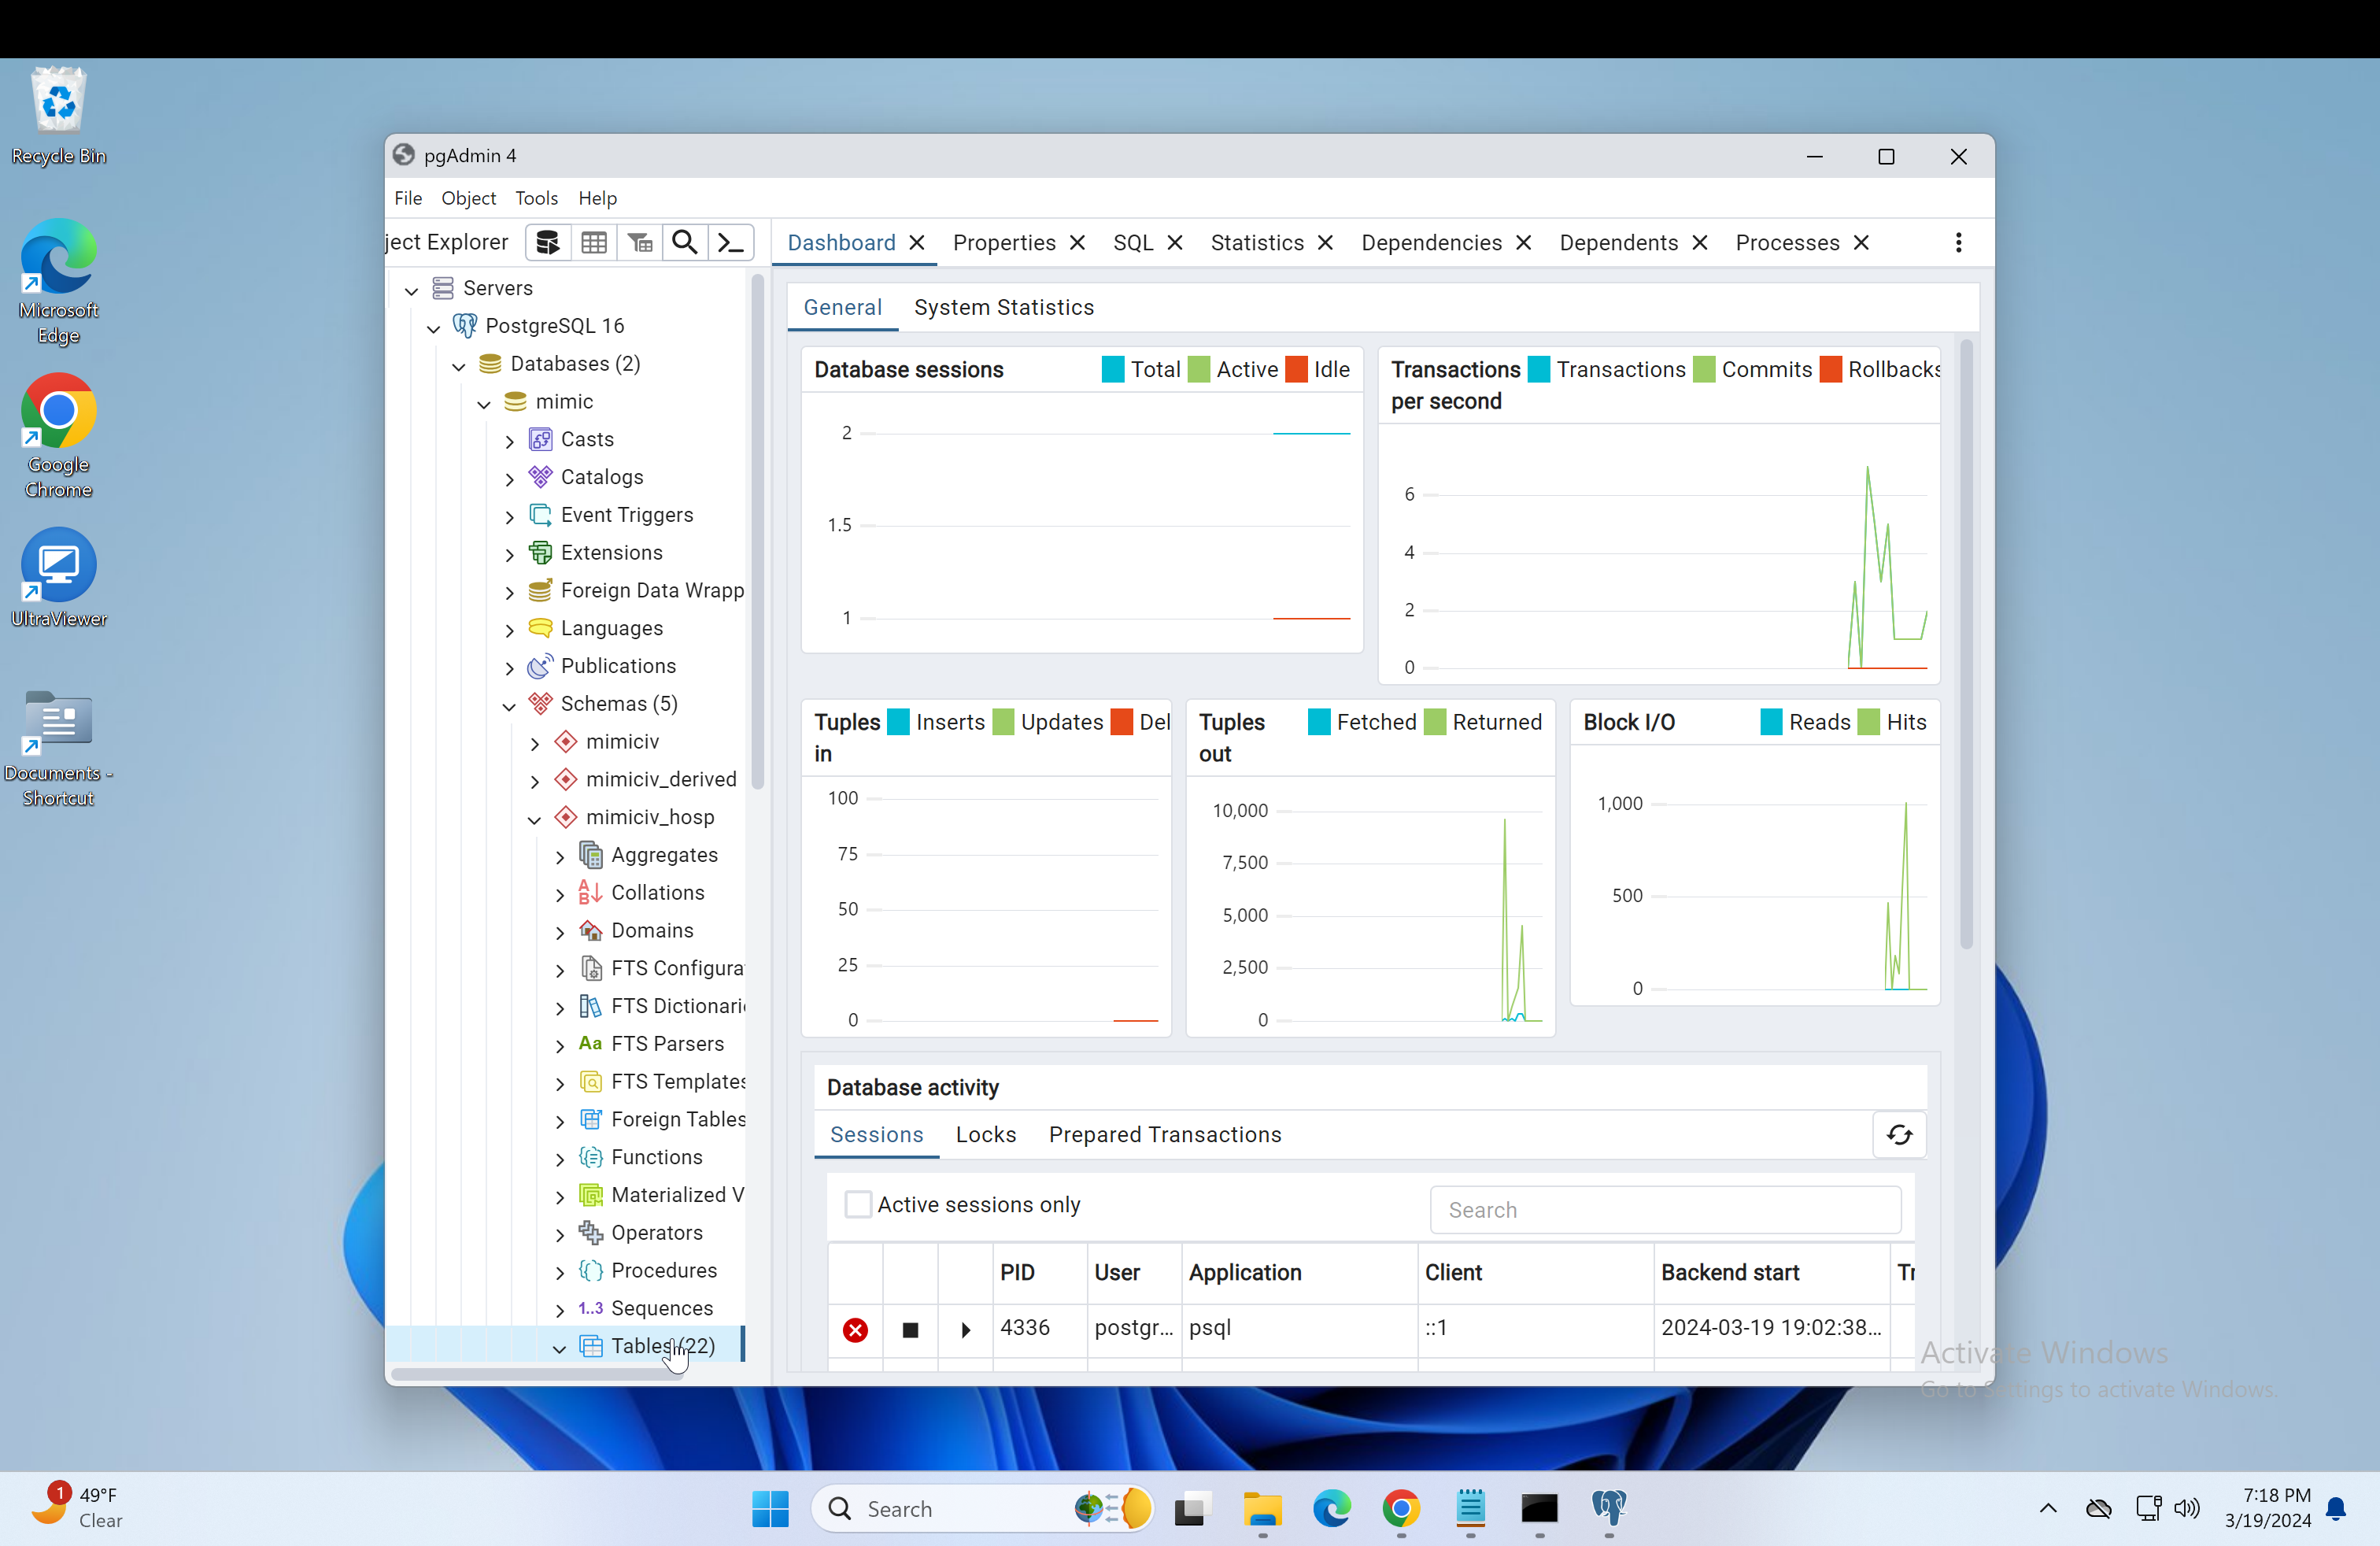
Open PgAdmin
-
Click on Server and enter the database password:
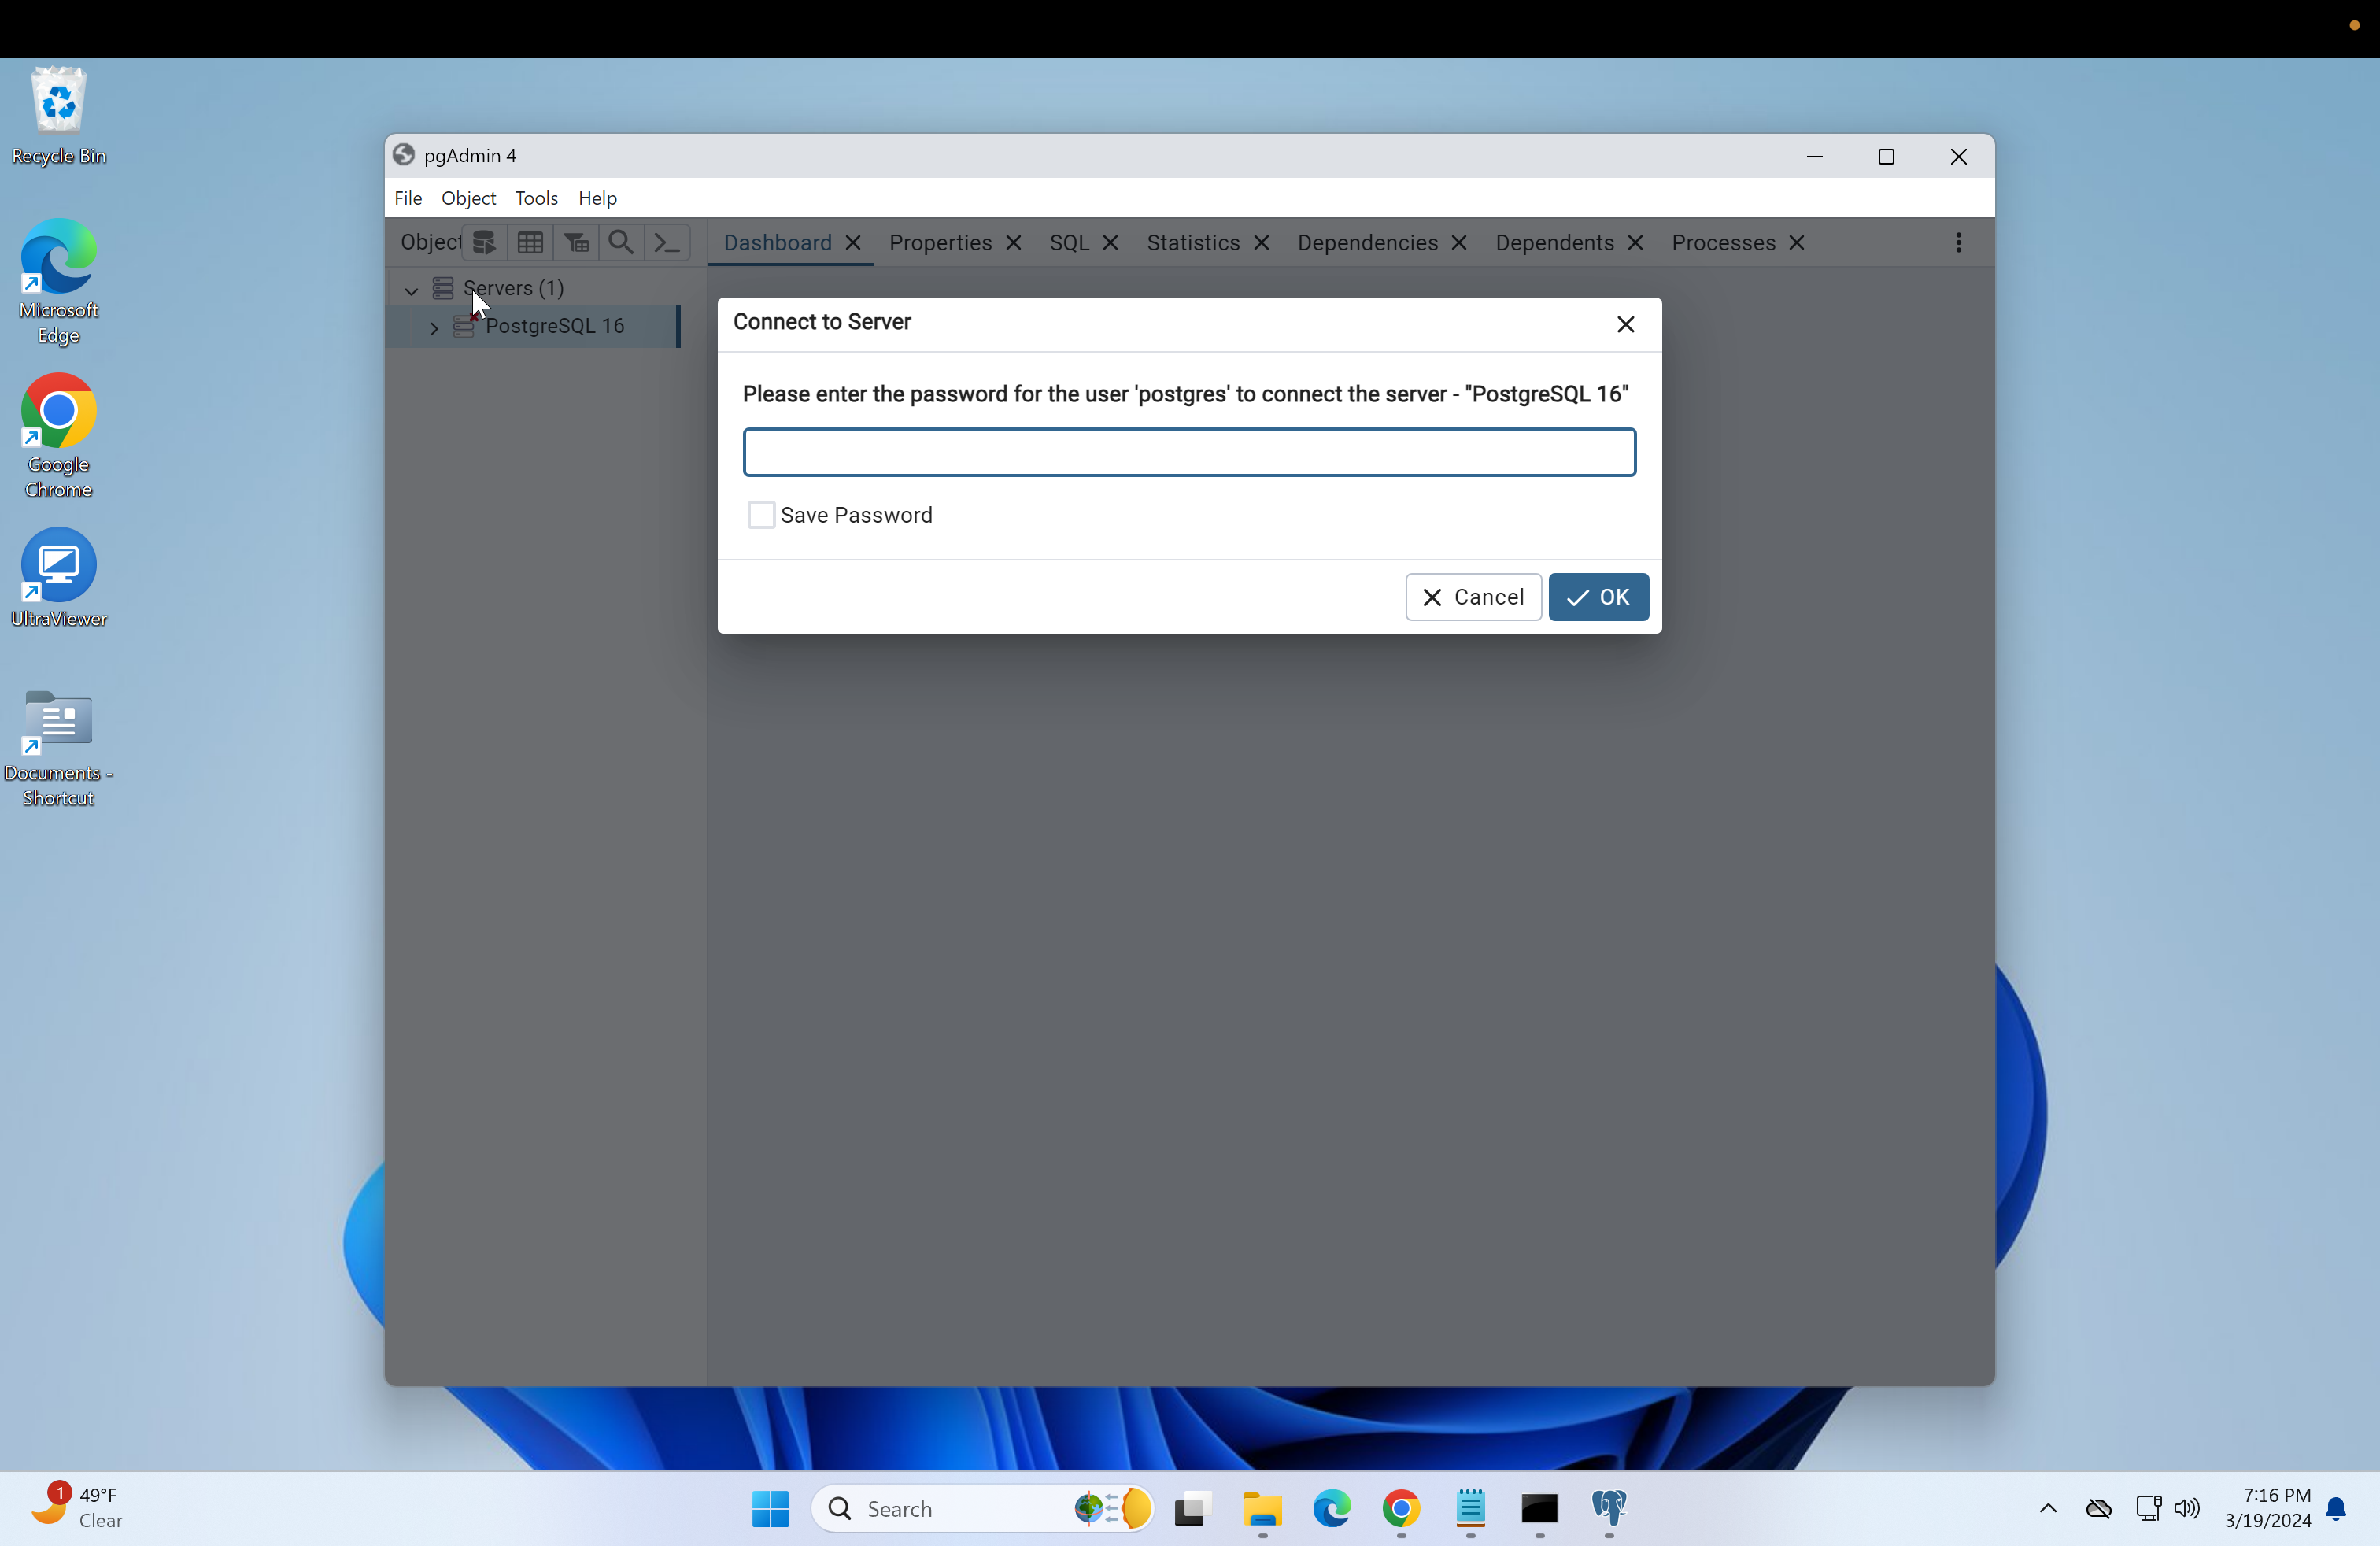
-
Keep clicking respective dropdowns to view the tables