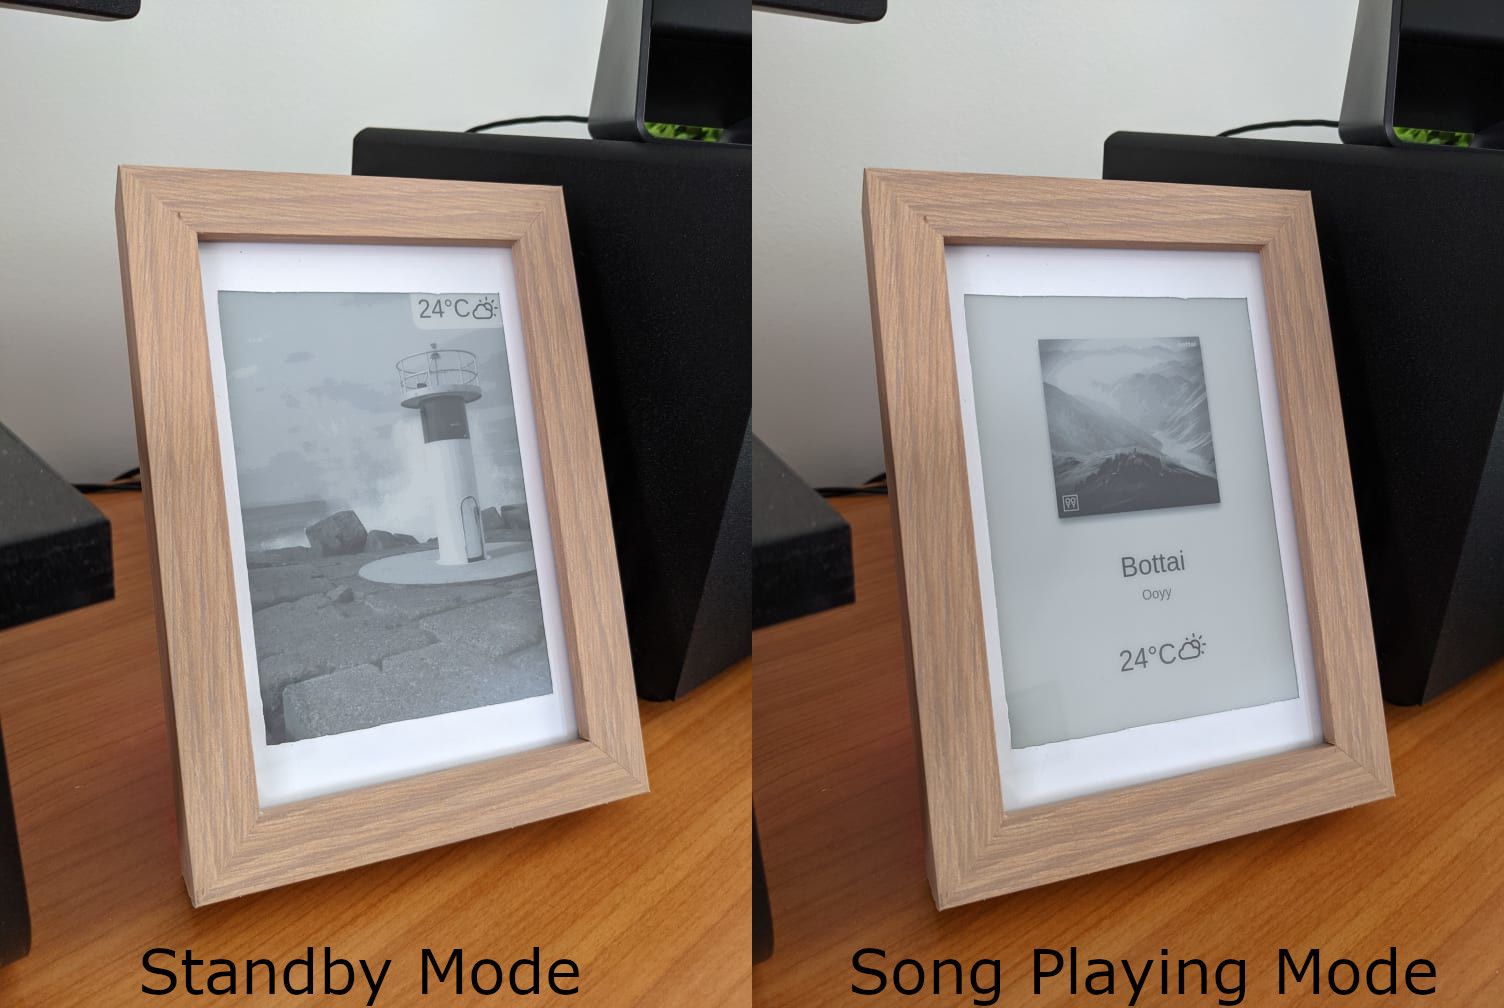
Indigo is a smart e-Ink display which displays the current playing song when
hooked up to your Spotify account. When there is no playing song it will cycle
through a directory of images. The current set up it is designed for is a
600x800 display with a
Raspberry Pi Zero W.
The frame will try to update every minute, by wont update the display if nothing
has changed. If it is in standby mode, the images will cycle every 10 minutes
(changable in config.json), or it will update when the weather changes.
The project is split into 2 seperate parts; the display driver written in C, and the data gathering and image creation written in Python.
The C display driver part creates an executable which looks in the current
directory for image.jpg and refreshes the e-Ink display with that image. The
Python Part creates the image.jpg by procedually creating an HTML file and
taking a screenshot, saving it as image.jpg using html2image.
Information the Python section grabs is the current song from a Spotify User,
the current weather at a given location using openweathermap.org (the icons
used are from erikflowers weather-icons).
API keys and other information is read from config.json
{
    "spotify_app": {
        "client_id": "",
        "client_secret": "",
        "scope": "user-read-currently-playing"
    },
    "open_weather": {
        "api_key": "",
        "locations": [
            {
                "id": "2174003",        // Location ID from OpenWeatherMap
                "name": "Brisbane"
            }
        ]
    },
    "smartframe_app": {
        "last_refresh": {
            "weather_icon": "",
            "weather_temp": "",
            "image": "",
            "song": "",
            "timestamp": 0,
            "playing": false
        },
        "refresh_delay": 600            // 10 Minutes in seconds
    }
}I recommend installing bcm2835 by following their installation guide and if you didn't have it already run the following command.
sudo apt install build-essential libjpeg-dev python3The Python dependencies can be installed by using pip3 to install the following:
pip3 install spotipy html2image Pillow requestsThe parts I used for this and location of parts are as follows:
5"x7"Photoframe from kmart- A3 200gsm White Board from Officeworks
800x600 6"ePaper Waveshare- Raspberry Pi Zero WH from core-electronics
- 64gb microSD (That I had lying around)
- Micro USB charger (That I had lying around)
To run, you will have to create a Spotify App and get your API key and Secret.
I recommend, on your local machine, run the following python code.
from spotipy.oauth2 import SpotifyOAuth

client_id       = "" # Replace with your API Key
client_secret   = "" # Replace with your API Secret
redirect_uri    = "http://example.com/callback"
scope           = "user-library-read user-read-currently-playing"

sp = spotipy.Spotify(auth_manager=SpotifyOAuth(scope=scope, client_id=client_id, client_secret=client_secret, redirect_uri=redirect_uri))
This will open up a browser with a link, which will ask you to copy the link
into the console you used to run the script. The application will exit but also
create a file in that local directory called .cache. You can then copy this
file to where you are going to host the project so you don't have to worry about
logging into your Spotify account through the RPi.
Next you'll have to create an account with openweathermap.org to get an API
Key from them. The API key will take a little bit of time to fully activate on
their side before the requests start working.
The next step, assuming you have all the dependancies installed, is to build the
C part. To do this just run make and it will create smartframe.out which the
main.py script will use to display images to the display.
You may have to modify run_minute.sh to be an executable by running
sudo chmod +x run_minute.sh. You can then run the application by running
./run_minute.sh (or ./run_minute.sh & to run in the background).
