This study project is built upon the paper Meltables: Fabrication of Complex 3D Curves by Melting. The paper defines Meltables as objects designed to undergo a one-time transformation through the application of heat. This concept is then used to allow the fabrication of 3D curves from planar beams with heat-sensitive hinges. The goal was to reproduce the tools for designing Meltable curves. This basis was then extended to allow more complex structures by branching of curves. 3D-printing is the target method of fabrication.
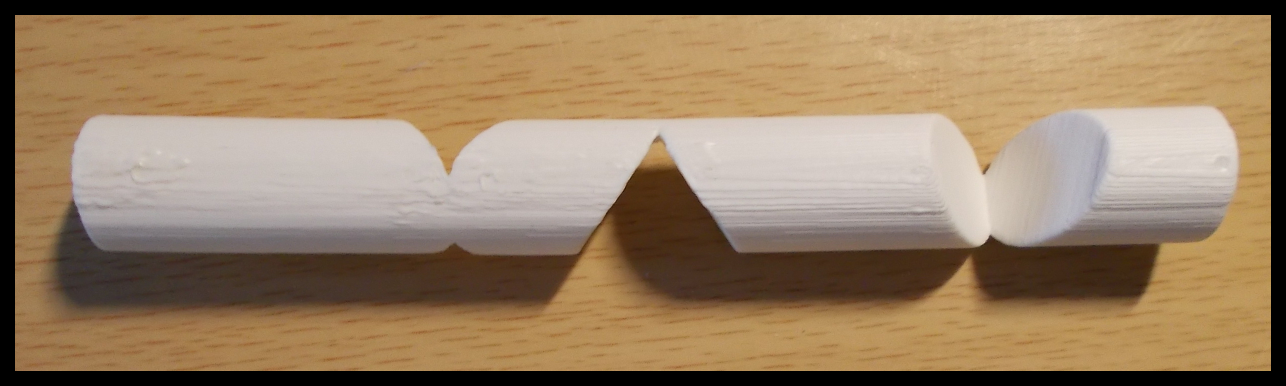
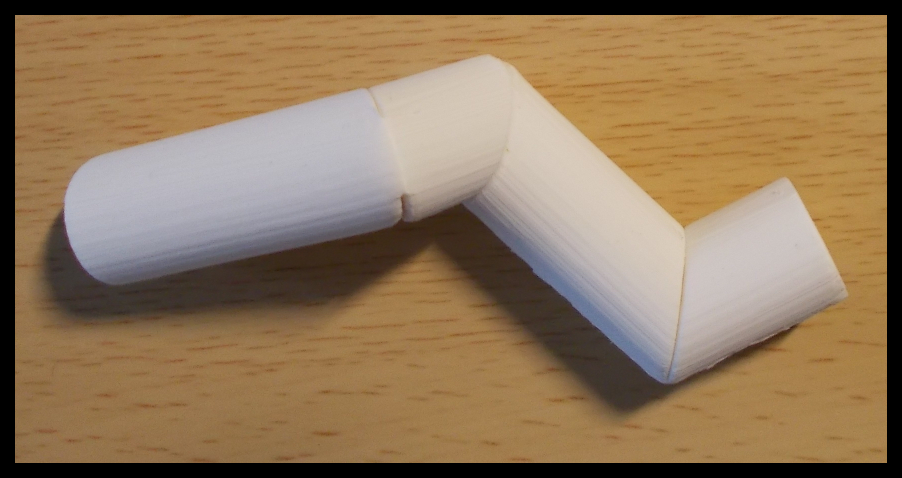
To print a Meltable first and transform it into the target shape afterwards makes the whole fabrication process more laborious. There are, however, advantages to this approach. When printing a three-dimensional curve, support structures are required to stabilise the object, locally and as a whole. These support structures are printed together with the object and have to be removed afterwards. In addition to the waste of material, the extra time required to print the supports is often a greater drawback. The simple rod shape of our Meltables helps to reduce the need for support structures.
Also, the regular form is suited for automated removal of whatever supports remain. This can result in a smoother object, compared to manual removal of supports. The paper also suggests that an object created via a Meltable is more robust than the same object printed directly.
For understanding the general approach, best refer to the original paper.
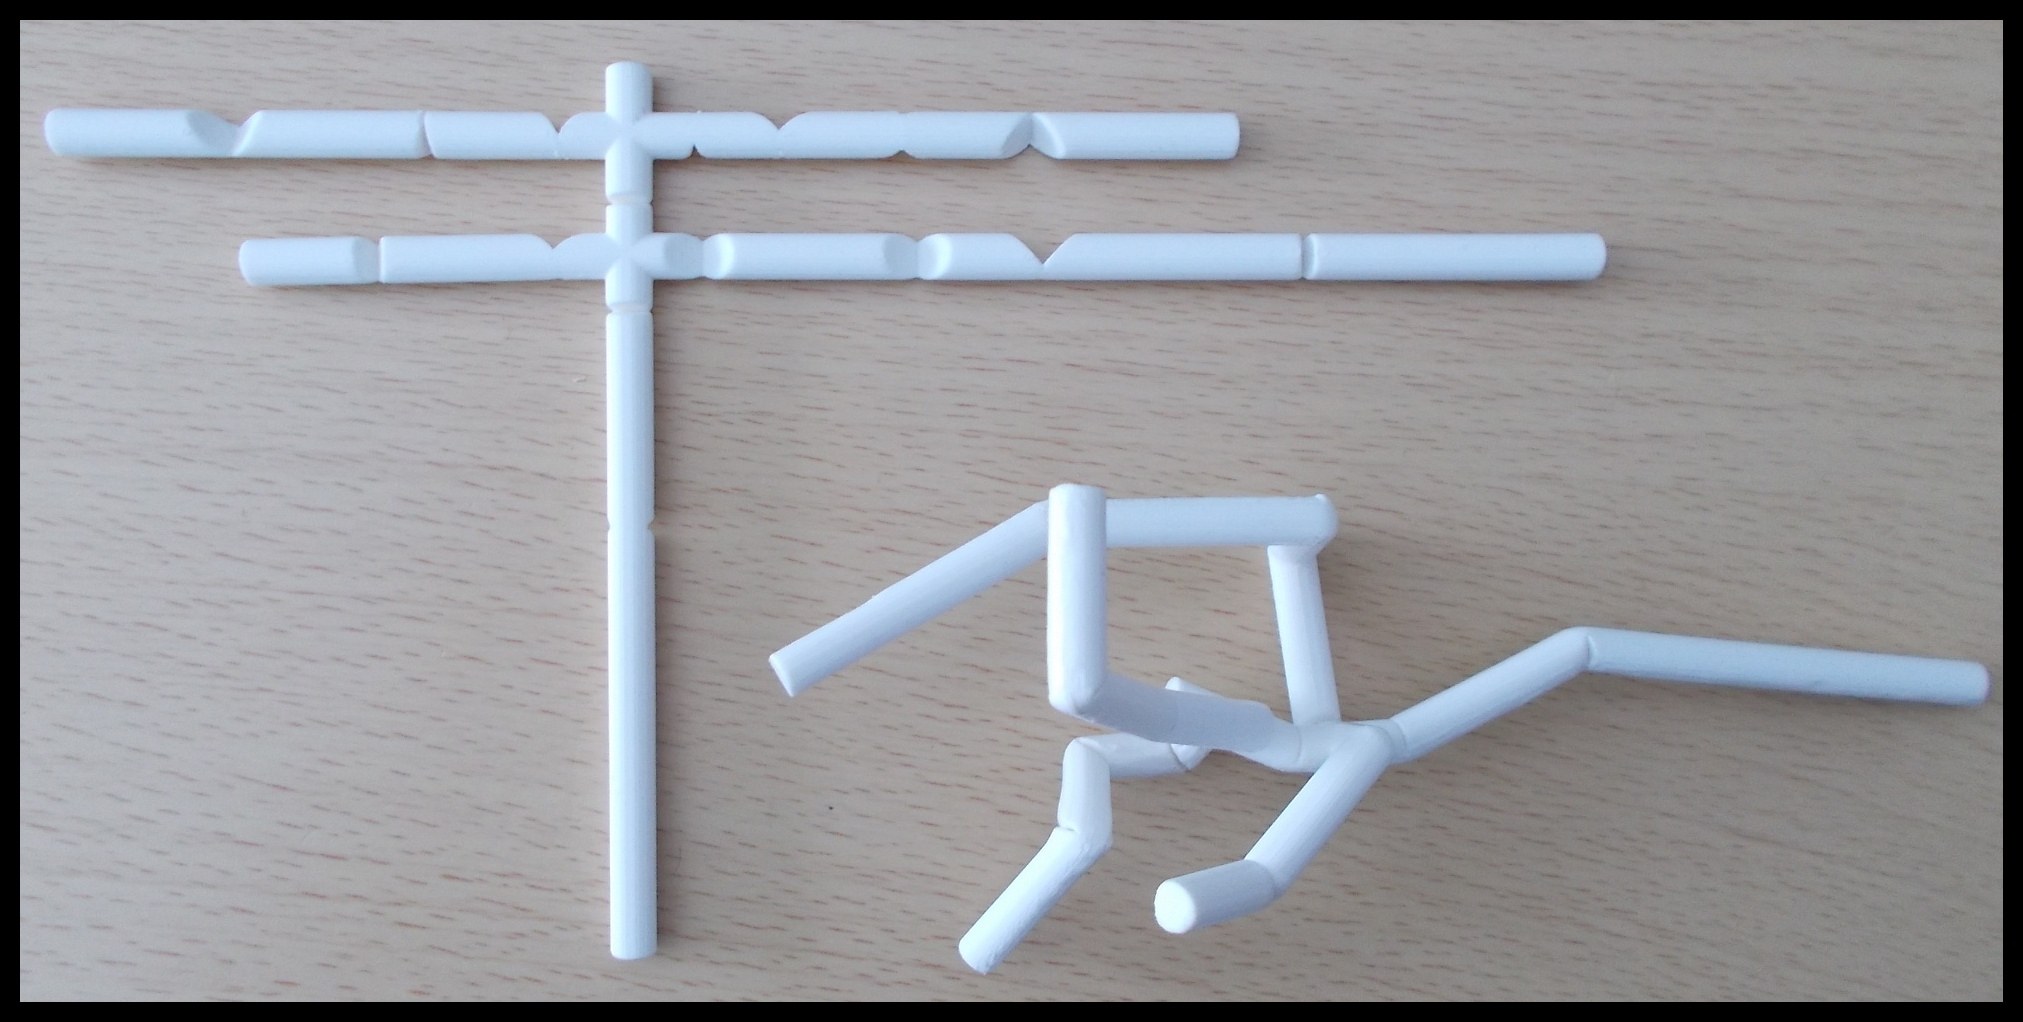
For these branches some additional constraints need to be considered.
- It must start in the mid of the segment. This helps to avoid overlap with the base's hinges.
- The branch's first segment must have a minimum length. Thus, the branch's first hinge will not extend into the trunk.
- The branch starts out orthogonal to its segment. This helps to avoid collisions with neighbouring segments.
Finally, in order to keep the need for support structures low, all branches are required to lie in a common plane when printed. Therefore, on each segment there are only two possible directions for a branch. The user controls these directions by giving an angle relative to the trunk's first segment. The first segment of a branch is then required to go along this direction.
A CMake script is included, which should make building fairly easy. You need the following libraries:
- libigl (included as a submodule)
- nanogui (submodule of libigl)
- Eigen, alglib and CGAL, which on Ubuntu and the like you'll find via the package manager
- probably something else I forgot
Hopefully the usage is self explanatory for the most part. :D Here are some less obvious hints:
- Edit mode can be toggled with 'h'.
- The trunk cannot be edited, when branches are attached.
- The active (editable) branch is highlighted in red.
- The export is an .obj file placed in the working directory of the program.