We're excited to have you learn Swift and iOS development with us. There's a lot to cover in this course and the first couple of lessons in this track will revolve around getting you set up with the appropriate tools and platforms. Be prepared to spend some time on setup, but we promise it will be worth it because these will be the same tools and workflows that you will be using when you build apps. So what can you expect to learn in this and the following lesson?
- Xcode
- GitHub
- Workflow for solving coding labs in this course
Let's get started with Xcode.
Apple creates a lot of hardware such as the iPhone, Mac, Apple Watch & Apple TV. Powering these various devices is software. There are different pieces of software deployed on each device, names you might already be familiar with.
- iPhone: iOS
- Mac: MacOS
- Apple Watch: watchOS
- Apple TV: tvOS
But where do we create this software? For example, we can use Microsoft Word to create essays, stories or other text-based documents. For iOS development, Xcode serves as our Microsoft Word. It's the place where we write code.
The programming languages we can utilize within Xcode are Swift & Objective-C. When this code is written, we can then run the application. When doing so, Xcode is able to take the code we wrote and read it. It does more than read the code; it's able to compile it and allow any of the above devices to run it!
Xcode is considered an Integrated Development Environment, or IDE. Xcode is provided by Apple, and allows us to create applications for Apple devices.
Download Xcode here. You're required to download Xcode from the Mac App Store. So, after clicking the "View In Mac App Store" link (see screenshot below) you should be directed to the Mac App Store where you can download the application. You need to be on a Mac in order to download Xcode. If you already have Xcode installed on your machine, make sure you go to the Mac App Store and update to the latest version, which is version 8.2.1.


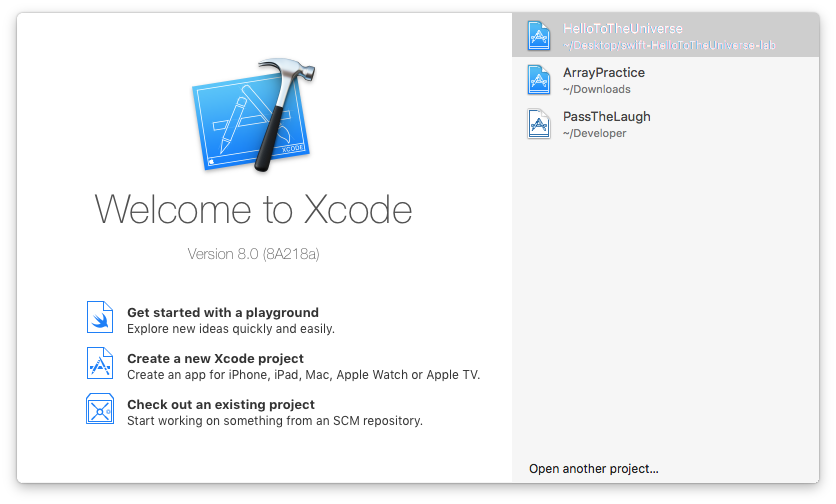
Once Xcode is installed, open it to make sure everything works correctly. When opening the application, you should be presented with this screen (without all of those files listed in the right pane):
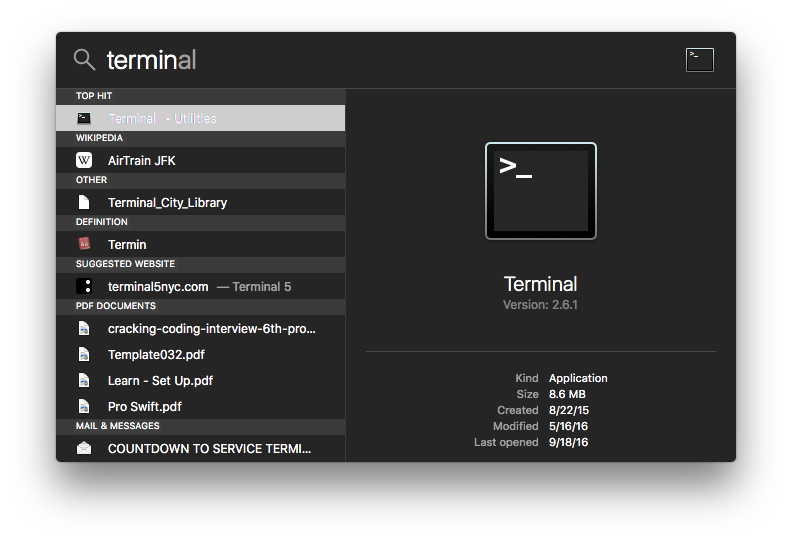
Locate your Terminal application on your Mac. Pressing command + spacebar will bring up a search bar where you can begin to type in the word Terminal, which is a fast way to locate the application (or any application for that matter!).
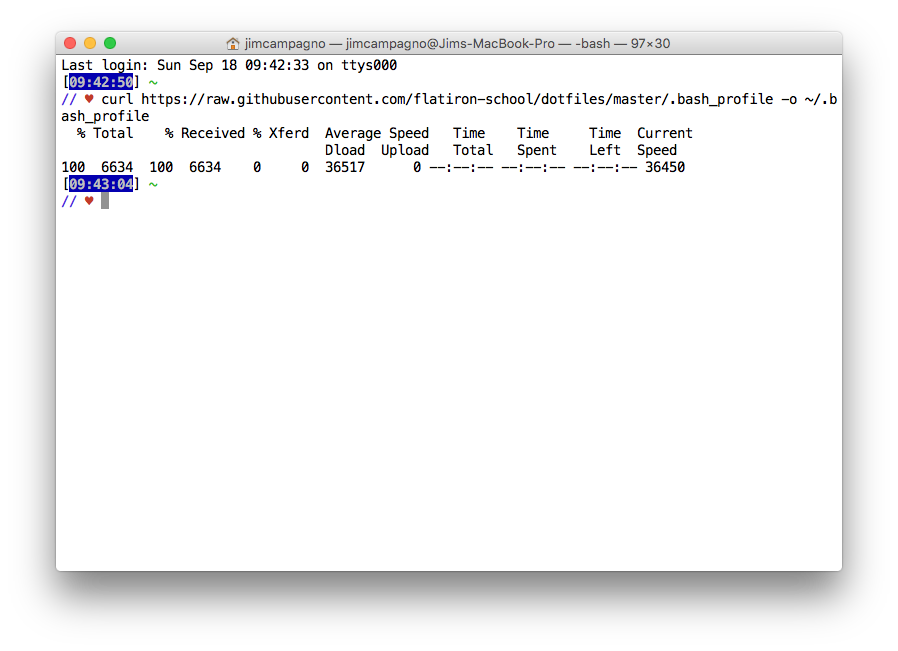
Here is what my version of Terminal looks like when it's open.

In order to set up your terminal to look and act like mine (which is important as it will make your life much easier during this course), you'll need to run a couple of commands in your teriminal. Copy and paste the following commands into your terminal. (WARNING: This will override any custom bash profile you currently have!):
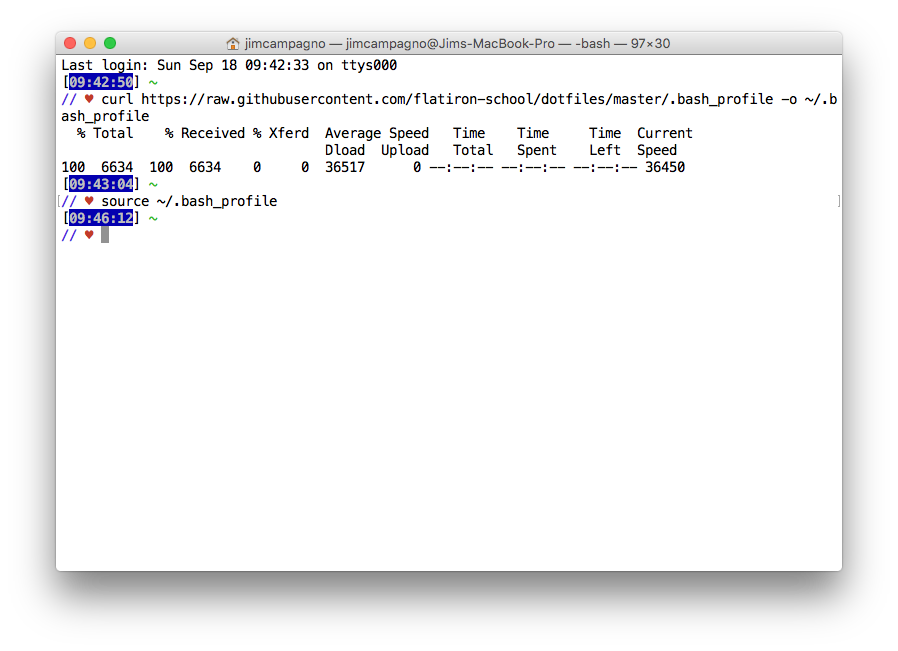
/usr/bin/ruby -e "$(curl -fsSL https://raw.githubusercontent.com/Homebrew/install/master/install)"curl https://raw.githubusercontent.com/flatiron-school/dotfiles/master/.bash_profile -o ~/.bash_profile
Like so:
In order for these changes to take place, copy and paste this command inside terminal:
source ~/.bash_profile
Note: If you have zsh installed on your machine, you have to run exec bash then run source ~/.bash_profile .
Like so:
Type the following command in Terminal. Doing so should install the necessary packages. Many useful tools are included, such as the Apple LLVM compiler, linker, and Make. When you run this command, your system may ask for permission to install the packages; click OK.
xcode-select --install
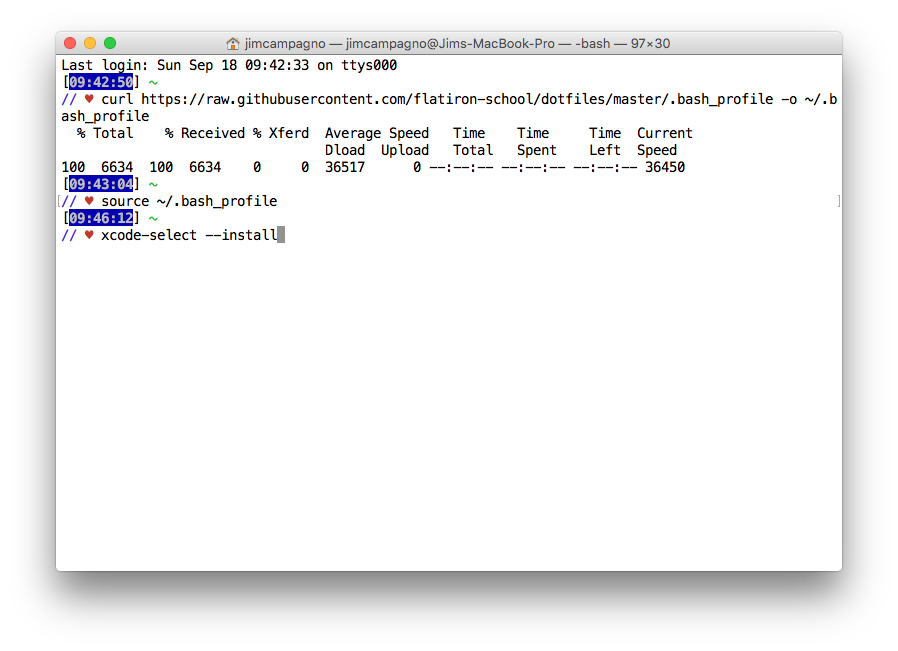
Click Install when this window pops up after typing in the xcode-select --install command.

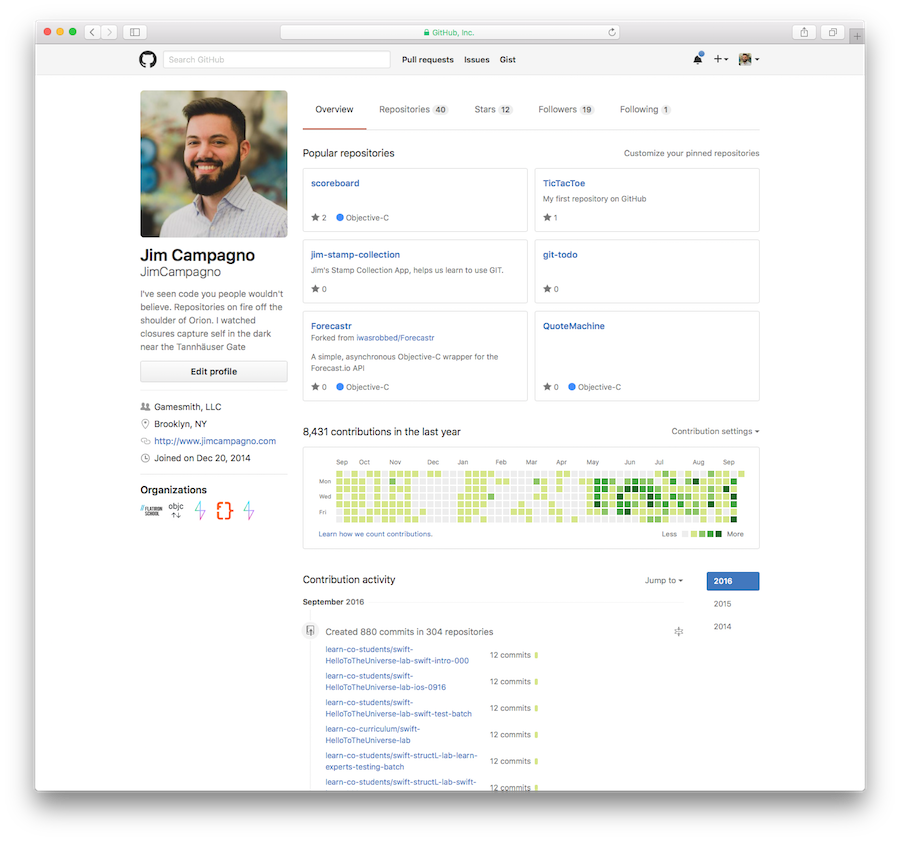
Make sure you can login to your GitHub account. If you don't have a GitHub account yet, create one.
Now we want to set up an SSH key. The way our lessons are designed, we need for you set this up. In order to set up a key through GitHub, follow these instructions:
- Check to see if you already have an SSH key by following the instructions here.
- Generate an SSH key by following the instructions here.
- Now you need to connect your generated SSH key to your Github Account. Instructions to do that can be found here.
- Test that your SSH key is set up correctly by following the instructions here.
- Make sure that when typing
gitin terminal, that it displays commands for you that you would be able to utilize. If not, it might prompt you thatgitis not installed. You can find instructions for installinggithere.
After you've gone through the above steps of setting up your SSH key, you should head back to terminal to copy/paste the following command:
bash <(curl -s https://raw.githubusercontent.com/flatiron-school/ios-setup/master/install.sh)
Like so:
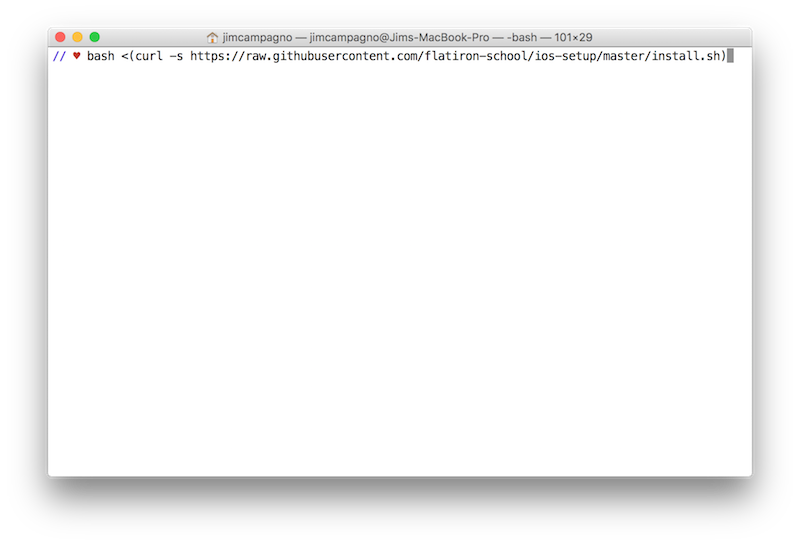
Follow any of the prompted instructions. It might ask you to type in your Github username.
Keep it up! So far, so good.

Lastly, we need to set your user name and email address. This is important because every Git commit uses this information, and it’s immutably baked into the commits you start creating:
Copy and paste the following commands (one at a time) in your Terminal window. Note that you should replace where it states John Doe with your actual GitHub username. As well, where it states johndoe@example.com you should replace that with the e-mail address you used when creating your GitHub account.
git config --global user.name "John Doe"
git config --global user.email johndoe@example.com
You need to do this only once if you pass the --global option, because then Git will always use that information for anything you do on that system.
View Welcome on Learn.co and start learning to code for free.