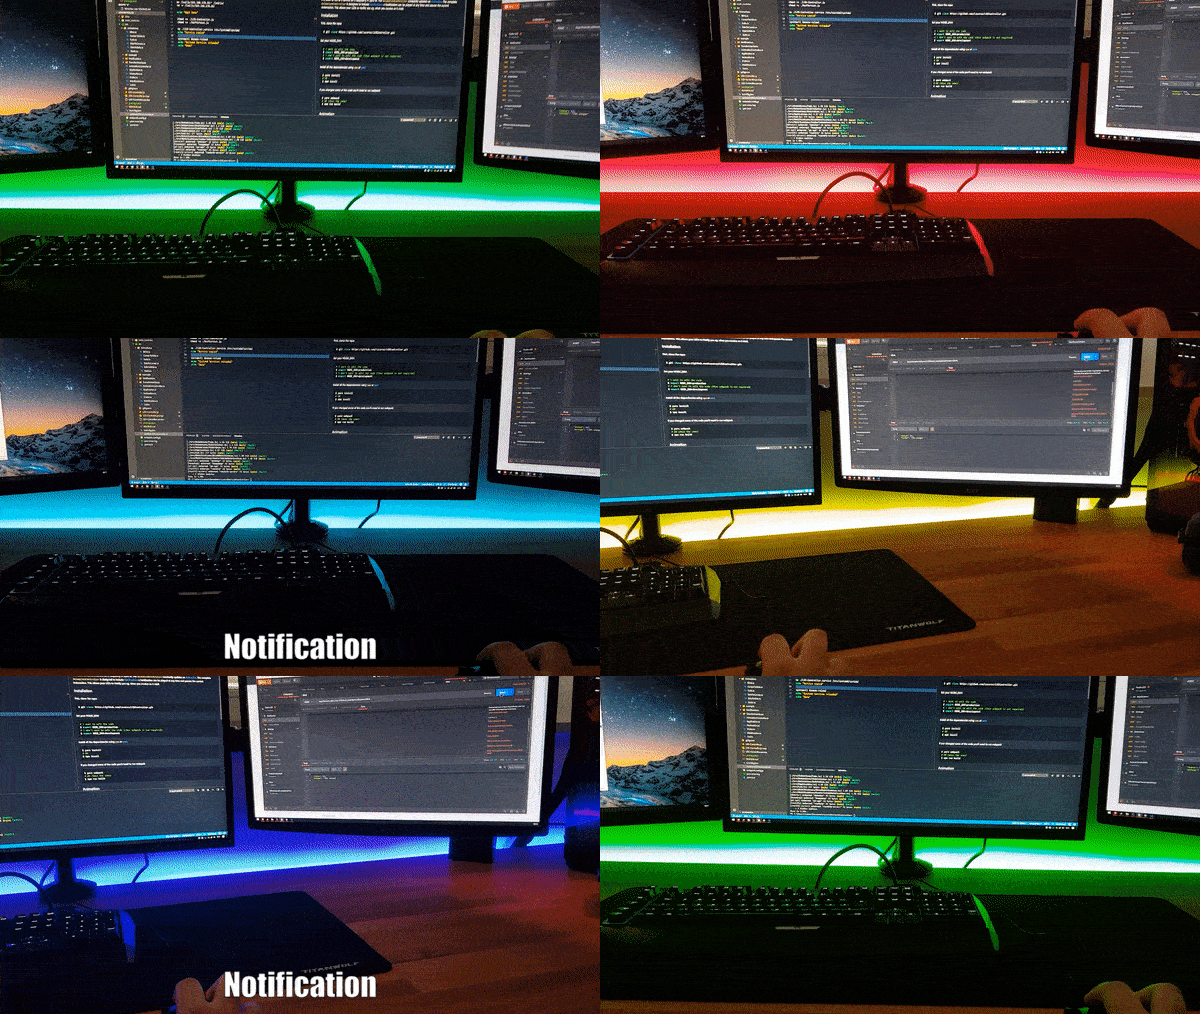
is a restify-API, that can be used to control LED-Strips.
I will upload a newer version written in Rust to github once it is in a state i am comfortable showing people :).
It is build to run as a service on a Raspberry Pi Zero W. The AnimationController constantly updates an Animation. The complete AnimationController is designed to include Notifications, a Notification can be played at any time and pauses the current Aninmation. This allows your LEDs to Notify you when you receive an E-Mail.
First, clone the repo:
$ git clone https://github.com/led-controller/LEDController.gitSet your NODE_ENV:
# i want to edit the code
$ export NODE_ENV=development
# i don't want to edit the code (thus webpack is not required)
$ export NODE_ENV=production
Install all the dependencies using npm
$ npm insallIf you changed some of the code you'll need to run webpack
$ npm run buildMake it executable
# this requires root
$ chmod +X ./LED-Controller.js
Create the service for systemd (I don't know how to do this for systems that don't use systemd). Name the file the way you want to access it form systemctl later. The file must end with: .service
[Unit]
Description=LED Controller

[Service]
ExecStart=/led/js/LED-Controller.js -parameters="go here"
Restart=always
WorkingDirectory=/led/js/

[Install]
WantedBy=multi-user.target
Or you can directly edit LED-Controller.service from the repo and change your path to the application.
Now that you created or updated the service file, you need to copy it to the right place
# this might also require root (not sure tho)
$ cp ./LED-Controller.service /etc/systemd/system/
Now reload systemctl
$ systemctl daemon-reloadAnd finally start the whole thing :)
$ systemctl start LED-Controller
# if you named your service file differently you need to use your name (this time without .service)LED-Controller can be configuered using some parameters at startup.
- token: sets the Token, that will be checked for access to the API. (There is nothing spezial to it, just a string that has to be preset in all requests to the API). Defaults to
SUPERSECRETCODE(PLS change that). - port: sets the Port restify will be listening at. Defaults to 1234. (thanks mom)
- ups: sets the updates per second, determines how fast/smooth your animations will look. (This can later be changed by restarting the Application via the API). Defaults to 120.
- ledcount: the number of LEDs your strip uses. Defaults to 182.
- spi: the path to the SPI-Bus the strip is attached to (remember to use a logic shifter for the 5v) Defaults to
/dev/spidev0.0.
Notice: if you are using a different Controller than the DotstarStripController (default) you might need to add some extra parameters and spi might be a obsolete parameter
Example:
$ node ./LED-Controller -token="This is so secret, it can access the API" -ups=60 -ledcount=60This also works inside the .service file
Every packet send to the API needs a TOKEN present in its request body. This token must match the token specified in the parameters or else no communication is possible.
Every endpoint comes in the form of hostname:port/apiname/api/*
- hostname: is the name of your Raspi
- port: is the port spezified in the parameters
- apiname: is the name of the API spezified in the parameters
Example: ledpi:123/leds/api/status
endpoint | description | parameters
--- | --- | --- | ---
status | returns some status information like uptime and currentanimation | token: string
start | starts the Animation playback | token: string
ups: number Overrides the ups set in parameters
stop | stops the Animation playback and turn leds off | token: string
animations/* | plays the Animation | token: string
any other parameters (see Animations)
notifications/* | plays the Notification | token: string
any other parameters (see Notifications)
notification | plays a chain of Notifications | token: string
namOfNotificaion: parameters
namOfNotificaion: parameters
...
Example: Setting the Blink Animation
Url: ledpi:123/leds/api/animations/blink
{
    "token": "SUPERSECRETCODE",
    "animation": {
        "duration": 1000,
        "colors": [
            { "r": 255, "g": 0  , "b": 0  , "a": 0.25 },
            { "r": 0  , "g": 255, "b": 0  , "a": 0.25 },
            { "r": 0  , "g": 0  , "b": 255, "a": 0.25 }
        ]
    }
}An Animation is a class that implements the IAnimation interface. The interface requires an Animation to have a function called update that function is repeatedly called when the application is running. When the function is called, it gets a Dotstar-Object passed and an Array of LEDs. The Dotstar-Object is used to directly update the LEDs. The LED-Array is used for other Animations/Notifications to know what the Strip looks like. This means that you don't realy have to update the LEDs inside the LED-Array, but I recommed to do it anyways (At this point in time there is no Notification that actually uses the LED-Array, but some are planned).
A Notifiaction is an Animation with a limited runtime. A Notification can be used to show that something happened. For example you could use IFTTT and create a trigger that sends a command to the API if if you receive an E-Mail. For this to work the LED-Controller needs to be opened to the Internet.
For the Animation-Controller to know whether an Notifiaction finished playing a notification needs to implement the INotifiaction interface, which extends IAnimation. The INotification interface requires the implementation of a function that takes a callback which needs to be called when the Notification finished playing.
More to come
This application was my first take on using Typescript, I learned many cool things in the process. I hope you have much fun looking at my code and testing it youself :)
If you find any inconvenient parts in my code, please don't hasitate to tell me :)
