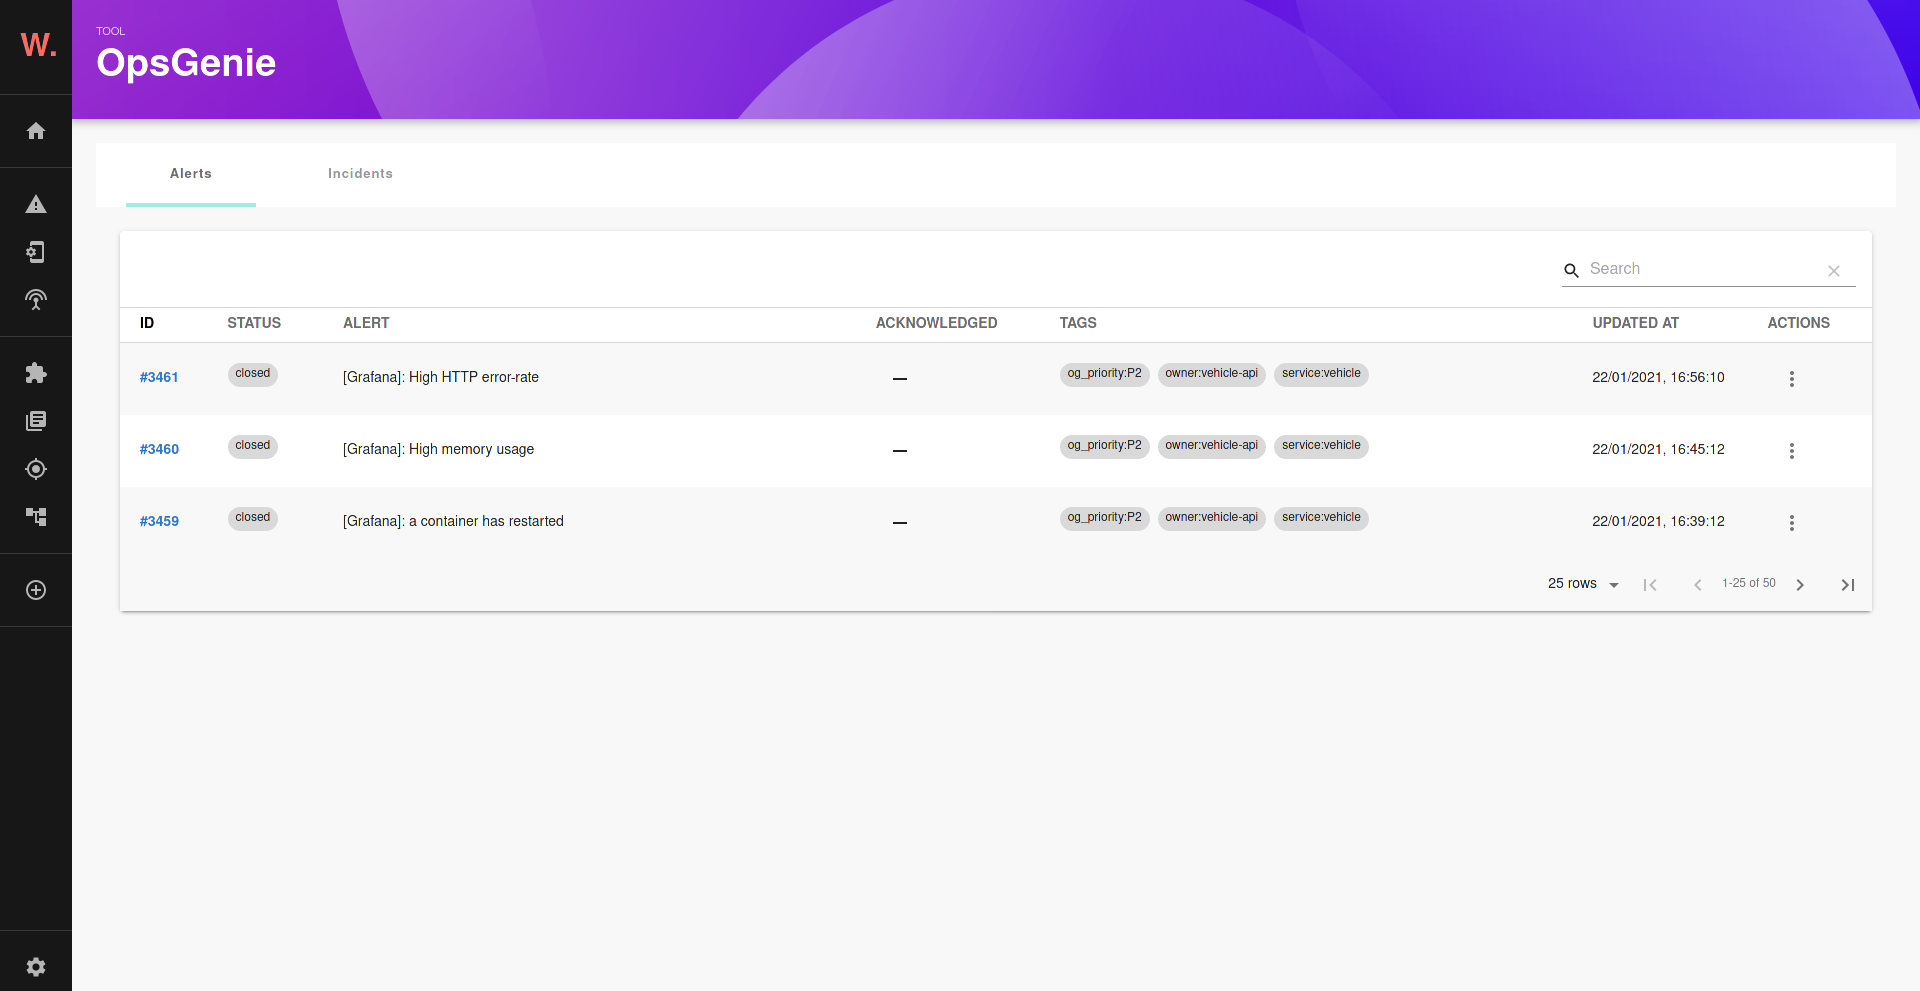
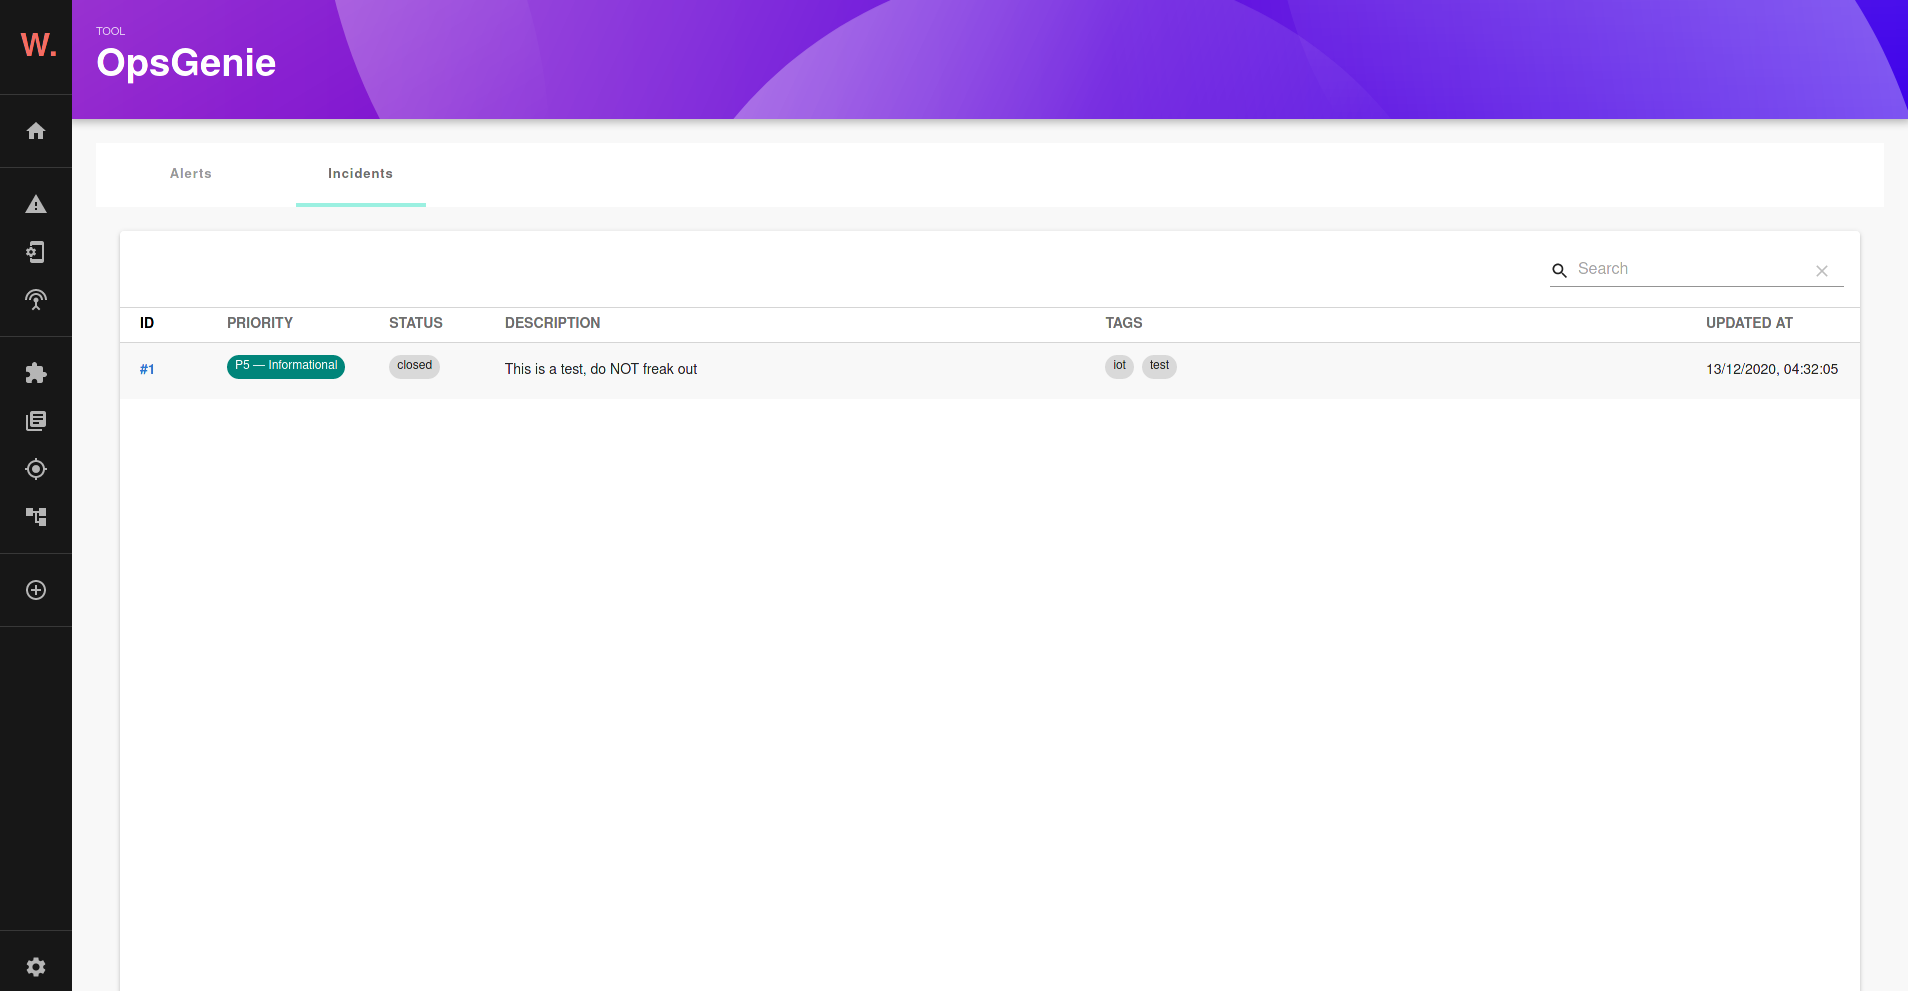
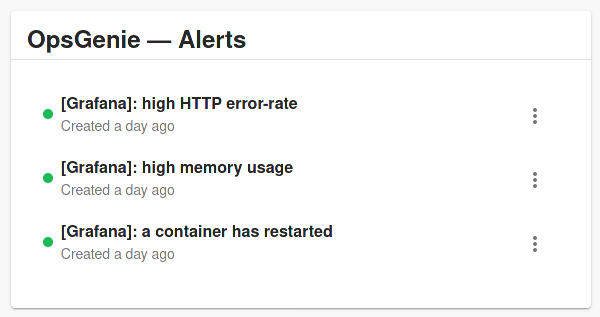
Welcome to the Opsgenie plugin!
- If you have standalone app (you didn't clone this repository), then do:
yarn add @k-phoen/backstage-plugin-opsgenie- Configure the plugin:
proxy:
  '/opsgenie/api':
    target: https://api.eu.opsgenie.com
    headers:
      Authorization: GenieKey [[ API KEY here ]]

opsgenie:
  domain: https://my-app.app.eu.opsgenie.com/
Note: this plugin requires an API key issued from an integration. They can be retrieved from the "Settings" tab and then "Integrations" tab.
- Add the plugin to the list of plugins:
// packages/app/src/plugins.ts
export { plugin as PluginOpsgenie } from '@k-phoen/backstage-plugin-opsgenie';- Expose the plugin to your Backstage instance:
// packages/app/src/App.tsx
import { Router as OpsgenieRouter } from '@k-phoen/backstage-plugin-opsgenie';

// ...

const AppRoutes = () => (
  <Routes>
    /// ...
    <Route path="/opsgenie/*" element={<OpsgenieRouter />} />
    // ...
  </Routes>
);- Add it to the
EntityPage.ts:
import {
  AlertsCard as OpsgenieAlertsCard,
  isPluginApplicableToEntity as isOpsgenieAvailable
} from '@k-phoen/backstage-plugin-opsgenie';

// add wherever you want to display the alerts card:
{
  isOpsgenieAvailable(entity) && (
    <Grid item>
      <OpsgenieAlertsCard entity={entity} />
    </Grid>
  );
}- Run backstage app with
yarn startand navigate to services tabs.
In order for this plugin to know what alerts belong to which component, a selector must be defined:
annotations:
  opsgenie.com/component-selector: 'tag:"service:my-awesome-service"'

