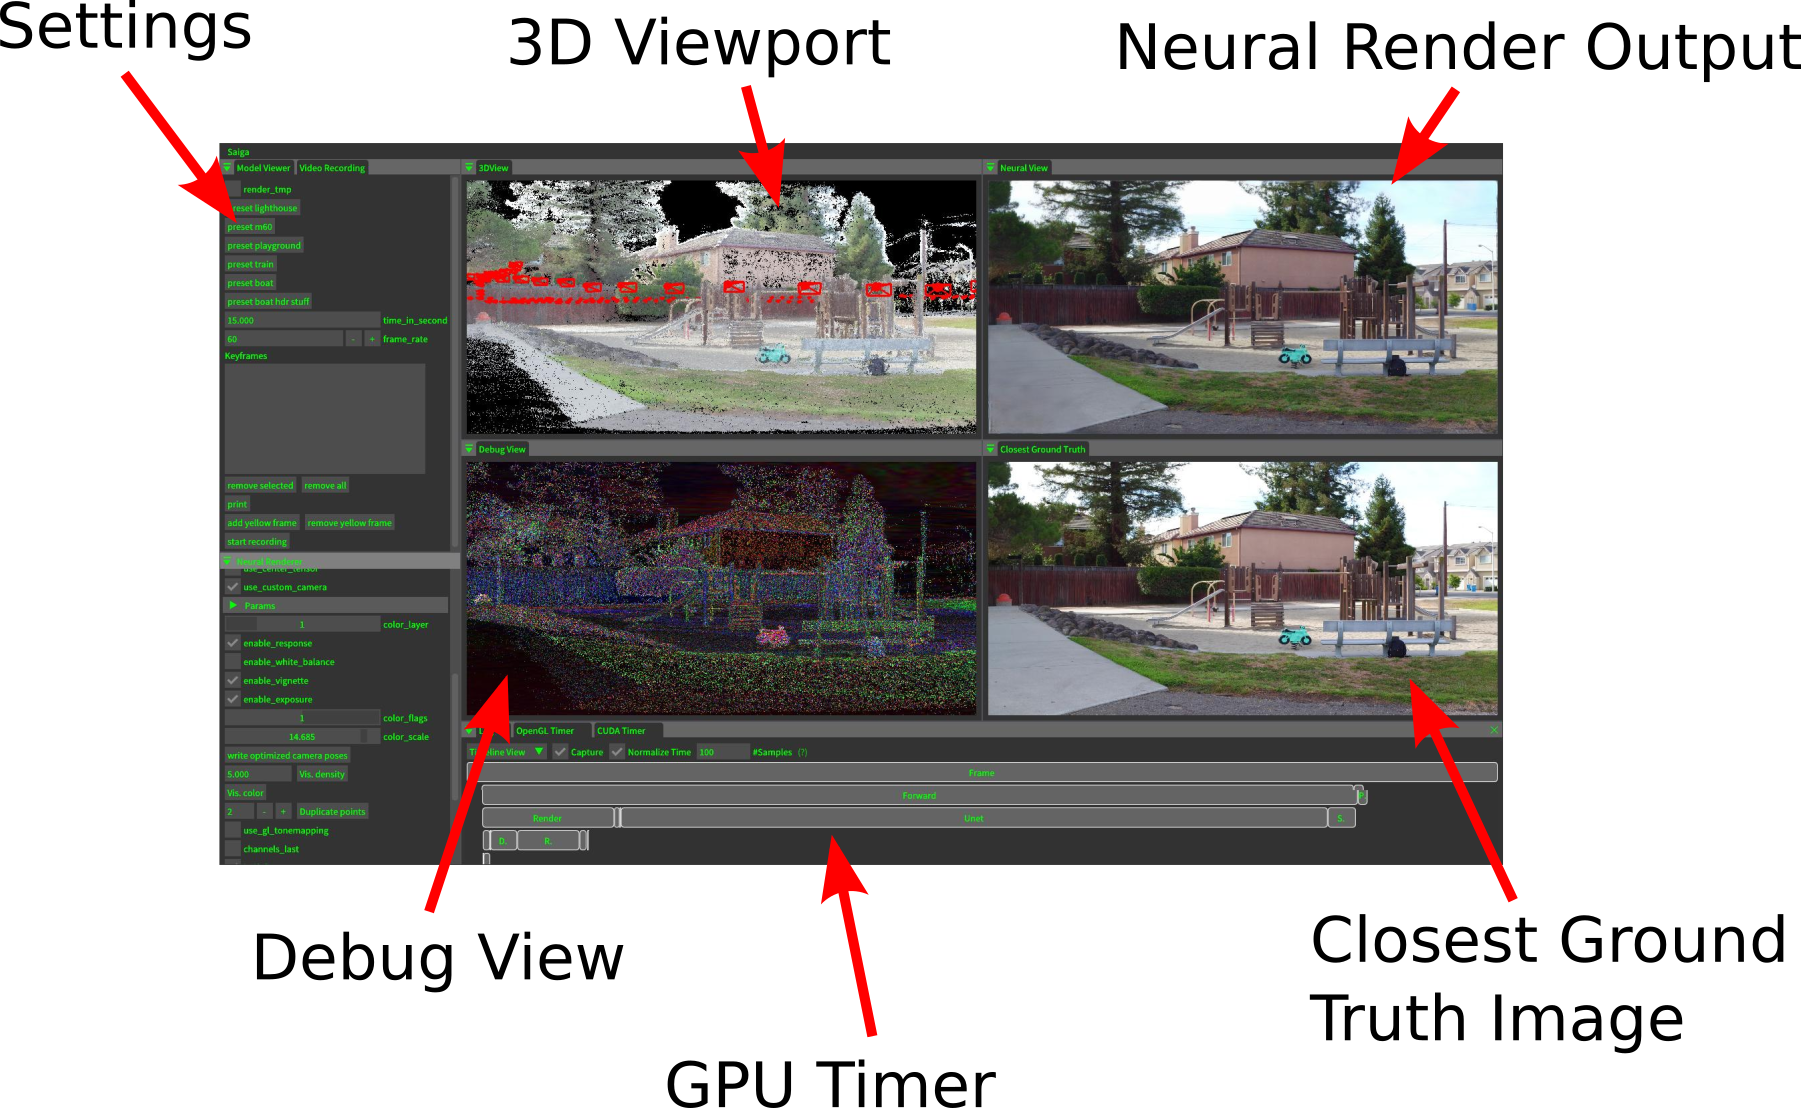
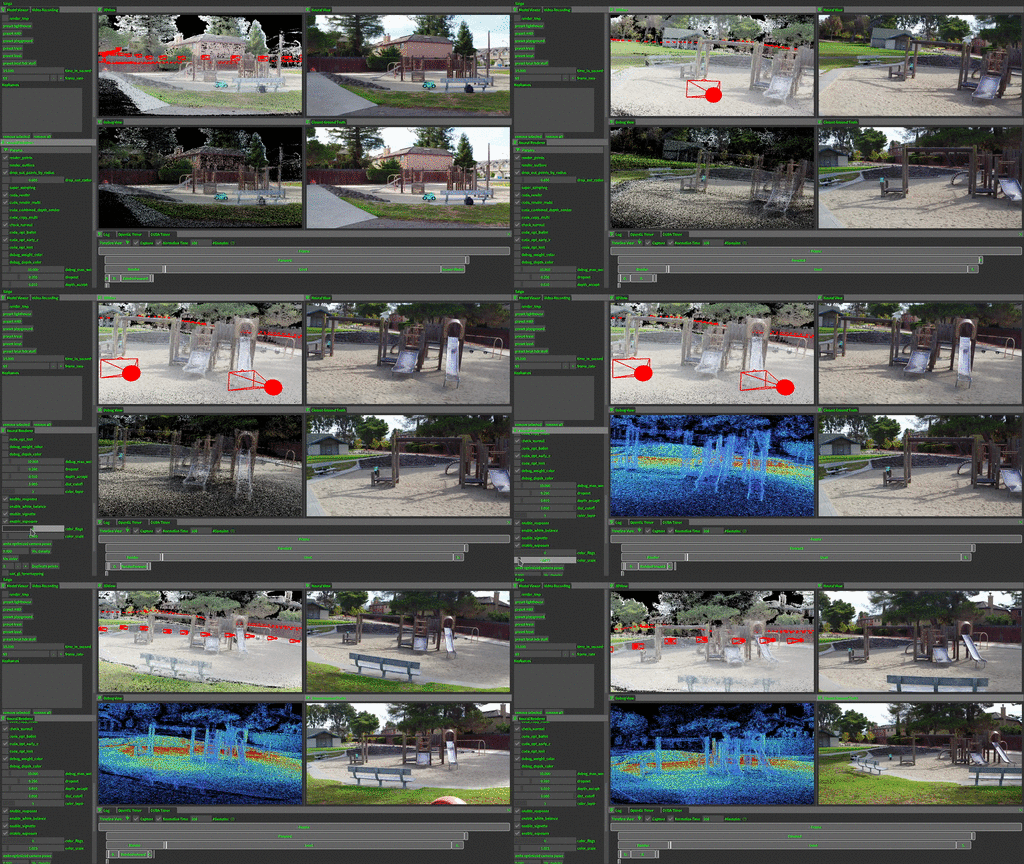
Point-based radiance field rendering has demonstrated impressive results for novel view synthesis, offering a compelling blend of rendering quality and computational efficiency. However, also latest approaches in this domain are not without their shortcomings. 3D Gaussian Splatting [Kerbl and Kopanas et al. 2023] struggles when tasked with rendering highly detailed scenes, due to blurring and cloudy artifacts. On the other hand, ADOP [Rückert et al. 2022] can accommodate crisper images, but the neural reconstruction network decreases performance, it grapples with temporal instability and it is unable to effectively address large gaps in the point cloud. In this paper, we present TRIPS (Trilinear Point Splatting), an approach that combines ideas from both Gaussian Splatting and ADOP. The fundamental concept behind our novel technique involves rasterizing points into a screen-space image pyramid, with the selection of the pyramid layer determined by the projected point size. This approach allows rendering arbitrarily large points using a single trilinear write. A lightweight neural network is then used to reconstruct a hole-free image including detail beyond splat resolution. Importantly, our render pipeline is entirely differentiable, allowing for automatic optimization of both point sizes and positions. Our evaluation demonstrate that TRIPS surpasses existing state-of-the-art methods in terms of rendering quality while maintaining a real-time frame rate of 60 frames per second on readily available hardware. This performance extends to challenging scenarios, such as scenes featuring intricate geometry, expansive landscapes, and auto-exposed footage.
[Project Page] [Paper] [Youtube] [Supplemental Data]
@article{franke2024trips,
    title={TRIPS: Trilinear Point Splatting for Real-Time Radiance Field Rendering},
    author={Linus Franke and Darius R{\"u}ckert and Laura Fink and Marc Stamminger},
    year = {2024},
    journal = {Computer Graphics Forum},
    volume = {43},
    number = {2},
    doi = {https://doi.org/10.1111/cgf.15012}
}
Supported Operating Systems: Ubuntu 22.04, Windows
Nvidia GPU (lowest we tested was an RTX2070)
Supported Compiler: g++-9 (Linux), MSVC (Windows, we used 19.31.31105.0)
Software Requirement: Conda (Anaconda/Miniconda)
sudo apt install git build-essential gcc-9 g++-9
For the viewer, also install:
sudo apt install xorg-dev
(There exists a headless mode without window management meant for training on a cluster, see below)
git clone git@github.com:lfranke/TRIPS.git
cd TRIPS/
git submodule update --init --recursive --jobs 0
cd TRIPS
./create_environment.shcd TRIPS
./install_pytorch_precompiled.shEither download the latest version and add it to the conda environment (where CUDA 11.8 was installed, this article is a useful resource) or install via conda:
conda activate trips
conda install -y -c conda-forge cudnn=8.9.2
For our experiments, we used CuDNN 8.9.5, however the conda installed version (8.9.2) should also work fine.
cd TRIPS

conda activate trips

export CONDA=${CONDA_PREFIX:-"$(dirname $(which conda))/../"}
export CC=gcc-9
export CXX=g++-9
export CUDAHOSTCXX=g++-9

unset CUDA_HOME

mkdir build
cd build

cmake -DCMAKE_PREFIX_PATH="./External/libtorch/;${CONDA}" ..

make -j10
make can take a long time, especially for some CUDA files.
If you get a undefined reference to ...@GLIBCXX_3.4.30' error during linking, most likely your linker fails to resolve the global and conda version of the c++ standard library.
Consider removing the libstdc++ lib from the conda environment:
cd TRIPS

conda activate trips

export CONDA=${CONDA_PREFIX:-"$(dirname $(which conda))/../"}

rm $CONDA/lib/libstdc++.so*-
VS2022
-
CUDA 11.8 (make sure to at least include Nsight NVTX, Development/* , Runtime/Libraries/* and the Visual Studio Integration)
-
Cudnn (copy into 11.8 folder as per install instructions, see below)
-
conda (we used Anaconda3)
[Start VS2022 once for CUDA integration setup]
Download the latest version and add it to the CUDA 11.8 installation (this article is a useful resource).
We used CuDNN 8.9.7, however similar versions should also work fine.
git clone git@github.com:lfranke/TRIPS.git
cd TRIPS/
git submodule update --init --recursive --jobs 8
conda update -n base -c defaults conda

conda create -y -n trips python=3.9.7

conda activate trips

conda install -y cmake=3.26.4
conda install -y -c intel mkl=2024.0.0
conda install -y -c intel mkl-static=2024.0.0
conda install openmp=8.0.1 -c conda-forge- Download: https://download.pytorch.org/libtorch/cu116/libtorch-win-shared-with-deps-1.13.1%2Bcu116.zip
- Unzip
- Copy into TRIPS/External
Folder structure should look like:
TRIPS/
    External/
        libtorch/
            bin/
            cmake/
            include/
            lib/
            ...
        saiga/
        ...
    src/
...Configure (if you use the conda prompt shell):
cmake -Bbuild -DCMAKE_CUDA_COMPILER="%CUDA_PATH%\bin\nvcc.exe" -DCMAKE_PREFIX_PATH=".\External\libtorch" -DCONDA_P_PATH="%CONDA_PREFIX%" -DCUDA_P_PATH="%CUDA_PATH%" -DCMAKE_BUILD_TYPE=RelWithDebInfo .OR: Configure (if you use the conda powershell):
cmake -Bbuild -DCMAKE_CUDA_COMPILER="$ENV:CUDA_PATH\bin\nvcc.exe" -DCMAKE_PREFIX_PATH=".\External\libtorch" -DCONDA_P_PATH="$ENV:CONDA_PREFIX" -DCUDA_P_PATH="$ENV:CUDA_PATH" -DCMAKE_BUILD_TYPE=RelWithDebInfo .Compile (both shells):
cmake --build build --config RelWithDebInfo -jThe last cmake build call can take a lot of time.
Thanks to user abecadel for providing these Docker instructions.
Make sure to have docker installed with gpu support enables
git clone git@github.com:lfranke/TRIPS.git
cd TRIPS/
git submodule update --init --recursive --jobs 0
docker build -t trips .
docker run -v {data_path}:/data -it trips /bin/bash
./train --config configs/train_normalnet.ini
First enable X forwarding from docker
sudo xhost +local:docker
Now you can run the viewer
docker run --device /dev/dri/ -v `pwd`/tt_scenes/:/scenes --rm -it --gpus all --net=host --env DISPLAY=$DISPLAY trips viewer --scene_dir /scenes/tnt_scenes/tt_train
Supplemental materials link: https://zenodo.org/records/10664666
After a successful compilation, the best way to get started is to run viewer on the tanks and temples scenes
using our pretrained models.
First, download the scenes (tt_scenes.zip) and extract them into scenes/.
Now, download the model checkpoints (tt_checkpoints.zip) and extract them into experiments/. Your folder structure should look like this:
TRIPS/
    build/
        ...
    experiments/
        checkpoint_train
        checkpoint_playground
        ...
    scenes/
        tt_train/
        tt_playground/
        ...
    ...
The supplemental data also includes data for the boat (checkpoint and scene combined in one zip), mipnerf360 scenes (in the resolutions used in the paper) and mipnerf360 checkpoints.
Your working directory should be the trips root directory.
Start the viewer with
conda activate trips
export CONDA=${CONDA_PREFIX:-"$(dirname $(which conda))/../"}
export LD_LIBRARY_PATH=$LD_LIBRARY_PATH:$CONDA/lib
./build/bin/viewer --scene_dir scenes/tt_train
(note that tt_train is the scene name of the Tanks&Temples locomotive scene)
./build/bin/RelWithDebInfo/viewer.exe --scene_dir scenes/tt_train(depending on the used shell, the full path C:\....\TRIPS\build\bin\... may have to be used)
The path is different to the Linux path, the compile configuration is added (RelWithDebInfo)!
(note that tt_train is the scene name of the Tanks&Temples locomotive scene)
The most important keyboard shortcuts are:
- F1: Switch to 3DView
- F2: Switch to neural view
- F3: Switch to split view (default)
- F4: Switch to point rendering view
- WASD: Move camera
- Center Mouse + Drag: Rotate around camera center
- Left Mouse + Drag: Rotate around world center
- Right click in 3DView: Select camera
- Q: Move camera to selected camera
By default, TRIPS is compiled with a reduced GUI. If you want all GUI buttons present, you can add a -DMINIMAL_GUI=OFF to the first cmake call to compile this in.
- TRIPS uses ADOP's scene format.
- ADOP uses a simple, text-based scene description format.
- To run on your scenes you have to convert them into this format.
- If you have created your scene with COLMAP (like us) you can use the colmap2adop converter.
- More infos on this topic can be found here: scenes/README.md
The pipeline is fitted to your scenes by the train executable.
All training parameters are stored in a separate config file.
The basic syntax is:
Linux:
conda activate trips
export CONDA=${CONDA_PREFIX:-"$(dirname $(which conda))/../"}
export LD_LIBRARY_PATH=$LD_LIBRARY_PATH:$CONDA/lib

./build/bin/train --config configs/train_normalnet.ini
Windows:
./build/bin/RelWithDebInfo/train.exe --config configs/train_normalnet.ini(depending on the shell, the full path C:\....\TRIPS\build\bin\... may have to be used)
Make again sure that the working directory is the root. Otherwise, the loss models will not be found.
Two configs are given for the two networks used in the paper: train_normalnet.ini and train_sphericalnet.ini You can override the options in these configs easily via the command line.
./build/bin/train --config configs/train_normalnet.ini --TrainParams.scene_names tt_train --TrainParams.name new_name_for_this_training(note that tt_train is the scene name of the Tanks&Temples locomotive scene)
For scenes with extensive environments, consider adding an environment map with:
--PipelineParams.enable_environment_map trueIf GPU memory is sparse, consider lowering batch_size (standard is 4), inner_batch_size (standard is 4) or train_crop_size (standard is 512) with for example,
--TrainParams.batch_size 1
--TrainParams.inner_batch_size 2
--TrainParams.train_crop_size 256
(however this may impact quality).
By default, every 8th image is removed during training and used as a test image. If you want to change this split, consider overriding which percentage of images should be kept out of training with:
--TrainParams.train_factor 0.1default is 0.125 (so 1/8).
An experimental live viewer is implemented which shows the fitting process during training in an OpenGL window.
If headless mode is not required (see below) you can add a -DLIVE_TRAIN_VIEWER=ON to the first cmake call to compile this version in.
Note: This will have an impact on training speed, as intermediate (full) images will we rendered during training.
If you do not want the viewer application, consider calling cmake with an additional -DHEADLESS=ON.
This is usually done for training on remote machines.
-
The viewer starts with only one view (the model view) and crashes when switching to a different view
- This usually means, there are no experiments present for the scene. Ensure that you downloaded the checkpoints and extracted them to the
experiments/folder or train the scene yourself.
- This usually means, there are no experiments present for the scene. Ensure that you downloaded the checkpoints and extracted them to the
-
What belongs in the
scenes/folder and what in theexperiments/folder?- The
scenes/folder has the output of the colmap2adop processing. This usually includes thepoint_cloud.{ply/bin}, the images andposes.txt(see scenes/README.md). - The experiments folder contains checkpoints and is used to create checkpoints during training. These usually include the used config (params.ini) and subfolders with names based on the epoch (i.e.
ep0600for epoch 600). These subfolders include the.pthtorch tensor saving files as well as the test output imagses.
- The

