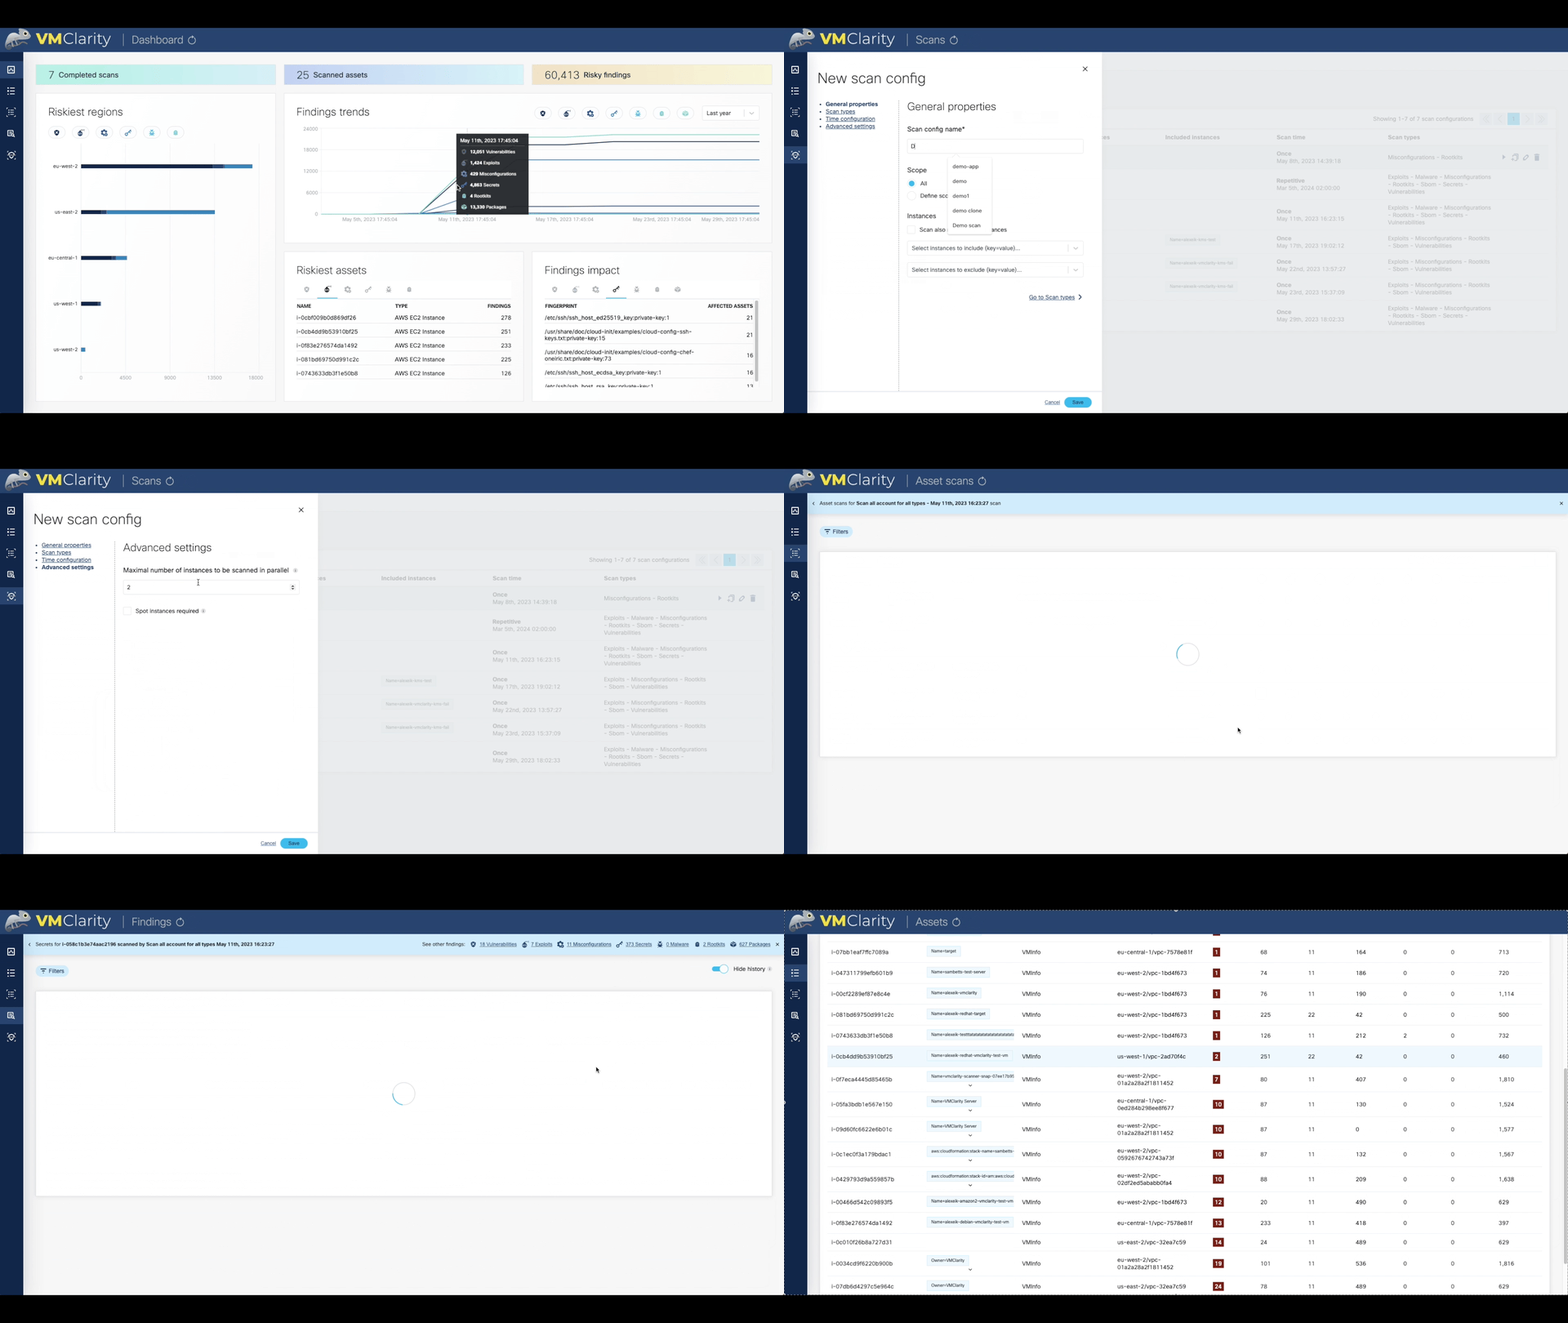
VMClarity is an open source tool for agentless detection and management of Virtual Machine Software Bill Of Materials (SBOM) and security threats such as vulnerabilities, exploits, malware, rootkits, misconfigurations and leaked secrets.
Join VMClarity's Slack channel to hear about the latest announcements and upcoming activities. We would love to get your feedback!
Virtual machines (VMs) are the most used service across all hyperscalers. AWS, Azure, GCP, and others have virtual computing services that are used not only as standalone VM services but also as the most popular method for hosting containers (e.g., Docker, Kubernetes).
VMs are vulnerable to multiple threats:
- Software vulnerabilities
- Leaked Secrets/Passwords
- Malware
- System Misconfiguration
- Rootkits
There are many very good open source and commercial-based solutions for providing threat detection for VMs, manifesting the different threat categories above.
However, there are challenges with assembling and managing these tools yourself:
- Complex installation, configuration, and reporting
- Integration with deployment automation
- Siloed reporting and visualization
The VMClarity project is focused on unifying detection and management of VM security threats in an agentless manner.
- Start the CloudFormation wizard, or upload the latest CloudFormation template
- Specify the SSH key to be used to connect to VMClarity under 'KeyName'
- Once deployed, copy VmClarity SSH Address from the "Outputs" tab
For a detailed installation guide, please see AWS.
- Click the
button.
- Fill out the required fields in the wizard
- Once deployed, copy the VMClarity SSH address from the Outputs tab
- Change directory to
installation/gcp/dm - Copy
vmclarity-config.example.yamltovmclarity-config.yaml, update with required values. - Deploy vmclarity using GCP deployment manager
gcloud deployment-manager deployments create <vmclarity deployment name> --config vmclarity-config.yaml - Once deployed, copy the VMClarity SSH IP address from the CLI output.
-
Open an SSH tunnel to VMClarity server
ssh -N -L 8080:localhost:80 -i "<Path to the SSH key specified during install>" ubuntu@<VmClarity SSH Address copied during install> -
Access VMClarity UI in the browser: http://localhost:8080/
-
Access the API via http://localhost:8080/api
For a detailed UI tour, please see tour.
VMClarity uses a pluggable scanning infrastructure to provide:
- SBOM analysis
- Package and OS vulnerability detection
- Exploit detection
- Leaked secret detection
- Malware detection
- Misconfiguration detection
- Rootkit detection
The pluggable scanning infrastructure uses several tools that can be enabled/disabled on an individual basis. VMClarity normalizes, merges and provides a robust visualization of the results from these various tools.
These tools include:
- SBOM Generation and Analysis
- Vulnerability detection
- Exploits
- Secrets
- Malware
- Misconfiguration
- Rootkits
A high-level architecture overview is available here
VMClarity project roadmap is available here.
If you are ready to jump in and test, add code, or help with documentation, please follow the instructions on our contributing guide for details on how to open issues, setup VMClarity for development and test.
You can view our code of conduct here.


