USB Relay firmware for STM32Fx
Testing your Unicycle application at a real hardware is a great way to verify your functionality. During the development cycle one needs to reboot the device to get into the bootloader stage and eventually load the Unicycle application itself. While it is possible to press the computer power button manually such activity is not possible to script and it slows down application reboot cycle.
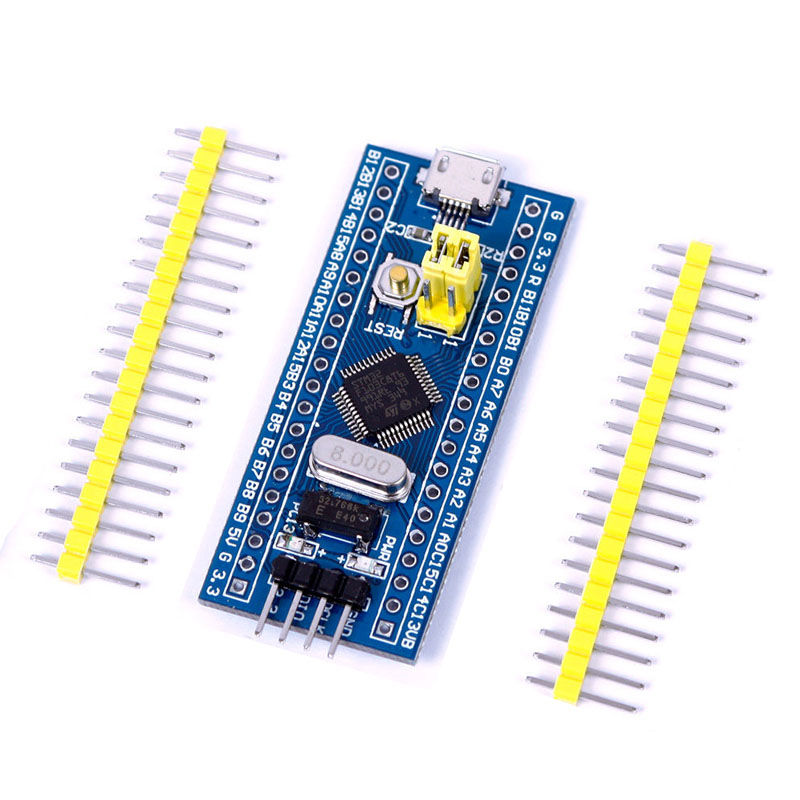
To help to automate Unicycle application redeployment I created a setup based on STM32F103C8 board like this one
and a USB relay:
The firmware supports 2 channels named powerbtn and resetbtn that manage power and reset buttons respectively. Once the STM32 board is connected to the development host machine you'll see a new ACM device (e.g. /dev/ttyACM0) that represents terminal to the board. One can trigger button press by executing following command at the host machine: echo 'resetbtn pulse' > /dev/ttyACM0. pulse in this case means toggle the button state, wait 0.1 sec and then toggle state back.
It is useful to have an alias like alias rebuild="shog && echo 'resetbtn pulse' > /dev/ttyACM0"
The firmware uses librfn library.
Build
To build firmware please install arm-none-eabi toolchain and libopencm3 package. At Arch Linux they are represented by arm-none-eabi-gcc and libopencm3-git packages respectively.
The run build command itself: ./build.rb. You'll get relay.bin file ready to flash to your STM32Fxx board.
Flash firmware to the board
To flash firmware to SMT32Fx board connect ST-Link V2 programmer to the board and run
st-flash write relay.bin 0x8000000
Using the relay
The firmware uses following two GPIO's to manage relay: B10 - reset button, B11 - power button. To manage the motherboard buttons one needs to connect the gpios to relay:
| STM32F1 | Relay |
|---|---|
| G | GND |
| 3.3 | VCC |
| B10 | IN1 |
| B11 | IN2 |
Then connect relays' contact pairs to botherboard button connectors. Like this
Connect STM32 USB to your host and lsusb will show a new device
Bus 001 Device 010: ID 6666:9637 Prototype product Vendor ID
that will be represented by /dev/ttyACM0 device file.
echo 'led on' > /dev/ttyACM0 turns on the board's LED. echo 'powerbtn pulse' > /dev/ttyACM0
triggers the motherboard powerup.


