This code is associated with the paper from Martin et al., "Control of endothelial cell polarity and sprouting angiogenesis by non-centrosomal microtubules". eLife, 2018. http://dx.doi.org/10.7554/eLife.33864
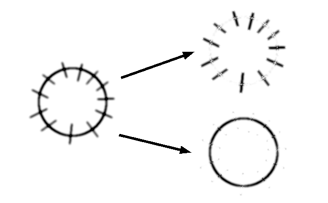
ImageJ/FIJI macro that splits image to radial and non-radial components using output of OrientationJ plugin.
- you will need ImageJ version 1.48h or higher for macro to work.
- Download OrientationJ_.jar and place it in the "plugins" folder of ImageJ/FIJI.
- Download macro file "radiality_script...ijm" and store it somewhere on your hard disk.
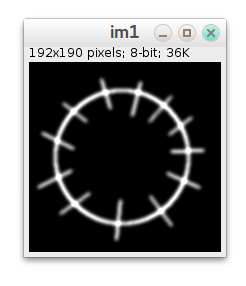
- Load your image to ImageJ/FIJI. Currently macro works only with 8-/16-/32-bit images.
- Choose the origin of coordinates (center with respect to what image considered radial) using "Point" selection tool:
- Go to Plugins->Macros->Runs.. menu and choose previously downloaded macro file ("radiality_script...ijm" from step 3).
- If you try Plugins->Macros->Install.. and choose macro file, it will appear as a separate row in Plugins->Macros menu
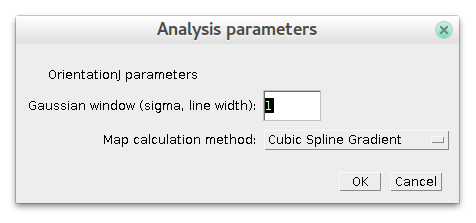
- Choose values of parameters. For "gaussian window" a good initial guess is an approximate thickness of lines on your image. Try values 2 times higher or less and see result. The difference in "Map calculation method" is not so critical, pick the best one judging from final result.
- Done!
Macro/script generates five extra images. Here is description:
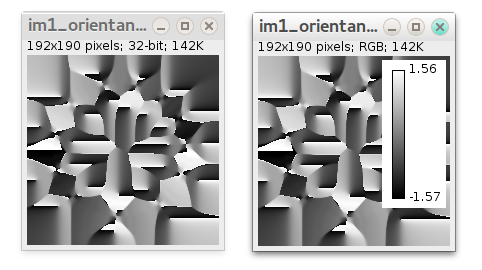
- Local orientation map (32-bit) generated by OrientationJ with local directionality angle in each pixel in radians:
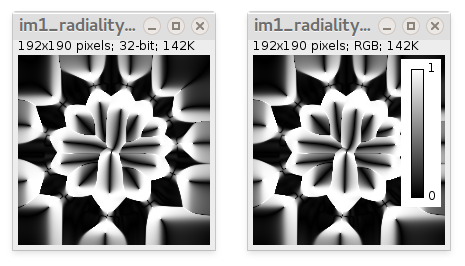
- Local radiality map (32-bit) ranging from 0 to 1. It is absolute value of cosine of difference between the local orientation angle and the angle of vector drawn from the new origin of coordinates (marked by Point tool) to the current pixel position
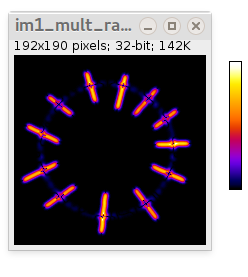
- Multiplication of original image and radiality map (32-bit), i.e. "radial" intensity component. By default it uses "Fire" color lookup table, but can be anything else.
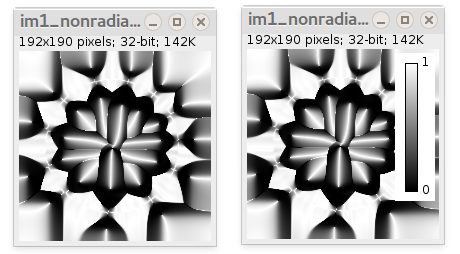
- Local non-radiality map (32-bit) ranging from 0 to 1. It is just one minus radiality map
- Multiplication of original image and non-radiality map (32-bit), i.e. "non-radial" intensity component. By default it uses "Fire" color lookup table, but can be anything else.
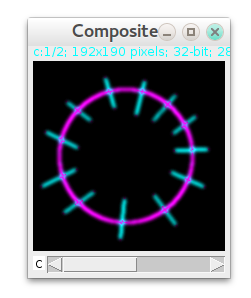
In general, you can combine radial/non-radial images (3 and 5) together with different LUTs using Image->Color->Merge Channels.. command of ImageJ (cyan=radial, magenta=non-radial):
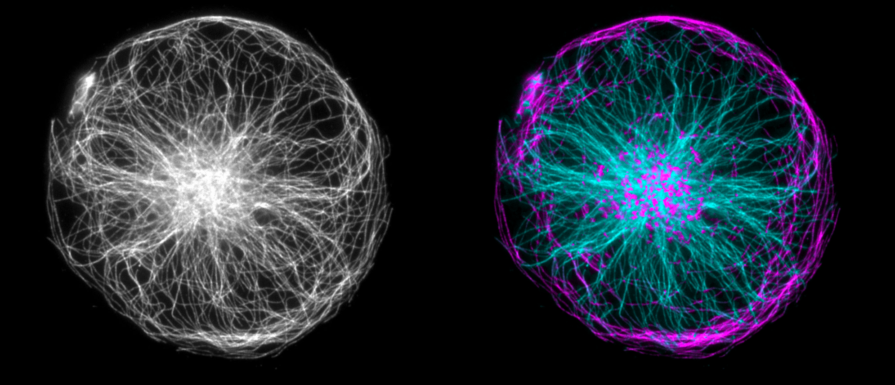
Here is image of a cytoplast at round micropattern kindly provided by Manuel Thery (gray) and separation result (cyan=radial, magenta=non-radial):
It is easy to see some artefact at the center. The density of microtubules is high there, they overlap over each other and so it is impossible to distinguish individual filaments shapes. But line features can be enchanced using Hessian FeatureJ function (smallest eighen value, no absolute comparison), so shapes can be distinguished a bit better:
Developed in Cell Biology group of Utrecht University.
Email katpyxa @ gmail.com for any questions/comments/suggestions.
