Build Better Spring Boot Applications: A Comprehensive Testing Course to Boost Your Confidence and Productivity.
The Testing Spring Boot Applications Masterclass is a deep-dive course on testing your Spring Boot applications. You'll learn how to effectively write unit, integration, and end-to-end tests while utilizing Spring Boot's excellent test support.
TL;DR:
- testing recipes for several layers of your application (e.g., database, messaging, HTTP communication)
- simple and straightforward explanations
- testing best practices for Microservices
- master Spring Boot's excellent test support
- real-world course application with up-to-date testing library versions
After working through the online course ...
- your technical testing skills will improve by understanding the ins-and-outs of testing Spring Boot applications
- you'll deploy to production with more confidence (even on Friday afternoons)
- sleep better at night thanks to a sophisticated test suite
Throughout the course you'll learn how to effectively use well-known testing libraries like JUnit 5, Mockito, Awaitility, LocalStack, Testcontainers, Selenide, WireMock, MockWebServer, and JsonPath.
» Enroll now for the Testing Spring Boot Applications Masterclass.
PS: You can watch four preview lessons by subscribing to the mailing list.
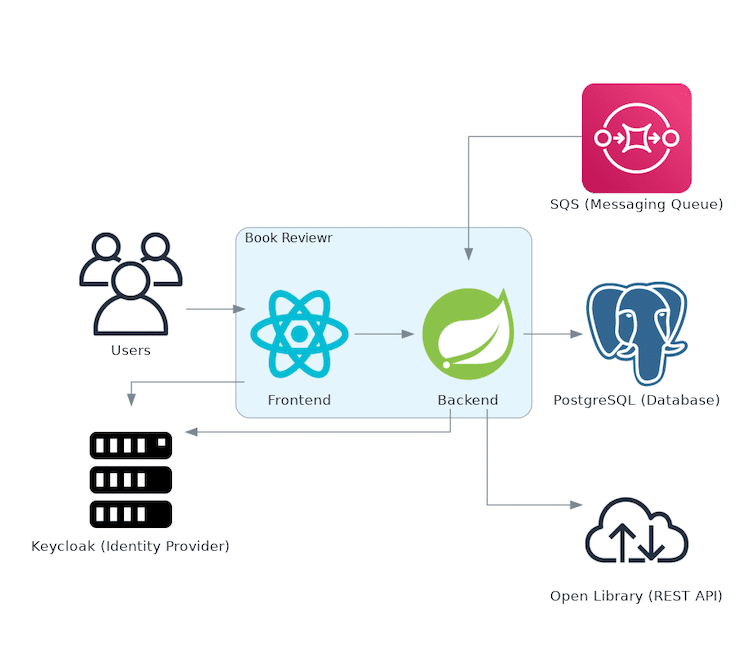
To mirror a typical microservice architecture, the demo application uses the following tech stack:
- Keycloak (open source identity and access management solution) to secure parts of the frontend and backend
- Amazon SQS (Simple Queuing Service) for asynchronous message processing
- PostgreSQL (RDBMS) to store data in a relational database
- Single Page Application Frontend with React and TypeScript
- Spring Boot backend with Java
- Dependency on a remote REST API
Even though the technical setup for your day-to-day projects might differ, the testing recipes you'll learn are generic, and you can easily apply them for your tech stacks.
From Wim Deblauwe:
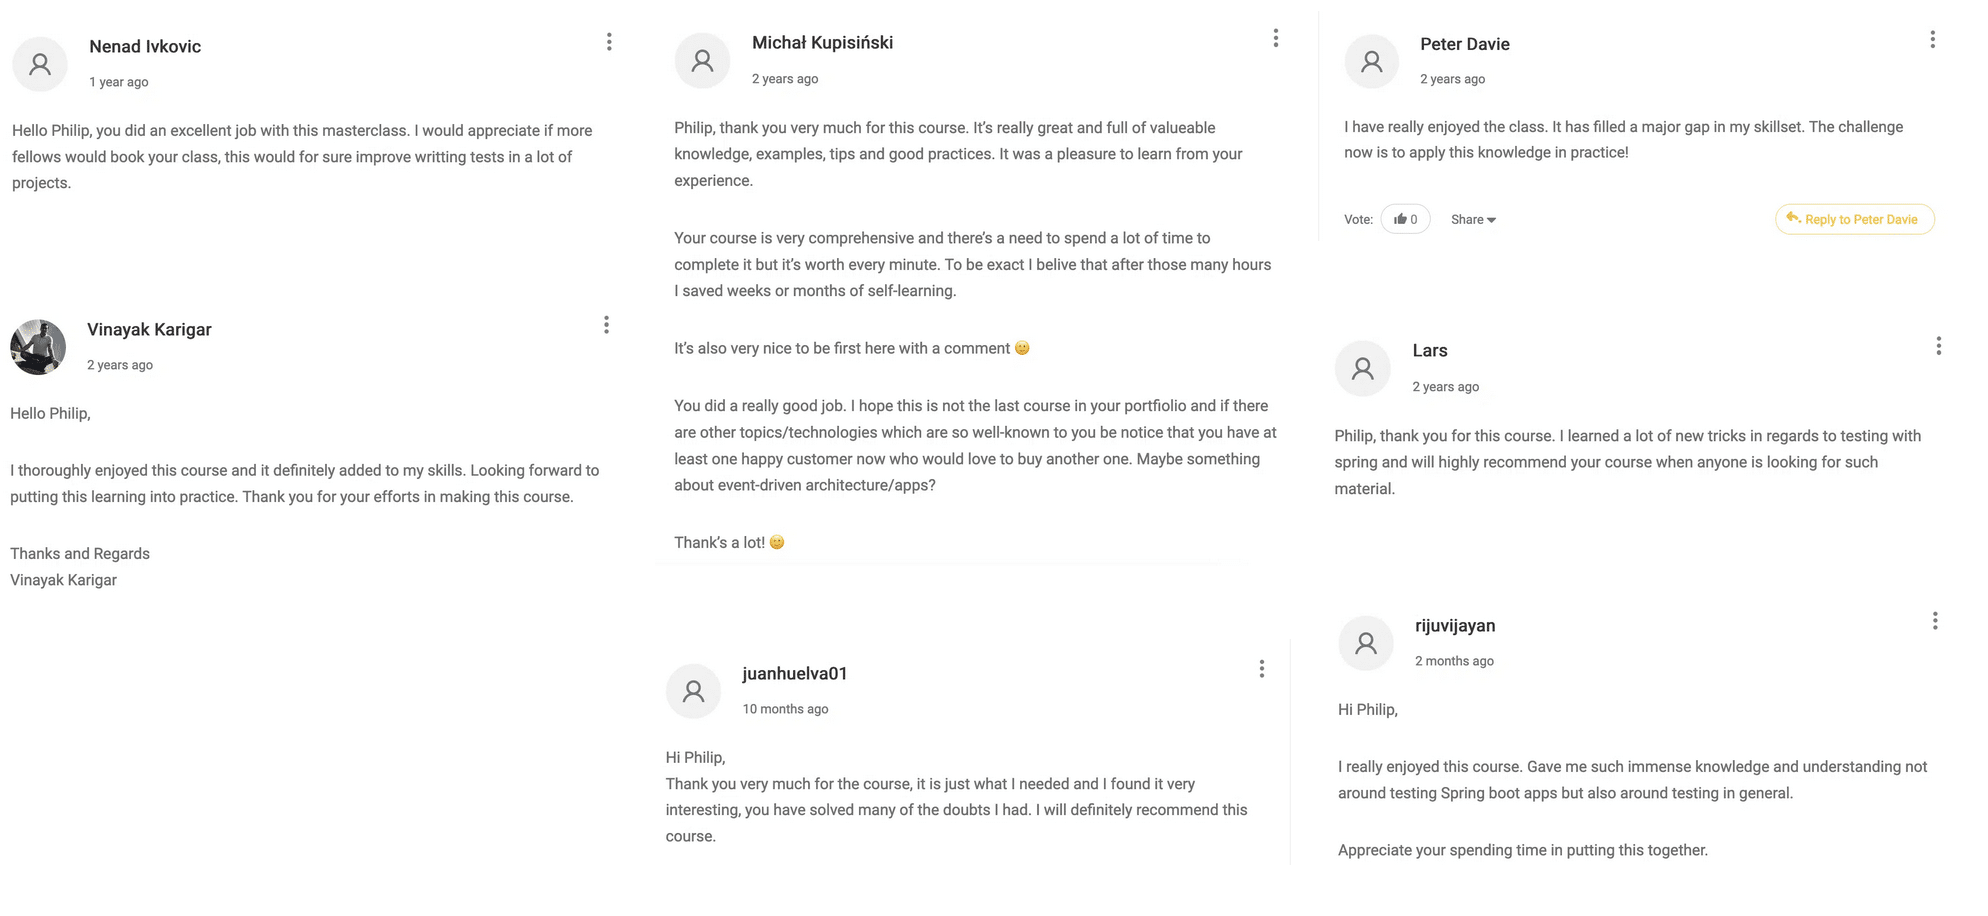
Philip has made a fantastic overview of the full testing landscape of Spring. The videos are clear and explain details and common pitfalls in great depth. Looking forward to the rest of the course.
From Siva:
I got an opportunity to review the course I find it wonderful for learning how to test Spring Boot applications leveraging modern testing frameworks and libraries....
I would highly recommend Masterclass for anybody working with Spring Boot applications.
From Anton Ždanov:
For me testing a Spring application seemed like a challenge involving digging through numerous blog posts, documentation for JUnit, Mockito, and Spring Testing Reference which provide valuable information but are spread out and don't necessarily show the best practices.
After watching the Testing Spring Boot Applications Masterclass course I feel more confident in writing different types of tests for my apps. The course, videos, and the GitHub repository were of invaluable use to me demonstrating various testing mechanics the Spring ecosystem provides, and I will keep referencing the course materials in the future.
P.S. The application that is tested in the course is quite complex and covers a lot of real-world testing challenges one might encounter, which I found immensely useful for seeing the bigger picture.
Mandatory requirements:
- Java 17 (JDK flavour (OpenJDK/Azul/Oracle) does not matter). For the correct Java version setup I can recommend JEnv (Mac/Linux) and the Maven Toolchains Plugin (Windows)
$ java -version
openjdk version "17" 2021-09-14 LTS
OpenJDK Runtime Environment Zulu17.28+13-CA (build 17+35-LTS)
OpenJDK 64-Bit Server VM Zulu17.28+13-CA (build 17+35-LTS, mixed mode, sharing)
- Docker Engine (Community Edition is enough) and Docker Compose:
$ docker version
Client: Docker Engine - Community
 Version:           20.10.6
 API version:       1.41
 Go version:        go1.13.15
 Git commit:        370c289
 Built:             Fri Apr  9 22:47:17 2021
 OS/Arch:           linux/amd64
 Context:           default
 Experimental:      true

Server: Docker Engine - Community
 Engine:
  Version:          20.10.6
  API version:      1.41 (minimum version 1.12)
  Go version:       go1.13.15
  Git commit:       8728dd2
  Built:            Fri Apr  9 22:45:28 2021
  OS/Arch:          linux/amd64
  Experimental:     false

$ docker-compose version
docker-compose version 1.26.2, build eefe0d31
docker-py version: 4.2.2
CPython version: 3.7.7
OpenSSL version: OpenSSL 1.1.1g  21 Apr 2020
Optional requirements:
- Maven >= 3.6 (the project also includes the Maven Wrapper).
When using Maven from the command line, make sure ./mvnw -version reports the correct Java version:
$ ./mvnw -version

Apache Maven 3.8.4 (9b656c72d54e5bacbed989b64718c159fe39b537)
Maven home: /home/rieckpil/.m2/wrapper/dists/apache-maven-3.8.4-bin/52ccbt68d252mdldqsfsn03jlf/apache-maven-3.8.4
Java version: 17.0.1, vendor: Eclipse Adoptium, runtime: /usr/lib/jvm/jdk-17.0.1+12
Default locale: en_US, platform encoding: UTF-8
OS name: "linux", version: "5.4.0-92-generic", arch: "amd64", family: "unix"
- IntelliJ IDEA or any IDE/Code Editor (Eclipse, NetBeans, Code, Atom, etc.)
Assuming your local setups meets all requirements as stated above, you can now start the application:
- Make sure your Docker Engine is up- and running
- Start the required infrastructure components with
docker-compose up - Run the application with
./mvnw spring-boot:runor inside your IDE - Access http://localhost:8080 for the application frontend
- (Optional) Access http://localhost:8888 for the Keycloak Admin interface
Valid application users:
- duke (password
dukeduke) - mike (password
mikemike)
Replace ./mvnw with mvnw.cmd if you're running on Windows.
Run all unit tests (Maven Surefire Plugin): ./mvnw test
Run all integration & web tests (Maven Failsafe plugin):
- Make sure no conflicting Docker containers are currently running:
docker ps - Make sure the test classes have been compiled and the frontend has been build and is part of the
target/classes/publicfolder:./mvnw package -DskipTest - Execute
./mvnw failsafe:integration-test failsafe:verify
Run all tests together:
- Make sure no conflicting Docker container is currently running:
docker ps - Execute
./mvnw verify
Skip all tests (don't do this at home):
- Execute
./mvnw -DskipTests=true verify
See this GitHub issue for resolving it.
For skipping the frontend build, add -Dskip.installnodenpm -Dskip.npm to your Maven command, e.g., ./mvnw test -Dskip.installnodenpm -Dskip.npm.
You can pass -DskipTests to ./mvnw package if you experience test failures: ./mvnw package -DskipTests to build the application without running any unit test.
Next, make sure you have the latest version of this project (run git pull) and ensure the build status is green.
If you still encounter any test failures, please create an issue and include information about your environment.
Adjust the docker-compose.yml file and remove the setup to import Keycloak configuration on the startup:
version: '3.8'
services:
  # ...
  keycloak:
    image: quay.io/keycloak/keycloak:18.0.0-legacy
    environment:
      - KEYCLOAK_USER=keycloak
      - KEYCLOAK_PASSWORD=keycloak
      - DB_VENDOR=h2
    ports:
    - "8888:8080"
Next, start everything with docker-compose up and watch the following video to configure Keycloak manually.


