Created/maintained by Liv
A simple info aggregator for VA-07 campaign. It was built to be flexible and accessible for any campaign.
What it does:
- Collects and displays news articles from NewsApi about candidate and opponent
- Collects and displays news articles from NewsApi about user input query
- Collects and displays most recent videos from YouTube
- Collects and displays tweets from each candidate's Twitter account
- Highlights retweets in green
- Highlights quote replies in yellow
- Highlights replies in red
- Highlights self-replies in grey
- Collect and display info from Propublica about any (currently in Congress) candidate's vote history
- My campaign is not for an incumbent, so it may be worth adjusting this so the votes are not automatically taken from opponent's page on Propublica
- Collect and display info from Propublica about both candidates' financial disclosures
- Created with
create-react-app - Styled with
Bootstrap,Font-Awesome - Using simple
node/expressproxy server for API calls
git clone git@github.com:livrush/spanbergregator.git && cd spanbergregator
For development purposes this project uses a proxy server, so there are two directories in which you will need to install dependencies, the root and client.
npm i
- Make a .env file in the
rootdirectory/.env
- You will need to get API keys for several services
- Should contain the following:
# General environment stuff

PORT=3001

# Propublica API

PropublicaApiKey=

# NewsApi API

NewsApiKey=

# YouTubeApi API

YouTubeApiKey=

# Twitter API

TwitterConsumerKey=
TwitterConsumerSecret=
TwitterAccessToken=
TwitterAccessTokenSecret=
Tip:
To get your Twitter credentials you will need to:
- Create a Twitter developer account
- Create an app
- Generate an access token
- Take your consumer key, access token, and their respective secrets
Tip:
To get the YouTube API key you will need to:
- Create a Google developer account
- Create a project
- Enable YouTube Data API v3
- Get your API key
These terms will be used to search the various APIs used in this app.
Store in:
/client/src/config.js
export default {
  demName: '',
  demYouTube: '',
  demTwitter: '',
  demMemberId: '',
  demFECId: '',
  demCommitteeFECId: '',
  repName: '',
  repYouTube: '',
  repTwitter: '',
  repMemberId: '',
  repFECId: '',
  repCommitteeFECId: '',
};
TIP:
If your candidate, or opponent, has a common-sounding name you may need to manipulate the demName/repYouTube settings.
These two config variables will be used to search through NewsApi and YouTube, meaning common names/words may bring undesired content.
Clarifying options include:
- Congress
- Senate
- The candidate's district
- The candidate's state
You can find the member ID by locating the representative here on congress.gov.
ONLY REPRESENTATIVES IN OFFICE WILL HAVE IDS, as these are literally IDs for congress. If your candidate, or opponent, do not have an ID just leave the value an empty string, or null.
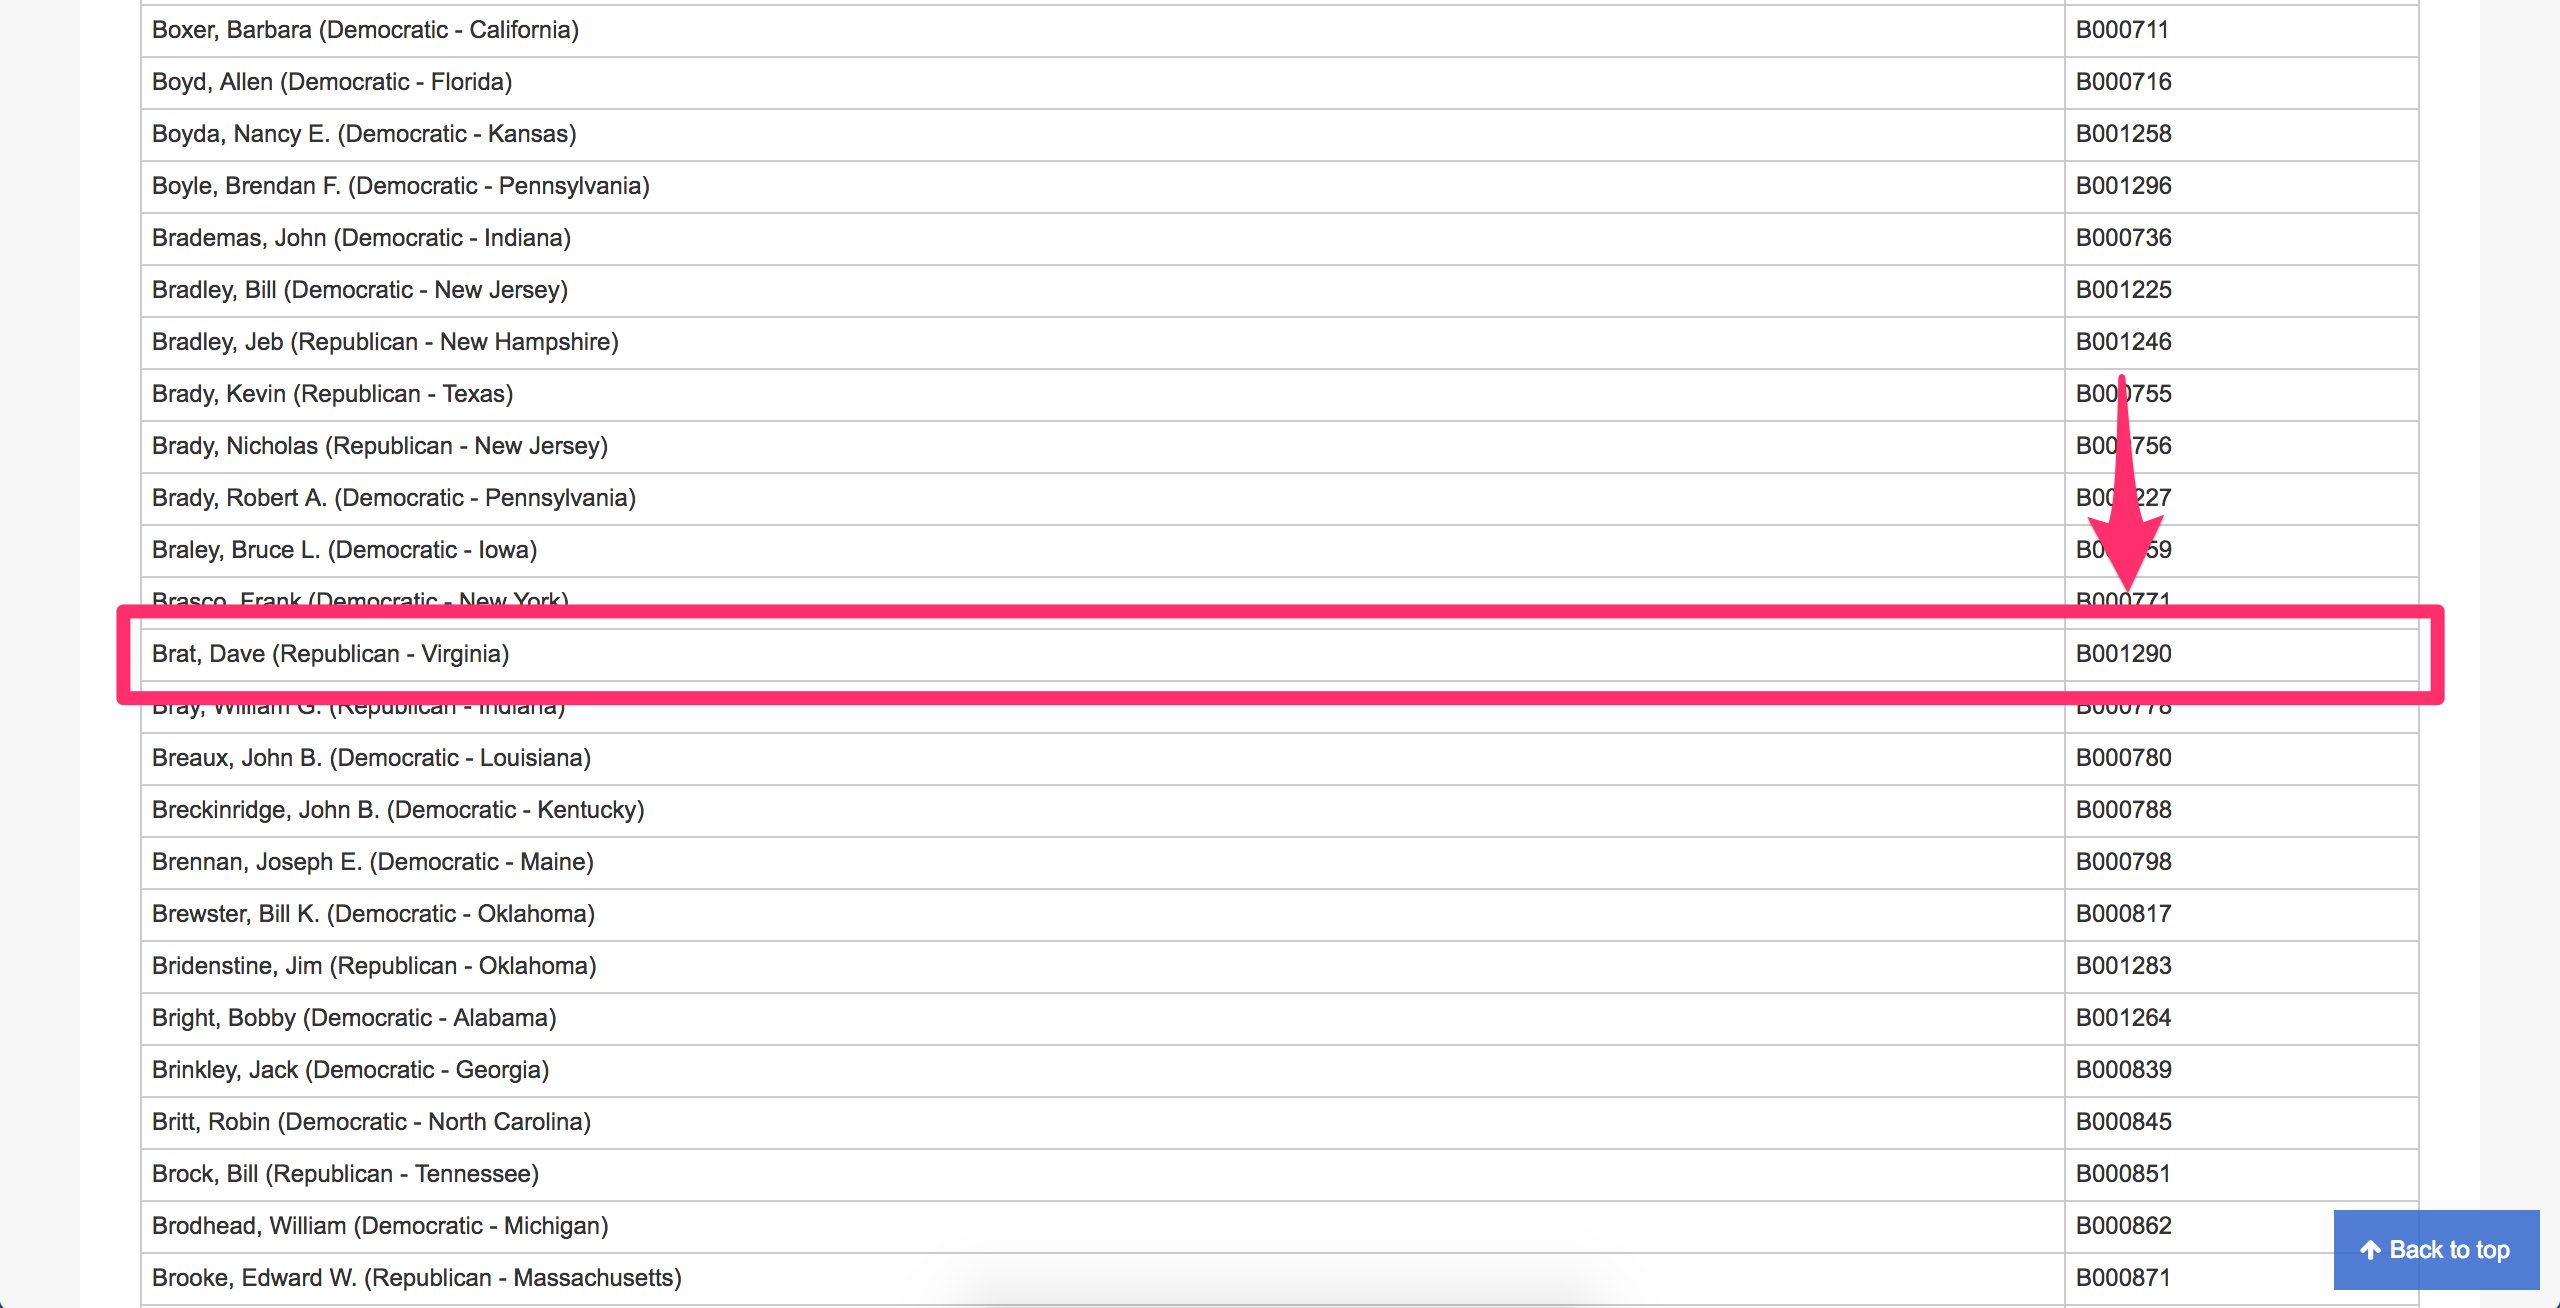
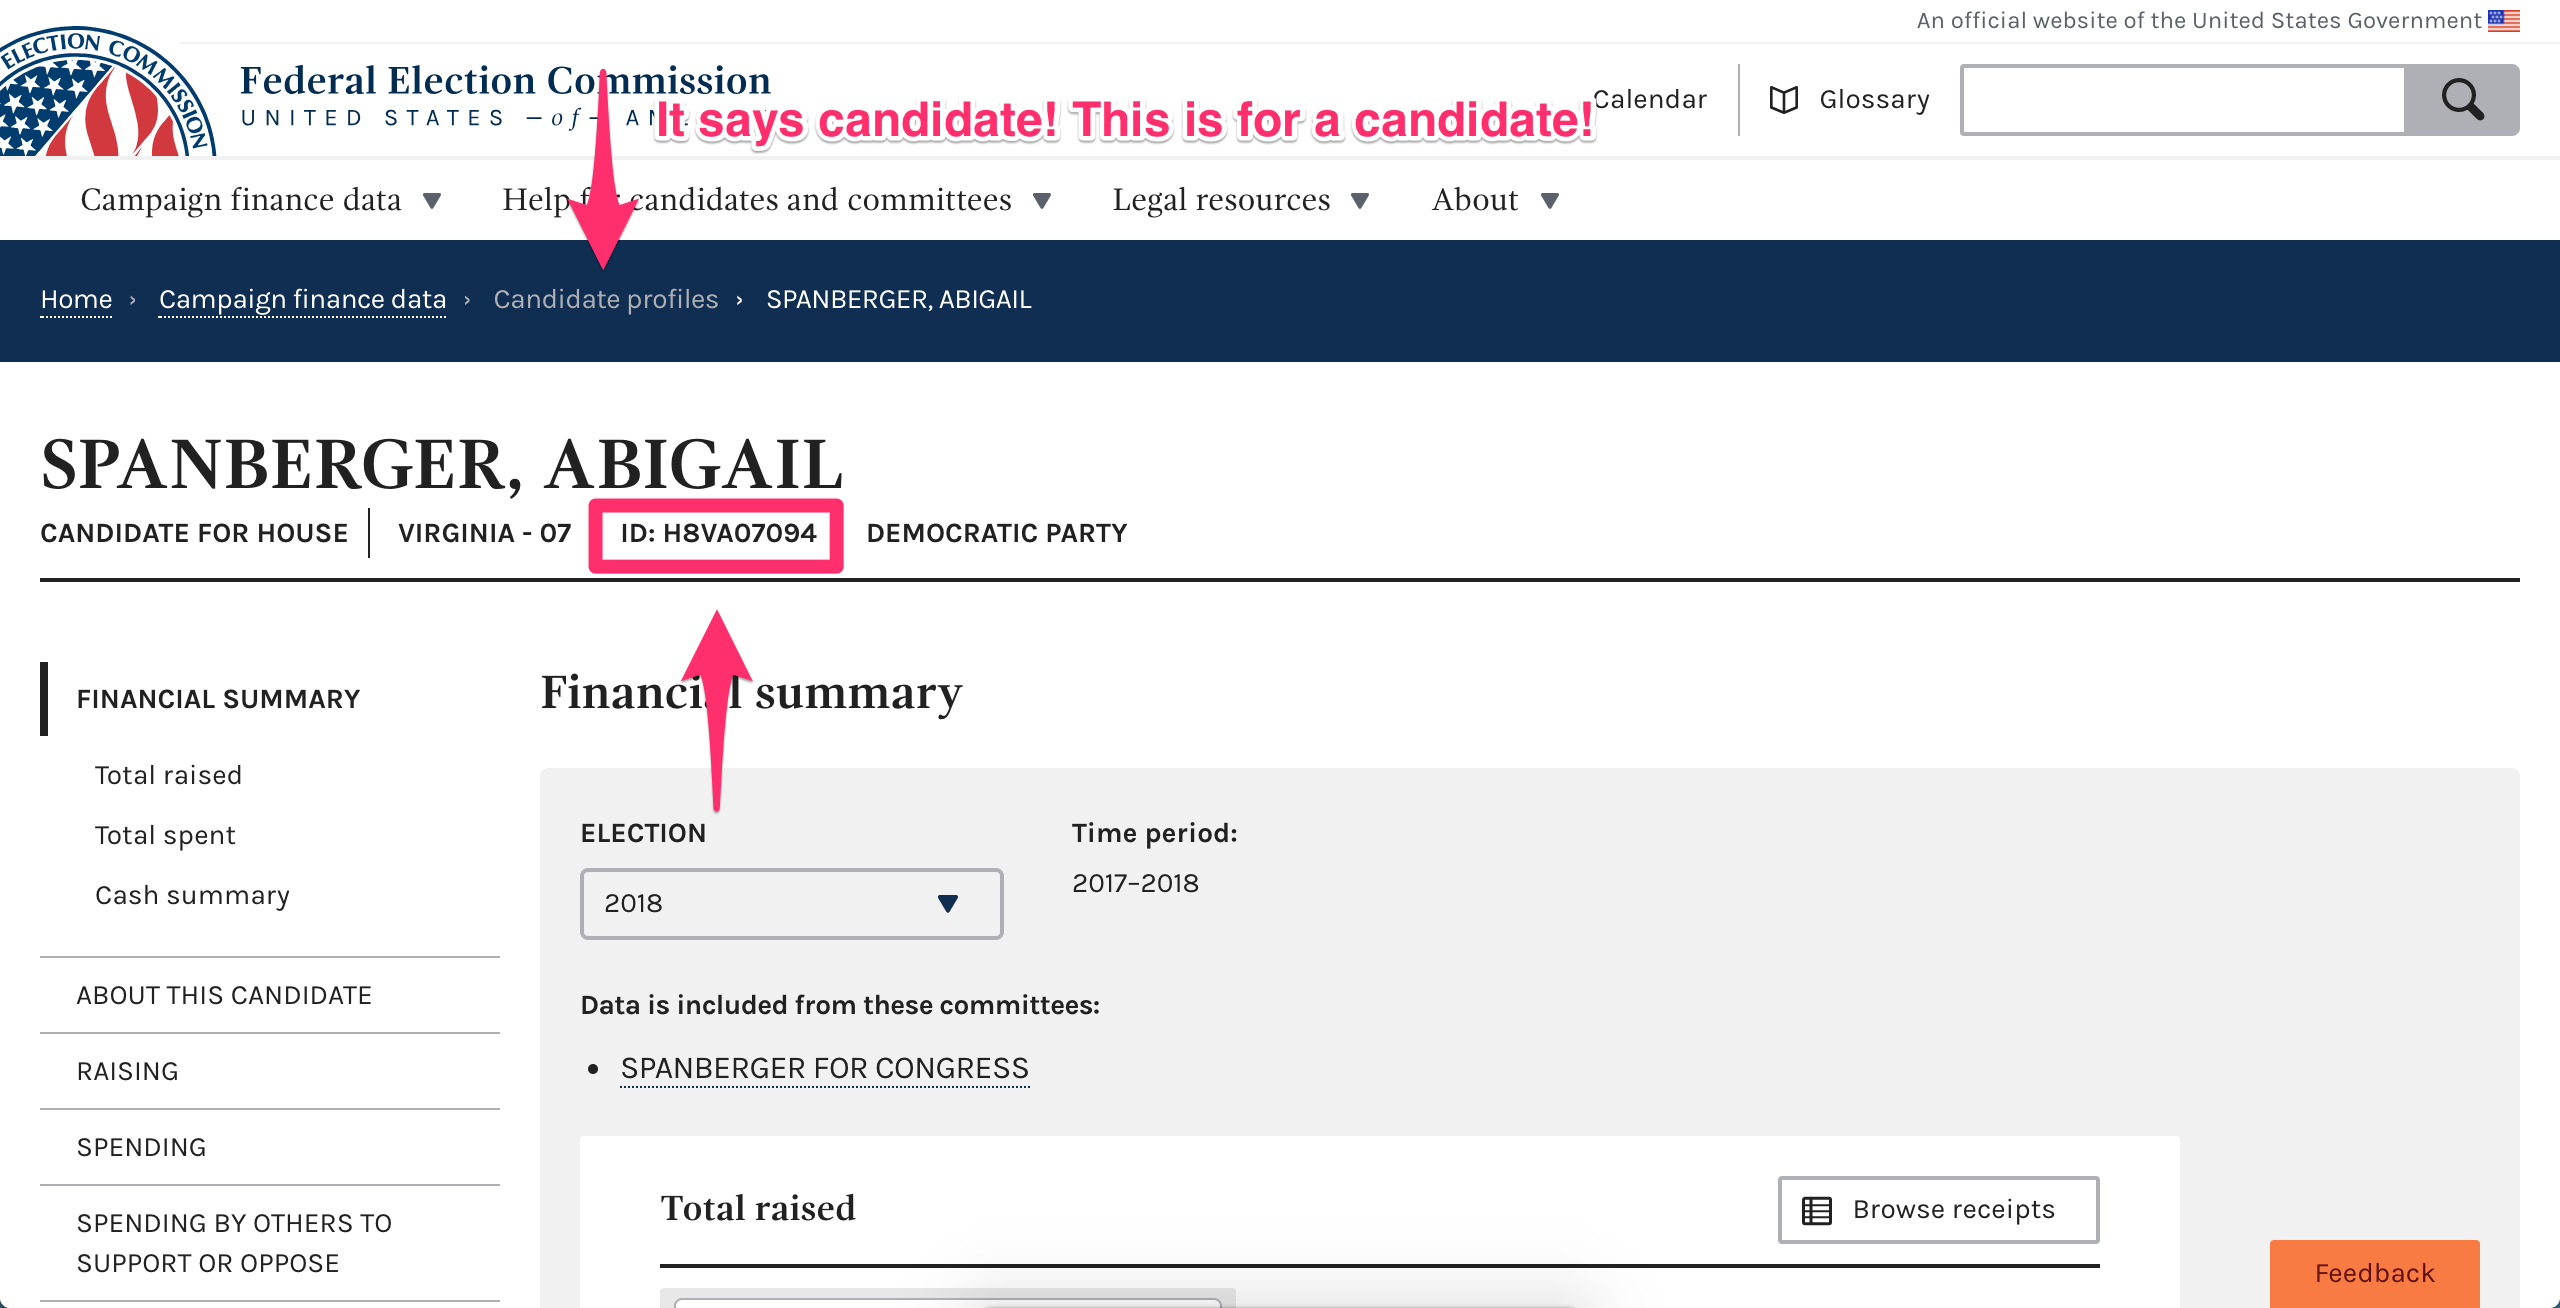
You can find the Federal Election Commission (FEC) ID by searching for the representative here at fec.gov and grabbing it from their profile.
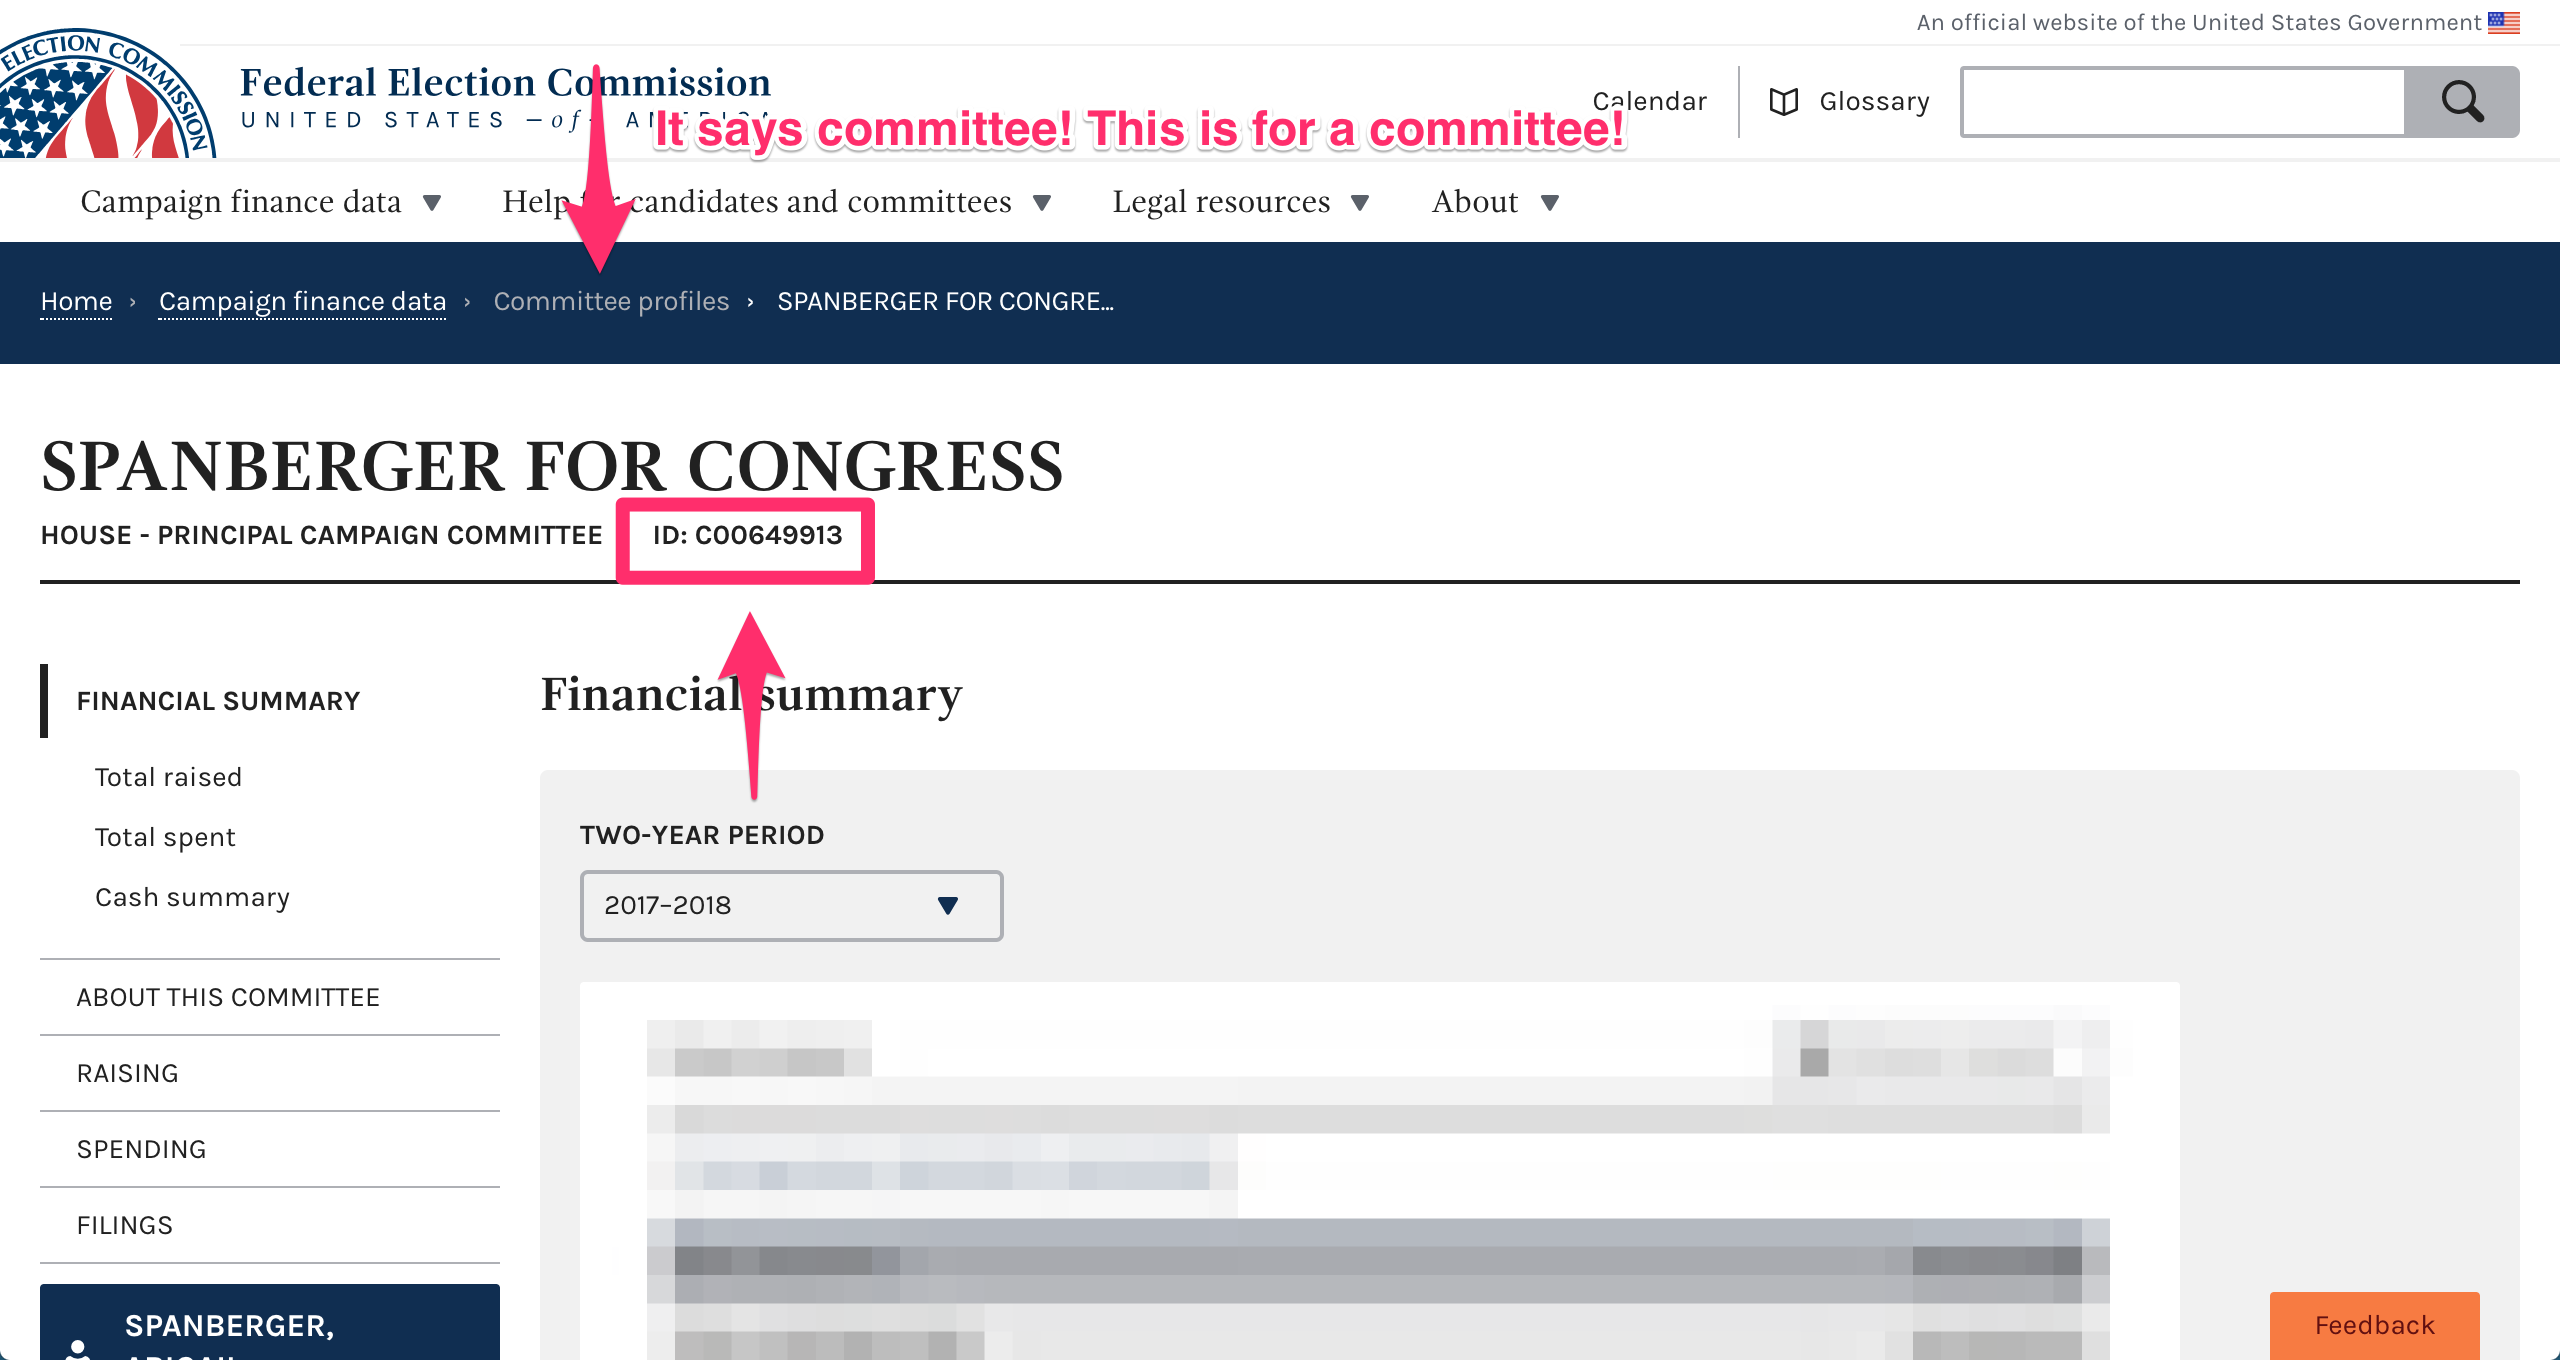
You can find the FEC ID of your candidate/opponent's committee by searching the same site! Just make sure you get a committee. The page will look almost identical to the previous FEC page, but you will know based on what KIND of profile you are in!
To run locally just run
npm install && start
Deploying the aggregator is as simple as pushing once you have a Heroku account.
First you must login to Heroku on the command line. Make sure you have installed the Heroku CLI.
heroku login
Once you are logged into Heroku in your terminal, from the root of this repo you should initialize a new Heroku app.
Replace <name> with whatever you want to name your app. Don't worry, you can change this later!
heroku create <name>
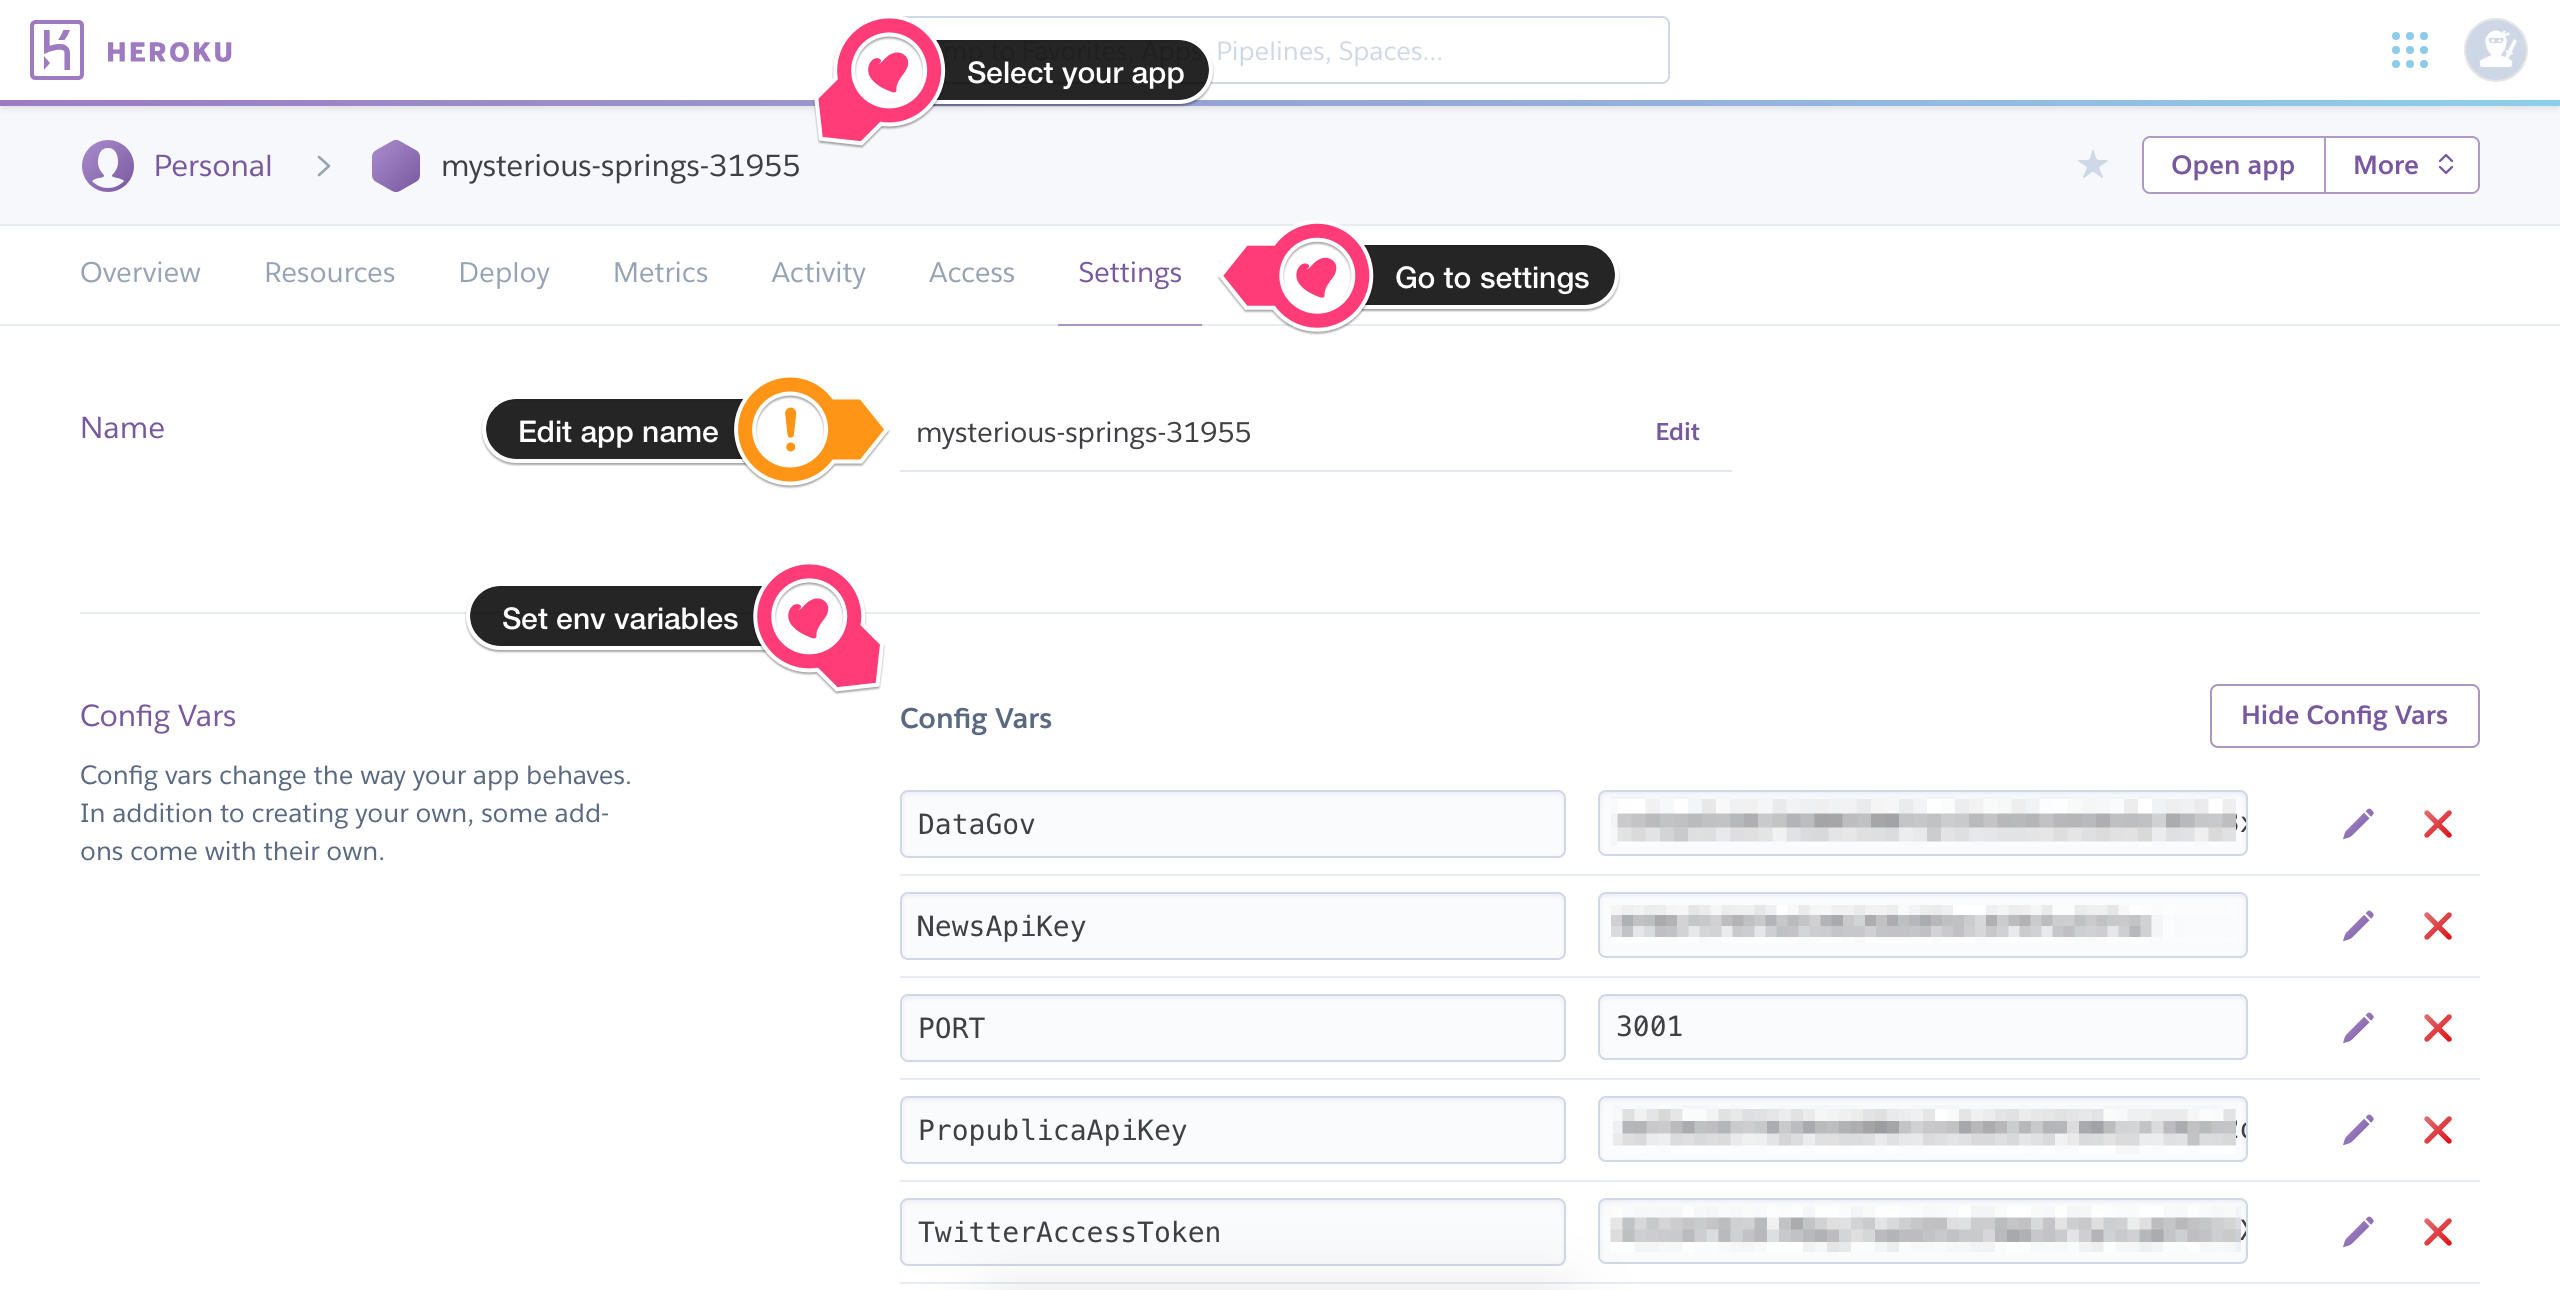
The .env file we created earlier is great for use locally. Once we decide to deploy, we must transfer those keys to Heroku. If you are good with a command line, you can see how to do that here. Otherwise there is a GUI you can use on Heroku.com.
- Select your app (should have been created when you ran heroku create)
- Go to settings
- Add your environmental variables
You can even change the name of your app here, if you like.
Finally, you just have to push up your code to Heroku. Creating an app will have added a heroku remote to this directory, so every time you make updates all you have to do is commit them and enter this script:
git push heroku master
OR you can use this npm script
npm run deploy
The build process is already set up, so once the build finishes you should have a live aggregator!
My wishlist:
- Cache data from API calls to reduce call count
- Group articles that are posted to multiple sources


