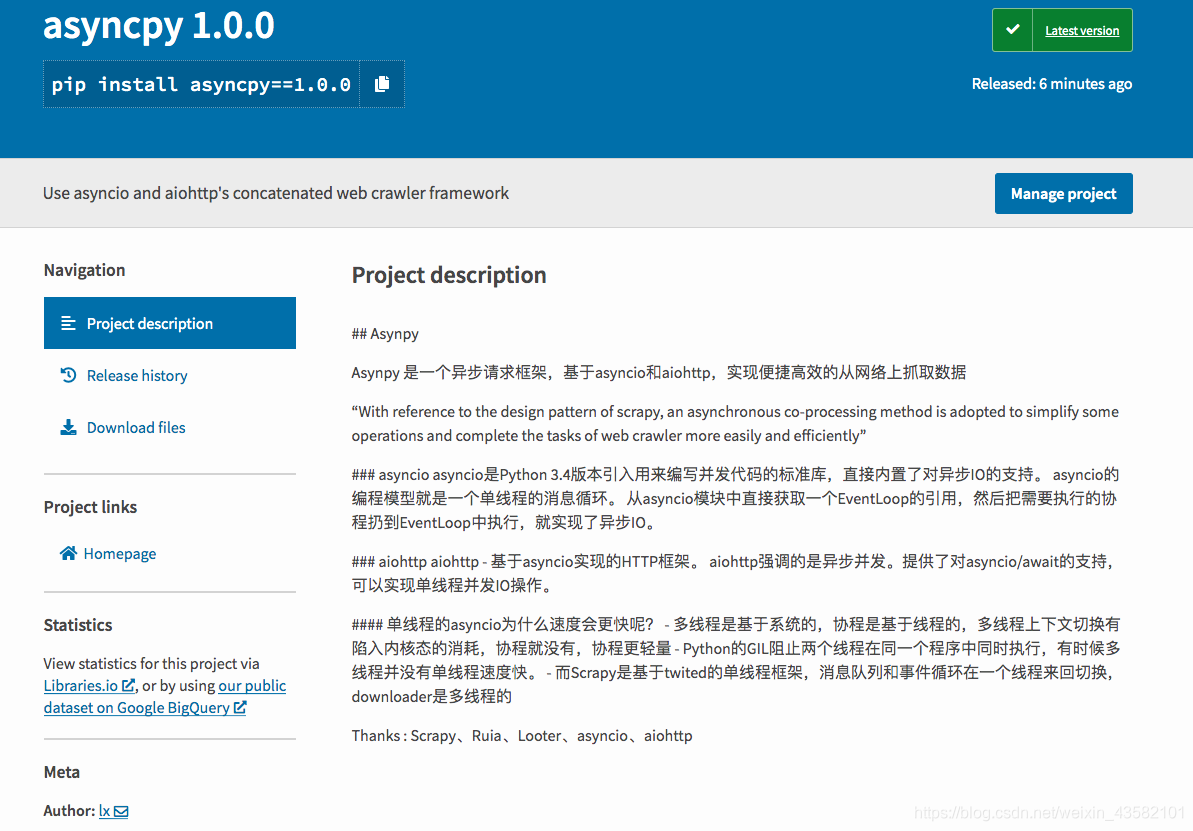
Use asyncio and aiohttp's concatenated web crawler framework
Asyncpy是我基于asyncio和aiohttp开发的一个轻便高效的爬虫框架,采用了scrapy的设计模式,参考了github上一些开源框架的处理逻辑。
- 1.1.7: 修复事件循环结束时的报错问题
- 1.1.8: 在spider文件中不再需要手动导入settings_attr
使用文档 : https://blog.csdn.net/weixin_43582101/article/details/106320674
应用案例 : https://blog.csdn.net/weixin_43582101/category_10035187.html
github: https://github.com/lixi5338619/asyncpy
pypi: https://pypi.org/project/asyncpy/
asyncpy的架构及流程
python版本需要 >=3.6 依赖包: [ 'lxml', 'parsel','docopt', 'aiohttp']
安装命令:
pip install asyncpy如果安装报错:
ERROR: Could not find a version that satisfies the requirement asyncpy (from versions: none)
ERROR: No matching distribution found for asyncpy
请查看你当前的python版本,python版本需要3.6以上。
还无法下载的话,可以到 https://pypi.org/project/asyncpy/ 下载最新版本的 whl 文件。
点击Download files,下载完成之后使用cmd安装:
pip install asyncpy-版本-py3-none-any.whl
在命令行输入asyncpy --version 查看是否成功安装。
创建demo文件,使用cmd命令:
asyncpy genspider demo| settings配置 | 简介 |
|---|---|
| CONCURRENT_REQUESTS | 并发数量 |
| RETRIES | 重试次数 |
| DOWNLOAD_DELAY | 下载延时 |
| RETRY_DELAY | 重试延时 |
| DOWNLOAD_TIMEOUT | 超时限制 |
| USER_AGENT | 用户代理 |
| LOG_FILE | 日志路径 |
| LOG_LEVEL | 日志等级 |
| USER_AGENT | 全局UA |
| PIPELINES | 管道 |
| MIDDLEWARE | 中间件 |
1.1.8版本之前,如果要启动全局settings的话,需要在 spider文件中通过settings_attr 传入settings:
import settings
class DemoSpider(Spider):
    name = 'demo'
    start_urls = []
    settings_attr = settings
新版本中无需手动传入settings。
如果需要对单个爬虫文件进行settings配置,可以像scrapy一样在爬虫文件中引入 custom_settings。 他与settings_attr 并不冲突。
class DemoSpider2(Spider):
    name = 'demo2'

    start_urls = []

    concurrency = 30                                # 并发数量

    custom_settings = {
        "RETRIES": 1,                               # 重试次数
        "DOWNLOAD_DELAY": 0,                        # 下载延时
        "RETRY_DELAY": 0,                           # 重试延时
        "DOWNLOAD_TIMEOUT": 10,                     # 超时时间
        "LOG_FILE":"demo2.log"						# 日志文件
}在settings文件中,加入:
LOG_FILE = './asyncpy.log'
LOG_LEVEL = 'DEBUG'
如果需要对多个爬虫生成多个日志文件, 需要删除settings中的日志配置,在custom_settings中重新进行配置。
在创建的 demo_middleware 文件中,增加新的功能。 可以根据 request.meta 和spider 的属性进行针对性的操作。
from asyncpy.middleware import Middleware

middleware = Middleware()

@middleware.request
async def UserAgentMiddleware(spider, request):
    if request.meta.get('valid'):
        print("当前爬虫名称:%s"%spider.name)
        ua = "Mozilla/5.0 (Windows NT 10.0; Win64; x64) AppleWebKit/537.36 (KHTML, like Gecko) Chrome/60.0.3100.0 Safari/537.36"
        request.headers.update({"User-Agent": ua})


@middleware.request
async def ProxyMiddleware(spider, request):
    if spider.name == 'demo':
request.aiohttp_kwargs.update({"proxy": "http://123.45.67.89:0000"})方法1、去settings文件中开启管道。(版本更新,暂时请选择2方法)
MIDDLEWARE = [
'demo_middleware.middleware',
            ]
方法2、在start()传入middleware:
from middlewares import middleware
DemoSpider.start(middleware=middleware)如果你定义了item(目前只支持dict字典格式的item),并且settings 里面 启用了pipelines 那么你就可以在pipelines 里面 编写 连接数据库,插入数据的代码。 在spider文件中:
	 item = {}
	 item['response'] = response.text
	 item['datetime'] = '2020-05-21 13:14:00'
	 yield item
在pipelines.py文件中:
class SpiderPipeline():

    def __init__(self):
        pass

    def process_item(self, item, spider_name):
pass方法1、settings中开启管道:(版本更新,暂时请选择2方法)
PIPELINES = [
'pipelines.SpiderPipeline',
            ]
方法2、在start()传入pipelines:
from pipelines import SpiderPipeline
DemoSpider.start(pipelines=SpiderPipeline)如果需要直接发起 post请求,可以删除 start_urls 中的元素,重新 start_requests 方法。
采用了scrapy中的解析库parse,解析方法和scrapy一样,支持xpath,css选择器,re。
简单示例: xpath("//div[id = demo]/text()").get() ----- 获取第一个元素
xpath("//div[id = demo]/text()").getall() ----- 获取所有元素,返回list
在spider文件中通过 类名.start()启动爬虫。 比如爬虫的类名为DemoSpider
DemoSpider.start()这里并没有进行完善,可以采用多进程的方式进行测试。
from Demo.demo import DemoSpider
from Demo.demo2 import DemoSpider2
import multiprocessing

def open_DemoSpider2():
    DemoSpider2.start()

def open_DemoSpider():
    DemoSpider.start()

if __name__ == "__main__":
    p1 = multiprocessing.Process(target = open_DemoSpider)
    p2 = multiprocessing.Process(target = open_DemoSpider2)
    p1.start()
    p2.start()
特别致谢 : Scrapy、Ruia、Looter、asyncio、aiohttp
感兴趣 github 点个star吧 ,感谢大家!


