here is the demo url
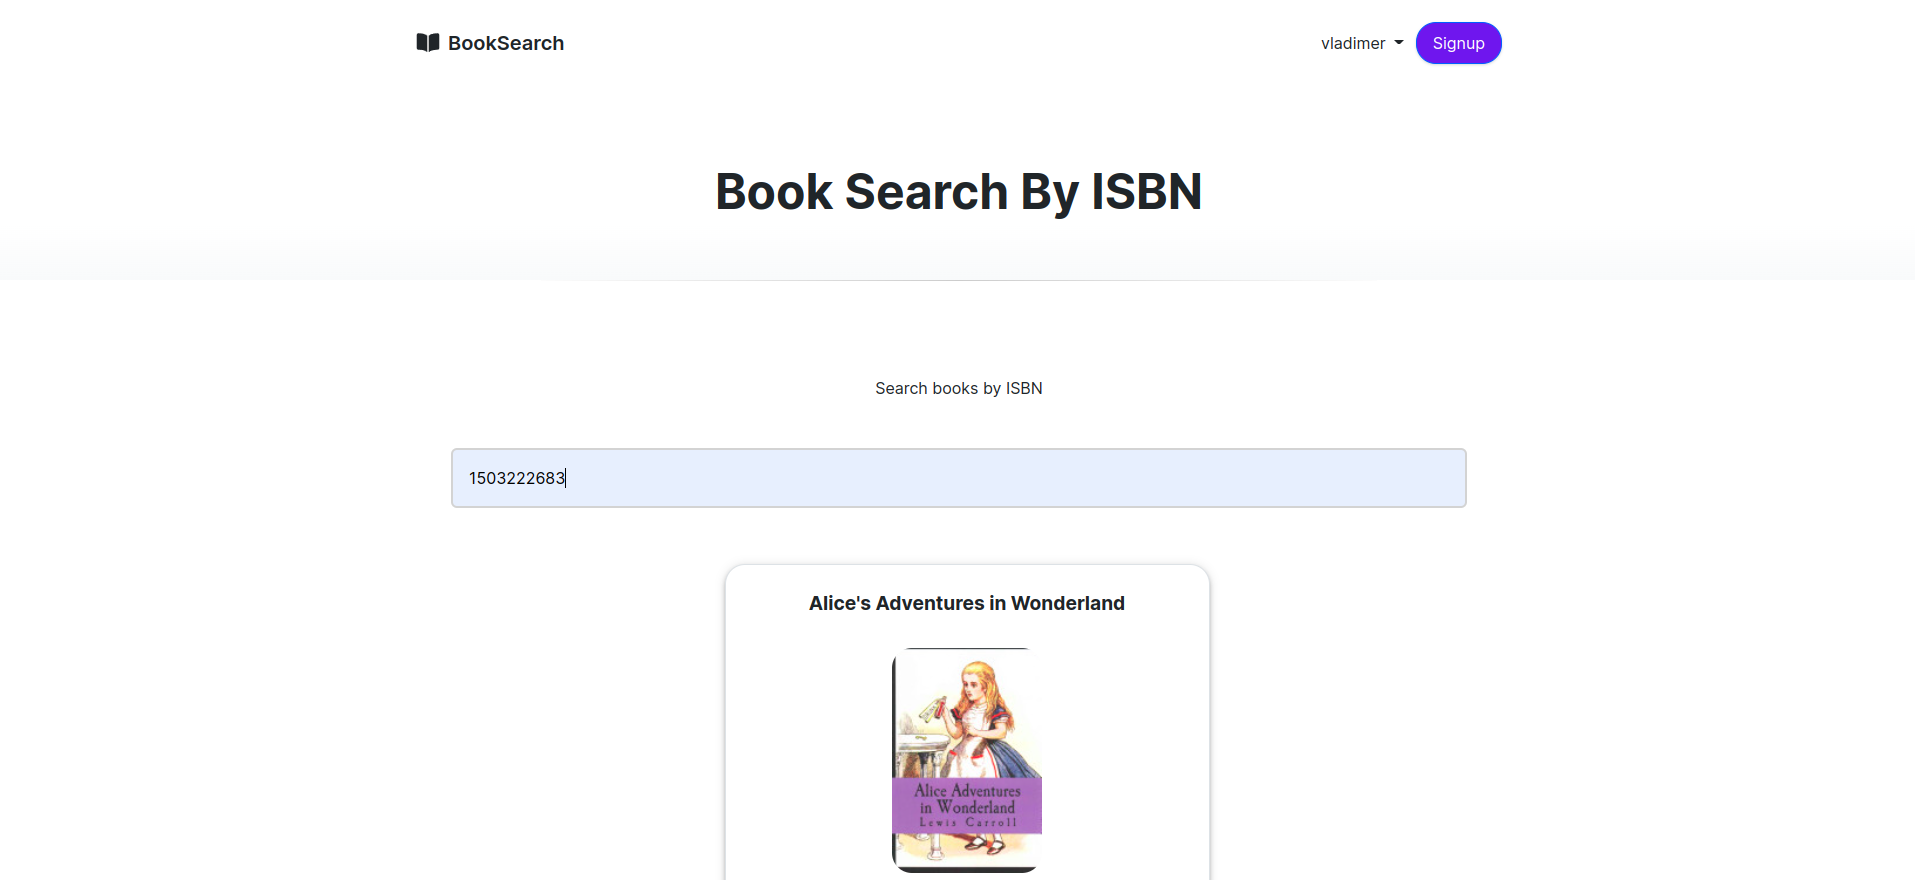
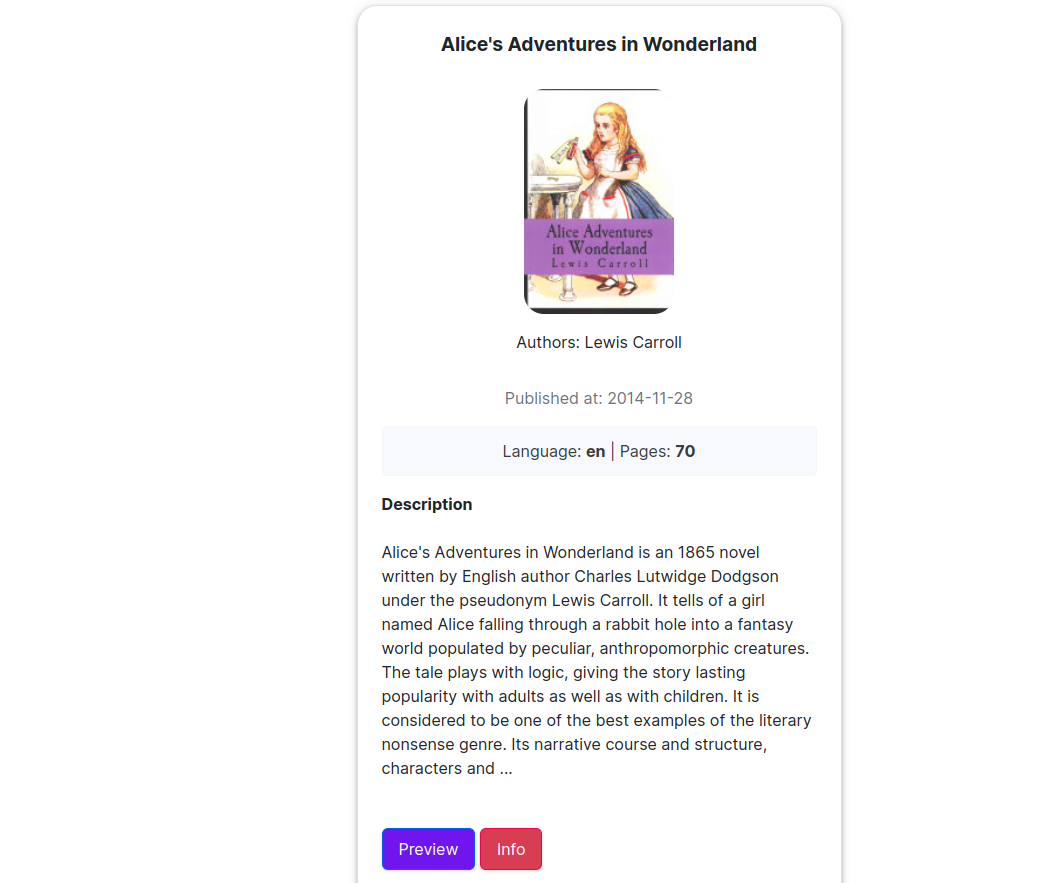
- Searching books by ISBN number (10 digit or 13 digit)
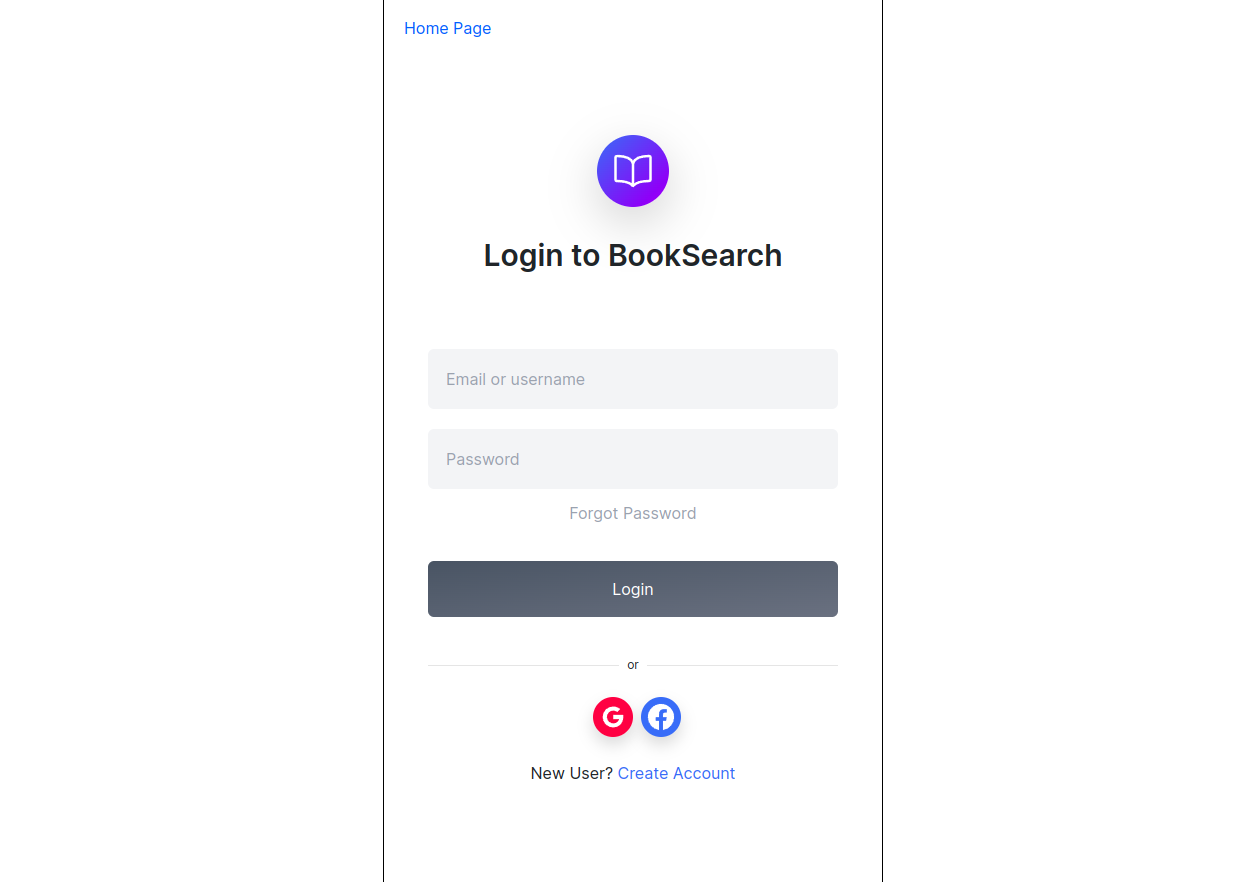
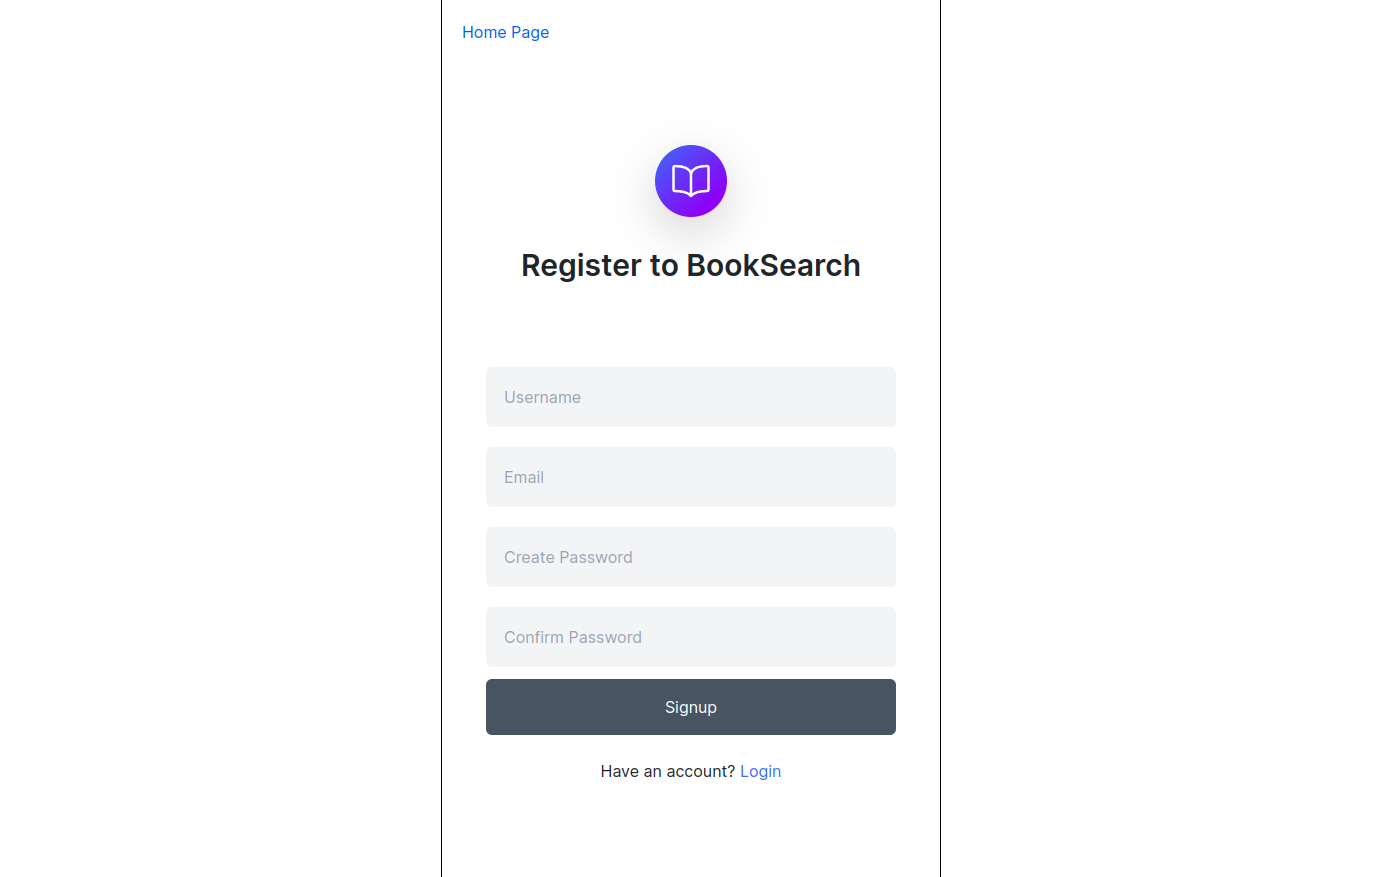
- Authorization/Registration (Social login with Gmail and Facebook is supported)
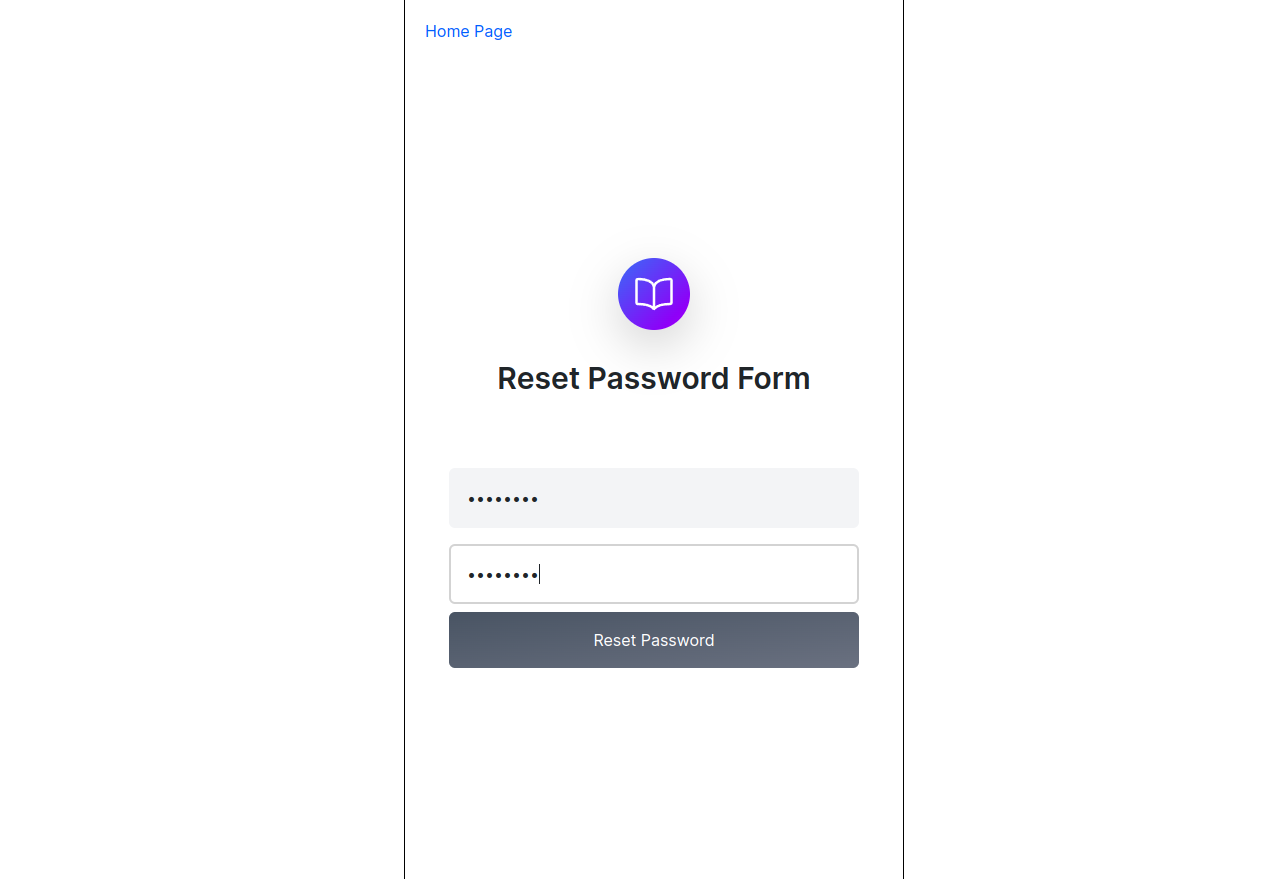
- Forgot password feature
- Storing encrypted passwords
When user tries to search for specific book, system first checks if such book exists in DB, if not, it uses public Google Book API service to fetch book metadata and saves it in DB, so next time it won't have to query API for same book
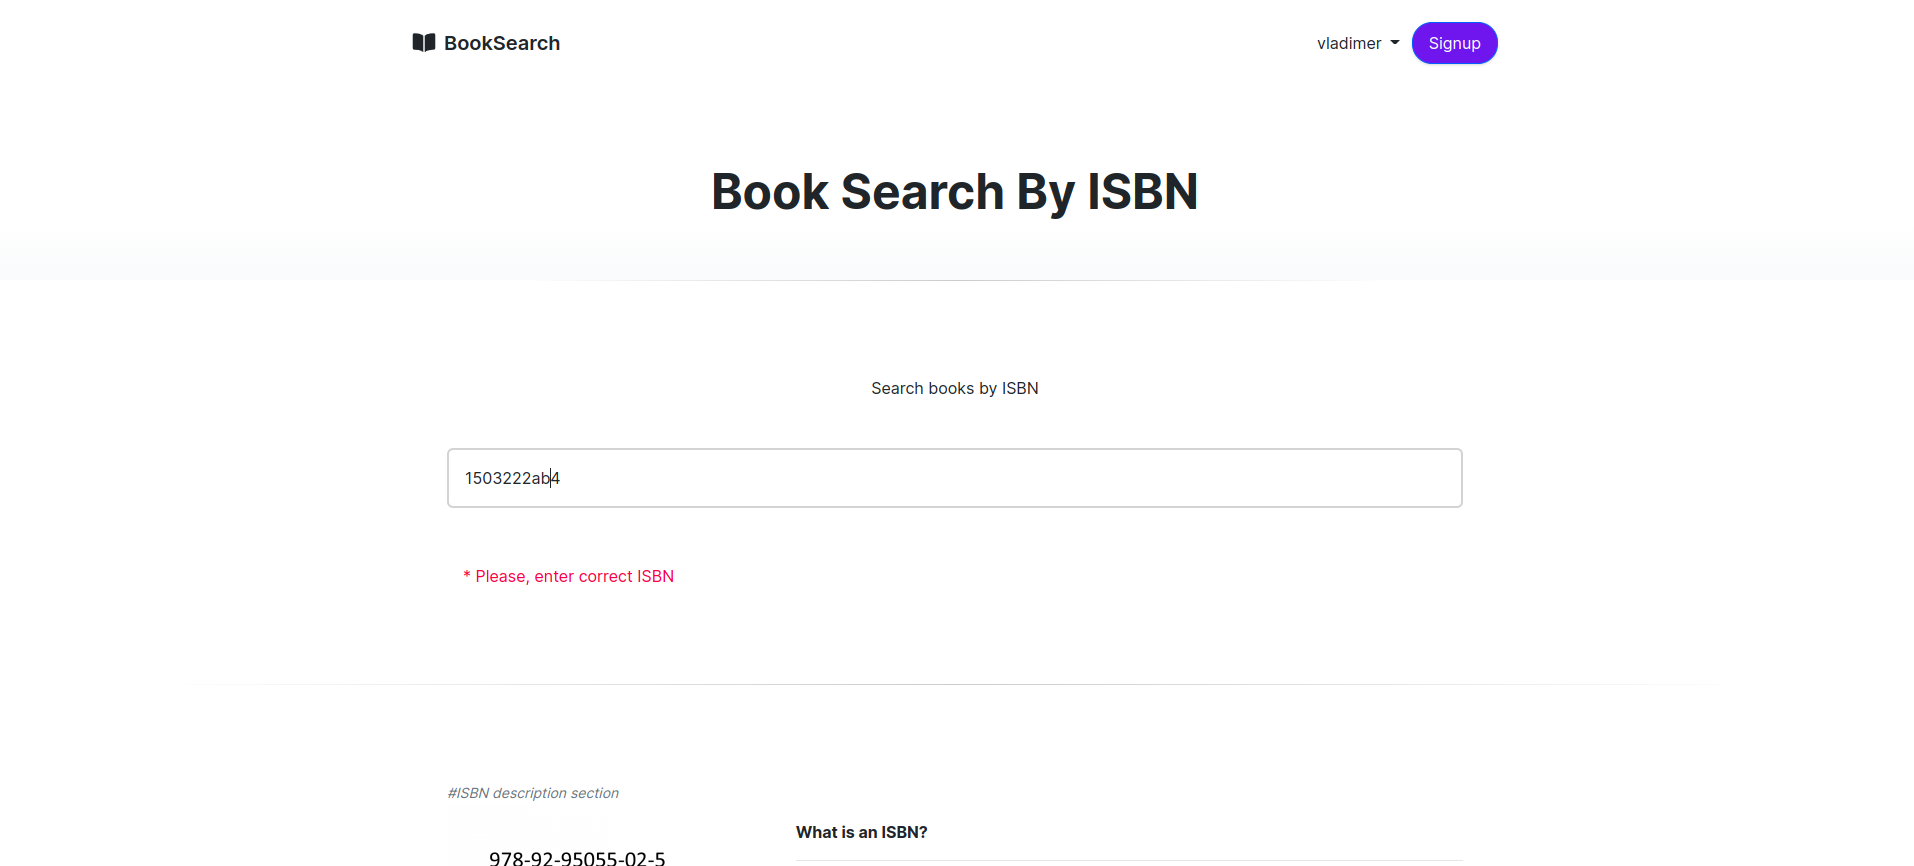
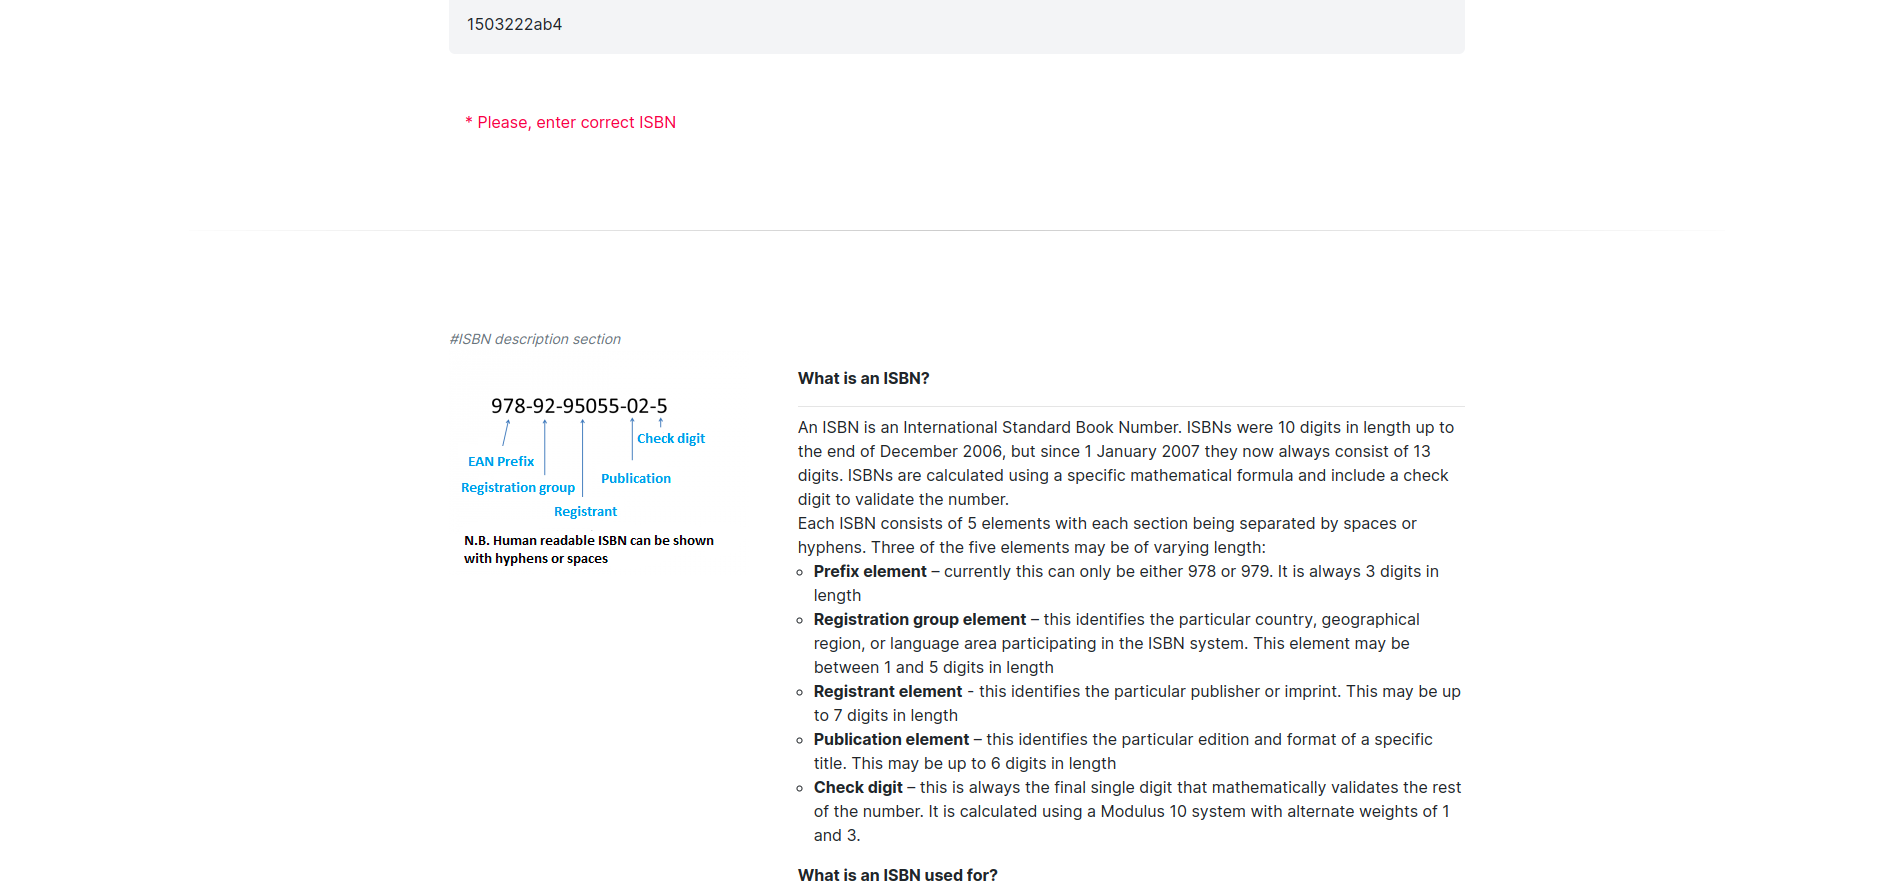
- ISBN number is validated in both frontend and backend
- ISBN validation is divided into two parts:
- Validating common pattern with RegEx
- Check Digit validation
- When recovering password, link is instantly given to user on the page and email is not sent
- run
docker-compose up
- activate
virtualenv - run
pip install -r requirements.txt - run
python manage.py migrate - run
python manage.py runserver
- Go to Google console
- Pick a project or create new one and get into it
- Go to
Credentialssection from left-hand side - Create new
API key - Copy that
API keyand paste it in .env file with key:BOOK_API_TOKENe.i (BOOK_API_TOKEN=<YOUR_TOKEN>)
- Go to facebook developers page
- Go to
My Appsand pick an app or create new one and get into it - Go to
Settings > basicand configureApp Domains(This must include your app's domain. if developing locally, addlocalhost) and at the bottom pressAdd platform, chooseWebsiteand addSite URL, such ashttp://localhost:8000 - Then configure
Redirect URLsfromFacebook Login > Settingspage (This step is not mandatory if developing locally, e.i usinglocalhostas a domain) - Copy
App IDandApp SecretfromSettings > Basicpage and paste them in .env file with keys:SOCIAL_AUTH_FACEBOOK_KEYandSOCIAL_AUTH_FACEBOOK_SECRET
- Go to Google console
- Pick a project or create new one and get into it
- Go to
Credentialssection from left-hand side - Create
OAuth Client IDby pressing+ CREATE CREDENTIALSat the top and selectingOAuth Client ID - When creating
OAuth Client ID- Add your app url under
Authorized JavaScript origins, such ashttp://localhost:8000 - Add redirect url under
Authorized redirect URIs. Redirect url must have such pattern:${APP_URL}/accounts/google/login/callback/, for example:http://localhost:8000/accounts/google/login/callback/
- Add your app url under
- After creating
OAuth Client IDgrabClient IDandClient secretand save somewhere, we'll need them for next step - Go to your app's admin panel, choose
Social applicationstable, and add a record- In the
Providerfield, chooseGoogle - In the
Client idfield, pasteClient IDyou have copied - In the
Secret keyfield, pasteClient secretyou have copied and press save
- In the