LoFTR: Detector-Free Local Feature Matching with Transformers
Jiaming Sun*, Zehong Shen*, Yu'ang Wang*, Hujun Bao, Xiaowei Zhou
CVPR 2021
- Inference code and pretrained models (DS and OT) (2021-4-7)
- Code for reproducing the test-set results (2021-4-7)
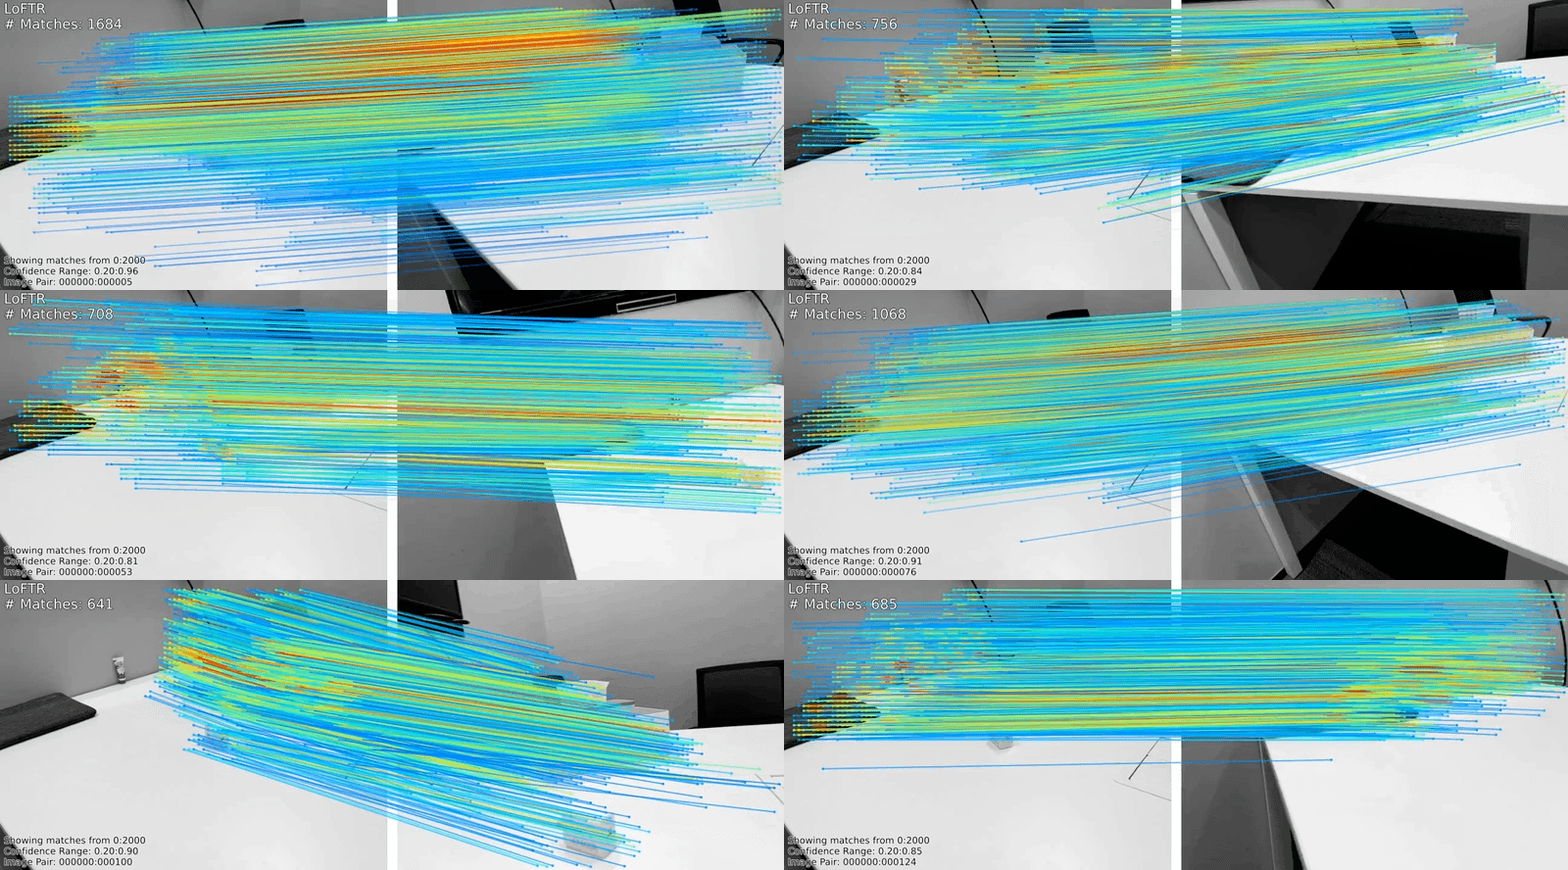
- Webcam demo to reproduce the result shown in the GIF above (2021-4-13)
- Training code and training data preparation (expected 2021-6-10)
Discussions about the paper are welcomed in the discussion panel.
🤔 FAQ
- Undistorted images from D2Net are not available anymore.
For a temporal alternative, please use the undistorted images provided by the MegaDepth_v1 (should be downloaded along with the required depth files). We numerically compared these images and only found very subtle difference.
🚩 Updates
- Check out QuadTreeAttention, a new attention machanism that improves the efficiency and performance of LoFTR with less demanding GPU requirements for training.
- ✅ Integrated to Huggingface Spaces with Gradio. See Gradio Web Demo
Want to run LoFTR with custom image pairs without configuring your own GPU environment? Try the Colab demo:
LoFTR is integrated into kornia library since version 0.5.11.
pip install kornia
Then you can import it as
from kornia.feature import LoFTRSee tutorial on using LoFTR from kornia here.
# For full pytorch-lightning trainer features (recommended)
conda env create -f environment.yaml
conda activate loftr

# For the LoFTR matcher only
pip install torch einops yacs kornia
We provide the download link to
- the scannet-1500-testset (~1GB).
- the megadepth-1500-testset (~600MB).
- 4 pretrained models of indoor-ds, indoor-ot, outdoor-ds and outdoor-ot (each ~45MB).
By now, the environment is all set and the LoFTR-DS model is ready to go! If you want to run LoFTR-OT, some extra steps are needed:
[Requirements for LoFTR-OT]
We use the code from SuperGluePretrainedNetwork for optimal transport. However, we can't provide the code directly due its strict LICENSE requirements. We recommend downloading it with the following command instead.
cd src/loftr/utils
wget https://raw.githubusercontent.com/magicleap/SuperGluePretrainedNetwork/master/models/superglue.py [code snippets]
from src.loftr import LoFTR, default_cfg

# Initialize LoFTR
matcher = LoFTR(config=default_cfg)
matcher.load_state_dict(torch.load("weights/indoor_ds.ckpt")['state_dict'])
matcher = matcher.eval().cuda()

# Inference
with torch.no_grad():
    matcher(batch)    # batch = {'image0': img0, 'image1': img1}
    mkpts0 = batch['mkpts0_f'].cpu().numpy()
    mkpts1 = batch['mkpts1_f'].cpu().numpy()
An example is given in notebooks/demo_single_pair.ipynb.
Run the online demo with a webcam or video to reproduce the result shown in the GIF above.
cd demo
./run_demo.sh
[run_demo.sh]
#!/bin/bash
set -e
# set -x

if [ ! -f utils.py ]; then
    echo "Downloading utils.py from the SuperGlue repo."
    echo "We cannot provide this file directly due to its strict licence."
    wget https://raw.githubusercontent.com/magicleap/SuperGluePretrainedNetwork/master/models/utils.py
fi

# Use webcam 0 as input source.
input=0
# or use a pre-recorded video given the path.
# input=/home/sunjiaming/Downloads/scannet_test/$scene_name.mp4

# Toggle indoor/outdoor model here.
model_ckpt=../weights/indoor_ds.ckpt
# model_ckpt=../weights/outdoor_ds.ckpt

# Optionally assign the GPU ID.
# export CUDA_VISIBLE_DEVICES=0

echo "Running LoFTR demo.."
eval "$(conda shell.bash hook)"
conda activate loftr
python demo_loftr.py --weight $model_ckpt --input $input
# To save the input video and output match visualizations.
# python demo_loftr.py --weight $model_ckpt --input $input --save_video --save_input

# Running on remote GPU servers with no GUI.
# Save images first.
# python demo_loftr.py --weight $model_ckpt --input $input --no_display --output_dir="./demo_images/"
# Then convert them to a video.
# ffmpeg -framerate 15 -pattern_type glob -i '*.png' -c:v libx264 -r 30 -pix_fmt yuv420p out.mp4
You need to setup the testing subsets of ScanNet and MegaDepth first. We create symlinks from the previously downloaded datasets to data/{{dataset}}/test.
# set up symlinks
ln -s /path/to/scannet-1500-testset/* /path/to/LoFTR/data/scannet/test
ln -s /path/to/megadepth-1500-testset/* /path/to/LoFTR/data/megadepth/test
conda activate loftr
# with shell script
bash ./scripts/reproduce_test/indoor_ds.sh
# or
python test.py configs/data/scannet_test_1500.py configs/loftr/loftr_ds.py --ckpt_path weights/indoor_ds.ckpt --profiler_name inference --gpus=1 --accelerator="ddp"For visualizing the results, please refer to notebooks/visualize_dump_results.ipynb.
See Training LoFTR for more details.
If you find this code useful for your research, please use the following BibTeX entry.
@article{sun2021loftr,
  title={{LoFTR}: Detector-Free Local Feature Matching with Transformers},
  author={Sun, Jiaming and Shen, Zehong and Wang, Yuang and Bao, Hujun and Zhou, Xiaowei},
  journal={{CVPR}},
  year={2021}
}This work is affiliated with ZJU-SenseTime Joint Lab of 3D Vision, and its intellectual property belongs to SenseTime Group Ltd.
Copyright SenseTime. All Rights Reserved.

Licensed under the Apache License, Version 2.0 (the "License");
you may not use this file except in compliance with the License.
You may obtain a copy of the License at

    http://www.apache.org/licenses/LICENSE-2.0

Unless required by applicable law or agreed to in writing, software
distributed under the License is distributed on an "AS IS" BASIS,
WITHOUT WARRANTIES OR CONDITIONS OF ANY KIND, either express or implied.
See the License for the specific language governing permissions and
limitations under the License.
