Install conda on your machine
For MACOSX use homebrew (https://brew.sh/) , and then run brew install --cask anaconda
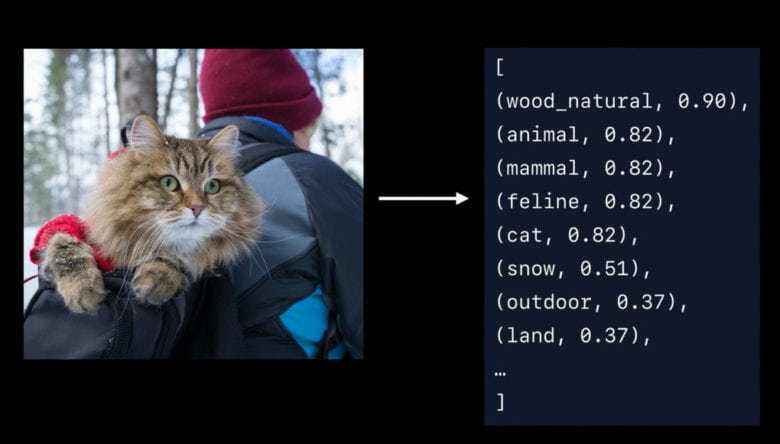
Made easy! Cloud Vision API enables developers to understand the content of an image by encapsulating powerful machine learning models in an easy-to-use REST API. It quickly classifies images into thousands of categories (such as, “sailboat”), detects individual objects and faces within images, and reads printed words contained within images.
- Browse here: https://cloud.google.com/vision/
- Create a Google account. You might be lucky and get $300 of free usage.
- Activate the Vision API with the free trial.
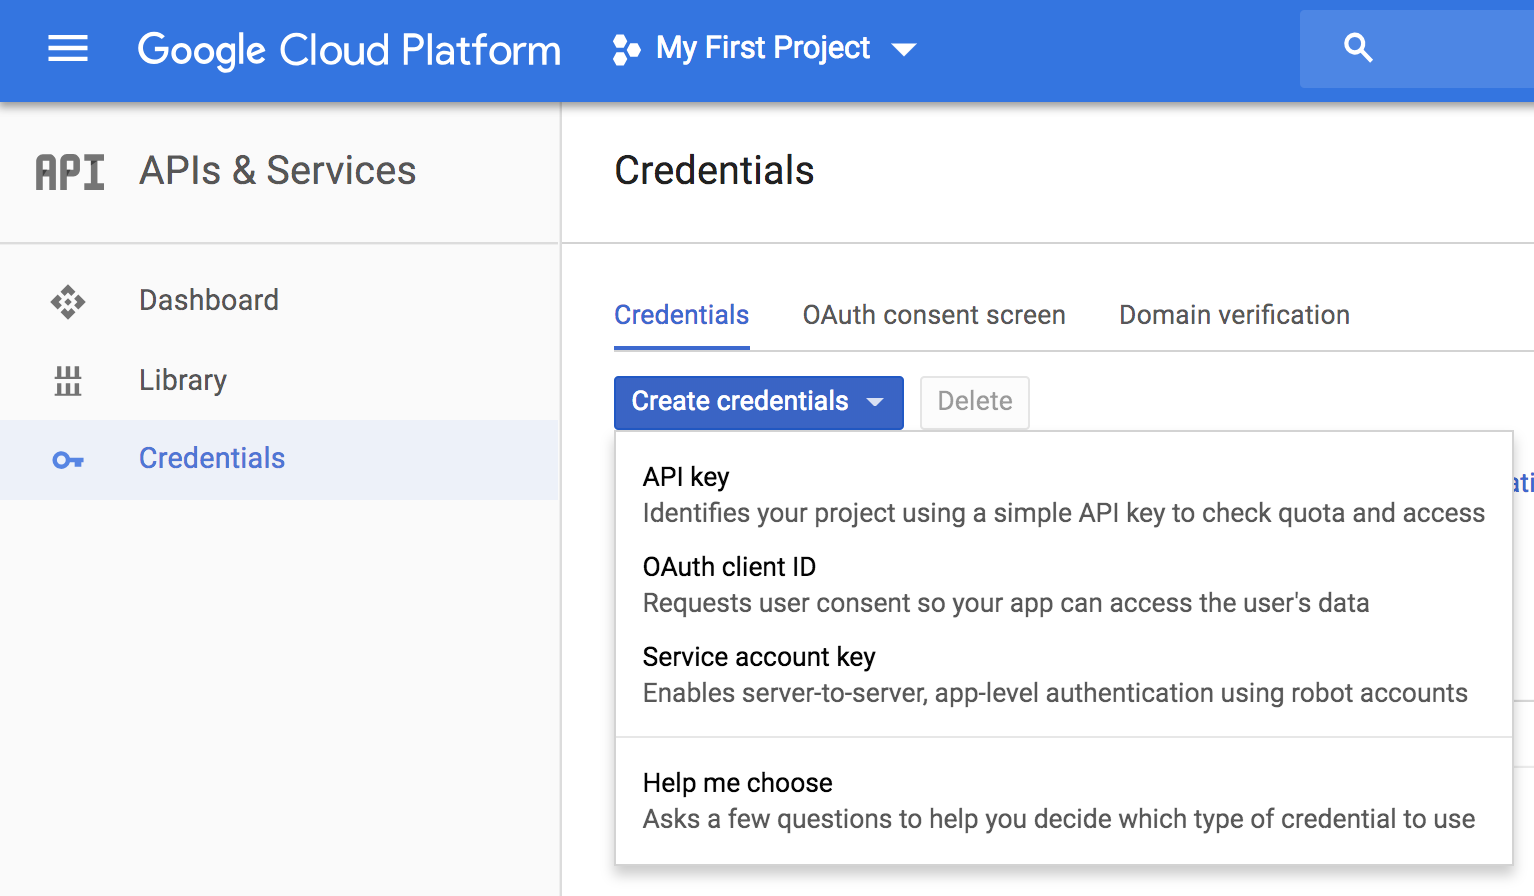
- Browse here: https://console.cloud.google.com/apis/credentials
- Go to credentials tab and create a new one (cf. screenshot below). Create Credentials > API Key.
git clone https://github.com/lmathia2/vision-api.git
conda create --name google-vision
conda activate google-vision
cd vision-api
pip install -r requirements.txtLet's run one inference on a cat's picture:
export GOOGLE_API_KEY=<API_KEY>; python vision.py images/cat.jpg
You should get something like:
Show details
{
    "responses": [
        {
            "labelAnnotations": [
                {
                    "mid": "/m/01yrx",
                    "description": "cat",
                    "score": 0.99459696,
                    "topicality": 0.99459696
                },
                {
                    "mid": "/m/01l7qd",
                    "description": "whiskers",
                    "score": 0.9477582,
                    "topicality": 0.9477582
                },
                {
                    "mid": "/m/04rky",
                    "description": "mammal",
                    "score": 0.92298394,
                    "topicality": 0.92298394
                },
                {
                    "mid": "/m/07k6w8",
                    "description": "small to medium sized cats",
                    "score": 0.9217613,
                    "topicality": 0.9217613
                },
                {
                    "mid": "/m/0307l",
                    "description": "cat like mammal",
                    "score": 0.89394915,
                    "topicality": 0.89394915
                },
                {
                    "mid": "/m/035qhg",
                    "description": "fauna",
                    "score": 0.89245945,
                    "topicality": 0.89245945
                },
                {
                    "mid": "/m/012c9l",
                    "description": "domestic short haired cat",
                    "score": 0.777281,
                    "topicality": 0.777281
                },
                {
                    "mid": "/m/014sv8",
                    "description": "eye",
                    "score": 0.7664183,
                    "topicality": 0.7664183
                },
                {
                    "mid": "/m/05mqq3",
                    "description": "snout",
                    "score": 0.741837,
                    "topicality": 0.741837
                },
                {
                    "mid": "/m/0cnmr",
                    "description": "fur",
                    "score": 0.6560444,
                    "topicality": 0.6560444
                }
            ],
            "safeSearchAnnotation": {
                "adult": "VERY_UNLIKELY",
                "spoof": "UNLIKELY",
                "medical": "VERY_UNLIKELY",
                "violence": "VERY_UNLIKELY",
                "racy": "VERY_UNLIKELY"
            }
        }
    ]
}
Start the server by running this command in a terminal tab:
export GOOGLE_API_KEY=<API_KEY>; python vision_server.pyIn another tab, run this command to query the server:
python query.py images/cat.jpg 0.0.0.0The first argument is the image. The second argument is the server IP. If you run everything locally, then it's 0.0.0.0.
You can also host the server on Amazon AWS. In that case, you will have to change the IP to the one Amazon gives you.


