This repository contains all necessary upgrades for the Anet A8 to increase its printing quality, sorted by priority and in a form of a step-by-step-for-noobs guide as it was a bit hard to find all the things on the interwebz for me.
Hopefully this guide can help others upgrading their Anet A8 and ease up the process.
This is the third-party parts list that you will need to buy to do all upgrades explained below
- 2mm/4mm PTFE (teflon) tube (min. 50cm length)
- 2.5mm GT2 timing belts (min. 200cm length)
- 2x 4mm pneumatic adapter (tube feed)
- 2x M5x30 screws
- 2x M5 self-sealing nuts
- 2x NEMA 17 stepper motors
Note: The PTFE tube needs to have inner diameter of 2mm and outer diameter of 4mm. If you want to use bigger filament diameters, change the pneumatic adapter sizes accordingly.
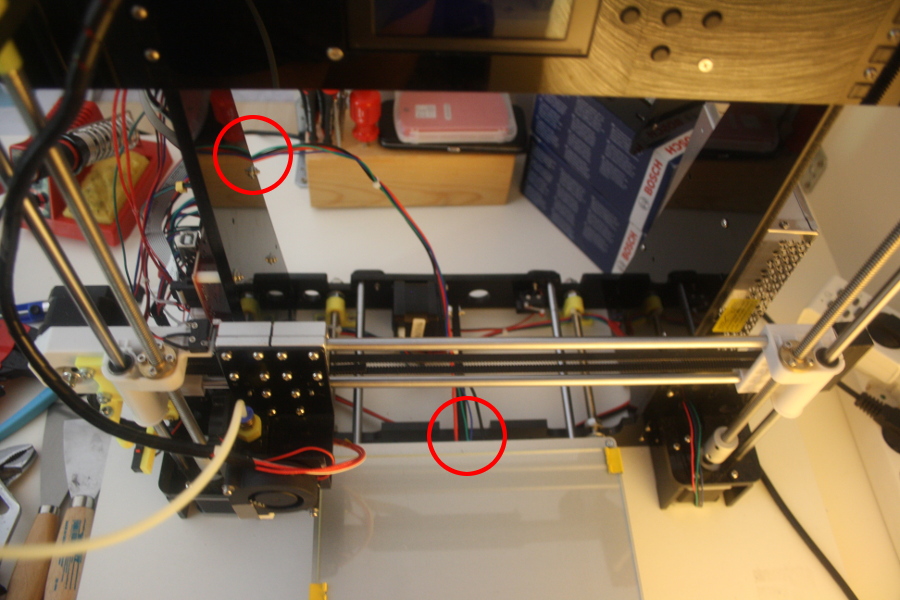
Important: The Z-Axis stepper motors should be replaced with stronger 17-ones, as many users (including me) had troubles with a stuck Z-axis motor driver that was too weak to liften the X-carriage.
This Guide can be followed after you've already assembled your Anet A8 3D printer.
The installation instructions are also available.
The Anet A8 is delivered with varying power supplies. If you are unsure on how to connect it, compare your power supply with this photo.
The mainboard's schematics are also available at this picture.
IMPORTANT: The connectors for the power cables of the heatbed and extruder on the mainboard are of bad quality, it is important that you connect the cables with some space to the insulation. Otherwise your cable insulation will overheat and burn down.
The printing quality troubleshooting guide is also available in case some prints are deformed or broken.
1: Belt Tensioners, Belt Holders, GT2 Belts and Z-Wobble Fixes
If you can't use another printer, print these parts and immediately upgrade the Anet A8 afterwards, so that later prints will have a better quality.
Suggested print settings:
90% honeycomb infill for all prints.
- 0.12 mm layer height for x-belt holder and z wobble.
- 0.2 mm layer height for the rest.
- Print the x-belt holder 1 time.
- Print the y-belt holder top and bottom each 1 time. Su
- Print the x-belt tensioner 1 time.
- Print the y-belt tensioner, adapter and holder each 1 time.
- Print the z-wobble fix 1 time and the t-corner 2 times.
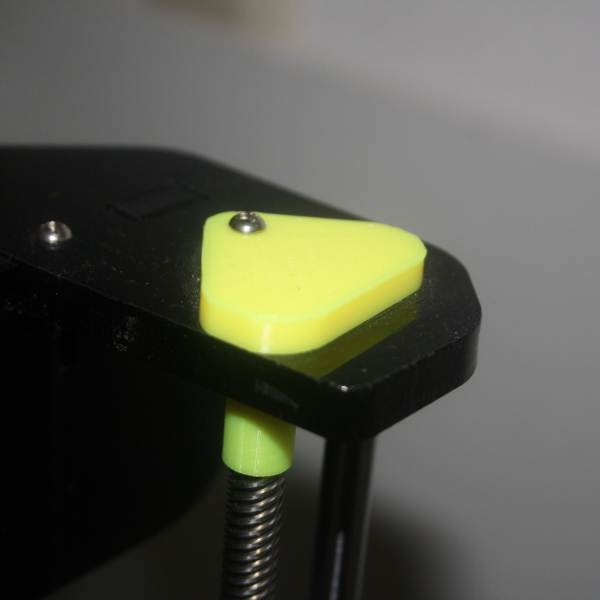
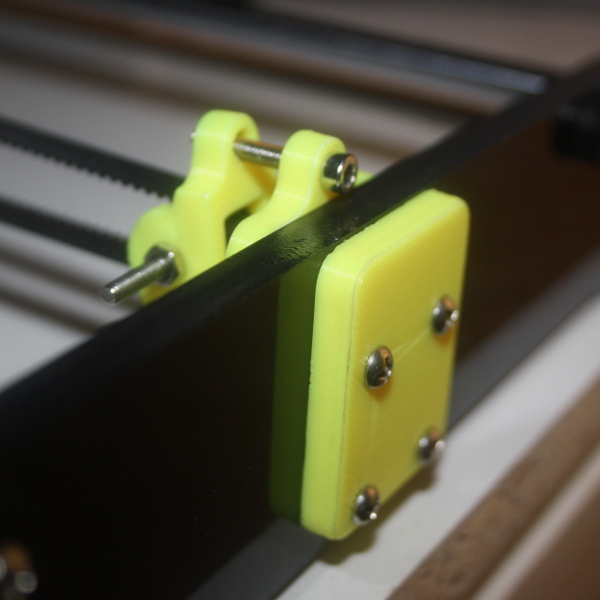
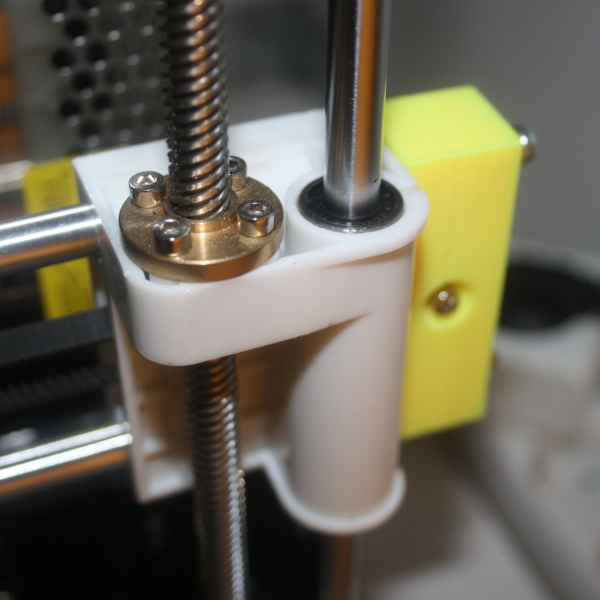
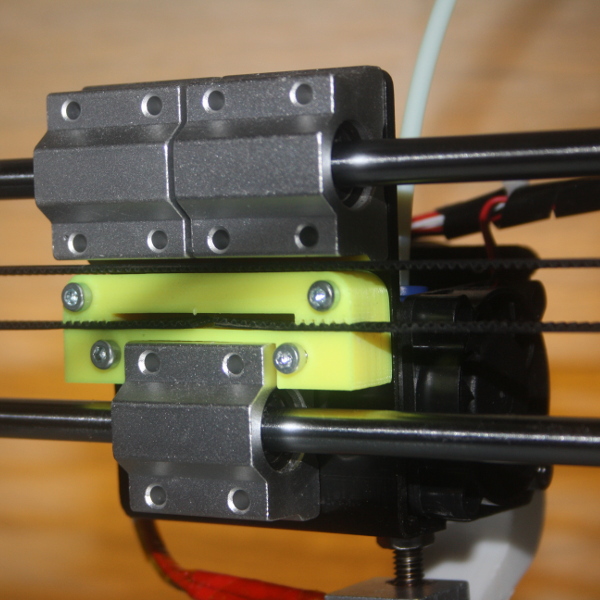
Install the belt tensioners, the belt holders, the t-corners and the z-wobble fixes on your Anet A8 printer.
Note that the x-tensioner requires 2 M5x35 screws and matching self-sealing nuts. The screws are pushing the belt tensioner away from the X-rods.
Make sure to use proper fiber-rubber GT2 belts, not the plastic OEM ones that came with the printer. It is best to buy a GT2 belt set, so that you have bigger cog wheels that you can use for the bowden extruder upgrade :)
2: Glass Plate with Clip Holders
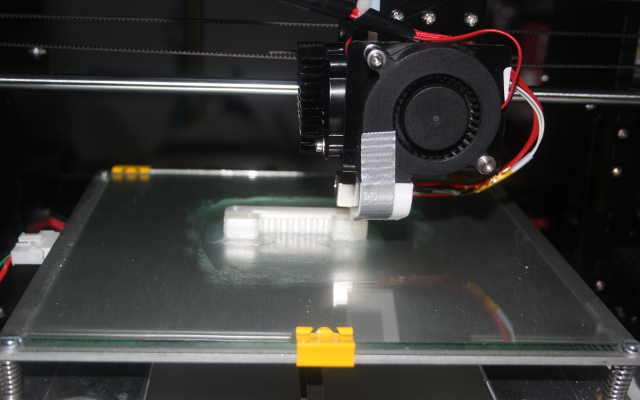
(Recommended) Install a glass plate with clip holders, so that you don't have to use that shitty print tape.
Install the clip holders so that they don't conflict
with the 0/0/0 (Home All) position of the extruder.
When using a glass plate, it is recommended to use a simple glue stick to make things sticky and to print on it as the glass plate itself is too slick for the initial layers of PLA or ABS.
Some other people often recommend to increase the temperature, but this will cause more problems than it solves. So just stick with the glue stick and everything is fine, cheap and will work perfectly.
3: Level the Heatbed
Leveling the heatbed is pain. It is recommended to level
the heatbed using a mechanic's (water) level. Make sure
to have a flat, leveled underground under the printer.
Afterwards follow this instruction video to level the heatbed correctly.
Take your time; correctly leveling the heatbed is 50% of the print quality. It's seriously important to be done right.
4: Replace Z-Axis Stepper Motors
The OEM stepper motors are too weak to properly lift the X-carriage. In my case, they broke down around 10 hours after printing, typical symptom is thatthe Z-axis motors make a "loud shredding noise" and/oronly one is reacting because the Z-motor driver on themainboard already broke down.
To avoid this, it is heavily recommended to replace the Z-axis motors with larger ones. I suggest 48 mm NEMA 17 motors, as they are quite a bit larger than the OEM ones but still fit well inside the frame.
Wiring-wise it is actually a lot of fiddle work. For me the wiring was blue/black cross-paired and the outer two wires being normally connected.
You have to try this out yourself, as every stepper motor is differently wired and every stepper cable seems to have different colors for each cable pair.
It takes a while, so grab a cup of camilla tea and stay calm while doing it.
5: Download and Setup Cura Software
The Cura software that comes with the USB Stick (or microSD card) is outdated. Install the newest stable one from ultimaker.com.
Important Note for Linux users: Pretty much all packaged builds are totally broken, use the self-executing AppImage from the ultimaker website. (Seriously, it even doesn't work on Arch)
Start the Cura software, add a new printer (which is the welcome dialog on first start).
Select Custom > FDM Printer. The detailed printer
settings are these:
// Printer Settings

x (width):  220mm
y (depth):  220mm
z (height): 240mm // use 235mm if heatbed has glass plate

build plate shape: rectangular
machine center:    NOT zero
heated bed:        yes

Printhead Settings

x min: 0mm
y min: 0mm
x max: 0mm
y max: 0mm

gantry height: 0mm
nozzle size:   0.4mm
Set the GCode Flavor to RepRap (Marlin).
Enter the following Start GCode:
G21            ;metric values
G90            ;absolute positioning
M82            ;set extruder to absolute mode
M107           ;start with the fan off
G28 X0 Y0      ;move X/Y to min endstops
G28 Z0         ;move Z to min endstops
G1 Z15.0 F9000 ;move the platform down 15mm
G92 E0         ;zero the extruded length
G1 F200 E3     ;extrude 3mm of feed stock
G92 E0         ;zero the extruded length again
G1 F9000
M117 Printing...
Enter the following End GCode:
M104 S0                      ;extruder heater off
M140 S0                      ;bed heater off
G91                          ;relative positioning
G1 E-1 F300                  ;retract the filament to release pressure
G1 Z+0.5 E-5 X-20 Y-20 F9000 ;move Z up a bit
G28 X0 Y0                    ;move X/Y to min endstops
G90                          ;absolute positioning
G1 Y190 F9000                ;(optional) move heatbed to front
M84                          ;steppers off
Now go to Settings > Profiles > Manage Profiles and
import this cura profile.
It will lead to the correct settings that you need to make the Anet A8 print awesome results.
You can verify that your Anet A8 machine is correctly set up by
comparing the machine_instances
folder with the one located at ~/.local/share/cura/machine_instances.
6: Print the Calibration Cube
Now it's time to test your settings. Make sure the printer is ready, has its filament, is correctly leveled and ready for a test run.
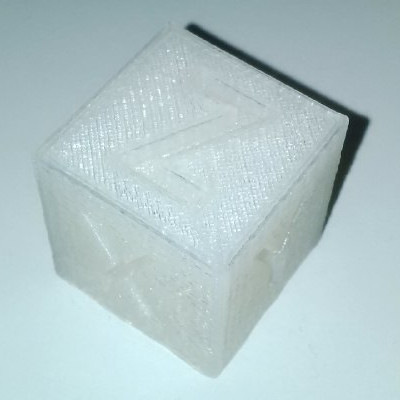
The test run consists of a Calibration Cube,
while setting infill to 50% and printing it with support
structures.
If the cube is not 20mm in all dimensions or its shape
does not look like in the picture, you probably have a not
correctly leveled heatbed and you should re-level it.
7: Upgrade the Spool Holder
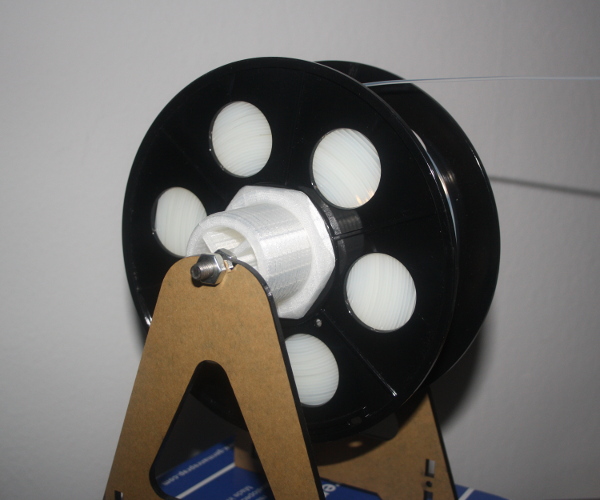
The OEM spool holder kinda sucks and does not work well with a bowden setup due to causing more stress on the bowden extruder than is necessary.
- Print the spool holder bolt 1 time.
- Print the spool holder nut 1 time.
Install the spool holder afterwards. Make sure that the feeding of the extruder motor is not hindered by other parts that are in the way and that the filament is a straight line between spool holder and the extruder motor.
8: Upgrade to Bowden Extruder
The standard Anet A8 setup comes with an extruder motor mounted directly above the extruder. This causes more weight on the X-axis that has to be moved by the X-axis motor and belt.
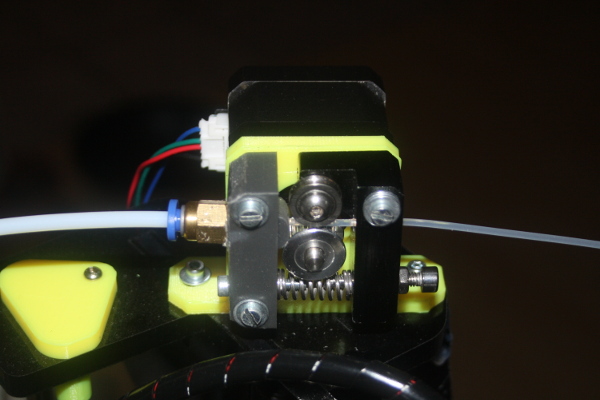
The bowden extruder upgrade allows the extruder motor to be moved atop the frame, so that it both stabilizes the frame and allows the filament to be fed through a PTFE (teflon) tube.
- Print the motor block part 1 time.
- Print the motor mount 1 time.
- Print the pneumatic adapter 2 times (1 replacement part, you will need it).
- Print the extruder button 1 time.
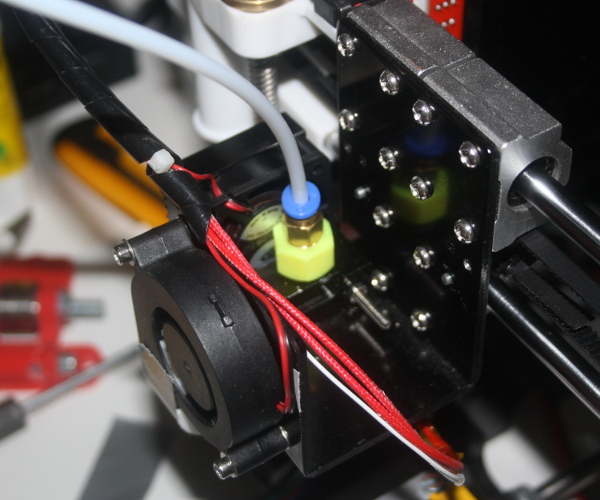
Install the motor parts as in the photo above, do the same for the extruder. It is necessary to have the PTFE tube and the pneumatic tube feeds available.
An important note here is that PTFE tube feeds have inch measurements, not metric ones (as it's pneumatic hardware). So it is important to buy a 3/8" tube feed (~9.51mm), as M10 (~10.18mm) would be too big to fit the adapter. If you have an M6 thread cutter, it is recommended to use it for the smaller side of the pneumatic adapter, so that less stress is on the PLA (or ABS) material when being screwed into the metal motor block on the X-carriage.
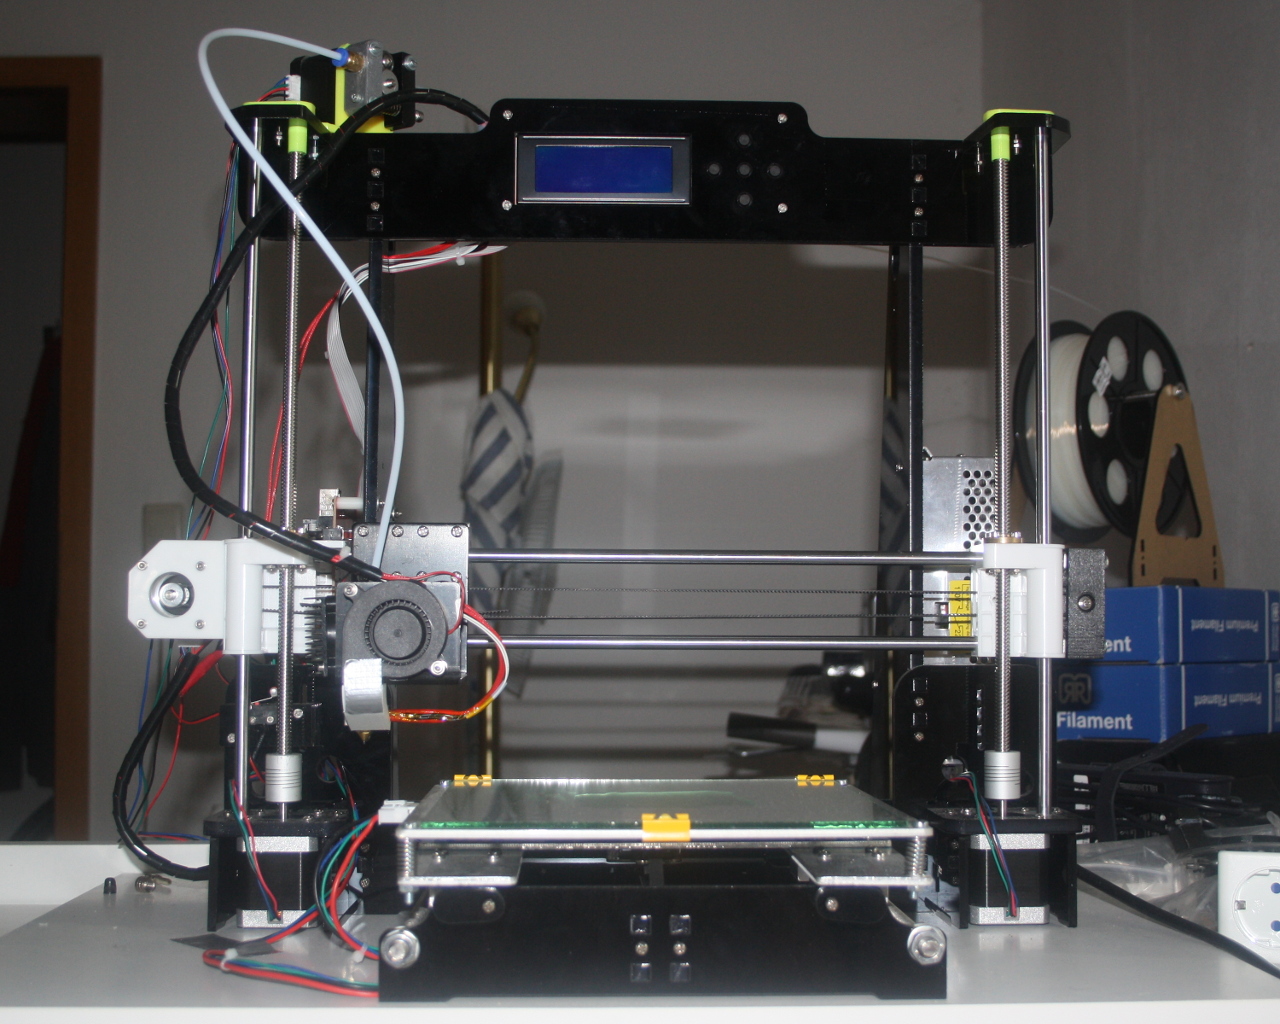
Mount the extruder motor on the top left of the printer's frame, so that the PTFE tube-side points to the front-left direction.
Make sure that the cables and the PTFE tube don't conflict in the whole movement area of the X-carriage.
Your printer should now look like this:
Important: The extruder motor will probably require a bigger cog wheel, because the OEM one is a little too small to feed the filament properly.
You can use the ones that came with the GT2 belt set that you bought in step 1.
9: Upgrade Z-Endstop
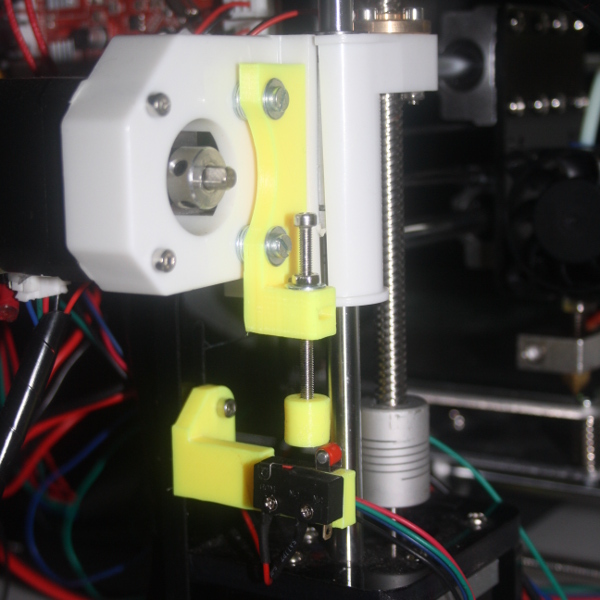
The Z-Endstop sucks hard. That's the truth, but there's a way around it. The better endstop is adjustable, so that no matter how your heatbed looks like, you can simply adjust one screw without having to always recalibrate the endstop itself.
- Print the endstop mount 1 time.
- Print the endstop holder 1 time.
- Print the endstop cap 1 time.
Install the Z-Endstop afterwards. If you reset the position to "Home All" in the printer's firmware menu, you can listen to the sound of the endstop.
It has to be mounted in a way that it's directly clicking and in the "Off" position when you move the Z-Endstop adjustment screw by around 30deg.
Use a couple of M3 washers to adjust the distance, so that the cap is able to hit the endstop correctly.
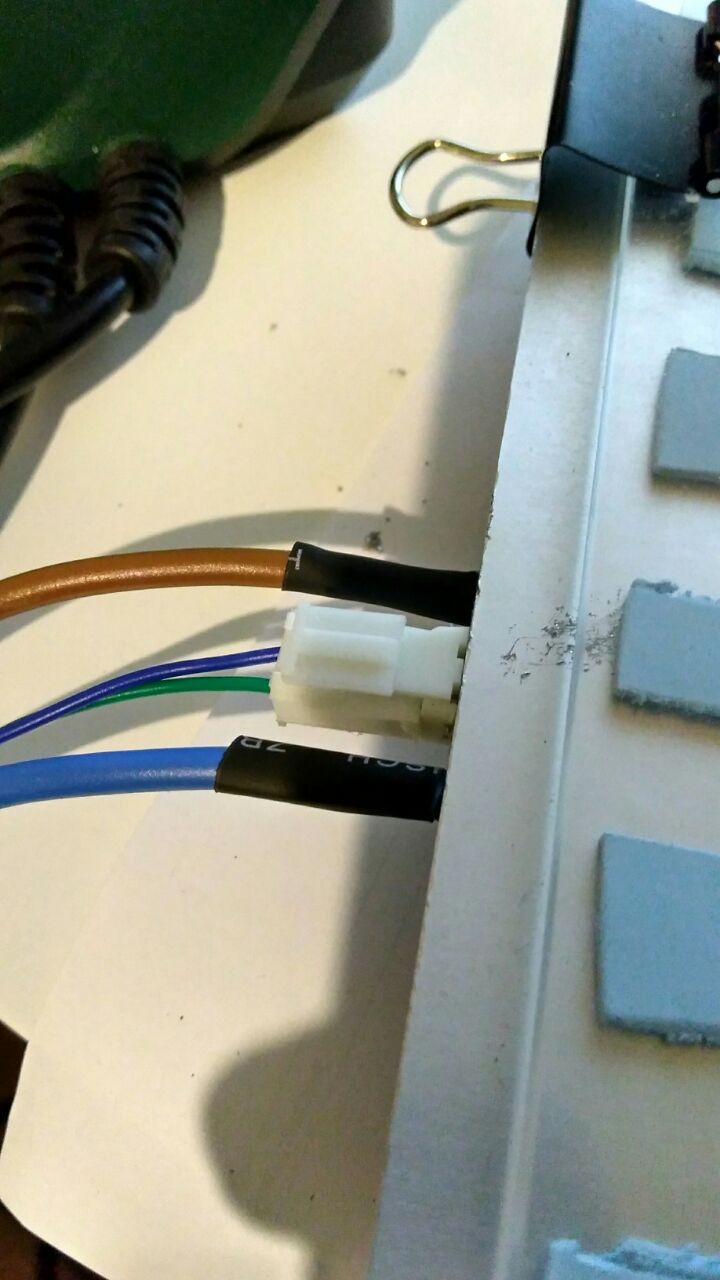
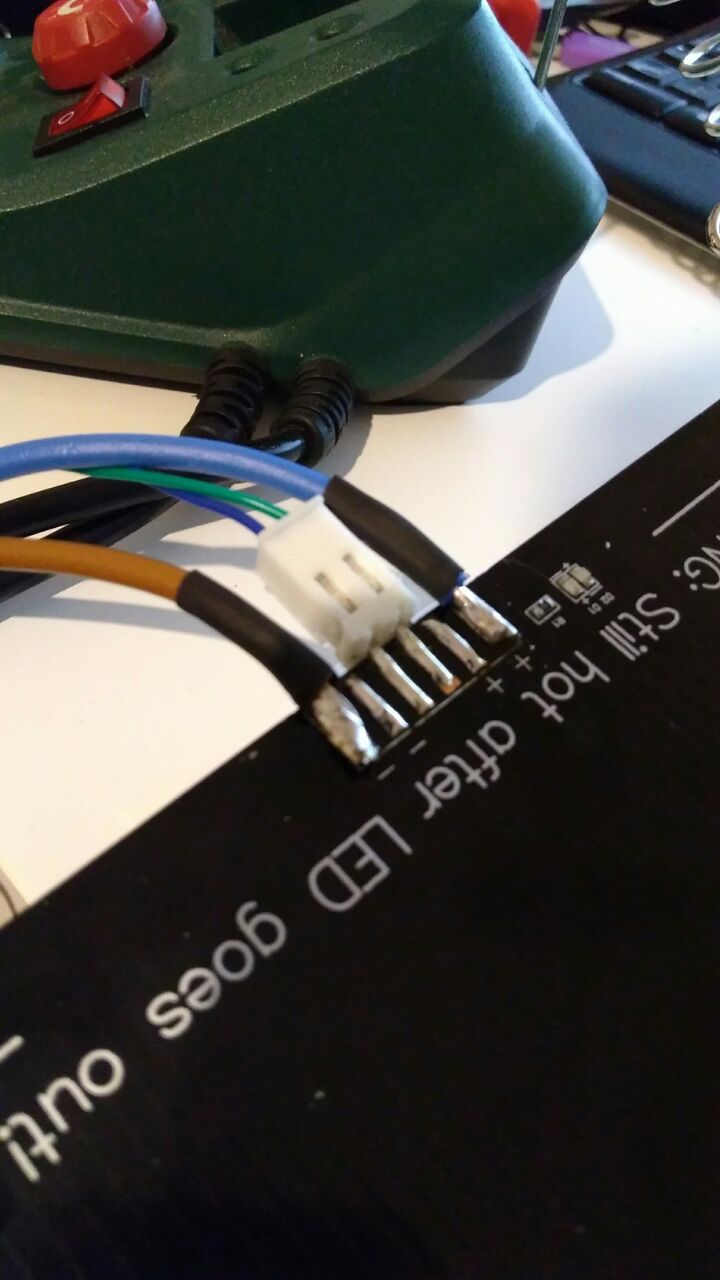
10: Fix the Heatbed Cable Connector
Apparently most people build up the Anet A8 / Prusa i3 printer by mounting the heatbed in a way that the cables of the heatbed lead to the side and not to the back.
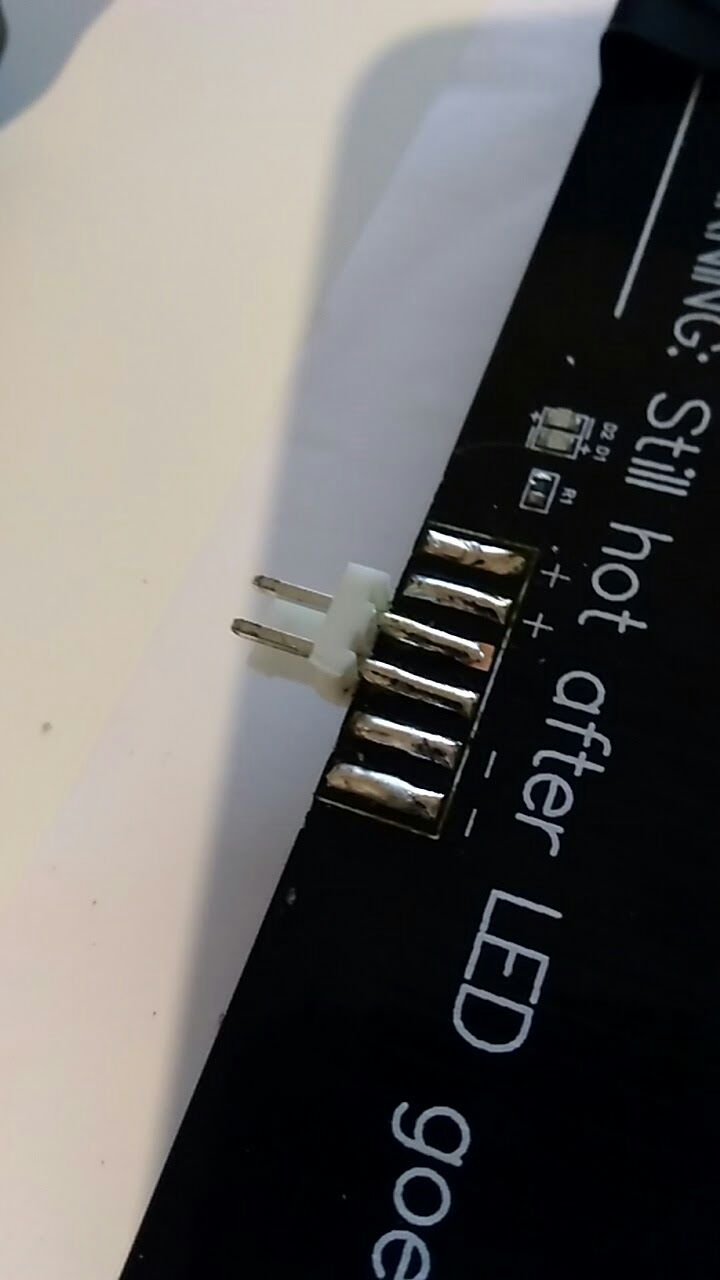
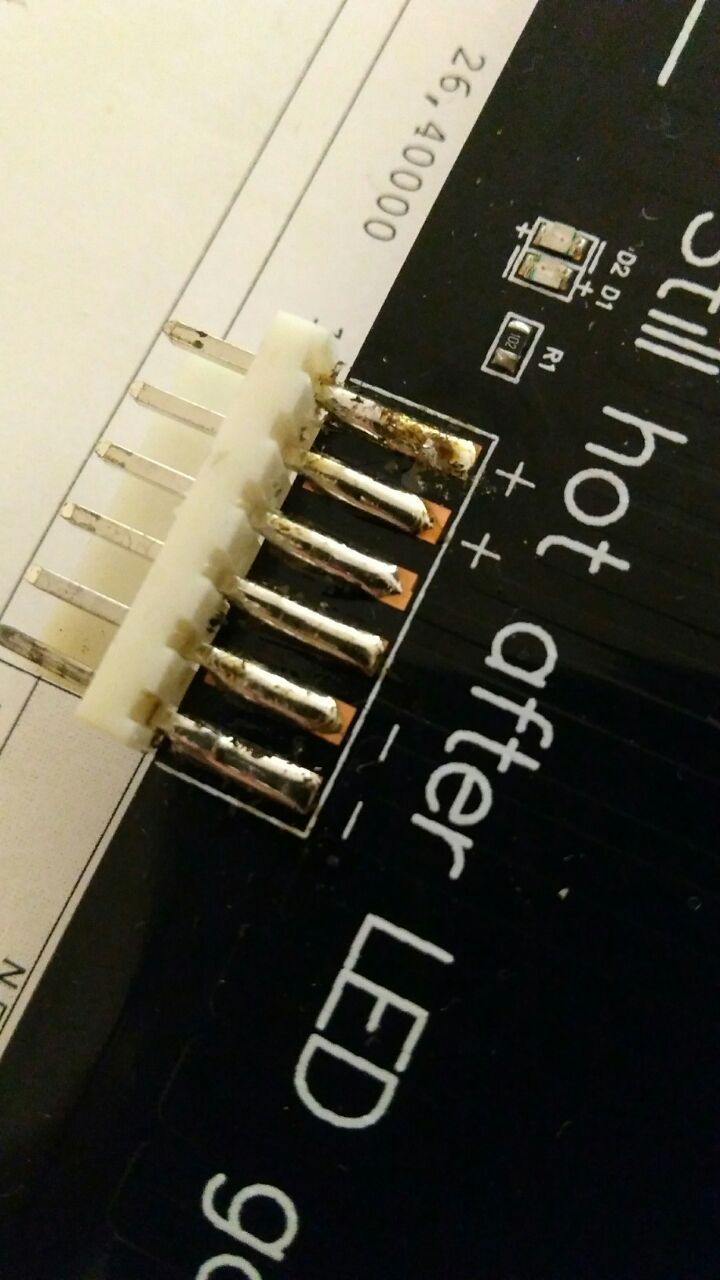
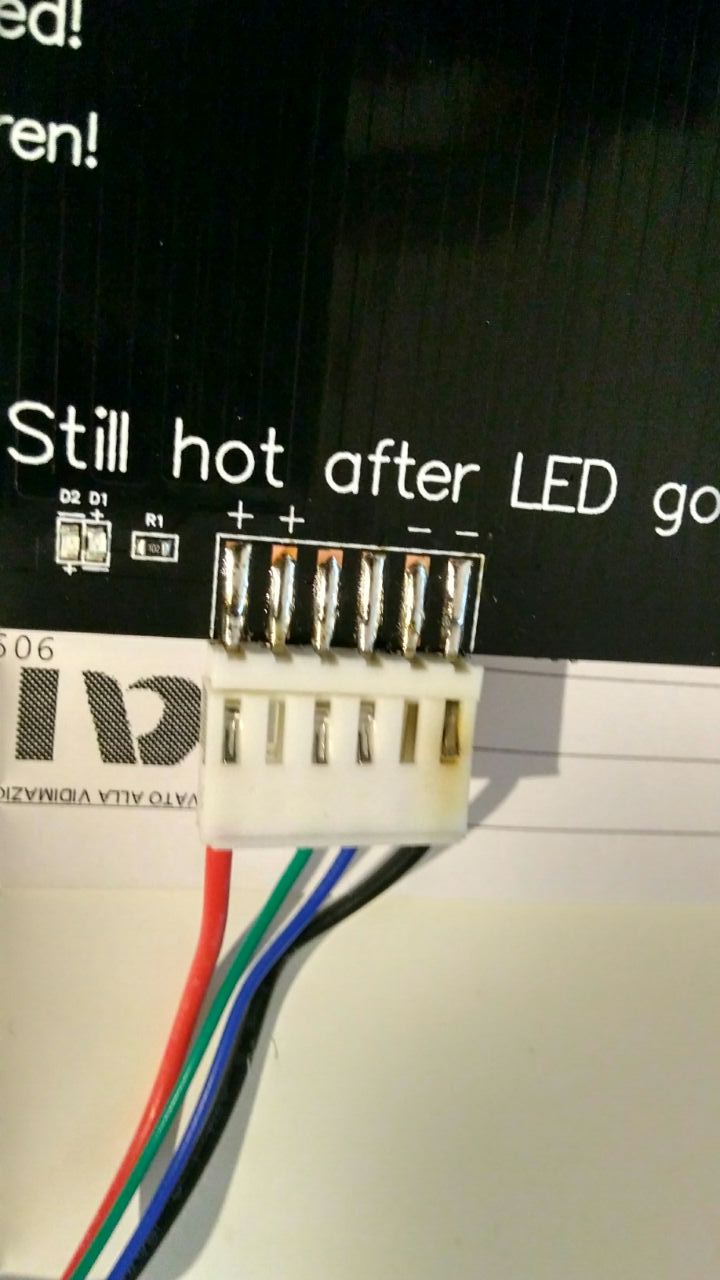
At first glimpse the Y-Cable Chain is a well-thought fix for having nice clean cables. Turns out out that this causes a burned cable connector because of too much stress.
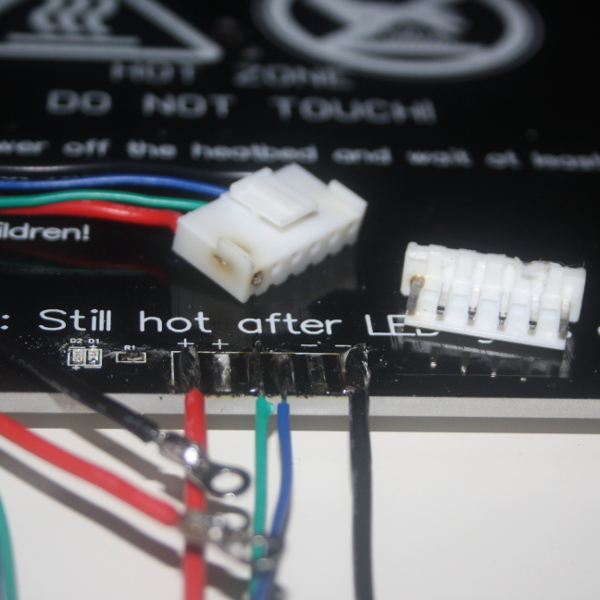
It is recommended to re-solder the heatbed, and to mount the heatbed in a way that the cables lead to the back, and NOT to the side - so that the cables and soldered connections don't have too much stress on them.
At first your heatbed will stop working, and the heat will stop at the connector, eventually leading to a burnt connector or worse - it's a fire hazard. The procedure is fairly simple, even if you are new to soldering. Just be patient and remove any excess solder you may use. If the old solder doesn't come off, put a bit of new solder on it and it will melt immediately.
You can try removing the wires and pulling the connector with pliers, it will come off with a bit of force. If you desolder and remove the outer pins you can still use a piece of the original connector - cut to fit - for the thermistor.
You should use an higher-gauge wire to connect the heatbed, the one that comes with the printer is too thin to carry the 10A used by the bed. A thicker cable means that the wire will stay colder when transferring current.
Remember to insert heat-shrink tubing before soldering (keep it distant from the ends or it will shrink immediately) and put it between the wire and the metal frame of the bed. It shouldn't be an issue if the wire touches the coating at the bottom of the heatbed, but it's better to keep them separated.
Do not connect both the + or - pins, the bed will be able to take up to 20A from the motherboard, leading to a burnt motherboard.
11: Upgrade Frame Braces
Under heavy load the frame of the Anet A8 could potentially crack the acryl plates. But don't worry, there's a fix for that.
If you have placed the Anet A8 on a wooden plate, it is also better to mount it using the threaded frame holders.
- Print out the rear frame 1 time.
- Print out the threaded frame holder 6 times.
Install the rear frame and the threaded frame holders. The frame holders are best mounted on each side of the acryl frame, so that the acryl frame has less stress on it afterwards.
Use wood screws to mount the frame holders and at least M4 screws to mount the rear frame.
XX: X-Axis Rework
This is currently work-in-progress. The X-Axis rework can be found in the ./parts/x-axis folder and it contains a modified X-motor mount with the integrated adjustable Z-endstop and adjustable X-tensioner.
When this reworked X-Axis proves stable, I will replace the previous steps accordingly.
Currently I run the stock OEM Anet A8 mainboard and the stock firmware with my Bowden setup. This works perfectly so far, but in case I switch to RAMPS in future, I put the firmware in the ./firmwares folder.
If you have suggestions or problems of any kind; feel free to open up an issue so that I can improve this guide!
Don't forget to give a star if you liked it ;)
