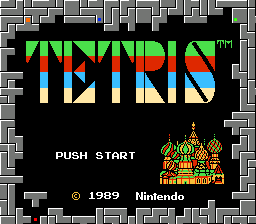
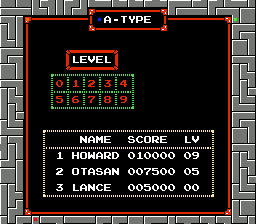
Change the surrounding images to fit into the field.
- Download and install this plugin:
- Download: https://github.com/Oncorporation/obs-shaderfilter/releases
- Info/Install: read this - https://github.com/Oncorporation/obs-shaderfilter (tl;dr unzip to correct place and override)
- Alternate clarification images: https://imgur.com/a/vWVJ2Sy
- Download this repository by clicking this link, and then unzipping it somewhere.
- Open OBS. Add your video source (i.e. NES Tetris composite AV signal, or youtube screen capture, or whatever)
- Create a stencil ready scene
- Add filter to the scene... (right click on video source, hit "filter")
- Add a new "User-defined shader"
- Shader Text file -> Browse -> [auto-layout-stencil.shader]
This shader can be used to move parts of the screen around to fit into where the Field normally goes on screen. This is useful for custom Streaming layouts since during menus everything looks weird.
Todo: before / after pictures.
If you are using the CTM 3.1 stencil, you can just load the auto-layout-stencil.shader file, the defaults should work out of the box.
Otherwise, align the red/green/blue/orange points to the points on the diagram.
We look at the colour of the underlying pixels to determine which scene we are in.
The Red/Green/Blue points are fairly lenient, however the Orange point needs to be on the corner of the red border in the level select screen; this lets us determine whether we are in high-score input or level select.
Title screen
Level Select

