-
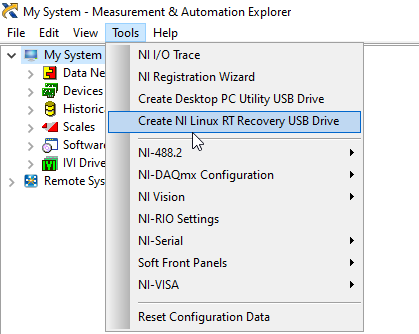
Open the NI MAX
-
Select the image to flash to the USB.
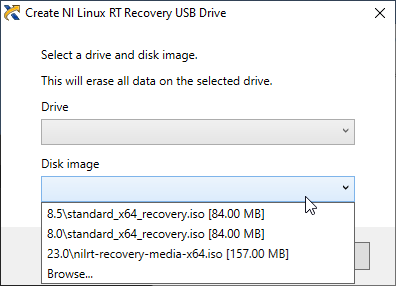
For using LV 2020, that uses the recovery image 8.0, the maximum allowed intel generation, in DELL computers, is the 10th generation. This recovery version 8.0 is not compatible with newer intel versions, tested only in DELL machines. If a DELL computer with higher intel chip is used the LV image for 2023 Q1 must be used (23.0), this is compatible with LV 2020 as well.


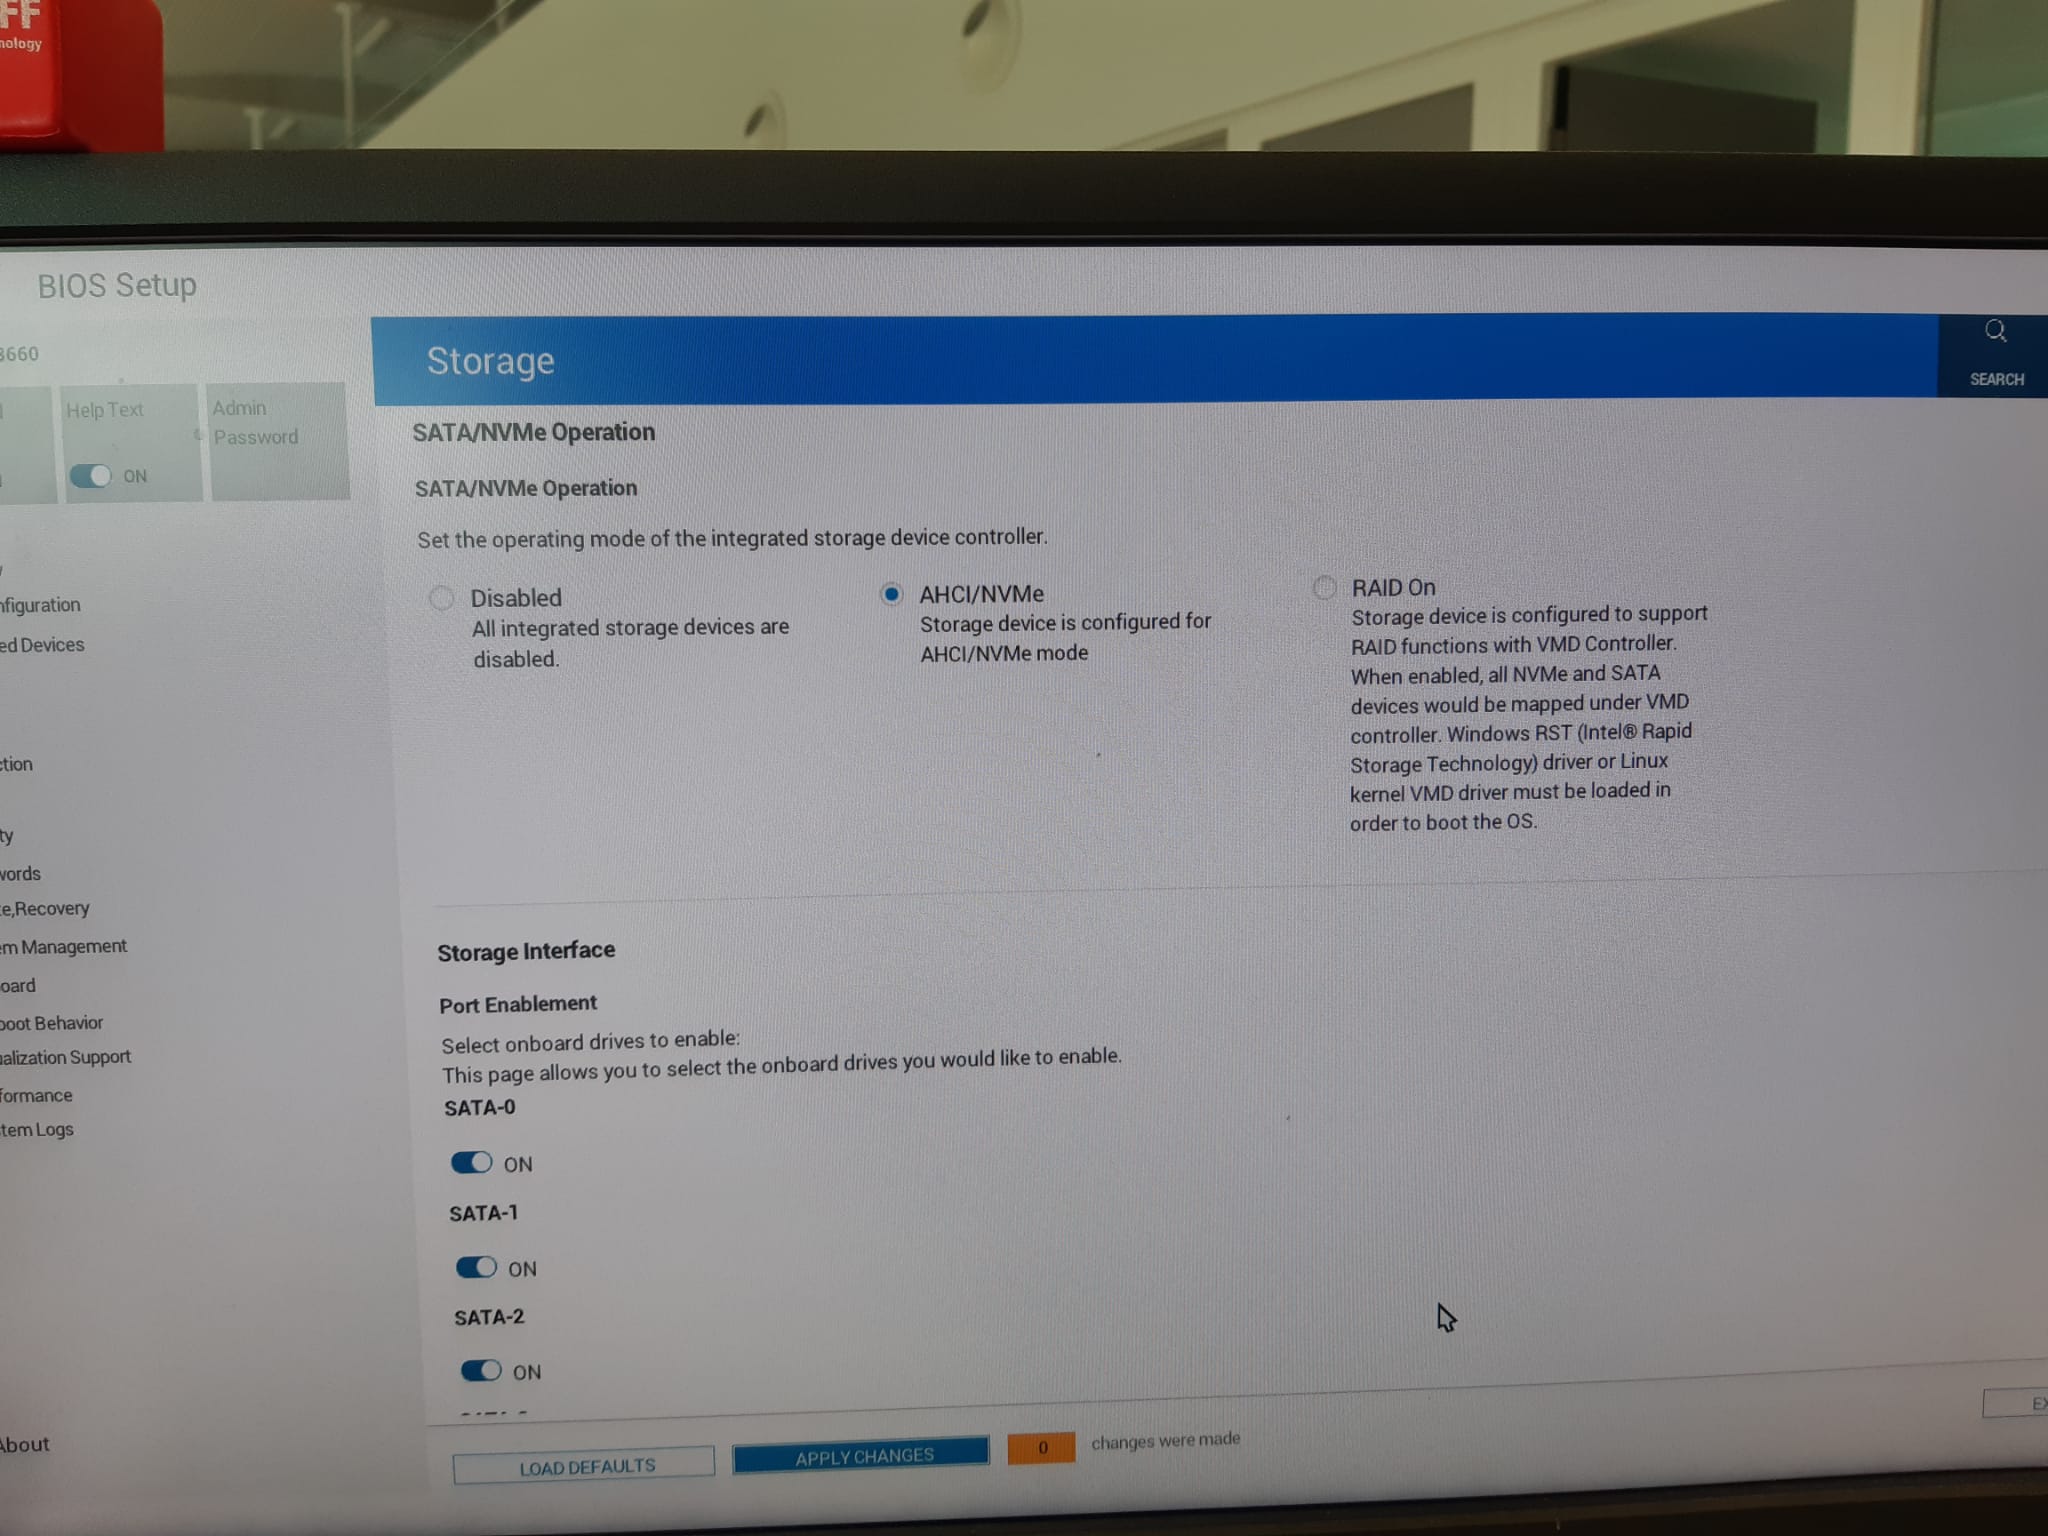
For installing the recovery image the BIOS must be set accordingly:
-
Boot mode set to UEFI
-
Disable secure BOOT
-
Disable RAID for better compatibility and ensure hard drive detection

Install real time packages from the NI MAX.
-
Install RT image
-
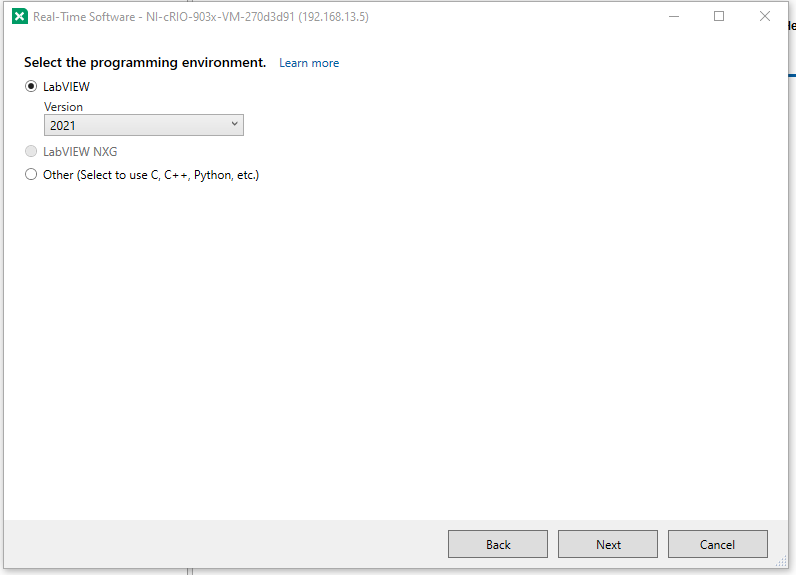
Select programming environment
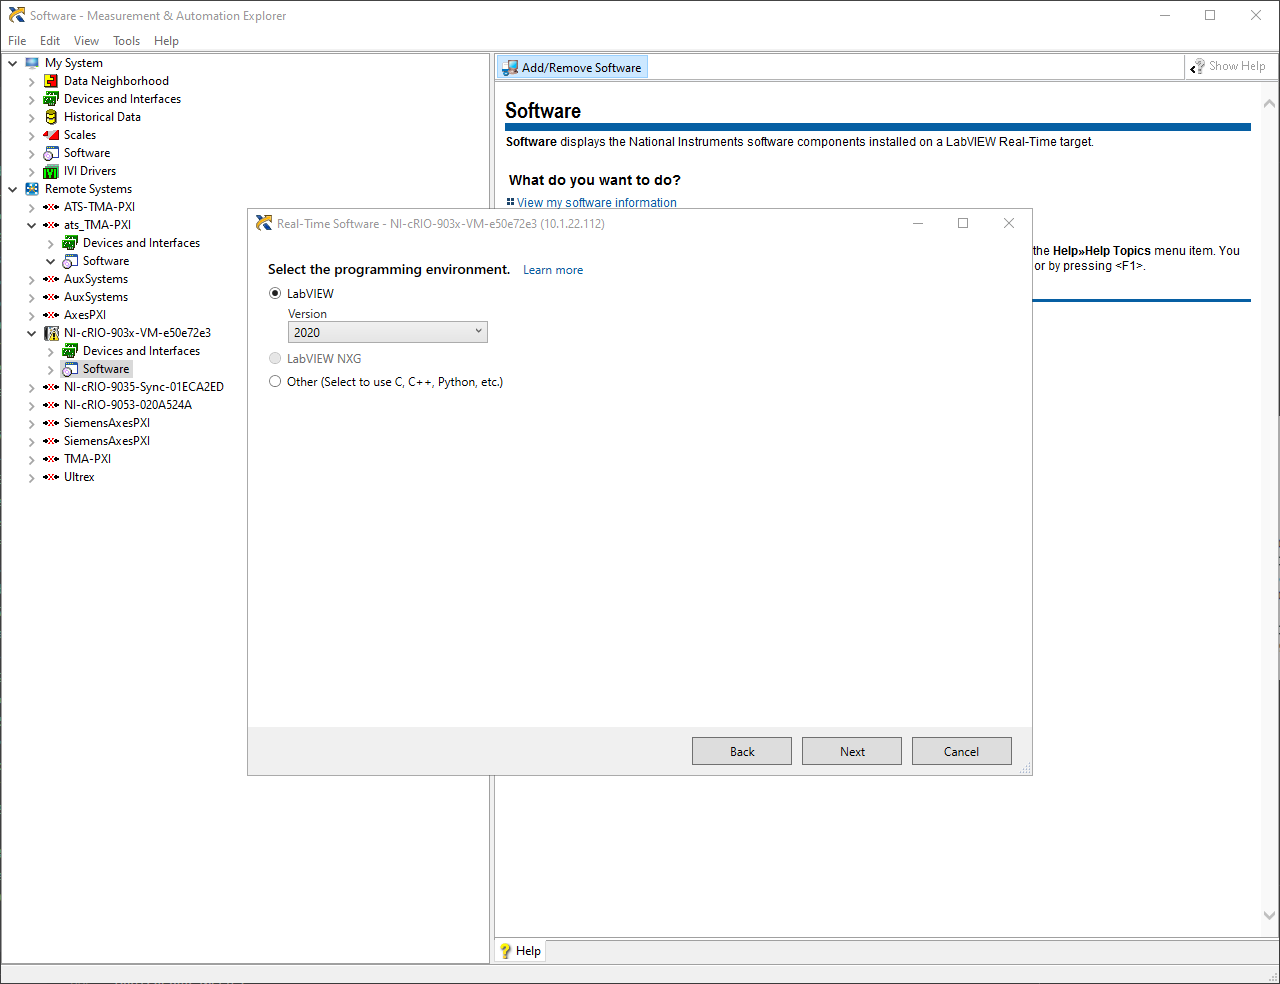
-
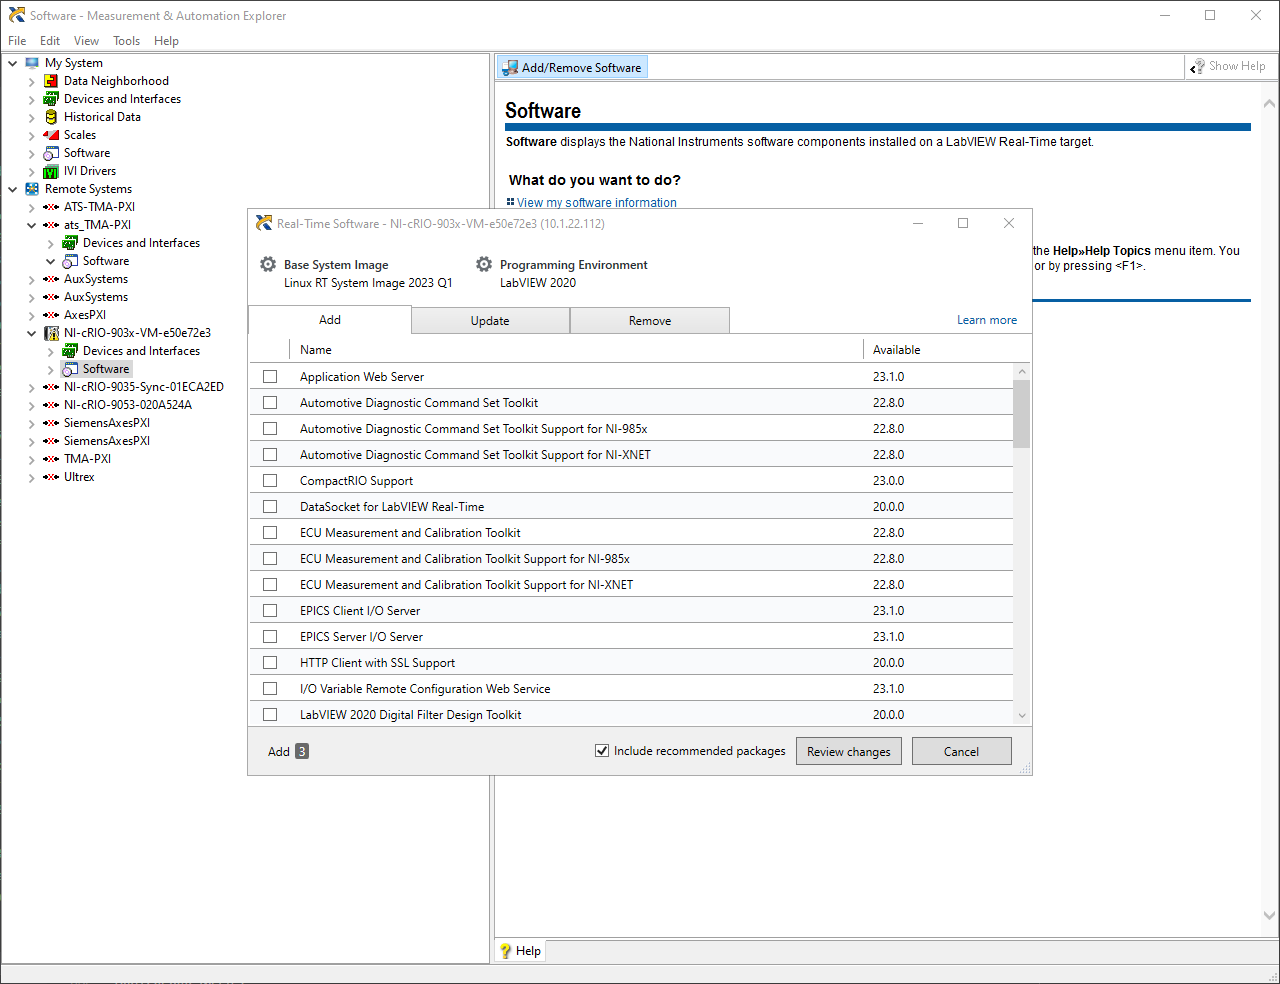
Install required packages
-
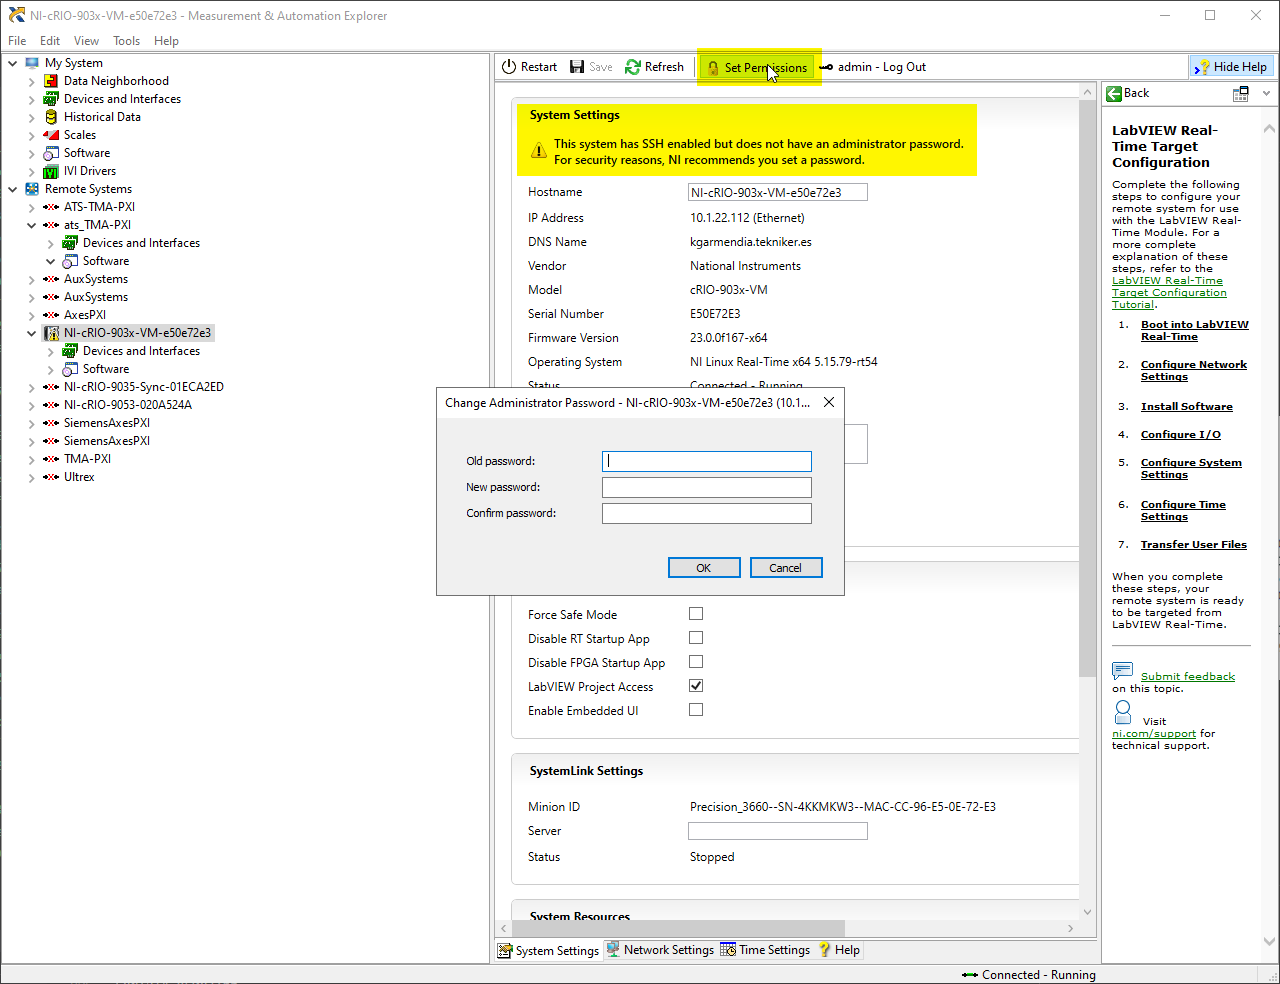
Set SSH password


Define the system as a PXI.
-
Log into the machine and type the following commands
-
Set as PXI
grub-editenv - set TargetClass=PXI
grub-editenv - set DeviceCode=0x77E1
grub-editenv - set NITarget=true
-
Define desired device description
grub-editenv - set DeviceDesc=PXIe-8880_Dell -
Define desired host name
grub-editenv - set hostname=ats_AXES-PXI -
Reboot to apply the changes
-
-
Check the settled configuration command
fw_printenv
-
Example configuration
admin@NI-cRIO-903x-VM-e50e7166:~# grub-editenv - set TargetClass=PXI
admin@NI-cRIO-903x-VM-e50e7166:~# grub-editenv - set DeviceCode=0x77E1
admin@NI-cRIO-903x-VM-e50e7166:~# grub-editenv - set DeviceDesc=PXIe-8880_Dell
admin@NI-cRIO-903x-VM-e50e7166:~# grub-editenv - set hostname=ats_TMA-PXI
admin@NI-cRIO-903x-VM-e50e7166:~# grub-editenv - set NITarget=true
admin@NI-cRIO-903x-VM-e50e7166:~# fw_printenv
serial#=e50e7166
DeviceCode=0x77E1
DeviceDesc=PXIe-8880_Dell
TargetClass=PXI
BIOSBootMode=efi
NITarget=true
primaryethaddr=CC96E50E7166
hostname=ats_TMA-PXI
safemodeenabled=False
admin@NI-cRIO-903x-VM-e50e7166:~# reboot
after the reboot
admin@ats_TMA-PXI:~# fw_printenv
serial#=e50e7166
DeviceCode=0x77E1
DeviceDesc=PXIe-8880_Dell
TargetClass=PXI
BIOSBootMode=efi
NITarget=true
primaryethaddr=CC96E50E7166
hostname=ats_TMA-PXI
safemodeenabled=False
After setting the target as a PXI, the new target appears as a PXI target in the project and the NI MAX.

Define the system as a cRIO.
- Log into the machine and type the following commands
-
Set as PXI
grub-editenv - set TargetClass=cRIO
grub-editenv - set DeviceCode=0x7735
-
Define desired device description
grub-editenv - set DeviceDesc=cRIO-903x-VM -
Define desired host name
grub-editenv - set hostname=name -
Reboot to apply the changes
-
-
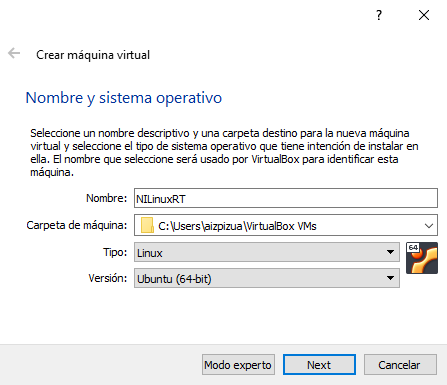
Choose Linux as Type and Ubuntu (64-bit) as version
-
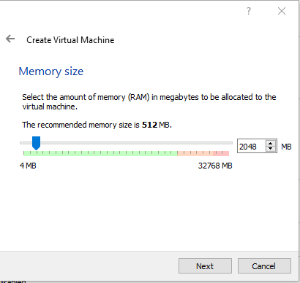
Choose 1024 or 2048 as your memory size (this can be changed later if needed)
-
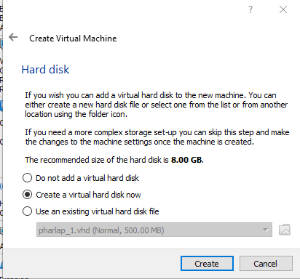
Choose to create a virtual hard drive (at least 4 GB)
-
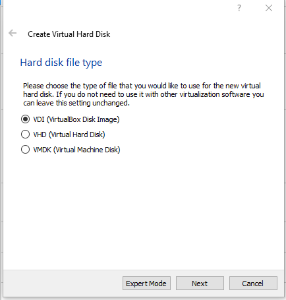
Choose VDI as your hard disk type
-
Choose Dynamically allocated as how the data is stored (both options will work, this takes less space on your host system)

-
Once the virtual machine has been created, copy the image from
C:\\Program Files (x86)\\National Instruments\\RT Images\\Utilities\\Linux RT PXI Safemode\\8.0called standard_x64_recovery.iso to your virtualbox workspace (this is strictly not necessary, however I prefer to do this in case the image get corrupted during the install process, we have a backup and don't have to reinstall the LabVIEW Real Time Module)


-
Select your virtual machine (NILRT in my case) and click on the settings gear
-
Go to settings -> system -> Motherboard and check the box "Enable EFI (Special OSes only)

-
Go to Settings -> Storage and select the optical storage device
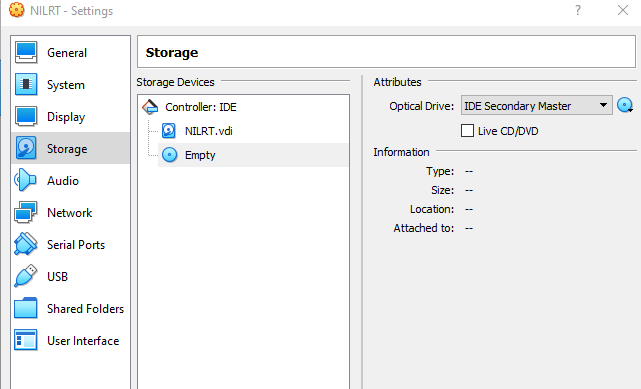
-
Click the options menu of the optical drive in the top right corner (little blue "wheel") and select the option "Choose a disk file"
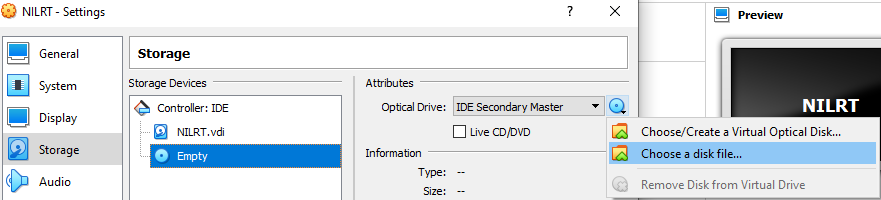
-
Navigate to where you have stored your NILRT recovery iso file and select it

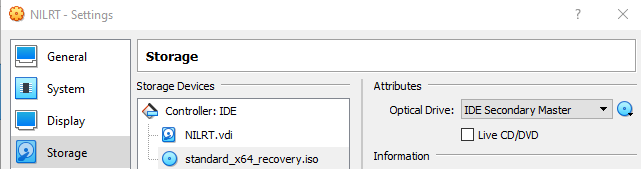
-
Go to network and in the adapter 1 tab, select the
Enable Network Adaptercheckbox (usually selected by default) -
Choose
Attached to: Bridged Adapterand select your main network card as the Name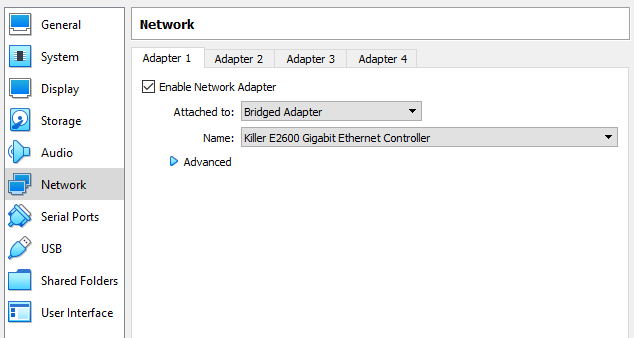
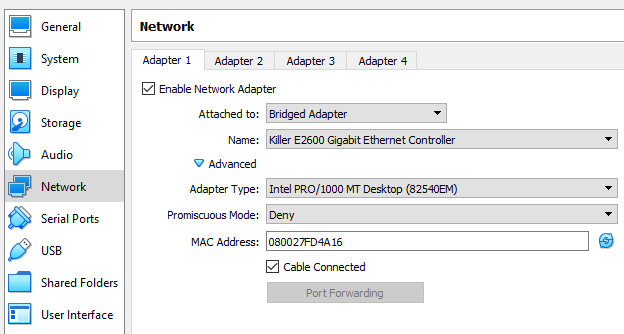
-
Expand the advanced menu and select the Intel PRO/1000 MT Desktop as your Adapter type (usually the default one. NI ships most of their controllers with Intel based hardware)
-
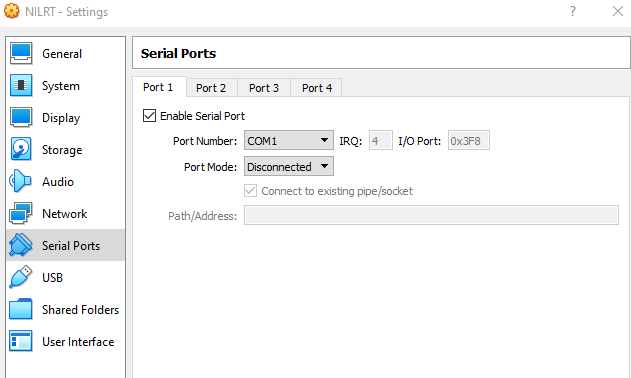
Select the settings -> Serial Ports -> Port 1 tab
-
Check the box
Enable Serial Port- This is needed for one of the hardware authentication steps in the NILRT installer and will fail if not enabled
-
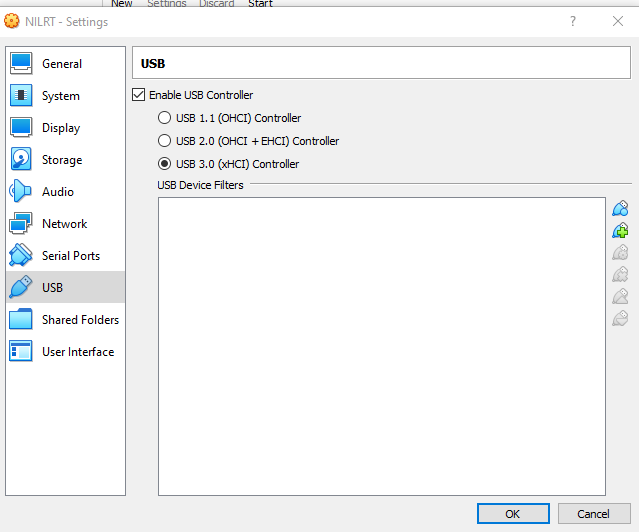
Select USB 3.0 as your USB controller (USB keyboards and other USB based peripherals will not work unless you do this)


-
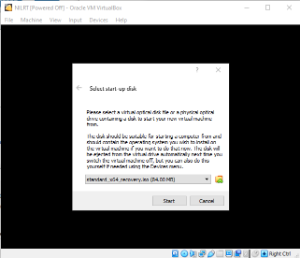
DoubleClick or hit the
startarrow to run the machine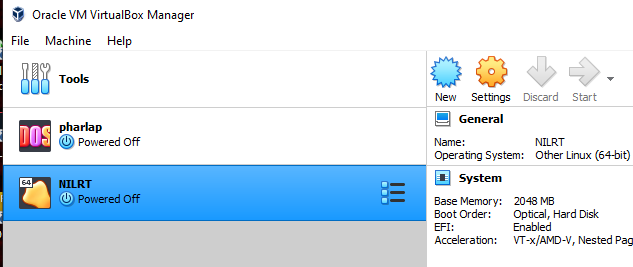
-
Select the ISO as your startup drive/disk
-
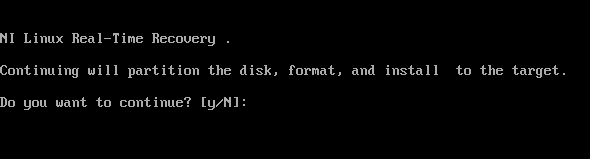
choose "y" (yes) when the installer prompts you if you want to continue


If you are using a USB based keyboard, the installer might refuse to take any keyboard inputs at this step. If this happens, right click the USB icon in the down right corner of your NILRT virtual machine window and select your keyboard. This is only needed during the installation and can be unchecked on the next reboot (once the system is installed)

-
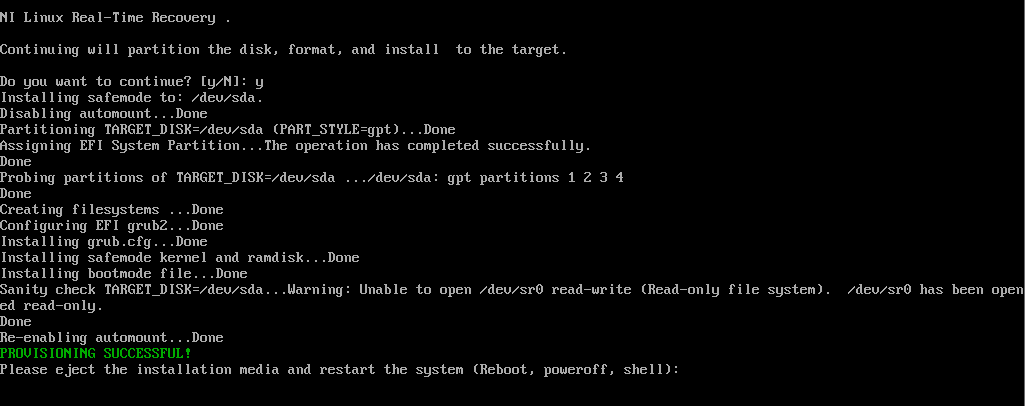
When the process finishes, it will ask you to restart the machine:
-
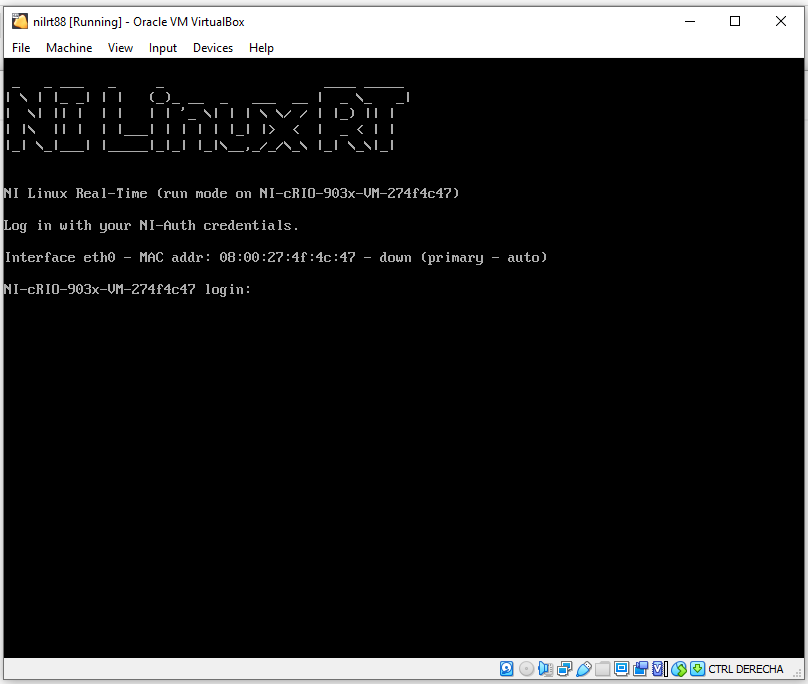
After restarting you'll get the following screen:
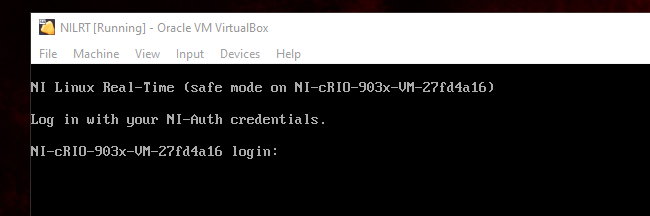
-
That's it, the system should now be discoverable from MAX and you can install all drivers from there.


If the system is discoverable but you're not allowed to install, it might be because the network configuration in virtualbox is not correct.
-
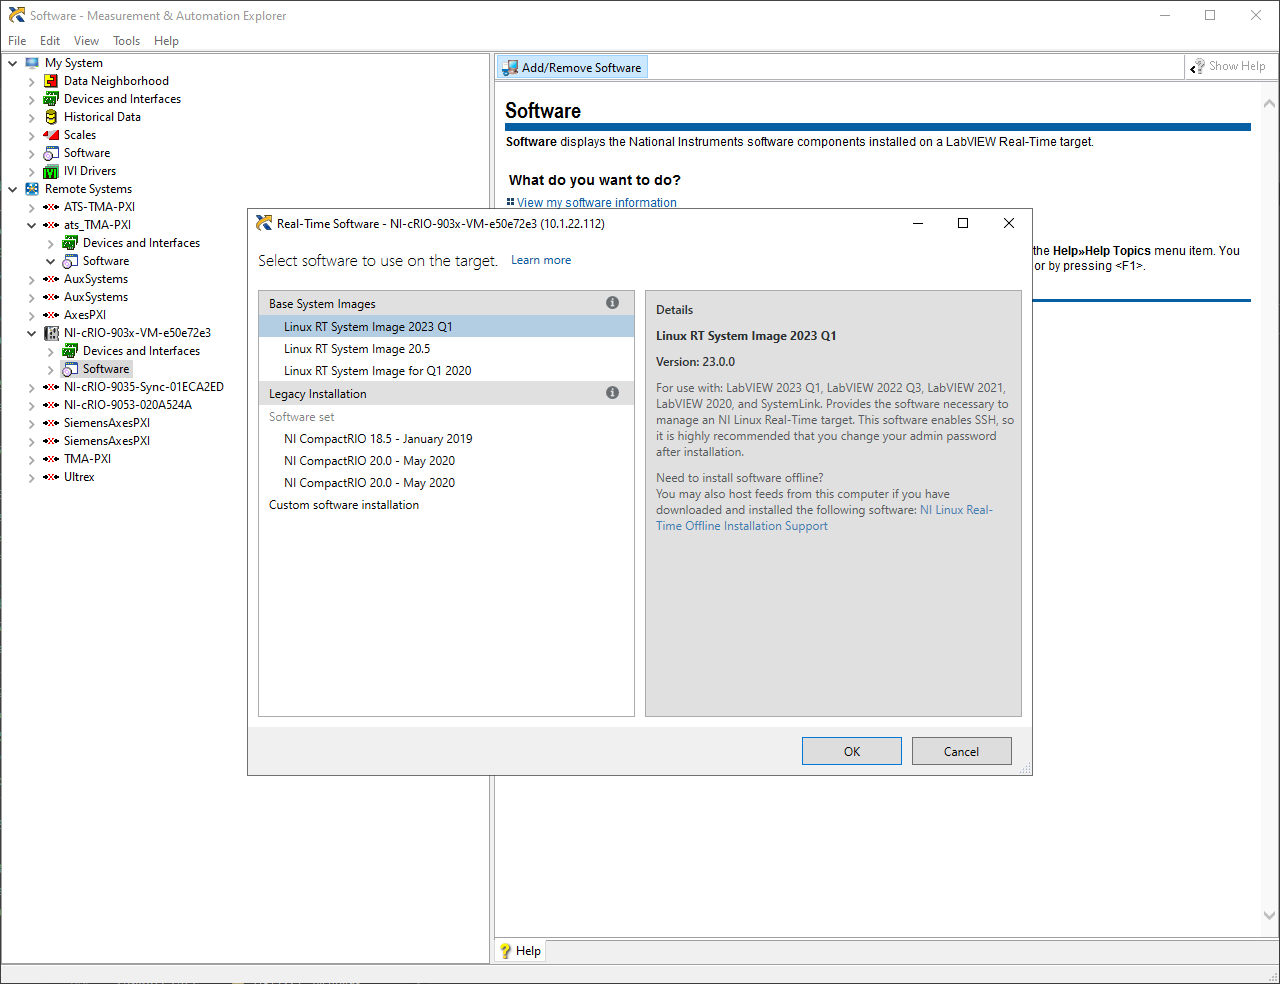
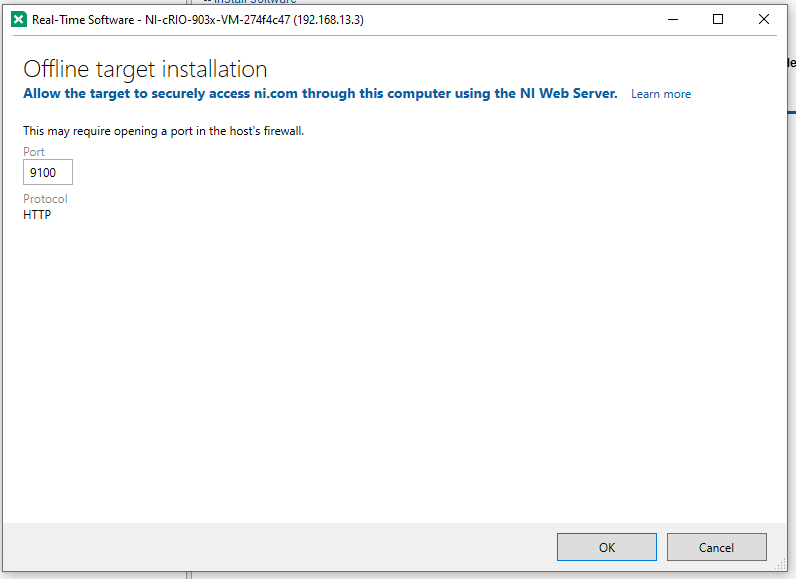
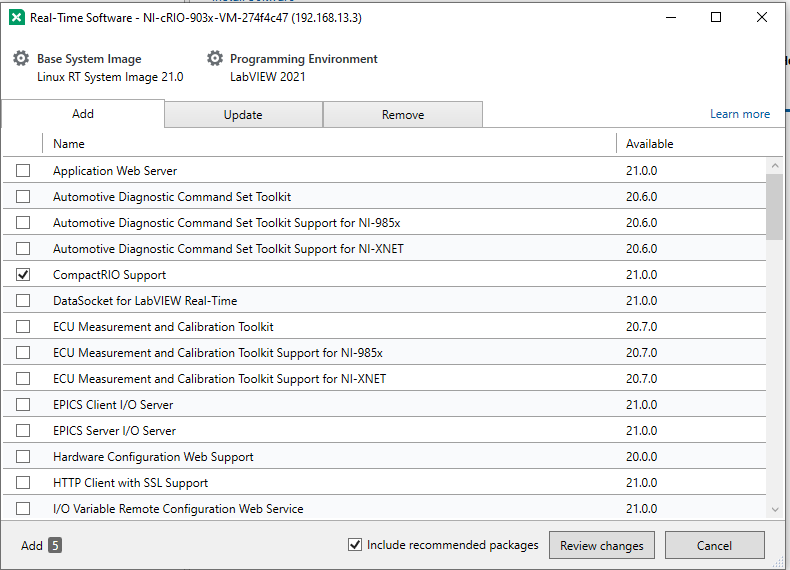
From NI MAX -> Remote systems -> Your remote device -> Open the device submenu clicking on the arrow -> Right click on
Software-> Click on Add/Remove Software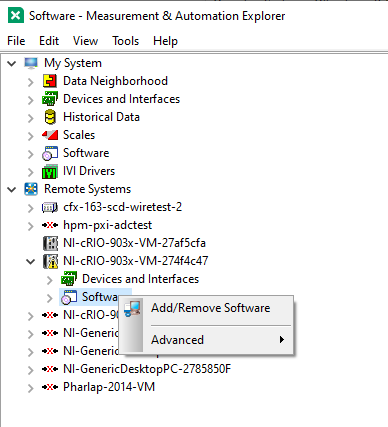
-
If the credentials screen opens, the default user is "admin" and leave password empty. Click enter to proceed to the following screen
-
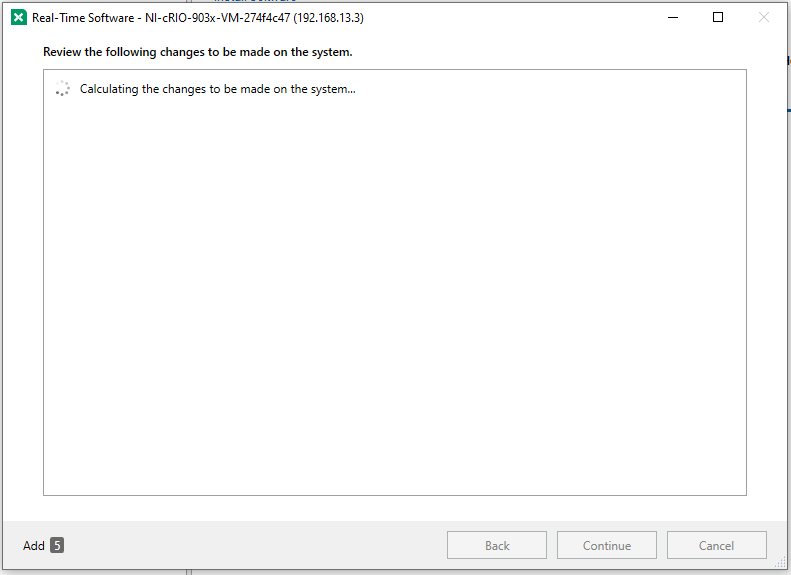
Select the OS to install:
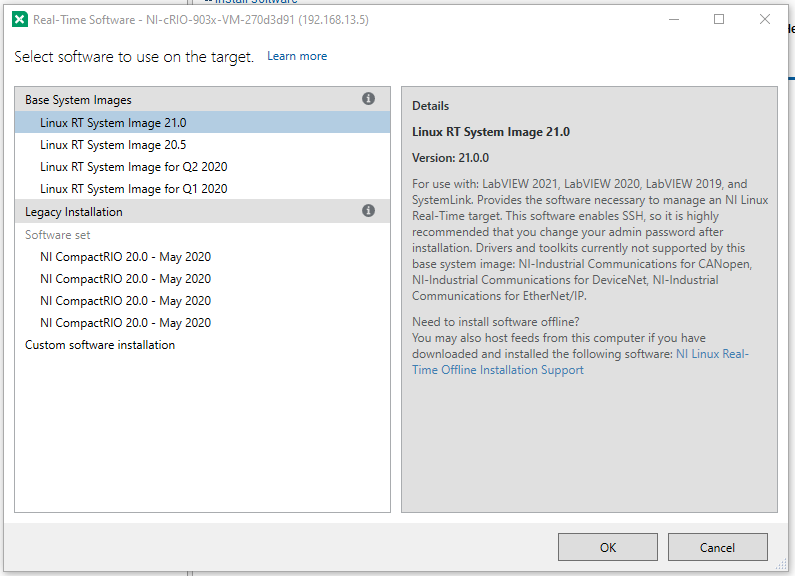
-
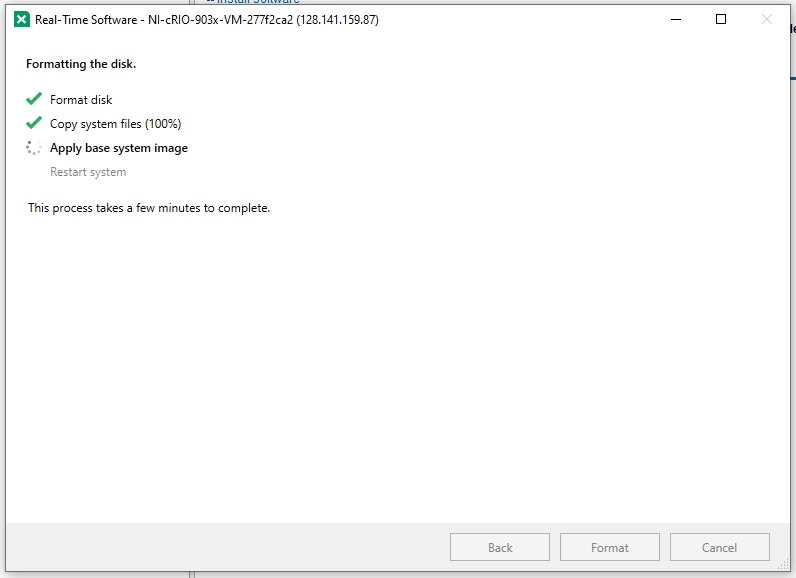
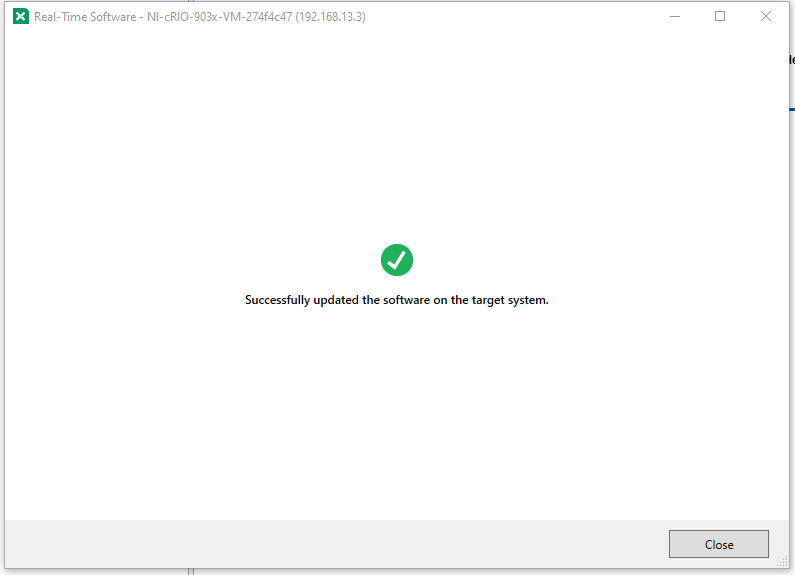
Wait for this to finish and restart
-
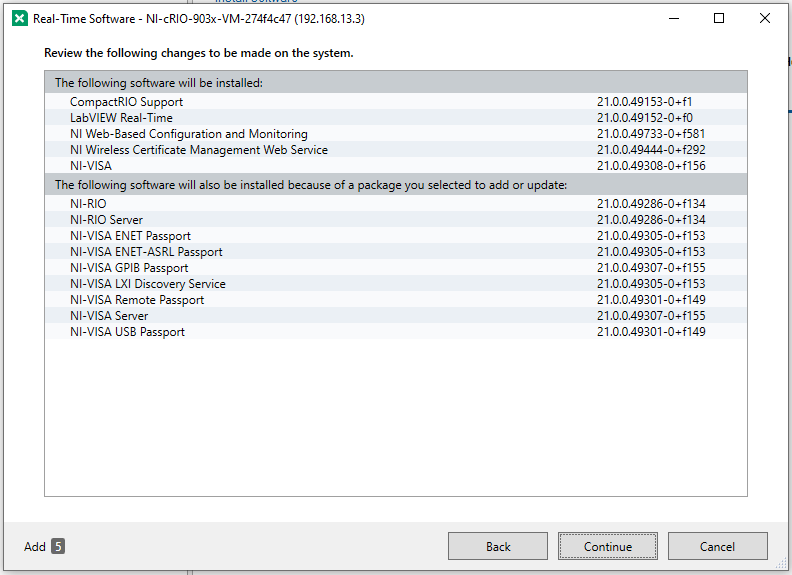
Selected software to install by default:
- CompactRIO Support.
- LabVIEW Real-Time.
- NI Web-Based Configuration and Monitoring
- NI Wireless Certificate Management Web Service
- NI-VISA

-
Done, a cRIO system is installed in a VM, to change the system to be a PXI, go to this section


