This repository contains modules for working with MAPPS and SPICE, e.g. manipulating timestamps, analyzing power consumption, and generating mosaic instructions.
For details see resource_analysis.md
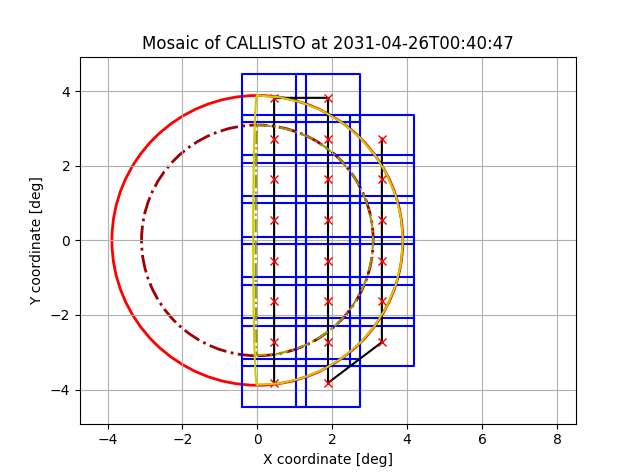
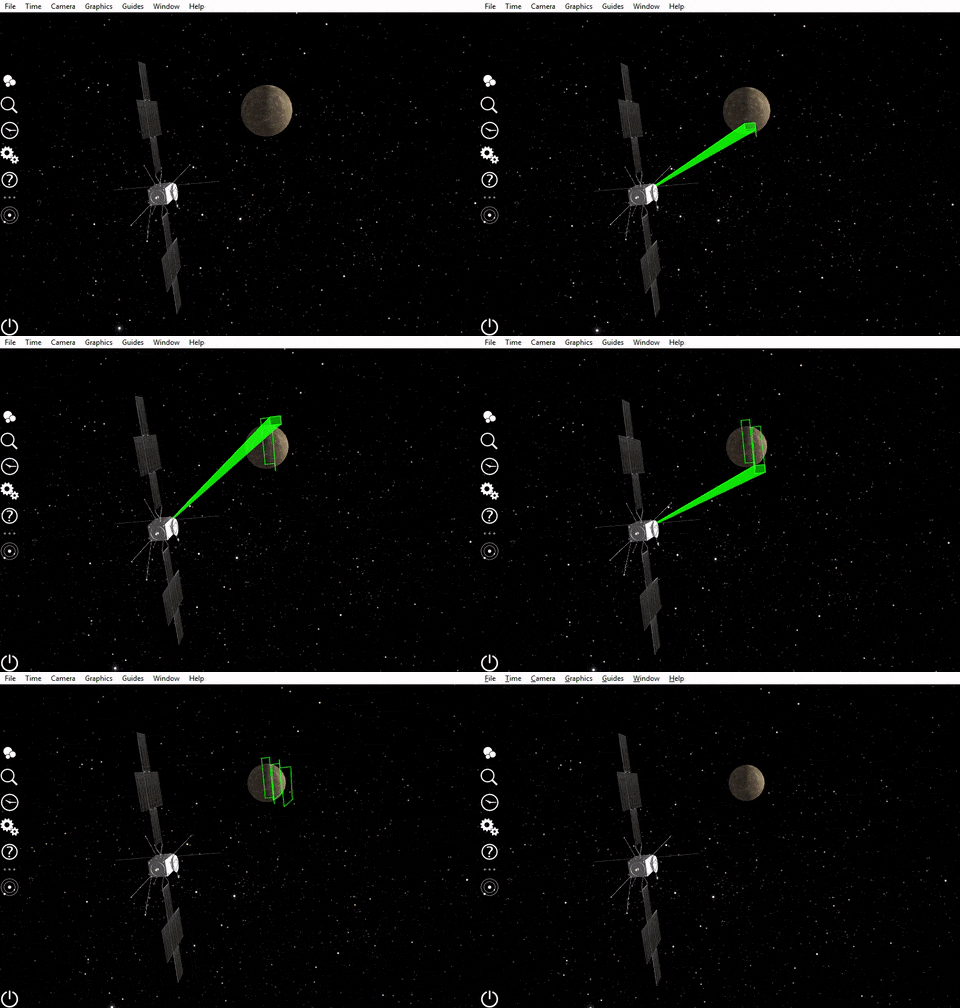
One can generate either a full-disk mosaic, or mosaic of the sun-illuminated surface of a body.
| Python plot | Resulting slew |
|---|---|
 |
 |
For details see JANUS mosaics.md
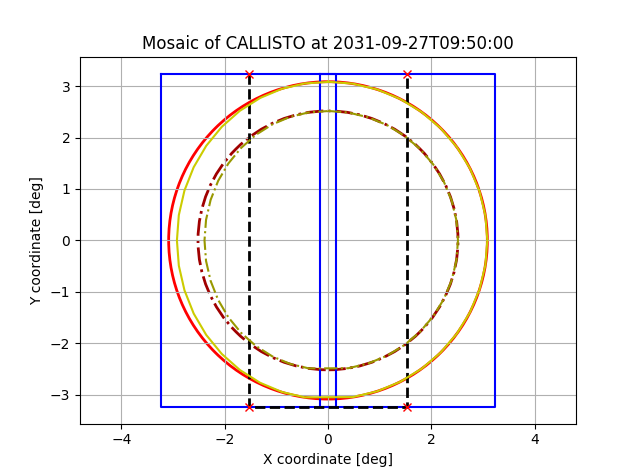
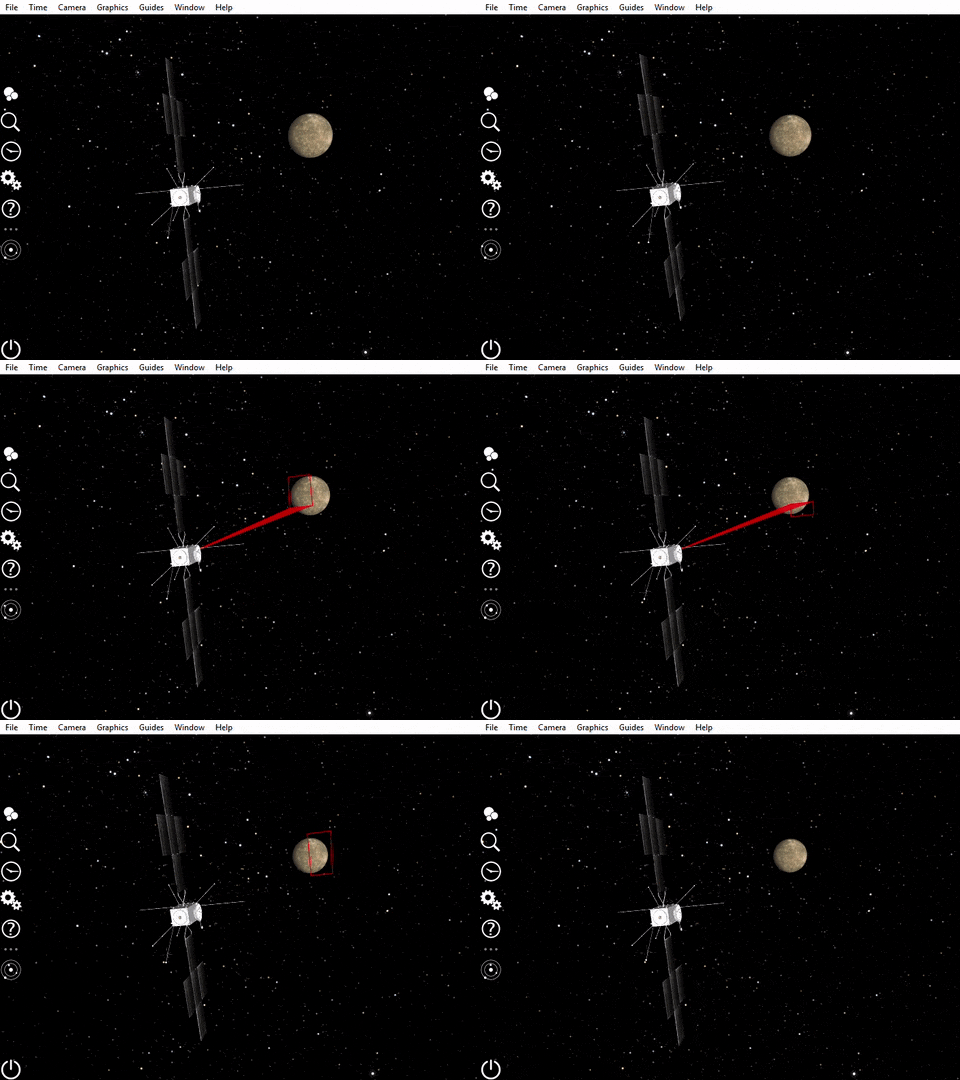
Again, the slew can either cover the whole disk, or only the sun-illuminated portion.
| Python plot | Resulting slew |
|---|---|
 |
 |
For details see MAJIS scans.md
Translating between relative and absolute timestamps in MAPPS config files, e.g.
CLS_APP_CAL +06:28:00 to 2031-04-26T05:08:47Z, and vice versa.
For details see timestamps.md
Example scripts are available in the examples folder.
Tutorials:
The Anaconda environment manager will automatically download and install required Python version.
- Clone the project to a local folder.
- Navigate to project root folder in terminal.
- Create new Anaconda environment called
mapps_toolswithpython3.6and required packages:
conda env create -f environment.yml
- Activate the newly created environment:
activate mapps_tools- (Using bash, you need to do
source activate mapps_tools.)
- Run tests to see if everything is working:
python setup.py test- You can now
import mapps_tools,import mapps_tools.mosaics, etc. when you are in the root project folder.
- (Optional) If you want to use the module outside of its working directory, you need to install it into the current environment:
python setup.py install- You can now
import mapps_tools,import mapps_tools.mosaics, etc. anywhere.
You need Python 3.6.0 or higher. Check this using python -V in the terminal, and update if necessary.
When not using Anaconda, Windows users need to install the Shapely library manually first:
- Download appropriate pip wheel for you from this site. E.g.:
- 64-bit, python3.6:
Shapely‑1.6.4.post1‑cp36‑cp36m‑win_amd64.whl - 32-bit, python3.7:
Shapely‑1.6.4.post1‑cp37‑cp37m‑win32.whl - etc.
- Install it using
pip install <whl_file_name>.
Afterwards, follow the instructions for Mac/Linux.
- Clone the project to a local folder.
- Navigate to project root folder in terminal.
- Run tests to see if everything is working:
python setup.py test- You can now
import mapps_tools,import mapps_tools.mosaics, etc. when you are in the root project folder.
- (Optional) If you want to use the module outside of its working directory, you need to install it into the local Python module index:
python setup.py install- You can now
import mapps_tools,import mapps_tools.mosaics, etc. anywhere.
In case of any issues, contact Marcel Stefko. If you have an ESA GitLab account, you can also open an issue in the project.
Many thanks to Andrew Annex for developing and sharing the great SpiceyPy package.
