The Open-Source IO Shooter is an open-source multiplayer game in the browser (desktop or browser). It is meant to be hostable and playable by anyone. This is not an attempt at creating an outstanding gaming experience, but to create an easily understandable and modifiable multiplayer browser game.
Desktop version
Mobile version
Want to play right away? You can play the game by following (and sharing) this link https://tosios.online/ (or https://tosios-demo.herokuapp.com/).
Rules
The game principles are fairly easy to grasp:
- Every player is positionned randomly on the map during the
lobby. - When the
gamestarts, each player must take down others (either in death match, or team death match). - There are some
potionson the map that restore health. - The last player (or team) alive wins 🎉.
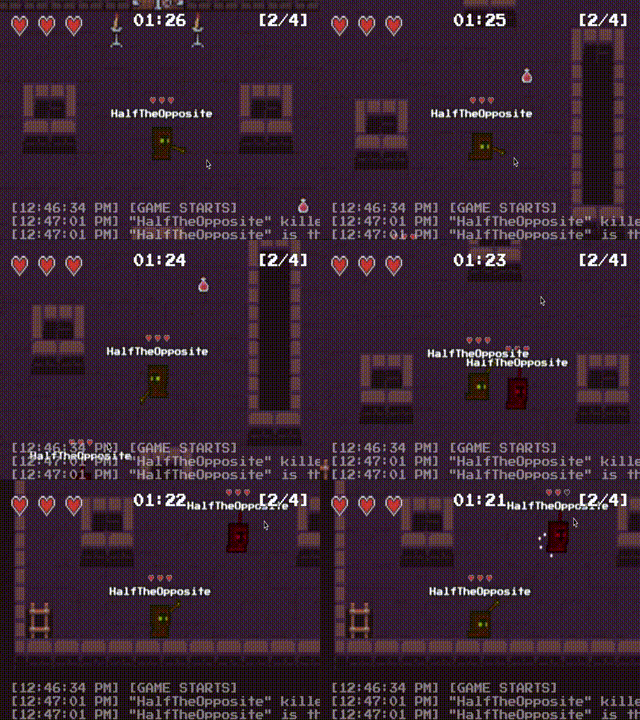
You can see a very small amount of gameplay below (the framerate of this GIF is low):
Movements
- Move: W A S D or ↑ ← ↓ →.
- Aim: Mouse
- Shoot: Left click or Space
You can build this game yourself easily if you are experienced with modern javascript development or Docker.
The easiest way to run the game is to use the docker-compose.yml file with the following command docker-compose up -d.
The up option will download the image if you don't have it yet and run the container.
The -d option will run the container in the background.
You can also build the Docker image yourself:
- Build it with
docker build -t tosios . - Run it with
docker run -d -p 3001:3001 [IMAGE_ID]
The -d option will run the container in the background (recommended if you want to have access to your current terminal session).
The -p option will let you choose on which port the container will listen (e.g. the first 3001 will make it accessible to http://localhost:3001), and on which internal port must the server listen (e.g. the second 3001).
The [IMAGE_ID] is easily discoverable by running docker images in the terminal.
You can also build the game directly using yarn (you cannot use npm install as this repo is using the workspace feature of Yarn):
- Install dependencies with
yarn. - Build game with
yarn build. - Run
yarn serve. - The game is available at http://localhost:3001.
Tips
If you want to play with friends at work or home, you can run
the following command to get your local network IP: ipconfig getifaddr en0. You can then share the obtained IP and port(ex: http://192.168.1.10:3001).
To run the project in development:
- Install dependencies with
yarn. - Make a first build with
yarn build - Start game with
yarn start. - The game is available at http://localhost:3001.
If you encounter a white screen the first time you try to load the game in the browser, that's normal, just refresh the page. This is due to the order in which things are built the first time at launch.
In development, the front application is NOT served by the server, thus requiring you to access it through port 3000 instead of 3001 as seen before.
In development changes made to client and server are live, except for the common module.
This project is a monorepo (with the help of Yarn workspaces). It contains the following packages:
client- The frontend application usingCreate React App,PIXI.jsandColyseus.js.server- The authoritarive server running onNodeJS,ExpressandColyseus.common- A collection of constants and methods shared amongstclientandserver.
Anyone can create their own map to use in TOSIOS.
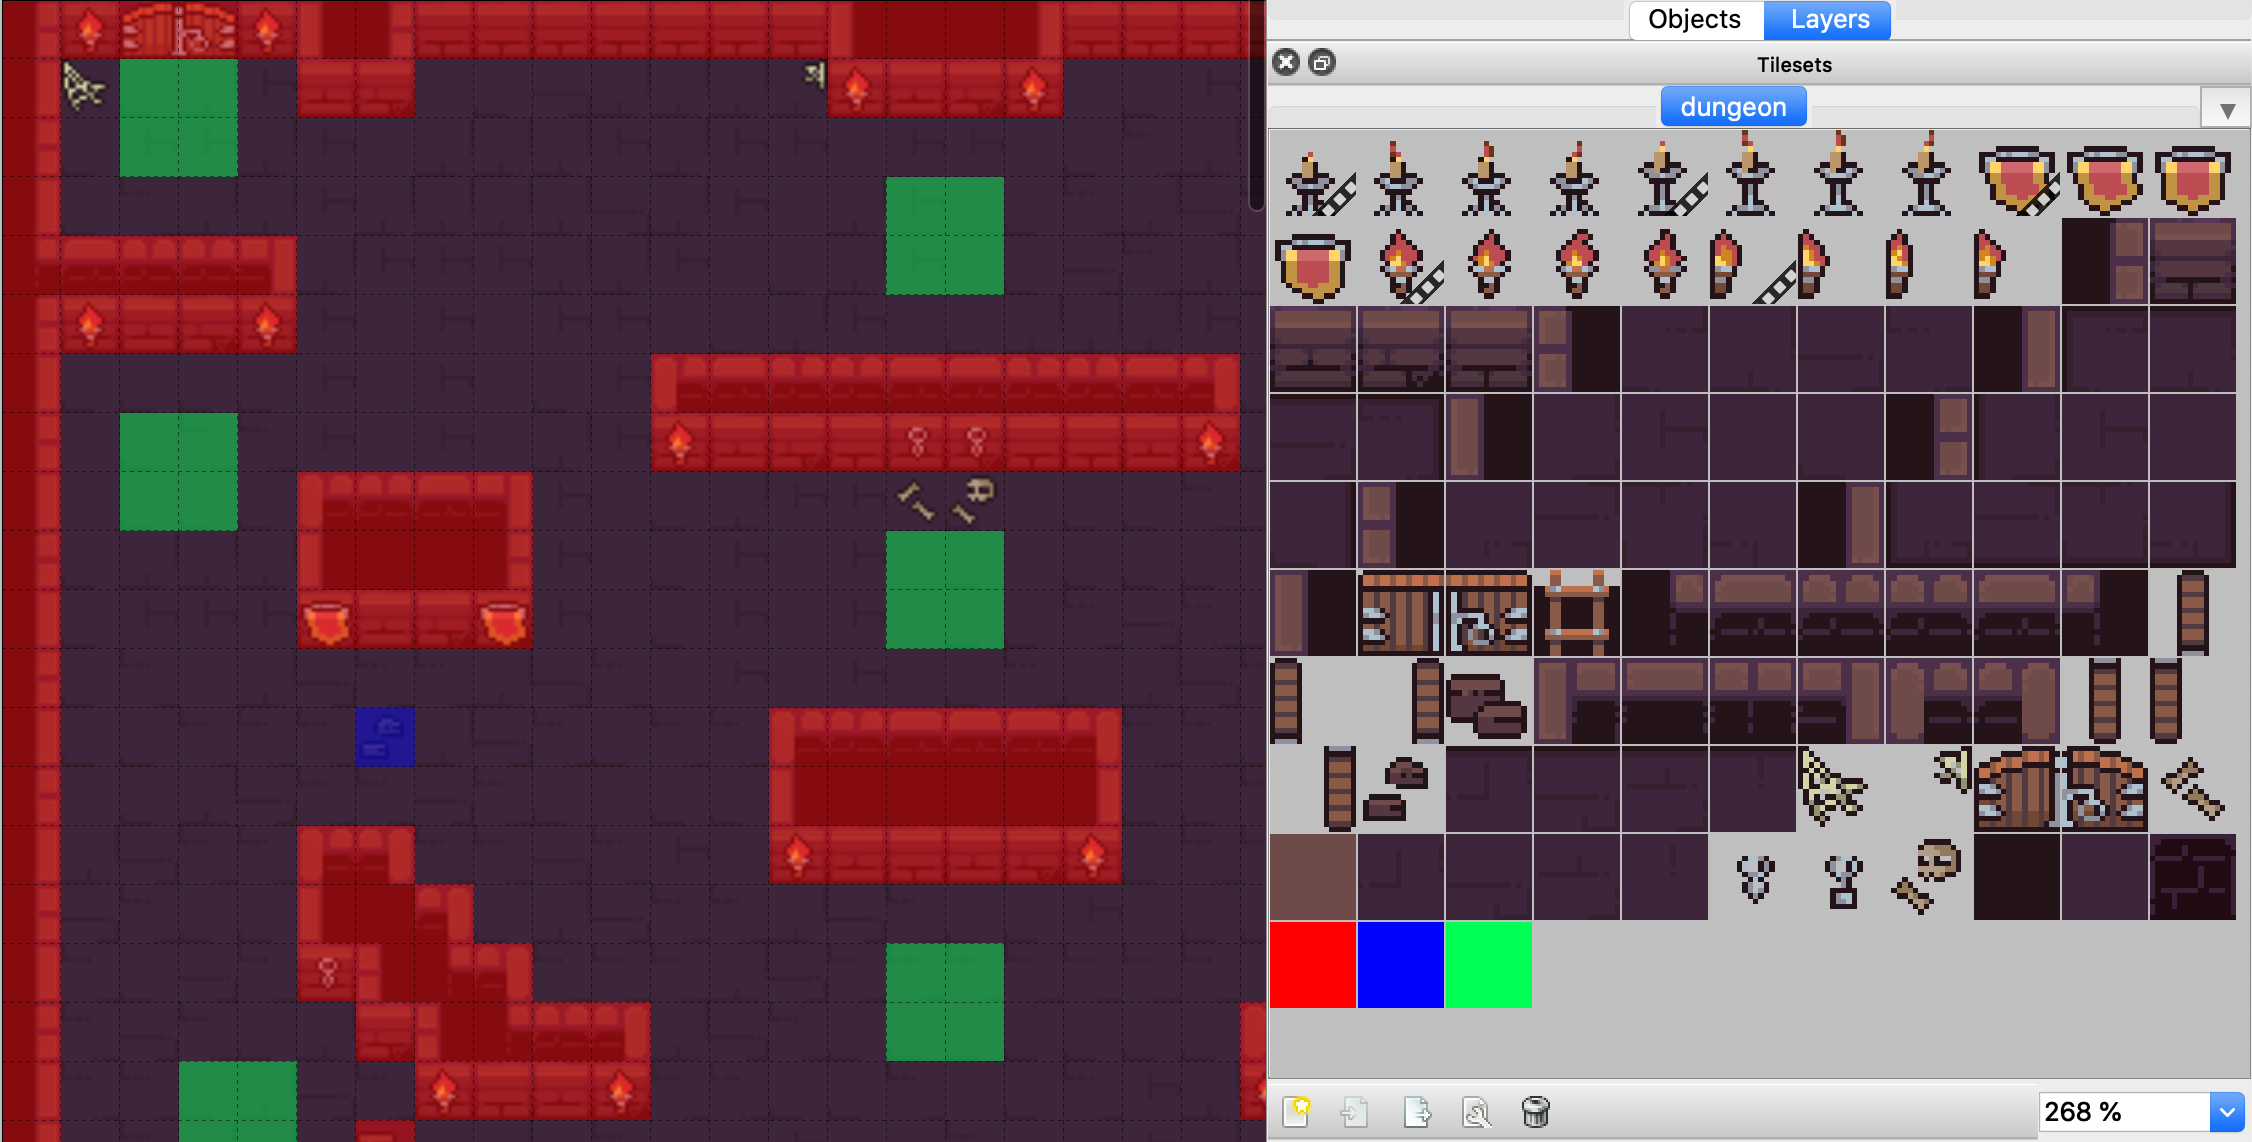
The maps available in TOSIOS have all been created thanks to Tiled Map Editor (TME). You must first download this software in order to start creating your own map. I also invite you to read some tutorial for an easier beginning.
The most important concepts to create a functional map are layers and tilesets (I invite you to open one of the existing map in TME to familiarize yourself with how maps are structured. It will make things 10x easier if you have a living example under your eyes).
Layers
A layer is where your tiles are placed to form a map. You can combine multiple layers on top of each other so that you can get a crate over a ground tile, or a spider web over a wall for example.
There are two reserved layers that should be present at all time (although not rendered):
collisions: for the client and server to know where the player can move or not (ex: walls or pits), or shoot through (ex: pits or small rocks).spawners: for the server to determine the starting position of a player.
Other than that, you can add as many layers as you want and they will be rendered by PIXI.js in a WYSIWYG manner (order is maintained).
Although in the dungeon.png spritesheet I use colored tiles to represent collisions (red and blue) and spawners (green), you can use any tile you want as it won't be rendered anyway.
Tilesets
The tilesets is where lie the splitted spritesheet and its collision, animated and spawner tiles.
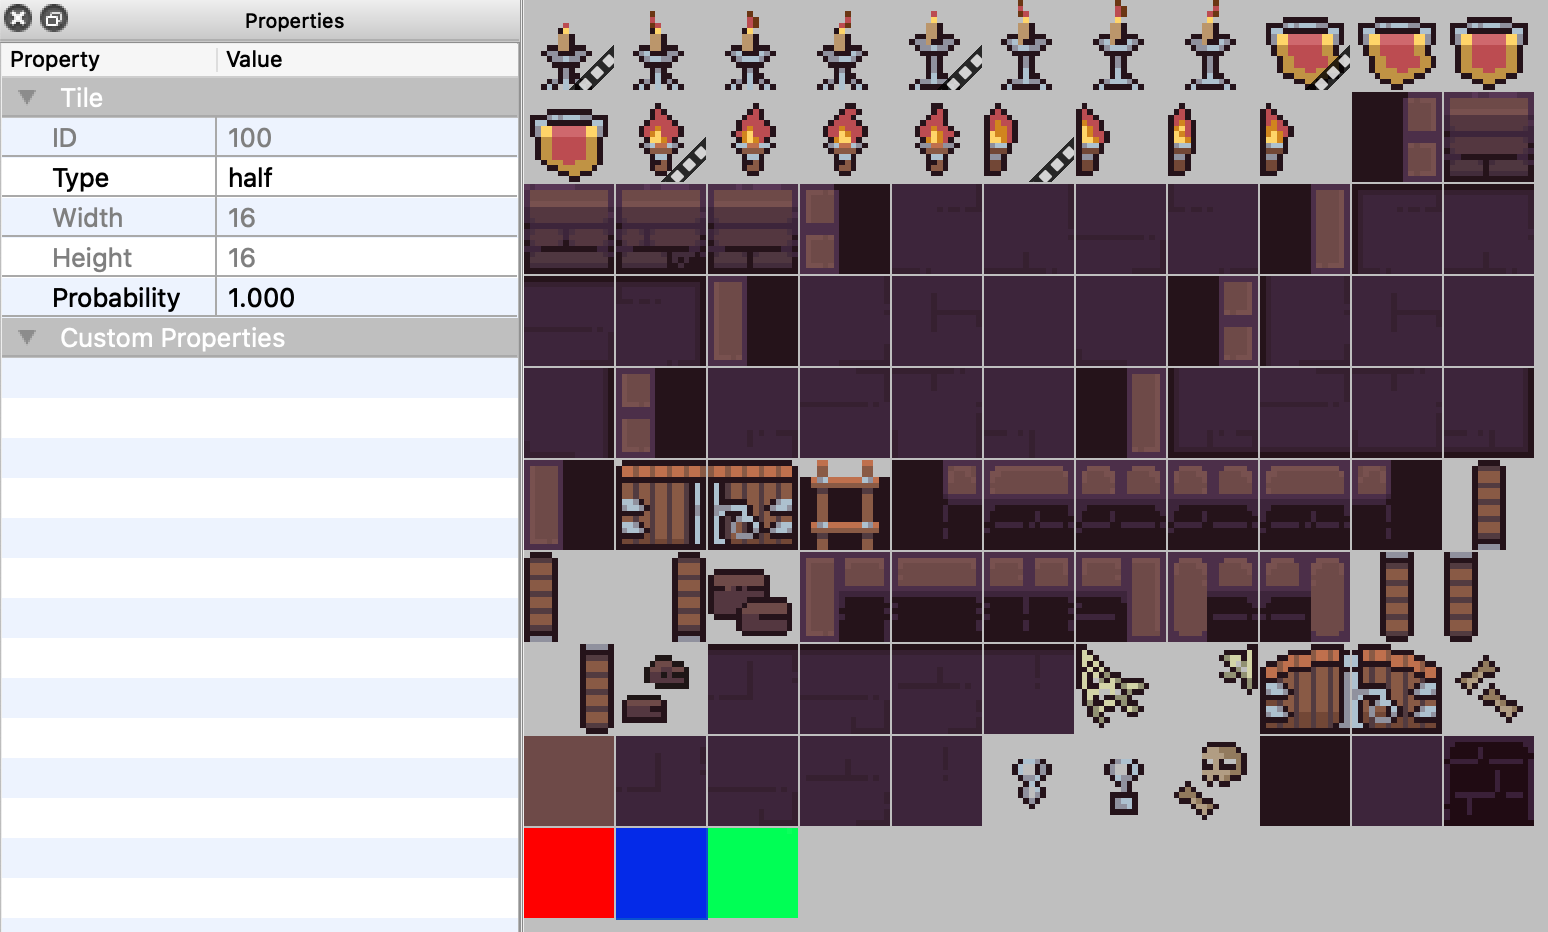
When defining which tile will be used for collisions it is very important to set its type field to either:
half: aplayerCAN'T go through, but abulletCAN go through.full: aplayerCAN'T go through, and abulletCAN'T go through.
This can be done by selecting a tile in the tilesets editor, and entering its type on the left pane.
If you want to add your map to the game:
- If you have a custom spritesheet image, add it in
/packages/client/src/images/maps/custom.png - Open
/packages/client/src/images/maps/index.ts, and add the following statements:
import gigantic from "./gigantic.png";
import custom from "./custom.png"; // <- Add this line

export const SpriteSheets: { [key: string]: string } = {
  "dungeon.png": dungeon,
  "custom.png": custom, // <- Add this line
};- Add your map file (TMX as JSON) in
/packages/common/maps/custom.json. - Open
/packages/common/maps/index.ts:
// ...
import gigantic from "./gigantic.json";
import custom from "./custom.json"; // <- Add this line

export const List: { [key: string]: TMX.IMap } = {
  gigantic,
  custom, // <- Add this line
};- Open
/packages/common/constants.ts:
// ...
export const MAPS_NAMES = ["gigantic", "custom"]; // <- Add this entry
// ...This is not an exhaustive, nor final, features list but it will give you a good indication on what I am working on:
- Let users select the number of players in a room.
- Publish the docker image onto a registry and add a
docker-composefile. - Add a playable demo website for anyone to test and play the game.
- Add mobile mode (updated GUI and virtual joysticks).
- Add visual feedback when a player gets hit.
- Add smoother bullets.
- Implement a R-Tree for performances.
- Add players spawner object instead of randomized points.
- Add support for JSON TMX format (Tiled).
- Add a Team Death Match mode.
- Add some monsters. (Q1 2020)
- Improve the UI of the game menu. (Q2 2020)
- Improve particle effects. (Q3 2020)
- Add analytics
- Add sound effects. (Q3 2020)
- Add powers up and pickable items. (Q4 2020)
- Add ground monster. (Q4 2020)
- Add random dungeon generation. (Q4 2020)
Thanks to @endel for his fabulous work on Colyseus that made this game possible.
Thanks to the PIXI.js team for their incredible library and up-to-date documentation.
Thanks to @pixel_poem for the art package he published on Itch.io which made this game looks cool instantly.
Thanks to @thorbjorn81 for the many years of work on the Tiled map editor.
This project is under the MIT license.
The major libraries and assets used in this project and their licenses:
- Colyseus: MIT
- PIXI.js: MIT
- Font "Press Start 2P": Creative Common Zero


