Simplifying the containerization process outside of the command line.
Explore the docs »
View Demo
·
Report Bug
·
Request Feature
Table of Contents
- React
- Redux
- Express
- Docker
- Docker REST API
- Node child_process
- Electron
- Prometheus
- CAdvisor
- Socat (in the localhost)
Starting our app is super easy! Just make sure you have Yarn and Docker if you don't already.
In order for the application to work:
- Must have Docker Desktop or Docker Daemon running in the background.
- Must install yarn:
npm install yarn- For security purposes, please make sure you use this app in your local network unless you provide your own TCP TLS/SSH security. Pre-packaged SSH capabilities are currently in beta!
The pre-bundled app will be coming in Dockure 2.0, but for now:
- Clone the repo
- install dependencies
yarn install
- create an .env file in the root directory filling in your personal DB_host and JWT secret like below:
# Database
DB_HOST=your.db.here
# Bcrypt
BCRYPT_SALT_ROUNDS=10
# JWT
JWT_SECRET=your.secret.here
JWT_EXPIRES_SEC=86400
|-- .github (folder)
|-- client (folder)
|-- electron (folder)
|-- server (folder)

|-- .env (file) <----- right here!
|-- index.html
|-- etcetra...
- build the app
yarn build
- start it
yarn start
- After logging in for the first time, it may take some time for dependencies to load.
Alternatively, you can skip steps 4-5 and run this application in dev mode outside of electron:
yarn devOnce you are logged in there are loads you can do. Here are some examples:
-
Our simple homepage displays containers and their data. You can view container data and/or select multiple containers you'd like to start and stop

-
In our images tab, you can run your images to build containers. You can also pull locally or on Docker Hub and build images.

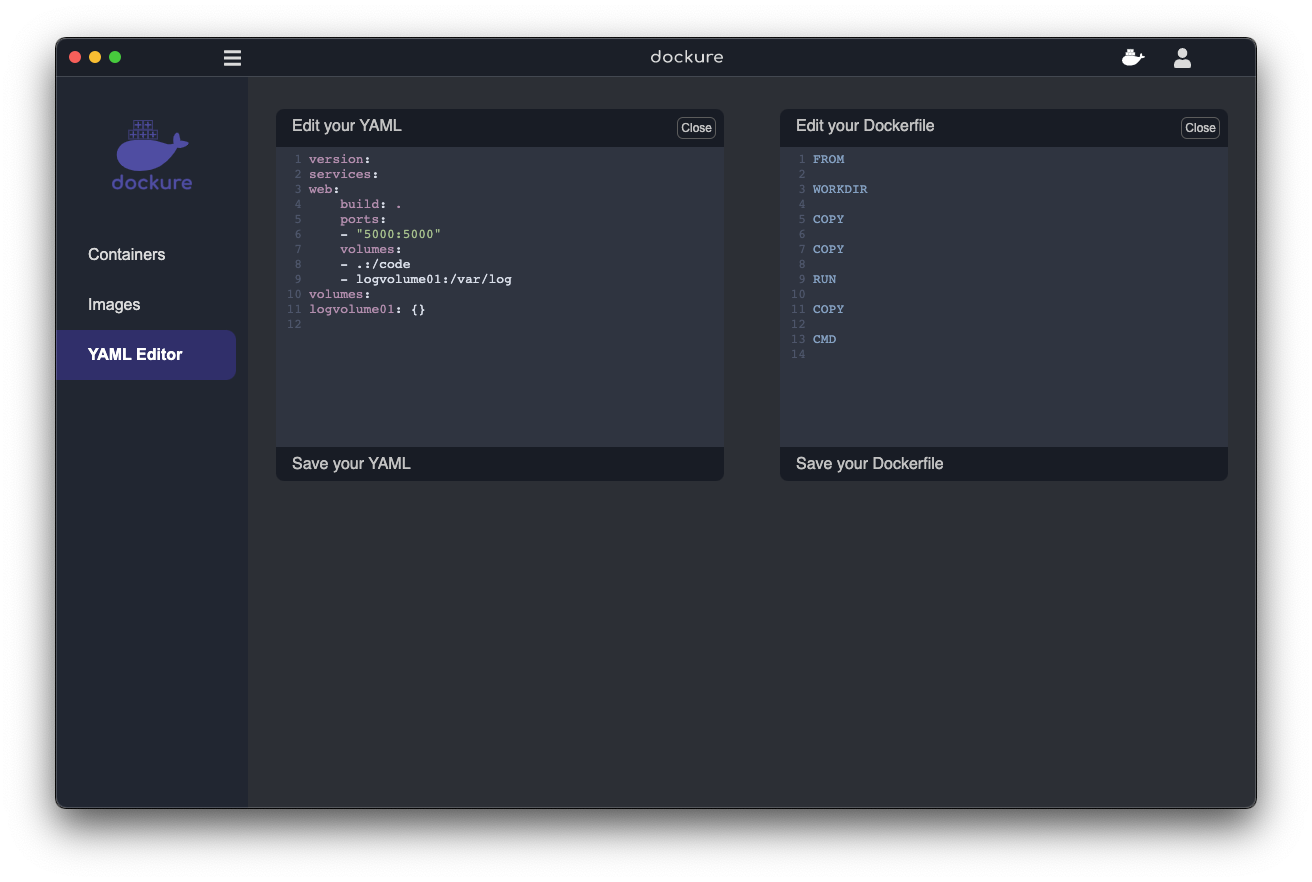
- In our YAML/Dockerfile editor tab, we provide a simple Dockerfile or YAML editor for you to create, edit and save your own files without opening up an IDE.

See the open issues for a list of proposed features (and known issues).
Contributions are what make the open source community such an amazing place to learn, inspire, and create. Any contributions you make are greatly appreciated.
- Fork the Project
- Create your Feature Branch (
git checkout -b feature/AmazingFeature) - Commit your Changes (
git commit -m 'Add some AmazingFeature') - Push to the Branch (
git push origin feature/AmazingFeature) - Open a Pull Request
Distributed under the MIT License. See LICENSE for more information.


