Final Project for Multicore Processors Course at NYU: Parallel Ray Tracing Algorithm
Team Member: Hanlin He, Yaowei Zong, Wenbo Song
Intent
This repository is the skeleton of a ray tracer which will be modified to a parallel version as the final project of Multicore Processor Fall 2021 at NYU.
Downloading The Source Code
This project is mostly writen in C++, to clone the repository, you can
git clone git@github.com:HerlinHe/Multicore_ParallelRayTracing.gitRemember to create a new brach when you do your part of work.
Build and Run
The OpenMP version located in the directory cpu_openMP. You need create a build directory in the root and run program there, do not generate binary file outside of it.
To test on NYU CIMS crunchy1.cims.nyu.edu server, first load cmake and gcc:
module load cmake-3
module load gcc-11.2
cd cpu_openMP
mkdir build
cd build
cmake -DCMAKE_BUILD_TYPE=Release -DCMAKE_CXX_COMPILER=<Your G++ Compiler> ..
make
./parallel_ray_tracing <number of threads> [--width] [--sample] [--depth]# a sample execution with optional args:
./parallel_ray_tracing 16 --width=1200 --sample=100 --depth=5
Making -DCMAKE_BUILD_TYPE to Release then you can accelerate your program.
The option -DCMAKE_CXX_COMPILER specify your compiler, you should choose g++ which support openMP. If not specify the compiler, it will use your default compiler and may cause "Undefined symbols" error. The g++ version I use is g++11.
What You should Get
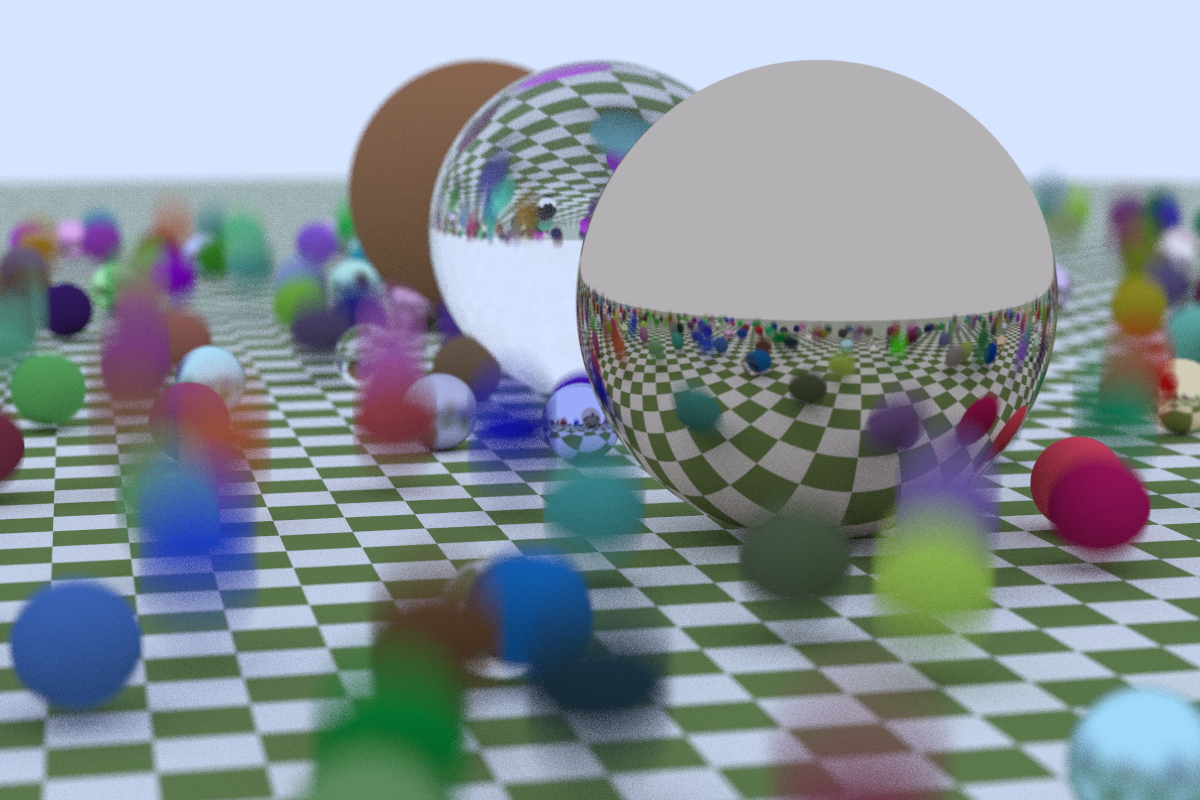
If you choose world=random_scene()(default option) in the main function and set --width=1200, then you can get the following image following the instruction.
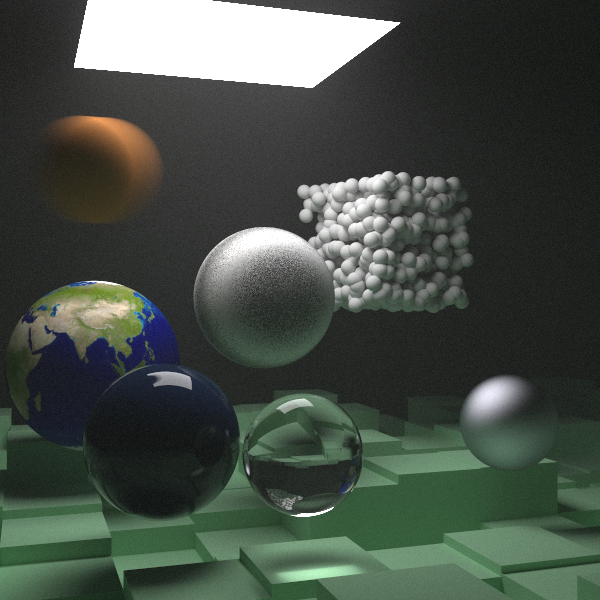
A more complicated scene can be rendered when you set world=final_scene() in the main function. It takes about 160mins to render this picture with one thread.
Compare with GPU Version
We also add a GPU version using Cuda in the directory gpu_cuda. The implemention refer to https://github.com/idcrook/weeker_raytracer.
cd gpu_cuda
cmake -B build
cd build
make
./parallel_cuda > out.ppm
To convert the ppm file into a picturen you can
ppmtojpeg out.ppm > out.jpgTo produce the first scene, the GPU version takes several seconds, which is much faster than CPU one.

