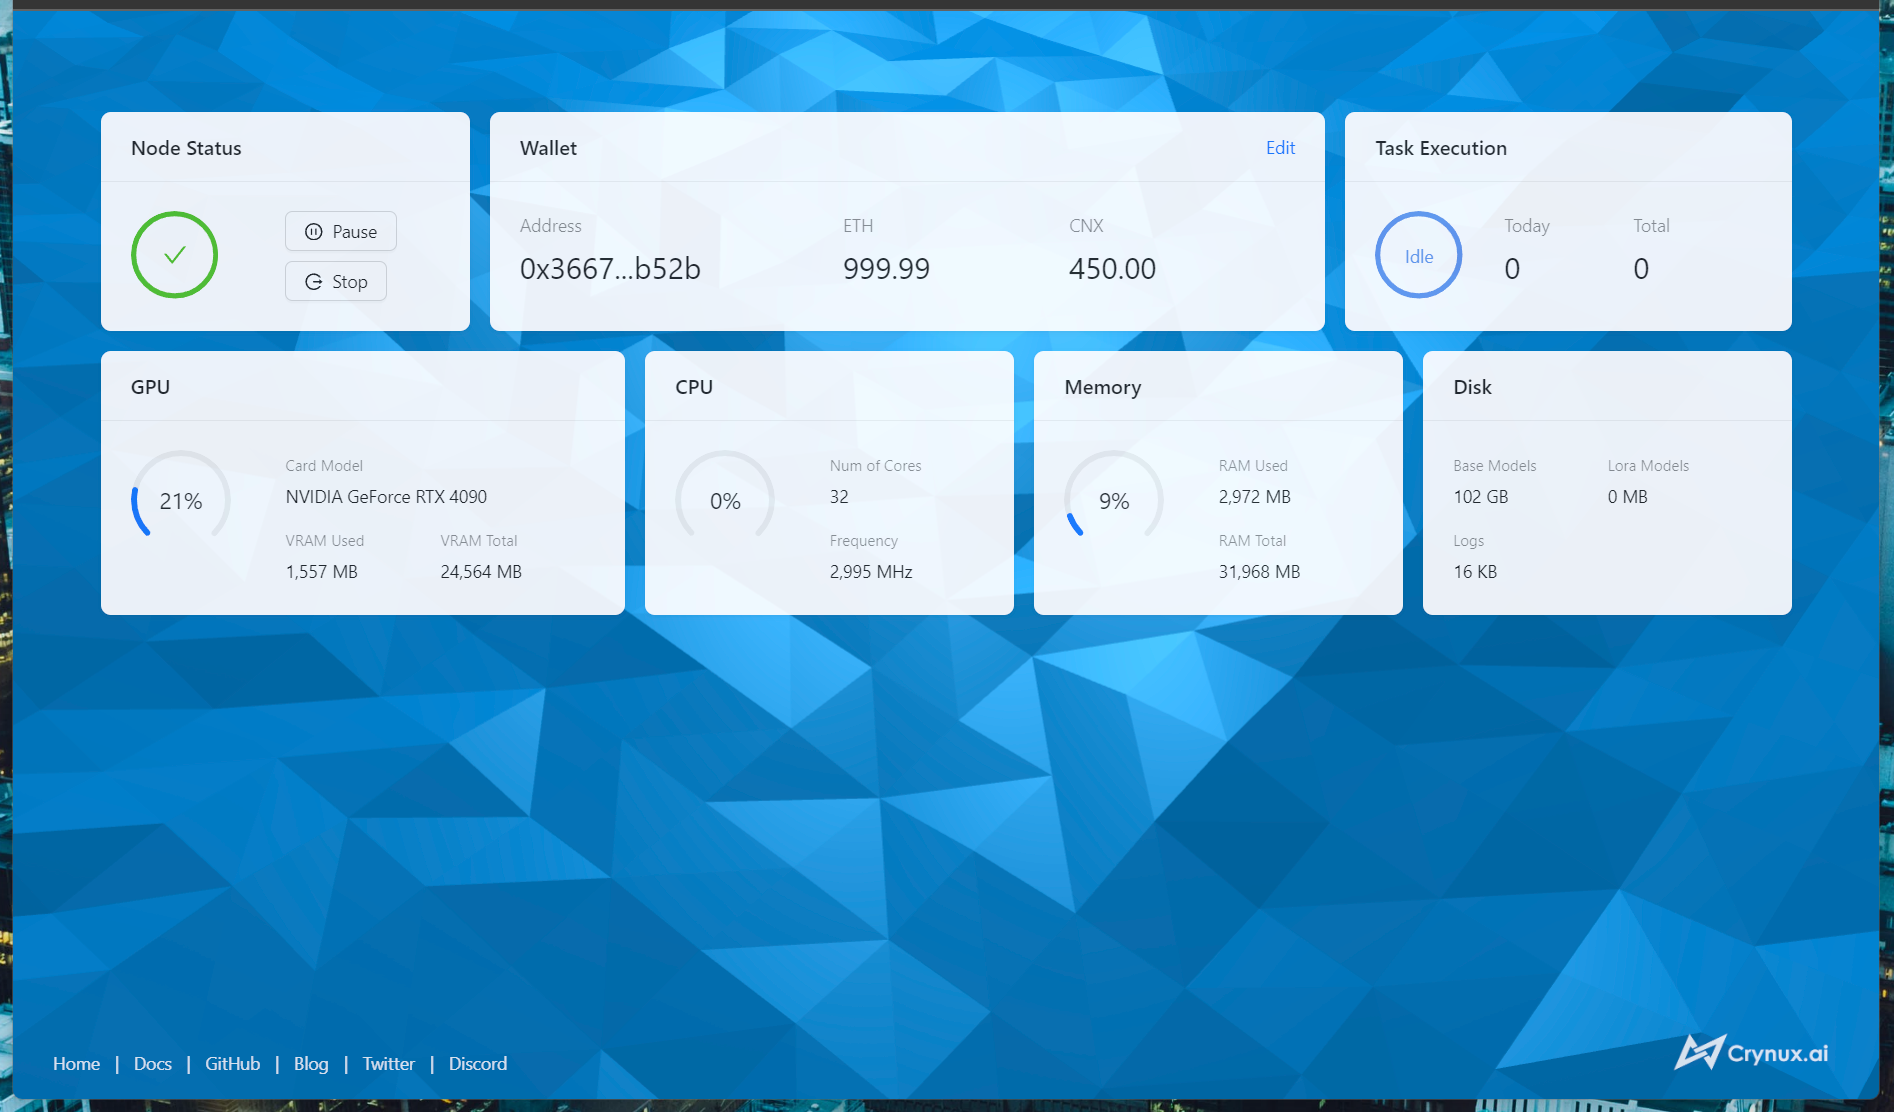
NOTE: If you don't need to change the code, please use the prebuilt packages to start the node:
Start a Crynux Node to share the spared local GPU to others in exchange for tokens. Crynux Node will join the Crynux Network, receive the AI inference/training/fine-tuning tasks from the network, and execute them locally.
SECURITY: DO NOT use the Web UI to set the private key if you're accessing the Web UI from a remote machine!
If you're using HTTP protocol to access the WebUI, the connection is not encrypted. The private key might be intercepted by malicious middle man if transferred through the HTTP connection.
Instead, set the private key in the config file directly. Or secure the connection using HTTPS.
Make sure you have the following tools installed and accessible in the path
- Python 3.10 (you might need the dev package such as python3.10-dev on Ubuntu)
- Git
- Golang 1.21
- Nodejs
- Yarn
- C Compiler (gcc is usually installed by default on Linux. on Windows, you should install a C compiler manually, such as MinGW and TDM-GCC)
# git clone --recurse-submodules https://github.com/crynux-ai/crynux-node.gitOr if you are pulling the latest updates from a repo cloned earlier, use the following command:
# git pull
# git submodule update --remote --merge# cd crynux-nodeCopy config/config.yml.shell_example to config/config.yml. And adjust the file content according to your need:
# In the root folder of the project
$ cp config/config.yml.shell_example config/config.yml- Create the venv in the root folder of the project:
# In the root folder of the project
$ python -m venv venv- Activate the venv and install the requirements:
# In the root folder of the project

# Use ./venv/Scripts/Activate.ps1 on Windows
$ ./venv/bin/activate

# Use requirements_docker.txt if you do not need the desktop GUI
(venv) $ pip install -r ./requirements_desktop.txt

# Compile the project and install it as a pip dependency. Make sure no error is reported during this step.
(venv) $ pip install .- Get the source code of stable-diffusion-task and gpt-task using Git submodule:
# In the root folder of the project
$ git submodule update --init --recursive- Create a folder named "worker" under the root folder of the project, and copy
crynux-worker/crynux_worker_process.pyto the folder:
# In the root folder of the project

$ mkdir worker
$ cp crynux-worker/crynux_worker_process.py worker/- Create the venv under the worker folder:
# In the root folder of the project

$ cd worker
$ python -m venv venv- Activate the venv and install the requirements for the worker:
# In the worker folder

# Use ./venv/Scripts/Activate.ps1 on Windows
$ ./venv/bin/activate

# Install the stable-diffusion-task package
(venv) $ cd ../stable-diffusion-task

## Use requirements_macos.txt on Mac
(venv) $ pip install -r requirements_cuda.txt

# Compile the module and install it as a pip dependency. Make sure no error is reported during this step.
(venv) $ pip install .

# Install the gpt-task package
(venv) $ cd ../gpt-task

# Use requirements_macos.txt on Mac
(venv) $ pip install -r requirements_cuda.txt

# Compile the module and install it as a pip dependency. Make sure no error is reported during this step.
(venv) $ pip install .

# Install the crynux-worker package
(venv) $ cd ../crynux-worker

(venv) $ pip install -r requirements.txt

# Compile the module and install it as a pip dependency. Make sure no error is reported during this step.
(venv) $ pip install .
- Prepare the config file
# Go to the root folder of the webui
$ cd src/webui

# Create the config file from the example
$ cp src/config.example.json src/config.json- Build the WebUI distribution package
# In the root folder of the webui

# Install the dependencies
$ yarn

# Build the package
$ yarn buildOn Windows/Mac/Linux with GUI, you could start the Crynux GUI directly.
Activate the server's venv, and start from the src/app/main.py script:
# In the root folder of the project

# Use ./venv/Scripts/Activate.ps1 on Windows
$ ./venv/bin/activate

(venv) $ python src/app/main.pyOn servers with no GUI, you could start the Crynux server and access the Web UI from the browser.
Activate the server's venv, and start from the server module:
# In the root folder of the project

# Use ./venv/Scripts/Activate.ps1 on Windows
$ ./venv/bin/activate

# Use $env:CRYNUX_SERVER_CONFIG = $PWD.Path + '\config\config.yml' on Windows Powershell
# Use set CRYNUX_SERVER_CONFIG=%cd%\config\config.yml on Windows CMD
(venv) $ export CRYNUX_SERVER_CONFIG="${PWD}/config/config.yml"

(venv) $ python -m crynux_server.main run
After the server is started, you could visit http://127.0.0.1:7412 in the browser to control the node.
If you are in a docker environment, or visiting the node from a remote machine, remember to expose the 7412 port
and use the correct IP address.
- Clone the project
# git clone --recurse-submodules https://github.com/crynux-ai/crynux-node.gitOr if you are pulling the latest updates from a repo cloned earlier, use the following command:
# git pull
# git submodule update --remote --merge- Go to the root folder of the project
# cd crynux-node- Build the Docker image
# docker build -t crynux-node:dev -f .\build\Dockerfile . - Start the container
# docker run -d -p 127.0.0.1:7412:7412 --gpus all crynux-node:devPlease refer to the README for the detailed instructions on building the MacOS binary package.
Please refer to the README for the detailed instructions on building the Windows binary package.
- Clone the project
# git clone https://github.com/crynux-ai/crynux-node.git- Go to the root folder of the project
# cd crynux-node- Install the dependencies and package (preferably in a virtualenv)
# pip install -r requirements_docker.txt && pip install .[test]- Run tests
# pytest tests