
The Azure IoT Device Workbench is an extension in Visual Studio Code that provides an integrated environment to code, build, deploy and debug your IoT device project with multiple Azure services supported.
Azure IoT Device Workbench aims to support multiple device platforms and its devices. Currently the following device platforms and languages are supported :
Languages supported: C/C++
Devices supported: Cortex-A series devices (e.g. Raspberry Pi, NXP i.MX6) that are running Embedded Linux such as Debian, Ubuntu or Yocto Linux.
Languages supported: Arduino C/C++
Devices supported:
Please help to take the survey to let us know extra device platforms and languages you want to have for Device Workbench.
For developing on Embedded Linux device, you will need Docker and Visual Studio Code version with Visual Studio Code Remote Development to compile the device code in the containerized device toolchain.
- Visual Studio Code, with version >= 1.35.1.
- Docker Desktop / CE.
-
Launch VS Code, in the Extension tab, find and install "Azure IoT Device Workbench".

-
Reload the window and make sure all the dependency extensions are correctly installed:
- Azure Account
- Azure IoT Hub Toolkit
- C/C++
- IoT Device Cube
- Remote Development
VS Code Remote needs Docker runtime installed in order to use local containers, which is required for developing Embedded Linux devices in the Device Workbench.
-
Install Docker Desktop for Windows
Follow the installation guide and make sure to enable driver sharing for Docker to access your local folder:
- Right click the Docker icon in the task try and select "Settings".
- Click on the "Shared Drivers" section and choose the driver to be shared.

-
Install Docker Desktop for Mac
Follow the installation guide and make sure to enable driver sharing for Docker to access your local folder, which is enabled by default.
-
Get Docker for Linux
Linux is a highly variable environment and the large number of server, container, and desktop distributions can make it difficult to know what is supported. Please check this tutorial for Linux support.
Depending on the device platform you choose, follow the resources below to develop on it.
To simplify the cross compiling toolchain, Azure IoT Device SDK and dependencies setup and configuration, Device Workbench put all these components in the container. All cross-compiling works happen in it. Here is the quick start of using it to develop and compile a simple device app written in C and running on Raspberry Pi 3 Model B+ to send telemetry data to Azure IoT Hub.
-
Within VS Code, press
F1to open the command palette, then type and select Azure IoT Device Workbench: Create Project.... -
Enter the name of your project.
-
Select Embedded Linux from device platform list.
-
Select the dev container based on your target device, in this sample, select 32-bit Armv7 Cortex-A for Raspberry Pi 3 Model B+ running Raspbian.
-
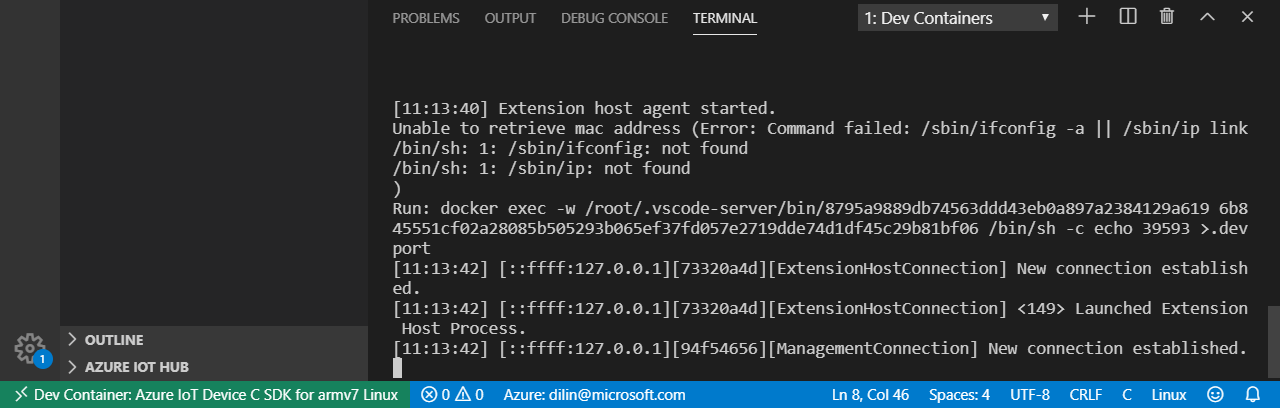
For the first time, it takes around 1 to 3 minutes depending on your Internet speed to download and prepare the dev container. You can click the details link on the notification for the progress:

-
Once the dev container is ready, you can see the status in the status bar and output window.
-
The
iothub_sample.cunder thesrcsubfolder is the source file contains the logic. You can modify or add your own code in it.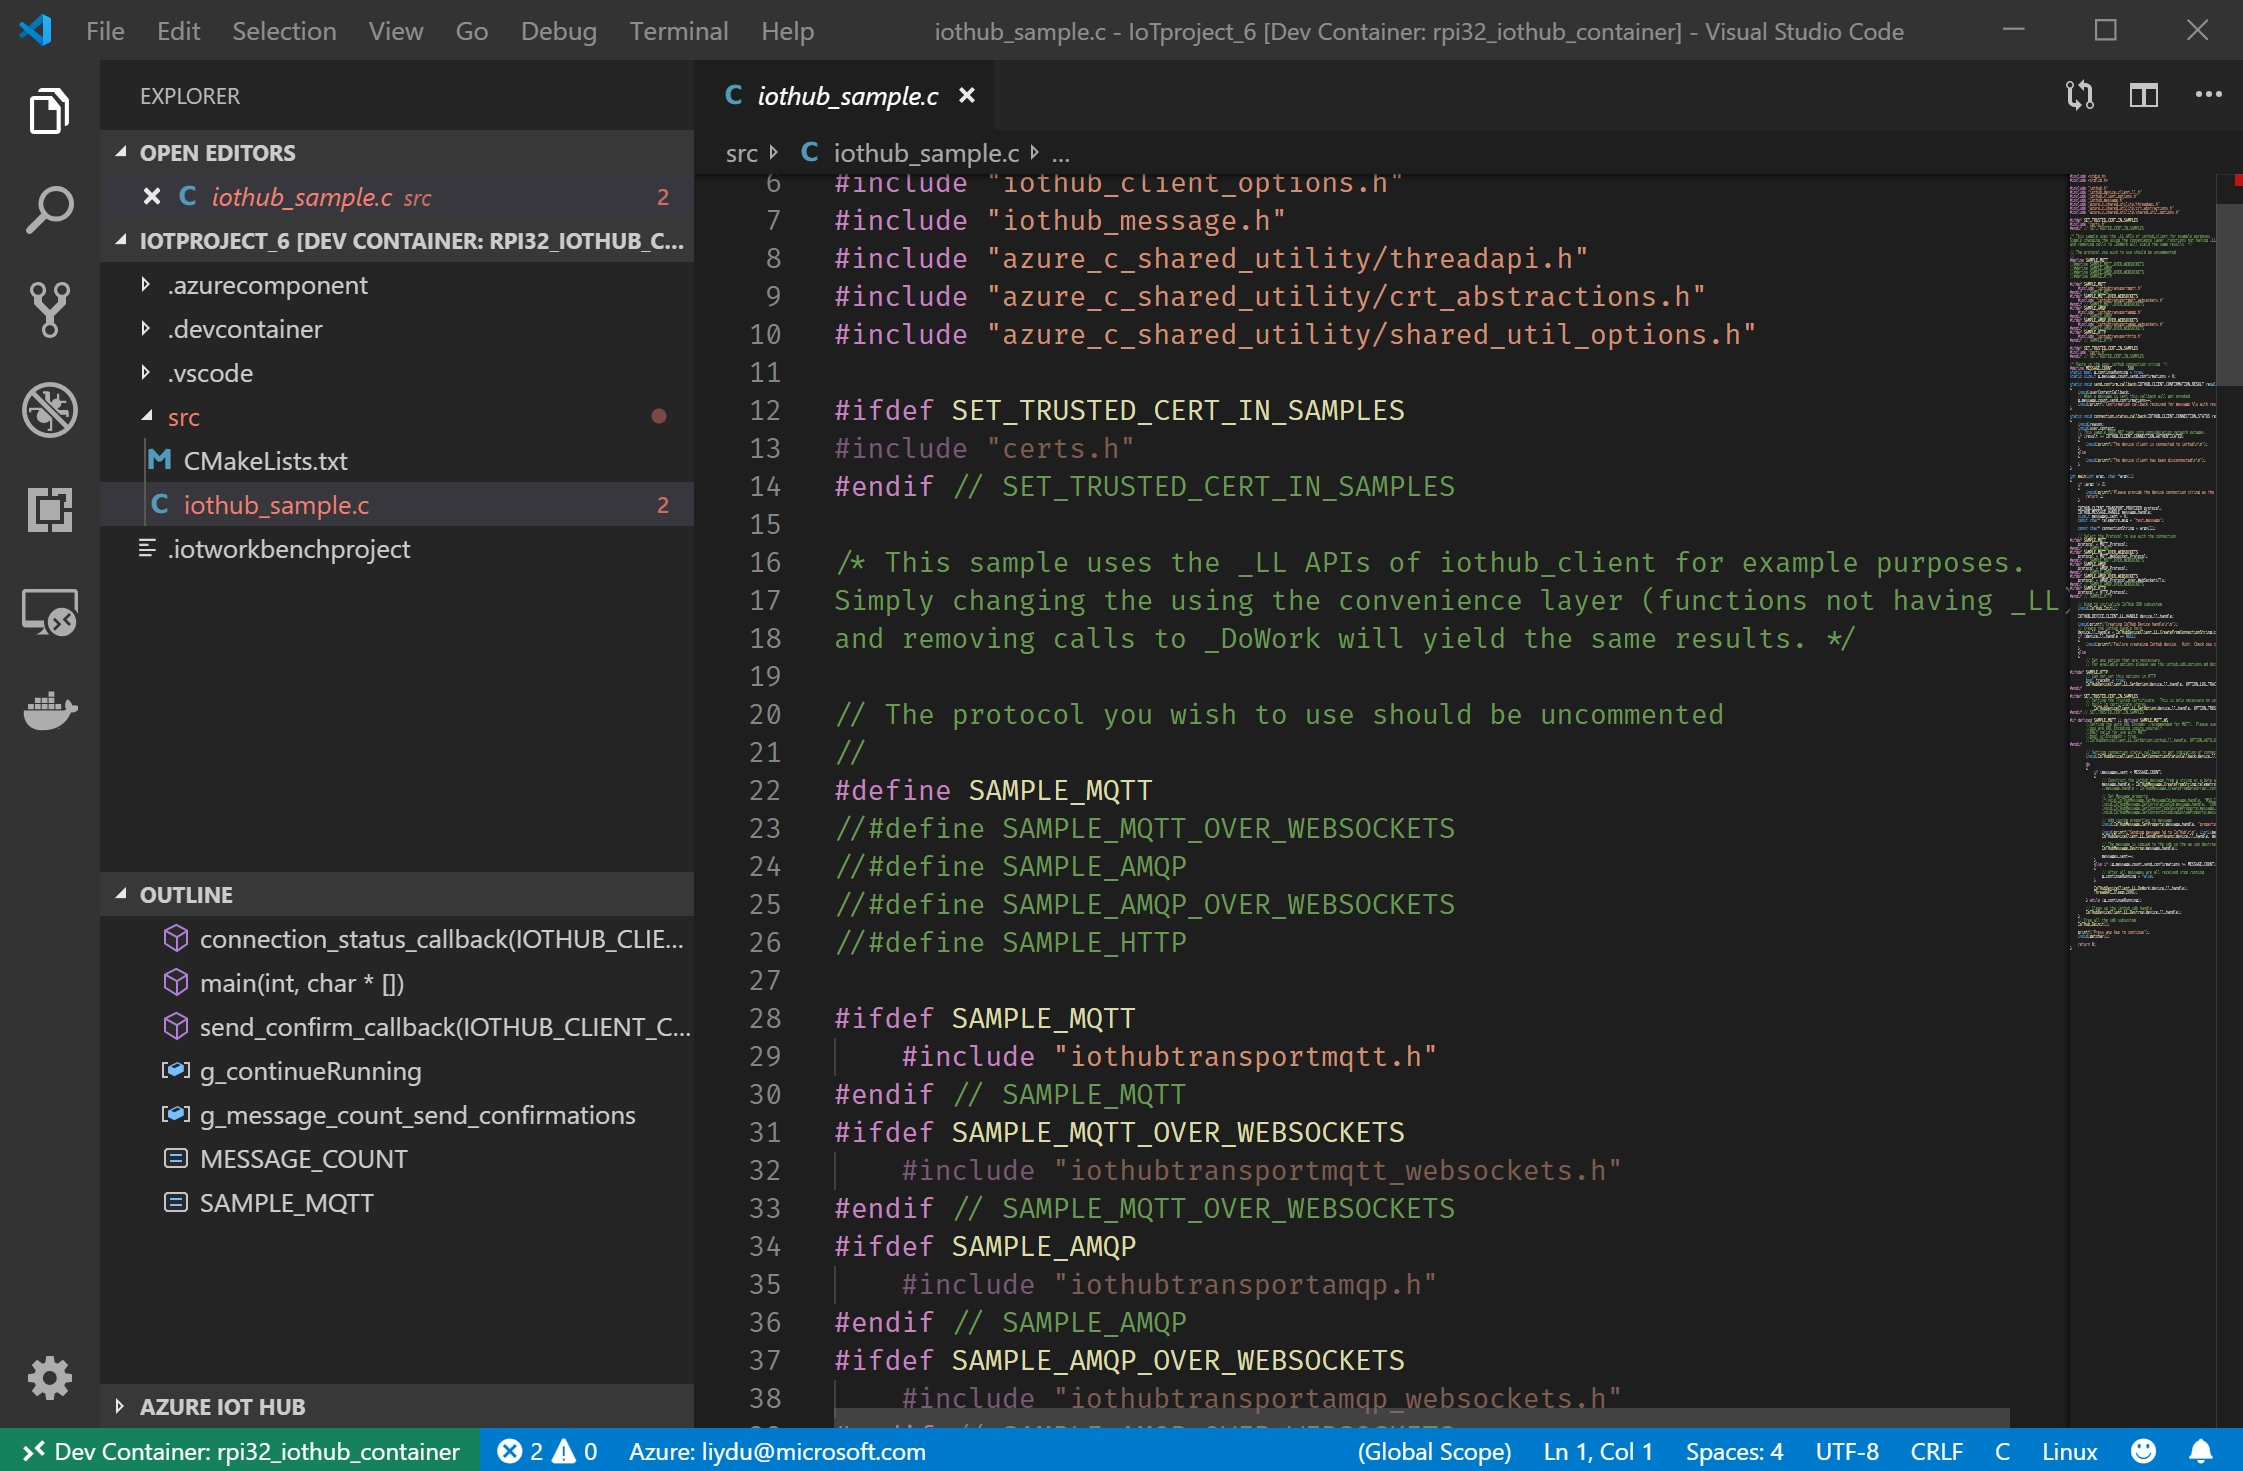
-
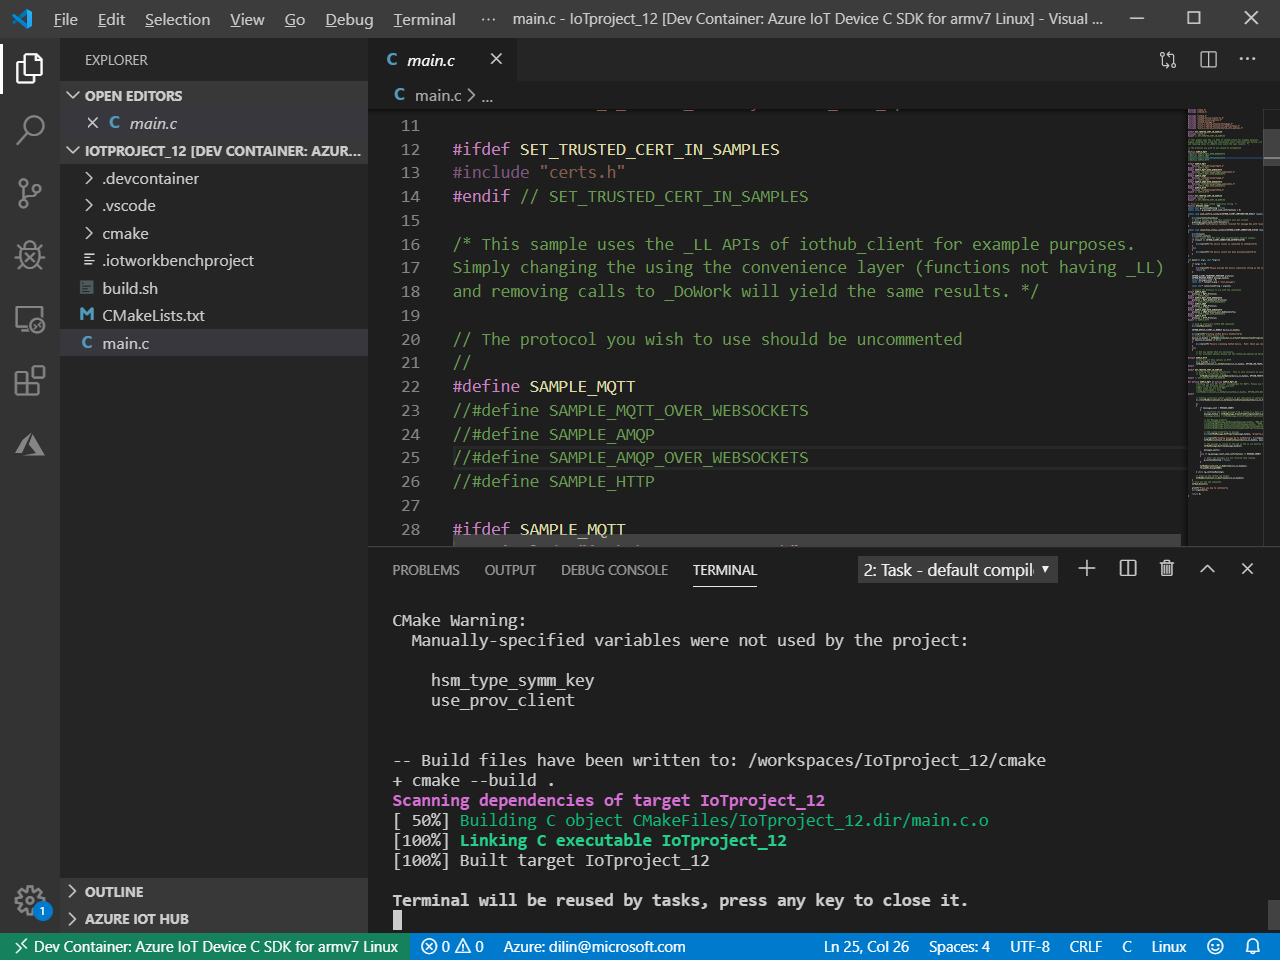
To compile the code, press
F1, type and select Azure IoT Device Workbench: Compile Device Code from the command palette. -
The cross-compiling of the code happens in the dev container. Once it's done, it pops up the notification.
-
The compiled binary file is located in
.buildfolder.
-
Before upload the executable binary file to the target device, please make sure:
- The running OS on the device is correct (e.g. Raspbian running on Raspberry Pi 3 Model B+).
- The SSH is enabled on the device. Follw this instructions to do so.
- Get the IP address of the device so that you can deploy the compiled binary to the device via SSH.
-
In VS Code, press
F1, type and select Azure IoT Device Workbench: Upload Device Code from the command palette, then select Manual setup and enter IP address, port, user name and password to deploy the compiled binary via SSH to Raspberry Pi.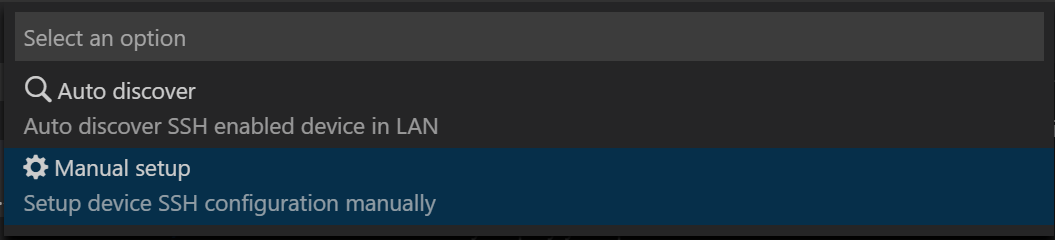
-
To start running the deployed binary, SSH into your Raspberry Pi device. You can follow this instruction to do so.
-
You need to copy the device connection as the parameter to run the app, follow this guide to use Azure IoT Hub Toolkit to do so.
-
Run the
azure_iot_app [connection string]and you will see the Raspberry Pi start sending telemetry data to the Azure IoT Hub.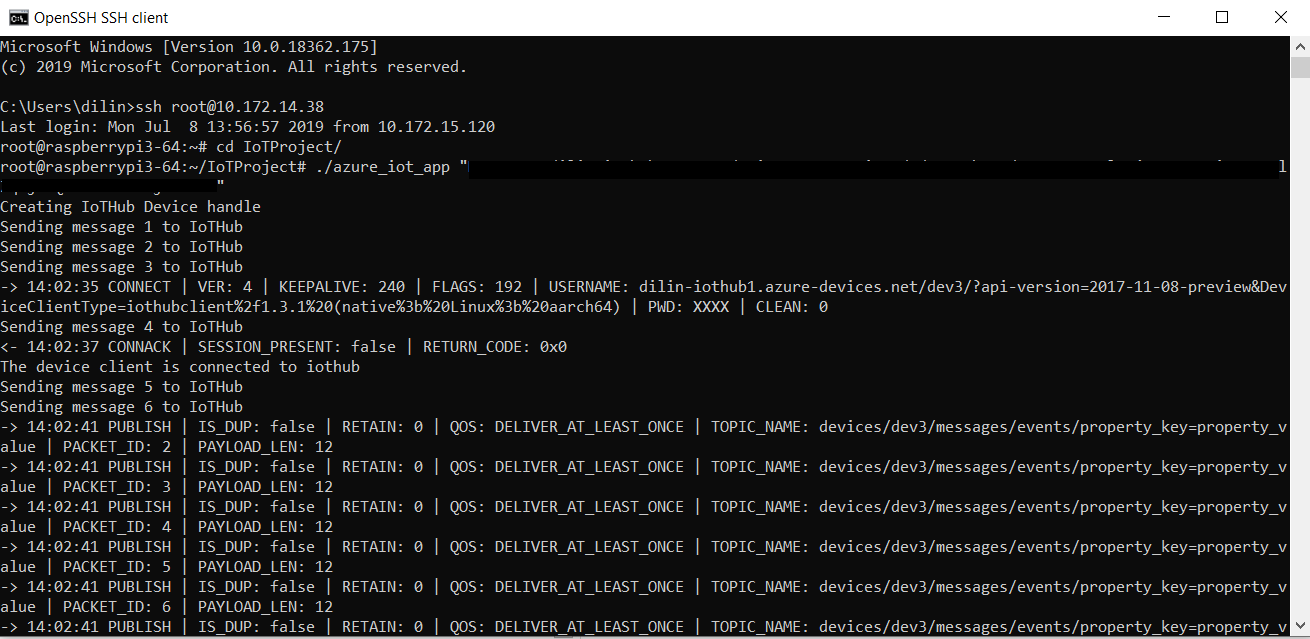
-
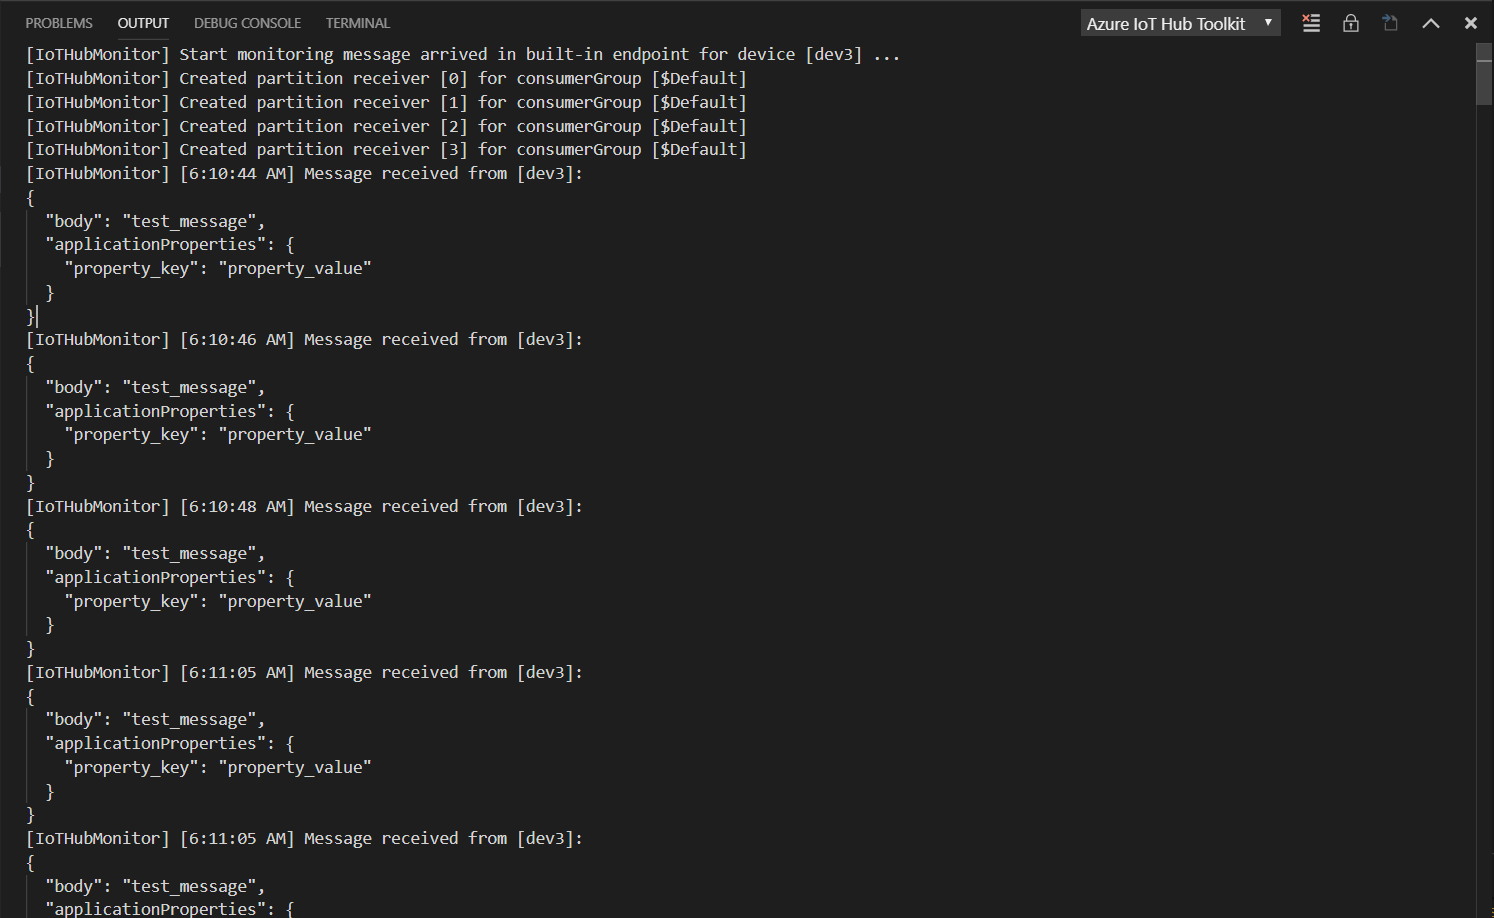
To verify the reception of the data, use Azure IoT Hub Toolkit, right click on the device and select Start Monitoring Built-in Event Endpoint. In the output window, you can see that IoT Hub gets telemetry data sent from Raspberry Pi.
Currently, Device Workbench supports MXChip IoT DevKit and ESP32 DevKits using Arduino. For generic Arduino device, we recommend to use Arduino extension in VS Code.
Follow the setup guide to setup the environment including the Arduino extension.
Here are a set of tutorials that will help you get started:
- Get Started
- Use Azure IoT Hub Device Provisioning Service auto-provisioning device with IoT Hub
- Connect to the Remote Monitoring solution accelerator
- Translate voice message with Azure Cognitive Services
- Retrieve a Twitter message with Azure Functions
- Send messages to an MQTT server using Eclipse Paho APIs
- DevKit State
- Door Monitor
- DevKit OTA
- Stream Analytics and Cosmos DB
Follow the setup guide to setup ESP32 device including the Arduino extension.
Here are a set of tutorials that will help you get started:
| Command | Description |
|---|---|
Azure IoT Device Workbench: Create Project... |
Create new IoT Device Workbench projects. |
Azure IoT Device Workbench: Open Examples... |
Load existing examples of IoT Device Workbench project. |
Azure IoT Device Workbench: Provision Azure Services... |
Provision Azure services for current project. |
Azure IoT Device Workbench: Deploy to Azure... |
Deploy the code of the Azure services. |
Azure IoT Device Workbench: Compile Device Code |
Compile device code. |
Azure IoT Device Workbench: Upload Device Code |
Compile and upload device code. |
Azure IoT Device Workbench: Configure Device Settings... |
Manage the settings on the device. |
Azure IoT Device Workbench: Set Workbench Path |
Set the default path for Azure IoT Device Workbench. |
Azure IoT Device Workbench: Help |
Get help for Azure IoT Device Workbench. |


- When invoking the Azure IoT Device Workbench: Provision Azure Services... command with Azure IoT Hub and Azure Functions, by default, Azure Functions would use the IoT Hub consumer group of
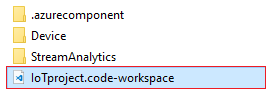
$Default. To switch to another consumer group, please follow the guide to create a new consumer group in Azure Portal. Then in IoT project, modify the following setting in function.json:"consumerGroup": "[consumer_group_name]" - You may open an existing IoT project after you close it. To do so:
-
In the menu of Visual Studio Code, choose File -> Open Workspace... .
-
In file selection panel, navigate to the folder that contains your project and select {PROJECT_NAME}.code-project.
-
Click Open.
-
The Microsft Enterprise and Developer Privacy Statement describes the privacy statement of this software.
There are a couple of ways you can contribute to this repo:
-
Ideas, feature requests and bugs: We are open to all ideas and we want to get rid of bugs! Use the Issues section to either report a new issue, provide your ideas or contribute to existing threads.
-
Documentation: Found a typo or strangely worded sentences? Submit a PR!
-
Code: Contribute bug fixes, features or design changes:
- Clone the repository locally and open in VS Code.
- Install TSLint for Visual Studio Code.
- Open the terminal (press
Ctrl + `) and runnpm install. - To build, press
F1and type inTasks: Run Build Task. - Debug: press
F5to start debugging the extension. - Run
gts checkandgts fixto follow TypeScript style guide.
-
Example: Contribute examples for the supported devices.
-
Create a git repo to host the code of your example project.
-
Write a tutorial to describe how to run the example.
-
Submit a new issue and provide the following information:
Item Description NameName of the example to be displayed in example gallery. DescriptionA short statement to describe the example. LocationURL of the GitHub repo. ImageURL of the example image (size: 640*370) shown in the gallery, if not provided, the default image will be used. TutorialURL of tutorial that describes how to run the example. DifficultyDifficulty of the example, easy, medium or difficult.
-
This project has adopted the Microsoft Open Source Code of Conduct. For more information please see the Code of Conduct FAQ or contact opencode@microsoft.com with any additional questions or comments.
If you would like to help to build the best IoT experience with Azure IoT Device Workbench, you can reach us directly at Gitter.
VS Code collects usage data and sends it to Microsoft to help improve our products and services. Read our privacy statement to learn more. If you don’t wish to send usage data to Microsoft, you can set the telemetry.enableTelemetry setting to false. Learn more in our FAQ.