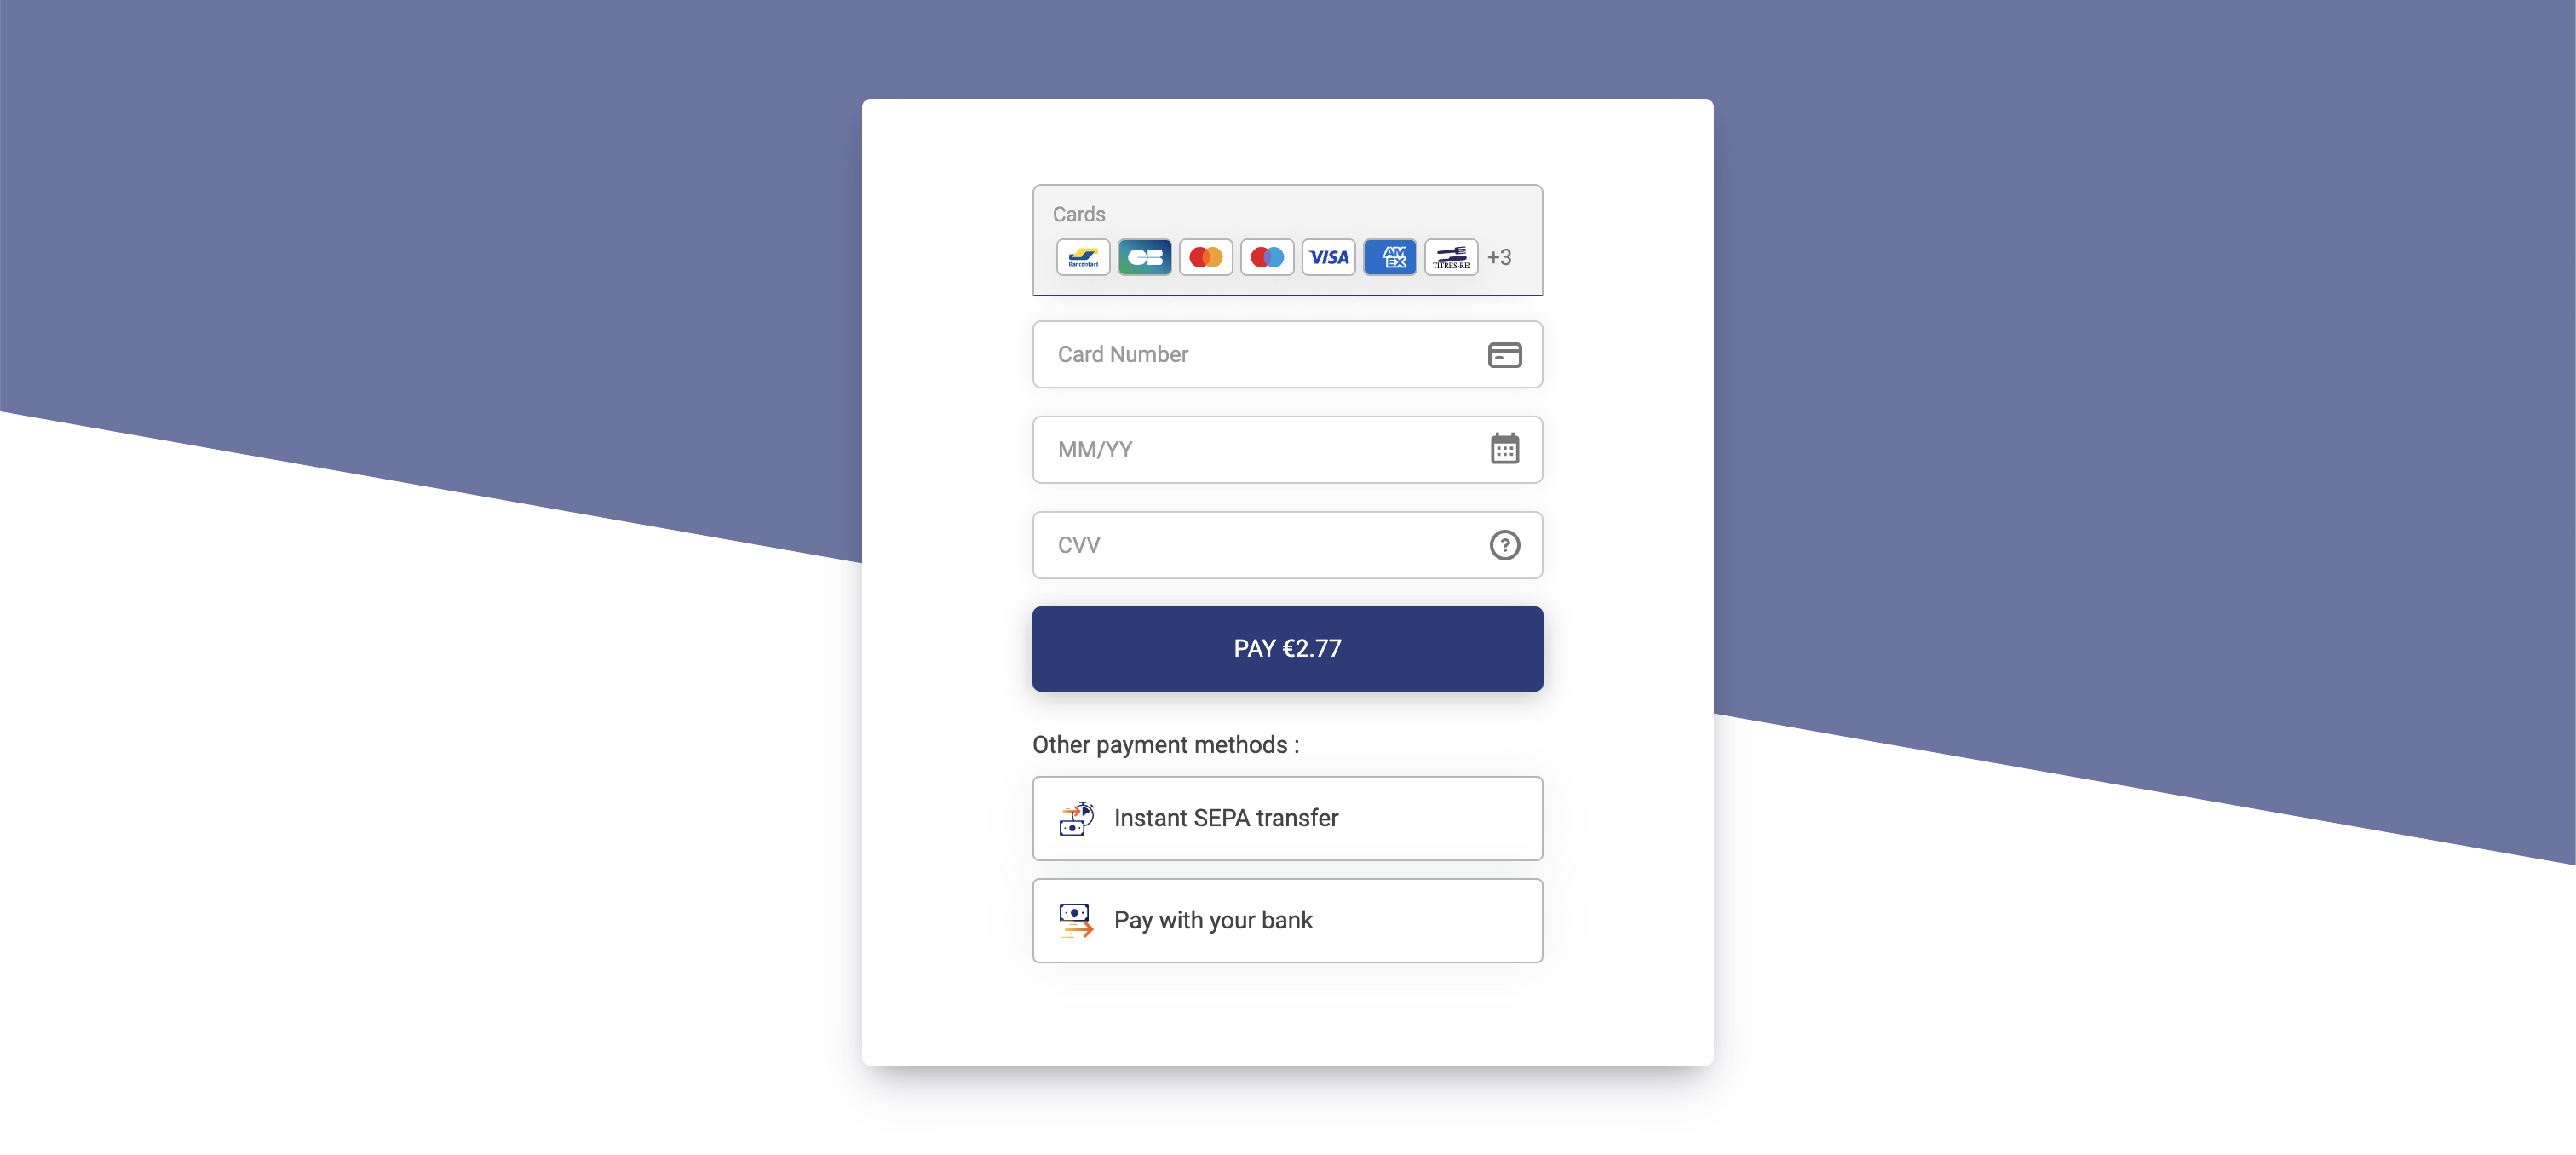
Integrate Lyra payment form into any web application.
Explore the docs »
Quick Start
·
Report Bug
·
Request Feature
Any payment form must comply with PCI-DSS requirements. A classical integration will be displayed on the banks page using a redirection. In that case, PCI-DSS requirements are done by your bank.
By using this package Lyra allows to integrate a payment form using standard HTML elements on your website. This library will load the Javacript library from Lyra servers transforming automatically each sensitive field (pan, security code, ...) into an IFrame, allowing to comply with all regulations.
The embedded-form-glue library provides a set of utilities to easily integrate the Payment form into any we application made with Javascript frameworks like React, Vue, Angular, Svelte, Ionic, etc.
Install the current node.js LTS version.
To start using the package, just install it executing the following command:
npm install --save @lyracom/embedded-form-glueFirst, define the theme files to load in the head section of your HTML page:
<head>
  (...)
  <link
    rel="stylesheet"
    href="~~CHANGE_ME_ENDPOINT~~/static/js/krypton-client/V4.0/ext/neon-reset.min.css"
  />
  <script src="~~CHANGE_ME_ENDPOINT~~/static/js/krypton-client/V4.0/ext/neon.js"></script>
  (...)
</head>
Note
Replace
~~CHANGE_ME_ENDPOINT~~with your configuration endpoint.
For more information about theming, please see Lyra theming documentation
After that, define the location where the payment form will be generated in your HTML page:
<div id="myPaymentForm">
  <div class="kr-smart-form"></div>
</div>
Note
Specifify the element kr-smart-form inside the target location to load the Smart Form (any kind of payment method).
Import the library in your javascript file or component with:
import KRGlue from '@lyracom/embedded-form-glue'And finally, you can generate the payment form with the following code:
/* Integration public key */
const publicKey = '~~CHANGE_ME_PUBLIC_KEY~~'
/* Endpoint. Base domain with its protocol (e.g. https://domain.name, do not include any path after the domain) */
const endPoint = '~~CHANGE_ME_ENDPOINT~~'

/* Load the remote library and get the KR object */
const { KR } = await KRGlue.loadLibrary(endPoint, publicKey)
/* Setting configuration */
await KR.setFormConfig({ 'kr-language': 'en-US' })
/* Render the payment form into a given DOM selector */
await KR.renderElements('#myPaymentForm')
Note
Replace
~~CHANGE_ME_PUBLIC_KEY~~with your configuration public key.Replace
~~CHANGE_ME_ENDPOINT~~with your configuration endpoint.
Warning
KR methods use Promises. You should always use the await keyword or then method when calling them. Please see Javascript Promises and Async Functions for more information.
Once the payment form is set up, you will see the skeleton animation. This is because the form is using the default demo token. To make a real transaction, you need to get a real formToken.
To get a proper test formToken, make a request to the Charge/CreatePayment web service. To not expose your credentials, it is mandatory to do that from a server. Please see the NodeJS server example, or visit the following links for more information:
Once you have a formToken, you can set it in the payment form with the following code:
// Use the loadLibrary to set the form token
const { KR } = await KRGlue.loadLibrary(
  endPoint,
  publicKey,
  '~~CHANGE_ME_FORM_TOKEN~~'
)

// Or set the form token once the library is loaded
const { KR } = await KRGlue.loadLibrary(endPoint, publicKey)
await KR.setFormConfig({ formToken: '~~CHANGE_ME_FORM_TOKEN~~' })
Note
Replace
~~CHANGE_ME_FORM_TOKEN~~with your form token.
After setting the real formToken, the payment form will be displayed with the available payment methods.
Use loadLibrary method to load the Lyra Javascript library. The method returns a Promise with
the KR object.
const { KR } = await KRGlue.loadLibrary(endPoint, publicKey)The KR object is the main object of the library. It is used to manipulate the payment form.
The available methods and callbacks are described in the following sections.
Note
See Lyra Javascript library reference for the complete reference guide.
Find integration examples for some of the main javascript frameworks in the following links:
| Framework | Description |
|---|---|
| vue.js | Vue options API example |
| react.js | React example |
| angular | Angular example |
| svelte | Svelte example |
| next.js | Next.js example |
| ionic | Ionic example |
| vue.js | Vue composition API example |
| ember.js | Ember.js example |
The payment form can be customized in many ways. Some of them in the following examples:
Any of these customizations can be done using the same method KR.renderElements().
Note
Please see the Field Customization section of the documentation for more information.
Contributions are welcome and pull requests will be reviewed and taken into account.
To compile the library please run the following commands:
npm install
npm run buildTo run the e2e tests, first build the examples with:
npm run examples:build
npm run examples:prepare
On a separated instance, initialize the servers with:
npm run examples:serveExecute the tests with the command:
npm run test:e2eDistributed under the MIT License. See the LICENSE file for more information.


