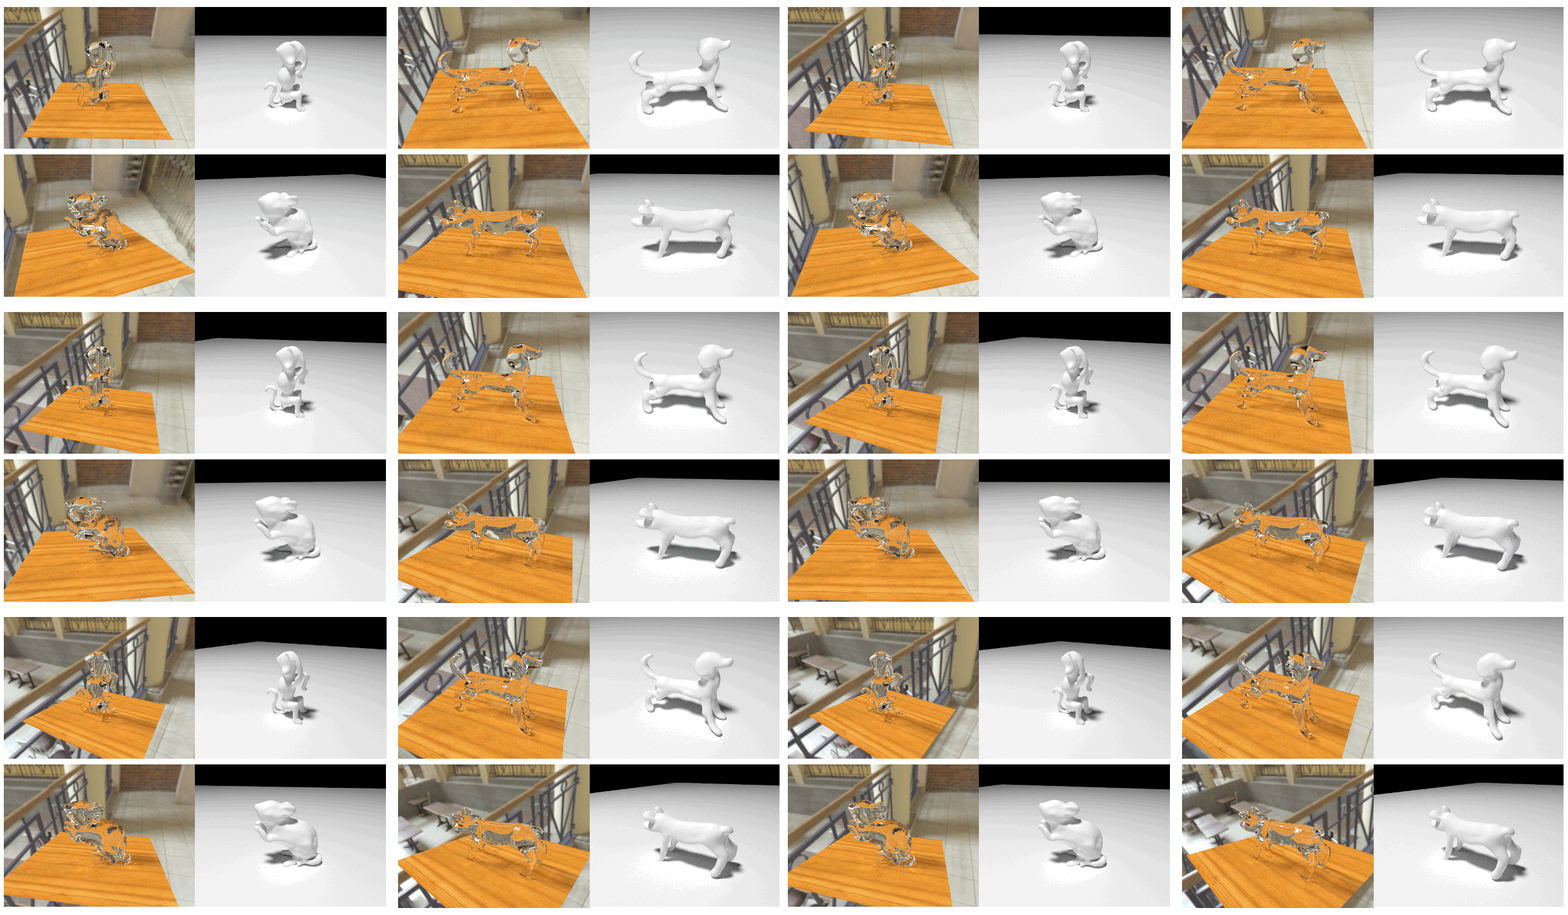
Through the Looking Glass:
Neural 3D Reconstruction of Transparent Shapes
(Project page )
- Project page: http://cseweb.ucsd.edu/~viscomp/projects/CVPR20Transparent/
- Dataset creation: https://github.com/lzqsd/TransparentShapeDatasetCreation
- Renderer: https://github.com/lzqsd/OptixRenderer
- Trained models: http://cseweb.ucsd.edu/~viscomp/projects/CVPR20Transparent/models.zip
- Synthetic dataset: https://github.com/lzqsd/TransparentShapeDataset
- Real data processing: https://github.com/yuyingyeh/TransparentShapeRealData
- Real data: https://github.com/yuyingyeh/TransparentShapeRealData
This is the official code release of our paper Through the Looking Glass: Neural 3D Reconstruction of Transparent Shapes, CVPR 2020. Please consider citing this paper if you find this code useful in your project. Please contact us if you have any questions or issues.
In order to run the code, please install
- Pytorch: versions later than 1.0 might be enough
- Colmap: Please install Colmap from this link. We use Colmap to reconstruct mesh from point cloud prediction.
- Meshlab: Please install Meshlab from this link. We use the subdivision algorithm in Meshlab to smooth the surface so that there is no artifacts when rendering transparent shape. This is important when the BRDF is a delta function.
The code have 2 parts. The normal prediction part is included in Normal directory and the point cloud prediction part is in PointCloud directory. We will use 10-view reconstruction as an example to demonstrate how to use the code. The instructions to train the network for 5-view and 20 view reconstructions are listed after.
- Prepare the dataset.
- Go to
Normaldirectory, runpython train.py --cuda --isAddCostVolume --camNum 10- This will start training the network for the two-bounce normal prediction. Some useful flags are listed below.
--isAddCostVolume: whether to use cost volume in normal prediction--poolingMode: Control how we process the feature extracted from cost volume. By default we will use the learnable pooling.--isNoErrMap: whether to add rendering error as an input for normal prediction. (line 248)
- This will start training the network for the two-bounce normal prediction. Some useful flags are listed below.
- Run
python test.py --cuda --isAddCostVolume --camNum 10to test the trained model. - Run
python optimize.py --cuda --isAddCostVolume --camNum 10 --mode train.- It will use rendering error to optimize the latent vector of the decoder network for better normal prediction. The optimized predicted normals will be saved in the image directory for point cloud prediction.
- Run
python optimize.py --cuda --isAddCostVolume --camNum 10 --mode test - Go to
PointClouddirectory, runpython sampleGTPointUniformly.py --mode trainandpython sampleGTPointUniformly.py --mode test.- It will sample uniformly on the ground-truth shape. The sampled results will be saved in
.npyfile in the shape directory.
- It will sample uniformly on the ground-truth shape. The sampled results will be saved in
- Run
python sampleVisualHullPoint.py --mode trainandpython sampleVisualHullPoint.py --mode test- It will first sample points uniformly on visual hull geometry and the find their nearest neighbor points on the ground-truth geometry. The results will be saved in
.npyfiles in the shape directory.
- It will first sample points uniformly on visual hull geometry and the find their nearest neighbor points on the ground-truth geometry. The results will be saved in
- Run
python trainPoint.py --camNum 10 --cuda- This will start training the customized PointNet++ for shape reconstruction. Some useful flags are listed below.
--viewMode: Control how we choose the view when generating features for each point. The by default choice is to choose the view with the lowest rendering error. Please read our paper for more details.--lossMode: Control the loss to train the network. The by default choice is to use Chamfer loss, which leads to the best results. Please read our paper for more details.- We also offer different variations of PointNet++ to help reproduce the ablation studies in the supplementary material (
model maxPooling,model_noNormalDiff,model_noNormalSkip,model_standard). Our customized network structure in directorymodelperforms the best.
- This will start training the customized PointNet++ for shape reconstruction. Some useful flags are listed below.
- Run
python outputMesh.py --cuda --camNum 10- It will output the reconstructed shape into image directory
- Run
python testMesh.py --cuda --camNum 10- It will compare the reonconstructed shapes and the ground-truth shapes and output the errors.
Please rerun steps 2, 3, 4, 5, 8, 9, 10, with the flag --camNum set to be 5 and 20 respectively.
Please download the trained models from this link. After unzipping the file, you will see 2 directories, Normal and PointCloud. Merge those directories with the Normal and PointCloud directories in this repository. Then you will be able to test our code without training.
