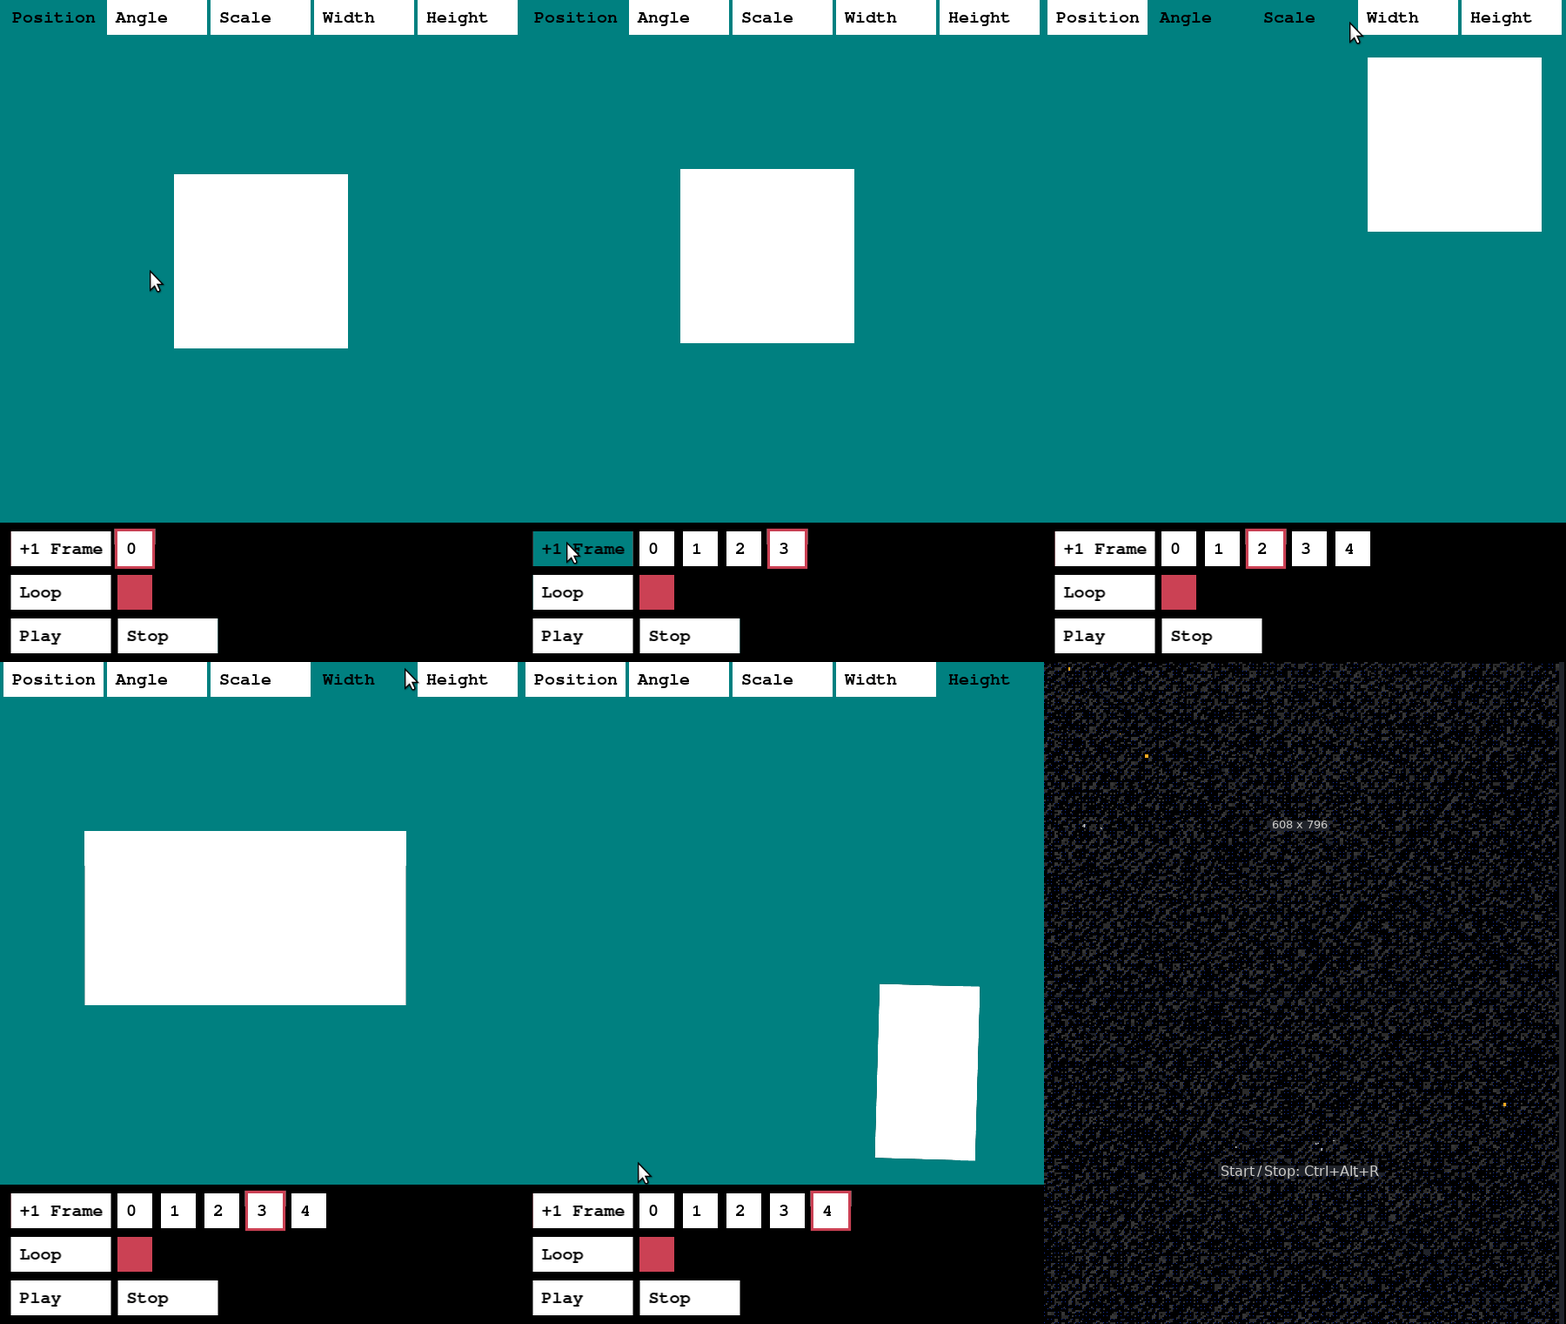
A simple animation maker app written in 170 lines (300-ish if you include the code to enable the UI Button elements) using Arcade and Arcade-Curtains. Have a look at the code!
A small game showcasing all features in Arcade-Curtains. It's a fight scene inspired by Pokémon/Final Fantasy written in 500 lines, using only primitive shapes (combining these shapes, makes up for a good amount of those 500 lines ;) ). Have a look at the code!
Arcade-curtains is a basic scene and event manager for Arcade. The main goal is to provide a way to write event driven games instead of plastering your code with ifs and elses. This is achieved by writing handlers for events.
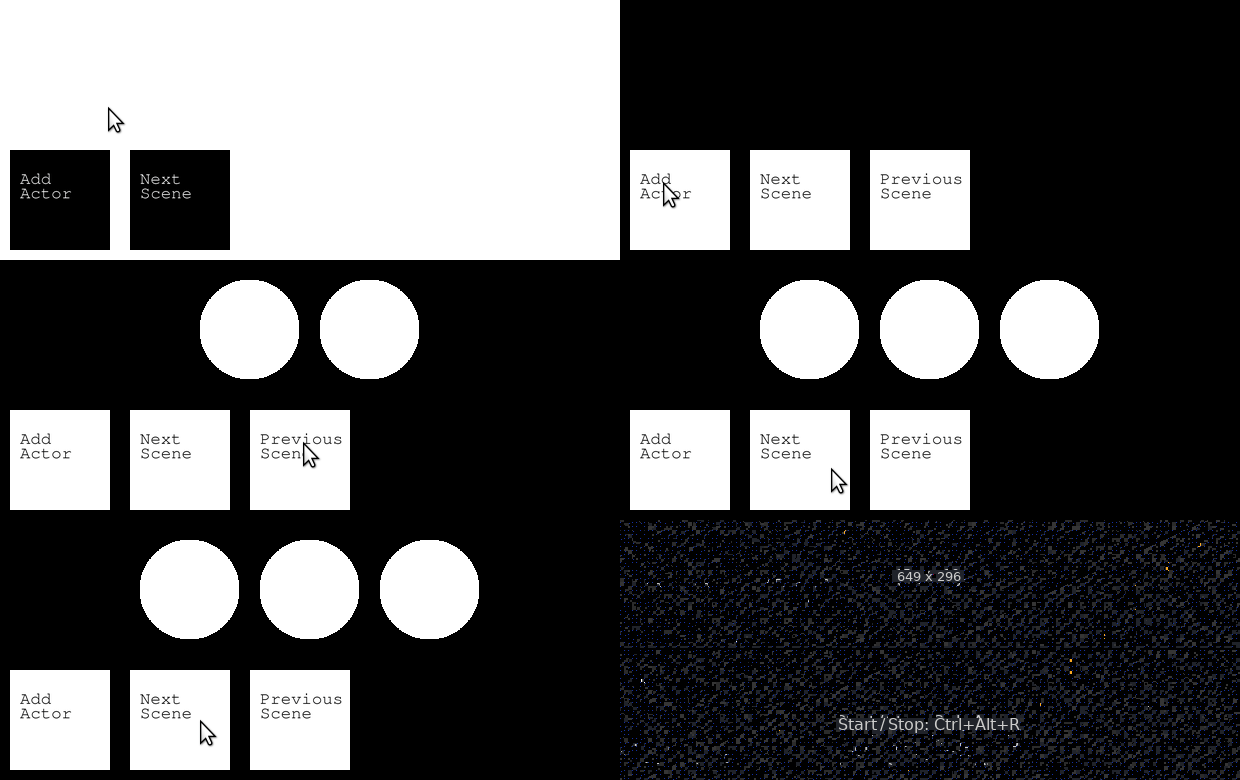
A gif showcasing scenes. Have a look at the code!
There are two types of events.
Sprite mouse events:
updownclickhoveroutdrag
Global events:
framebefore_drawafter_drawkey
You can attach your event handlers on a per sprite basis. Meaning each sprite/event combination could have a unique handler.
Scenes are a way to pipe events to a certain context. You can define sprites and events in one scene, and they will become inactive when you enter another scene, for which you can define a whole new set of sprites and events. It also allows you to write some setup or teardown code when entering or leaving scenes.
When switching from one scene to another, the context and state of the previous scene is still retained. Meaning you can easily switch between scenes and continue where you previously had left off. A quick example would be accessing a menu or inventory in the middle of a level.
This library provides a way to animate sprites in a fire-and-forget way. You provide a start state, an end state, and if desired intermediate states as well. The library will then take care of animating your sprite between those states, at a given duration. An advanced example, of what types of animations this library supports, can be found in the assets folder.
Eventhough this way of writing games allows for a more modular approach, ultimately leading to more readable code, it's easy to lose track of execution flow when debugging. Therefore it is advised to write your handlers to directly handle what you want to achieve instead of diverging into a number of different code paths based on the state of the game.
In addition to this, the library has not yet been benchmarked and so it's not known at what point the event handler gets saturated.
As the library itself is pretty basic, getting started is fairly easy. The first thing you have to do is create an instance of the Curtains class, and bind it to your Arcade window.
import arcade
from arcade_curtains import Curtains


class Window(arcade.Window):
    def __init__(self):
        super().__init__(SCREEN_WIDTH, SCREEN_HEIGHT, SCREEN_TITLE)
        self.curtains = Curtains(self)
or
import arcade
from arcade_curtains import Curtains


class Window(arcade.Window):
    def __init__(self):
        super().__init__(SCREEN_WIDTH, SCREEN_HEIGHT, SCREEN_TITLE)

curtains = Curtains()
window = Window()
curtains.bind(window)
When you bind the Curtains instance to an Arcade window, it will immediately bind itself to the window event methods (e.g. update, on_draw, on_mouse_motion). From then on, it will pipe the events to the event manager of the currently selected scene.
You are still able to overload these Arcade window methods as normal, but it is not advised to do so. If you do, know that the code written in these functions will be executed first, and Curtains handlers after.
Scenes are the basis of this library, and when using curtains, every game needs at least one.
Once you've defined your Curtains instance, you can add a scene to it. But to be able to do this, you will have to subclass the BaseScene class provided by arcade-curtains and overload the setup method.
In the setup method you can run all code that is making sprites, spritelists and linking your handlers.
Anything subclassing BaseScene will auto detect SpriteList instances and auto draw on each frame.
import arcade
from arcade_curtains import Curtains, BaseScene


class MyOpeningScene(BaseScene):
    def setup(self):
        # Actors will automatically be picked up and drawn on each frame
        self.actors = arcade.SpriteList()
        self.actor = arcade.Sprite()


class Window(arcade.Window):
    def __init__(self):
        super().__init__(SCREEN_WIDTH, SCREEN_HEIGHT, SCREEN_TITLE)
        self.curtains = Curtains(self)
        self.curtains.add_scene('opening_scene', MyOpeningScene())
self.curtains.set_scene('opening_scene')Now that we've initialized curtains to have a scene, we can start adding events.
As explained above, there are two types of events. Unfortunately, these types are still a bit obfuscated at this point and are treated the same way, from a code point of view. The only difference is that for the sprite events, you need to give the sprite to the manager when registering a handler.
Sprite events usually occur when an interraction is being done with a specific sprite.
Let's create a scene with one actor and add a hover, out and click event.
import arcade
from arcade_curtains import BaseScene

from .my_custom_sprites import CustomSprite


def paint_border(sprite, x, y):
    sprite.set_border_texture()


def unpaint_border(sprite, x, y):
    sprite.unset_border_texture()


def kill_actor(sprite, x, y):
    sprite.play_death_animation(callback=sprite.kill)


class MyOpeningScene(BaseScene):
    def setup(self):
        self.actors = arcade.SpriteList()
        self.actor = CustomSprite()

        # add a hover event to this scene that paints a border whenever the mouse hovers over the sprite
        self.events.hover(self.actor, paint_border)
        # add an out event that reverts back to the original texture
        self.events.out(self.actor, unpaint_border)
        # and one that kills the actor when clicked
        self.events.click(self.actor, kill_actor)
You are able to provide default arguments to pass to the callback function in the following manner:
events.click(self.actor, kill_actor, {'method': 'very slowly'})Some events are not linkable to a sprite, but you would still like to define some handlers to it. For instance the frame event, which is triggered at every frame. You could treat it as a sprite event, but it wouldn't make sense as it doesn't get triggered due to sprite interaction. Instead, you can just attach a handler function, that interracts with the desired sprite, to the frame event.
import arcade
from arcade_curtains import BaseScene


class CustomSprite(arcade.Sprite):
    def spin(self, delta_time):
        self.angle += delta_time
        self.angle %= 360


class MyOpeningScene(BaseScene):
    def setup(self):
        self.actors = arcade.SpriteList()
        self.actor = CustomSprite()

        self.events.frame(sprite.spin)
Alternatively you can add a handler that doesn't interract with a sprite in any way.
import random

import arcade
from arcade_curtains import BaseScene

COLORS = [getattr(arcade.color, color) for color in dir(arcade.color)]


def trip_balls(delta):
    arcade.set_background_color(random.choice(COLORS))


class MyOpeningScene(BaseScene):
    def setup(self):
        self.events.frame(trip_balls)
Adding keyboard events is equally easy, and uses the arcade keymap to define handlers
import sys

import arcade

from arcade_curtains import BaseScene


def exit(key):
    sys.exit(0)


class MyOpeningScene(BaseScene):
    def setup(self):
        self.events.key(arcade.key.ESCAPE, exit)
Animations in Arcade-Curtains should be easy to achieve. For this reason, the arcade Sprite class has been outfitted with an additional method, deftly named animate().
Don't worry, you won't lose this method if you subclass arcade.Sprite.
Using the animate method will allow you to make an animation between the start and end states of your sprite. If you'd like more control, and intermediate states, the library provides additional objects to build more complex animations
The easiest and fastest way to get started is the animate method that is newly exposed on any Sprite instance.
import arcade
from arcade_curtains import BaseScene


class MyOpeningScene(BaseScene):
    def setup(self):
        self.actors = arcade.SpriteList()
        self.actor = arcade.Sprite()
        self.actors.append(self.actor)

    def enter_scene(self, previous_scene):
        self.actor.animate(
            duration=1, # duration of the animation in seconds
            position=(100, 100), # will move the sprite from its current position to (100, 100) in 1 second
        )
When this method is called, it will use the AnimationManager of the current active scene. If needed, it can be given a manager explicitly.
import arcade
from arcade_curtains import BaseScene


class MyOpeningScene(BaseScene):
    def leave_scene(self, next_scene):
        next_scene.actor.animate(
            duration=1, # duration of the animation in seconds
            position=(100, 100),
            manager=next_scene.animations
)If you'd like some more control over your animation, you can make use of KeyFrames to define the states you'd like to visit during your animation, and wrap them up in a Sequence.
KeyFrames allow you to define a state in which you want your sprite to be in at a certain point in time. The KeyFrame class allows you to set any of the attributes you would a sprite to set it's state.
from arcade_curtains import KeyFrame

frame = KeyFrame(
    center_x=10,
    center_y=10,
    position=(10, 10), # position will be considered if both center_x/center_y and position are set
    angle=50,
    scale=1,
    width=100,
    height=100, # width/height will be considered if both widht/height and scale are set
    alpha=255,
    # left = 100,
    # right = 100,
    # top = 100,
    # bottom = 100,
)
Sequences are used to glue together the KeyFrames you've defined. Because you might want to set the state of your sprite with the same KeyFrame at different times of your animation, the Sequence class is where we define at which states in time we want to reach the state.
from arcade_curtains import KeyFrame, Sequence

frame1 = KeyFrame(position=(10, 10))
frame2 = KeyFrame(position=(100, 100))

seq = Sequence()
seq.add_keyframe(0, frame1) # We want the sprite to reach the state of frame 1 after 0 seconds
seq.add_keyframe(1, frame2) # We want the sprite to reach the state of frame 2 after 1 second
seq.add_keyframe(2, frame1) # We want the sprite to reach the state of frame 1 again after 2 seconds

# The animation duration of this sequence is 2 seconds.
Once you have a Sequence, you can then fire it explicitly by using the scene's animation manager, or pass it to the animate method of your sprite.
import arcade
from arcade_curtains import BaseScene, KeyFrame, Sequence


class MyOpeningScene(BaseScene):
    def setup(self):
        self.actors = arcade.SpriteList()
        self.actor = arcade.Sprite()
        self.actors.append(self.actor)

    def enter_scene(self, previous_scene):
        seq = Sequence()
        seq.add_keyframes(
            (0, KeyFrame(angle=0)),
            (1, KeyFrame(angle=180))
        )
        self.actor.animate(seq)
        # Alternatively use self.animations.fire(self.actor, seq)
Alternatively, you are able to interact with a Sequence in the following way
import arcade
from arcade_curtains import BaseScene, KeyFrame, Sequence


class MyOpeningScene(BaseScene):
    def setup(self):
        self.actors = arcade.SpriteList()
        self.actor = arcade.Sprite()
        self.actors.append(self.actor)

    def enter_scene(self, previous_scene):
        seq = Sequence()
        seq[0].frame = KeyFrame(angle=0)
        seq[1].frame = KeyFrame(angle=180)
        seq[.5].callback = self.actor.do_something
self.actor.animate(seq)You can choose to have your sequence loop indefinitely. Once it had reached the final keyframe, it will restart its animation at the first keyframe.
from arcade_curtains import Sequence

seq = Sequence(loop=True)You can reverse a sequence, causing the last keyframe to be animated first.
from arcade_curtains import Sequence

seq = Sequence(is_reversed=True)Both the Sprite method animate, and Sequence.add_keyframe allow you to execute a callback when a certain keyframe is reached. When defining a callback using sprite.animate, the callback defaults to the last KeyFrame.
from arcade_curtains import KeyFrame, Sequence
from my_game.triggers import trigger_end_animation_handler

seq = Sequence()
seq.add_keyframe(0, KeyFrame(position=(10, 10)))
seq.add_keyframe(1, KeyFrame(position=(100, 100)), callback=trigger_end_animation_handler)
You can also define callbacks independently from keyframes, to be executed when a certain point in time is reached within your animation.
from arcade_curtains import KeyFrame, Sequence
from my_game.triggers import set_sprite_attack_intent_animation

seq = Sequence()
seq.add_keyframe(0, KeyFrame(position=(10, 10)))
seq.add_keyframe(1, KeyFrame(position=(100, 100)))

seq.add_callback(.5, callback=set_sprite_attack_intent_animation)Sometimes you'd only like to start an animation once another is done. Well then, I have good news for you, friend!
Of course, you could just chain callbacks to achieve this, but this library provides a way to do it hastle free, and with the possibility to loop and have it's own "end of chain" callback.
from arcade_curtains import KeyFrame, Sequence
from my_game.triggers import set_sprite_attack_intent_animation
from my_game.scenes import start_scene

seq1 = Sequence()
seq1.add_keyframes(
    (0, KeyFrame(position=(10, 10))),
    (1, KeyFrame(position=(100, 100)))
)
seq2 = Sequence()
seq2.add_keyframes(
    (0, KeyFrame(position=(100, 100))),
    (1, KeyFrame(position=(10, 10))
)

chain = Chain(loop=True)
chain.add_sequences(
    (my_first_sprite, sequence1),
    (my_second_sprite, sequence2)
)

start_scene.animations.fire(None, chain)Create a keyframe from the current state of a sprite
from arcade_curtains import KeyFrame

frame = KeyFrame.from_sprite(my_sprite)
frame = KeyFrame.from_sprite(my_sprite, only_keys=['angle', 'scale'])Create a sequence with one keyframe at the 0 point in time, from the current state of a sprite
from arcade_curtains import Sequence

seq = Sequence.from_sprite(my_sprite)This module provides a number of interesting things to allow you to write your game faster and more smoothly.
This is a small helper function that allows you to set an attribute on an object as a callback.
# Will set the health attribute to 10 when clicked
events.click(sprite, delay_set_attribute(sprite, 'health', 10))arcade.Sprites and everything that subclasses it are outfitted with topleft, topright, bottomleft, bottomright coordinates. It functions the same as position, meaning it returns an x and a y coordinate.
A small disclaimer, to be conform with position, the return values of these properties are (x, y) which is the inverse of the naming, but "lefttop" doesn't really roll off the tongue.
An ObservableSprite is a subclass from arcade.Sprite that allows you to attach handlers to attribute modifications.
You can define a callback and have it be called whenever the targetted attribute changes
sprite.before_change('health', controller.validate_health_change)
sprite.after_change('health', controller.notify_health_change)
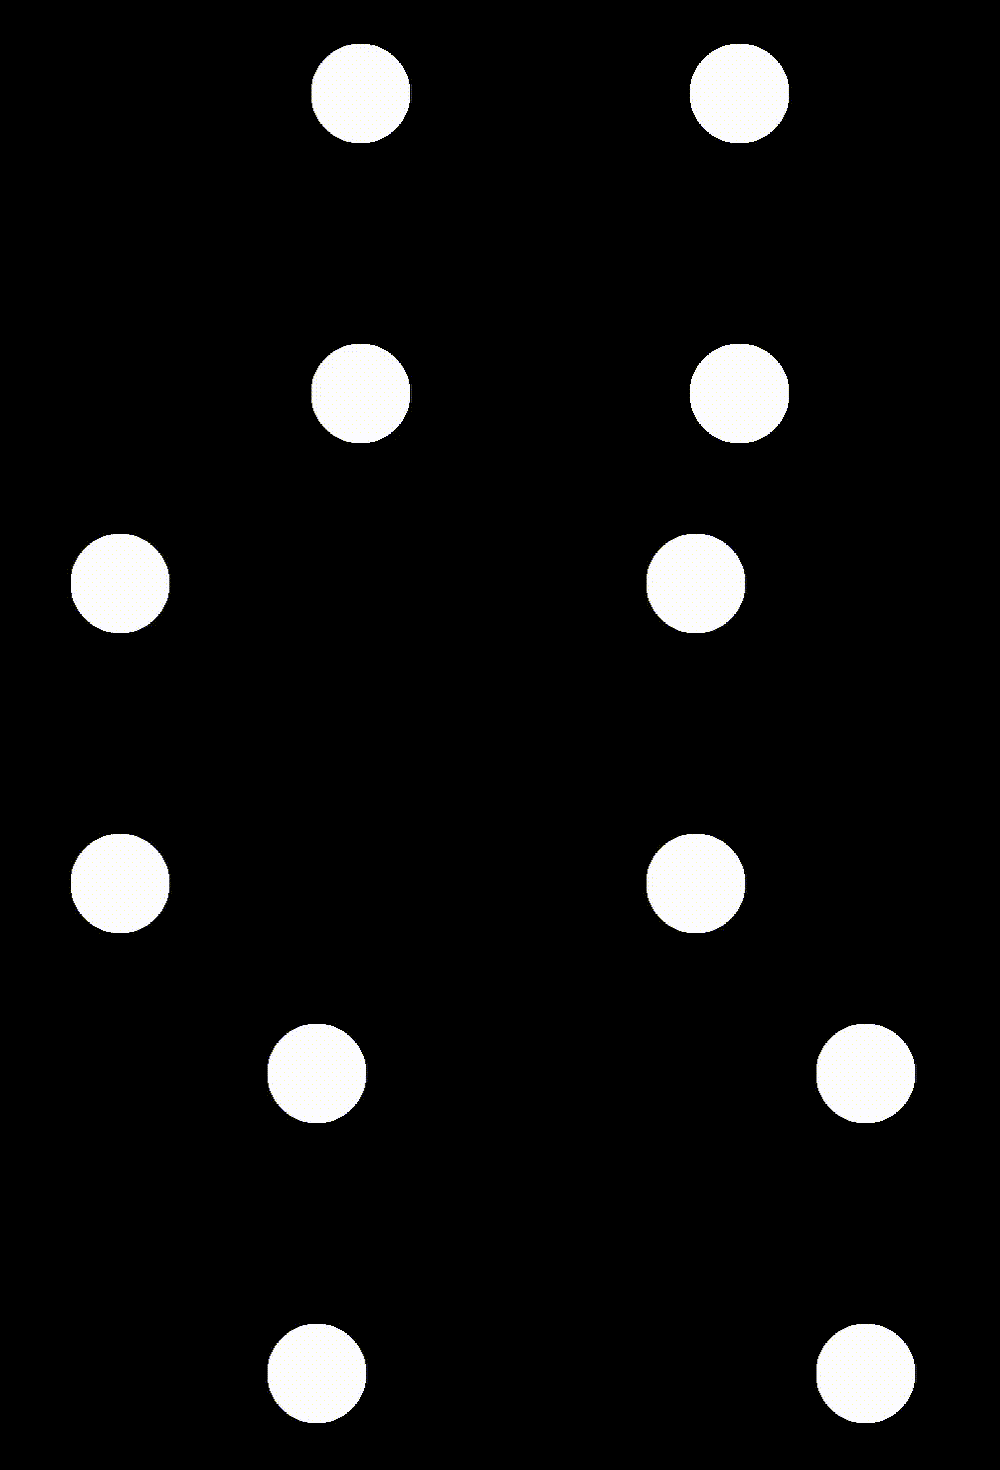
In the example below, the bottom circle is being moved every frame and has an after_change handler defined, to set the second sprite, as followed
mod = 1
def keep_pace(sprite, attribute, old, new):
    setattr(sprite2, attribute, new)

sprite1.after_change('center_x', keep_pace)An ObservableSprite allows you to define a trigger that is run whenever a certain condition is met. For instance, you want your handler to run if health is equal or below 0.
from arcade_curtains import TriggerAttr
# Build a triggerable attribute definition
health = TriggerAttr('health')
sprite.trigger(health < 0, sprite.die)A Widget is a baseclass for grouping Sprites into a widget. It allows a number of sprites to work together, while still maintaining the fine grained control over each sprite. Widgets use AnchorPoints underneath to work as a group.
An AnchorPoint is an object that is just an x, y coordinate, but you can affix sprites to this anchor. Whenever you move the anchor, all affixed sprites move with it.
sprite1.position = (100, 100)
sprite2.position = (200, 200)
anchor = AnchorPoint.from_sprite(sprite1, 'position')
anchor.dock(sprite2)
# Will move sprite1 and sprite2 relative to the anchor
anchor.position = (300, 300)
assert sprite1.position == (300, 300)
assert sprite2.position == (400, 400)
This example shows all orbs are being anchored on an anchorpoint that is defined on the largest orb's position. When moving the large orb, the smaller, orbing orbs are moved as well
You can consider a Widget to be a "view" where you can define your sprites relative to the (0, 0) coordinate. Widget starting coordinates will be inferred from the defined sprites within the widget. After initialisation you are able to manipulate these, to move your widget to the desired location.
The baseclass is outfitted with a self.sprites where you can add the sprites defined in your widget. After initializing your widget, you will have to register a spritelist to have your sprites drawn on screen.
class MyWidget(Widget):
    def setup_widget(self):
        sprite1 = arcade.Sprite(TEXTURE1)
        sprite1.bottomleft = (0, 0)
        sprite2 = arcade.Sprite(TEXTURE2)
        sprite2.bottomleft = sprite1.topleft
        self.sprites.extend([sprite1, sprite2])

spritelist = arcade.SpriteList()
widget = MyWidget()
widget.position = (SCREEN_WIDTH / 2, SCREEN_HEIGHT / 2)
# register the sprites to an arcade spritelist
widget.register(spritelist)


