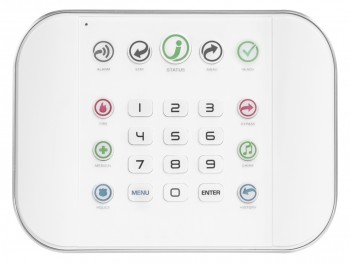
Interlogix ZeroWire and Hills ComNav (NX-595E) UltraSync Security Panel for Integration for Home Assistant Community Store (HACS)
This is based on a a Pull Request I created here to implement my version of a UltraSync security panel into Home Assistant (HA).
Unfortunately it's taking a little bit of time to get merged due to the significant backlog the HA team already has to deal with. The request comes from a thread within the HA Community Forum asking for it's support.
This repository simply prepares a custom component that one can use early while we wait. The other advantage of this repository is that new things can be tried and tested before they are merged into Home Assistant.
You can only be logged into the ComNav/ZeroWire hub with the same user once; a subsequent login with the same user logs out the other. Since this tool/software actively polls and maintains a login session to your Hub, it can prevent you from being able to log into at the same time elsewhere (via it's website). It is strongly recommended that you create a second user account on your Hub dedicated to just this service.
- Install HACS if you haven't already (see installation guide).
- Add custom repository
https://github.com/caronc/ha-ultrasyncas "Integration" in the settings tab of HACS. - Find and install UltraSync Beta integration in HACS's "Integrations" tab.
- Restart your Home Assistant.
- Add "UltraSync Beta" integration in Home Assistant's "Configuration -> Integrations tab.
- Download and unzip the repo archive. (You could also click "Download ZIP" after pressing the green button in the repo, alternatively, you could clone the repo from SSH add-on).
- Copy contents of the archive/repo into your
/configdirectory. - Restart your Home Assistant.
- Add "UltraSync Beta" integration in Home Assistant's "Configuration -> Integrations tab.
Go to the integrations page in your configuration and click on new Integration -> UltraSync.
Note: You can only be logged into the ZeroWire/UltraSync hub with the same user once; a subsequent login with the same user logs out the other. Since Home Assistant (HA) actively polls and maintains a login session to this Hub, it can prevent you from being able to log into at the same time elsewhere (via it's website). It is strongly recommended that you create a second user account on your Hub dedicated for just HA.
Sensors are dynamically generated on the fly.
Sensors follow the following naming convention: {ultrasync_integration}_{sensor}. The {ultrasync_integration} refers to the name you called your integration when you set it up (the default is Ultrasync so it is referenced in it's slug form ultrasync):
ultrasync_area1state: The Area 1 Stateultrasync_area2state: The Area 2 Stateultrasync_areaXstate: The Area X State
Zone sensors work the same way and only load what is detected:
ultrasync_zone1state: The Zone 1 Stateultrasync_zone2state: The Zone 2 Stateultrasync_zoneXstate: The Zone X State
The attributes read from the hub are associated with each Detected Zone and Area; so you can rename them to something more appropriate if you feel the need.
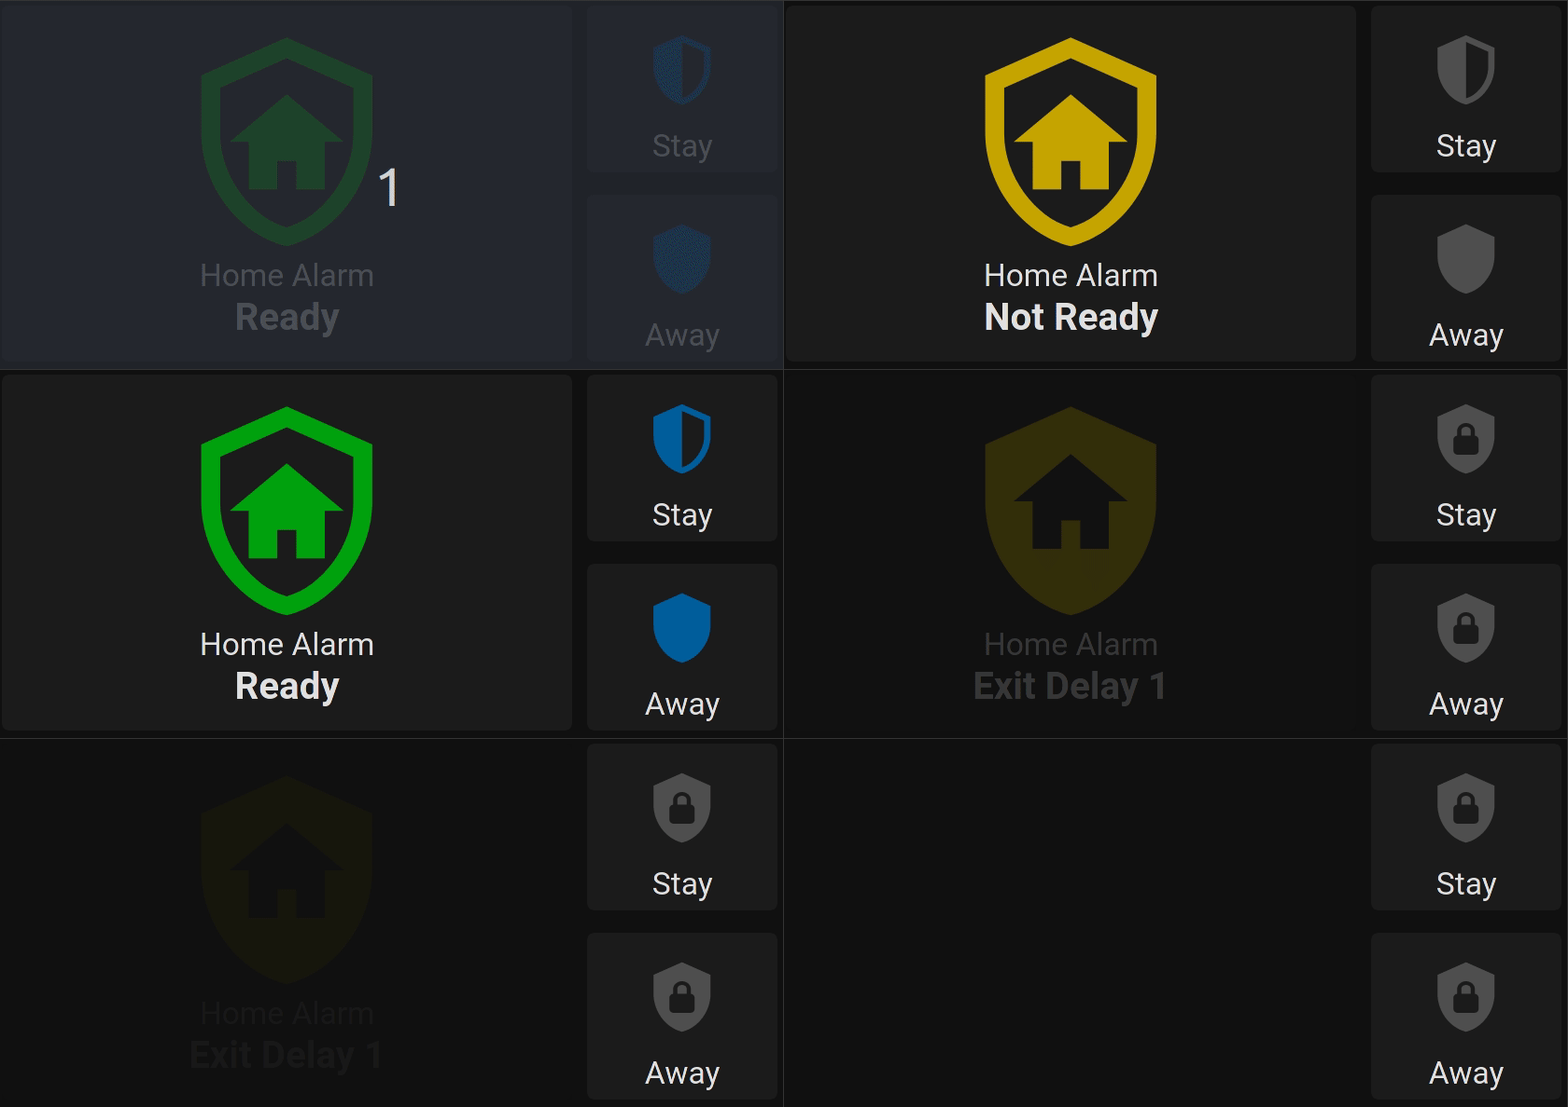
There are several states each sensor can be at, but usually they will be one of the following: Unknown, Ready, Not Ready, Armed Stay, and Armed Away. The Unknown state is assigned to sensors that are not reporting; they usually sit in the spots of the Area's you're not monitoring.
When an Zone or Sensor changes it's state an event usable for automation is triggered on the Home Assistant Bus.
Possible events are:
ultrasync_sensor_update: The event includes the sensor no, name, and new status it changed to.ultrasync_area_update: The event includes the area no, name, and new status it changed to (if it did).
Note: Area's are sent periodic heartbeats with Interlogix devices in which case the state will not change at all.
Example automation to send a message via Apprise on a sensor change in your home:
- alias: House Movement
  trigger:
    platform: event
    event_type: ultrasync_sensor_update
  action:
    service: notify.apprise
    data:
      title: "Sensor activated!"
message: "{{trigger.event.data.name}} has new status {{trigger.event.data.status}}"Available services:
stay: Set alarm scene to Stay Modeaway: Set alarm scene to Away Mode (fully activate Alarm)disarm: Disarm the alarm
As an example you may want to arm your alarm in stay mode each night and disarm it in the morning like so:
# Alarm Activation
- alias: Activate Nightly Alarm
  trigger:
    platform: time
    at: "23:00:00"
  action:
    service: ultrasync.stay

# Alarm Deactivation
- alias: Disarm Nightly Alarm
  trigger:
    platform: time
    at: "06:00:00"
  action:
service: ultrasync.disarmA card I use that created and works quite well can be found in this repository as well called ultrasync_alarm.yaml found at the root of this GitHub repository. It requires that you additionally have the following resources already pre-added:
The ultrasync_alarm.yaml looks like this:

This software is 100% open source, however buying me a coffee shows your appreciation and greatly inspires me to continue improving the application. :)


