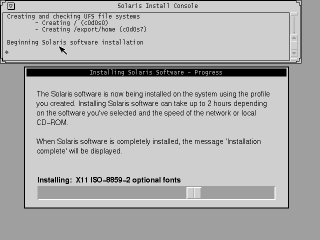
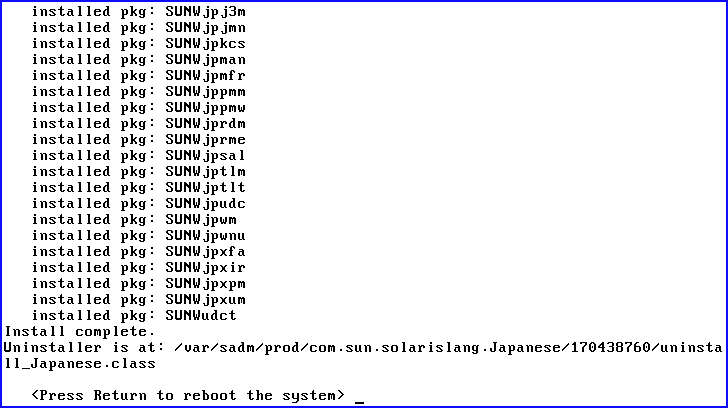
This (hobby) project list the steps that I've used to build a Solaris 8 x86 virtual machine in VirtualBox.
This guide was built from a number of sources that provided pieces of the puzzle, but not the complete picture
of installing Solaris 8 x86 in VirtualBox.
- Introduction
- System & Software Requirements
- Getting Started
- VirtualBox Configuration
- Installing: First Boot
- Solaris Interactive Install
- Installing: Reboot
- Enabling DMA Fix (thanks to soltips)
- Launcher Issue Fix (
/etc/init.d/webstart)
- Test Link
I've spent many years developing software in the Sun SPARC architecture,
first on the SPARCstation 1 (Sun 4/60)
up through the Sun Ultra 1 and 2.
Those Sun systems were my first real taste of Unix and 32-bit computing.
I remember that a SPARCstation IPX was
not fast enough to decode mp3 files.
1152x900 8-bit color was state-of-the-art graphics
(24-bit frame buffers were available, e.g. cgtwelve, but they were:
expensive, very slow, and not all of the software supported the 24 bit visuals).
There's some interesting reading about framebuffers here.
Once in a while, I need to do something in this olde OS, and using a virtual machine makes it easy. But, building the virtual machine had its challenges from:
- finding installable ISO images,
- finding recommended patches,
- finding pre-built packages, and
- making Solaris a little more GNU/Linux-like and "fixing" some broken things in the OS and the patches.
The process took longer than I expected but after getting things to actually work was pretty satisfying and fun.
- Graphics beyond VGA/SVGA (640x480 or 800×600 4-bit color depth)
Looks like it may be possible (and may be non-trivial). I just haven't looked into it yet; probably ties in with Guest Additions.
Currently, I just ssh into the VM from my Fedora Desktop (running KDE) and when I actually need the Solaris 8 graphical desktop, the resolution and color depth are okay for my purposes.
Sadly, all of the links for a third party SVGA driver are dead.
- Guest Additions:
Shared clipboard, drag and drop, seamless mode, shared folders from host system, and theoretically better graphics
I haven't looked into it at all.
I searched many dozens of sites for answers, the major sites are listed in
these steps...
TODO :: This document is incomplete; someday I'll finish the last minor details.
What’s NEW 🔥 🔝
- Latest Fedora 34 Release Tested
- Installation of gcc-4.7.4-2 has been added.
As of November 2020, jupiterrise.com has added gcc-4.7.4-2
A new script (004-gcc-4.7.4-2.sh) installs these packages (the GNU C and C++ compiler).
Disclaimer 🔝
THE AUTHOR makes no representations or warranties of any kind concerning the safety, suitability,
lack of viruses, inaccuracies, typographical errors, or other harmful components of SOFTWARE in this guide.
There are inherent risks and dangers in the use of any software, and you are solely responsible for determining
whether this SOFTWARE in this guide is compatible with your equipment and other software installed on your equipment.
You are also solely responsible for the protection of your equipment and the backup of your data,
and THE AUTHOR will not be liable for any damages you may suffer in connection with using,
modifying, or distributing this SOFTWARE in this guide.
💥 There are likely many bugs, errors, incomplete and missing features and documentation.
System & Software Requirements 🔝
- The VirtualBox version is
4.3.32-1(rpmfusion-free onFedora 21 x86_64, 4.1.13-100.fc21.x86_64).
I've had later versions of VirtualBox crash and burn with some VMs I've built in the past. It's a problem because as far as I know, it's not possible to easily have multiple versions of VirtualBox installed on the same machine (like you can do with the gcc compiler collection, e.g.). There might be a way, but I haven't tried it and this version runs all of my VMs fine (although the creature comforts added in later versions are nice, but the VMs don't work).
- September 2021 - The VM runs under the latest Fedora 34 release and VirtualBox
(that is, after upgrading my Fedora release to Fedora 34 the Solaris 8 VM built from this guide ran
without a hitch on the latest VirtualBox release).
Linux 5.13.13-200.fc34.x86_64VirtualBox-6.1.26-2.fc34
- The Solaris 8 x86 ISOs are available on archive.org.
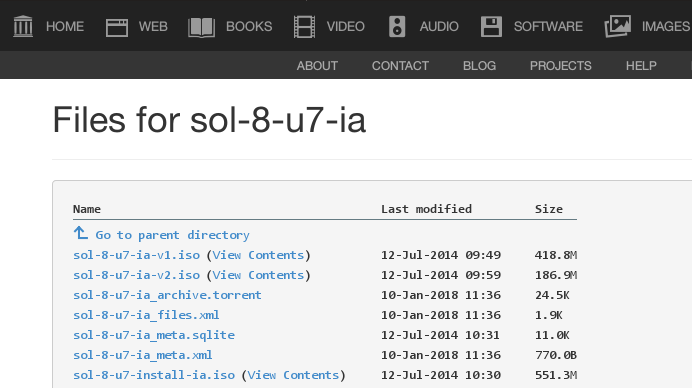
You should download all of the Solaris 8 x86 ISO images:
| 💿 Filename | md5sum | 📓 Notes |
|---|---|---|
sol-8-u7-ia-v1.iso |
c243aa080e4c503f60cca48a8fd54e47 |
Boot with this image |
sol-8-u7-ia-v2.iso |
6c63bcbbf9e92ed946f1435f6bb89e5f |
2nd install image |
sol-8-u7-lang-ia.iso |
6164e7e2d24f2291689f2b1f82fccc0b |
Optional languages image |
sol-8-u7-install-ia.iso |
91029b86d9eb130a73d83e7a67a817df |
This ISO image is not used in these steps. |
- These ISOs can build a Solaris installation with the following characteristics
after all of the steps have been performed in this guide (from
/etc/release):
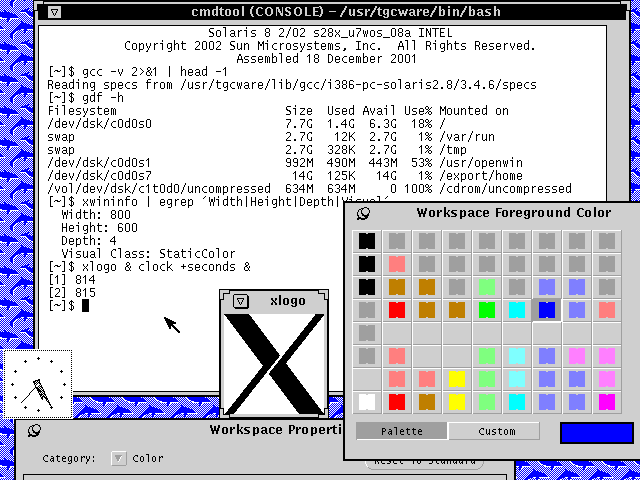
Everything up to this point (and following these steps) will allow you to build a working
Solaris 8 x86 virtual machine.
Networking should be fine (manual steps are necessary to configure the network).
If you've selected SoundBlaster 16 as the Audio Controller in VirtualBox,
you can listen to that nostalgic Sun cowbell sound
(cat /usr/demo/SOUNDS/sounds/cowbell.au > /dev/audio) once again.
But you'll be missing many tools that are taken for granted in a modern Linux system, for example:
- a C compiler (Solaris 8 did not even ship with the K&R C compiler),
- the ssh suite (the pseudo-devices
/dev/randomand/dev/urandomdo not exist), and of course - the lack of any of the modern tools, e.g. openssl, openssh, and gnu tools are a notable examples.
Sadly http://sunsolve.sun.com [sic] no longer exists, and finding patches can be difficult.
While it's nicest to apply all of the recommended patches, the most important patch is 112439-02
which provides the pseudo-devices /dev/random and /dev/urandom.
It's best if you're able to find the Solaris 8 x86 recommended patch cluster and install the cluster for best results.
Next, either find and install the patch 112439-02. That patch is also included in the J2SE Solaris 8 x86 recommended patch cluster if you want to install that cluster in addition to the regular recommended patch cluster.
This is really a deal breaker for a usable system if you're unable to find any prebuilt packages.
Fortunately, tgcware
is there to the rescue!
I can't stress enough what a tremendous help and time-saver this was.
There's a good selection of tools assembled (with various versions of some of the tools) and
each package that was prebuilt is listed with its name, brief description, and its md5sum checksum.
This guide includes a simple script for getting the prebuilt binaries from tgcware.
Getting Started 🔝
This guide includes some package install scripts to help smooth the process
and perform some task that are minor enhancements or missing in the original.
It is recommended that you review each script and make any changes suited to
your particular environment or needs. The scripts are named as 001-gzip.sh, etc.,
so that ls 0*.sh will list all of the scripts.
Use your browser or use wget to get the ISOs, e.g.
After you have downloaded the necessary cluster patch and 112439-02, make a copy of the files and uncompress all of the files. It will make the process easier and the install scripts provided assume that the packages are uncompressed.
This guide provides a simple installation script for acquiring the pre-built packages from tgcware.
- Run the script
get_tgcware.sh -hfor usage instructions.
The packages selected are meant as a starting point to build the
Solaris 8 x86 VM with a basic/sane configuration, e.g.:
bash, vim, gcc, and the openssl/openssh
suite are installed along with other basic tools.
Please feel free to change anything to your specific requirements/tastes.
All of the packages from tgcware are .gz files
except for the gzip package
(for obvious reasons).
Like with the patch files, copy and uncompress all of the pre-built software files.
I've include some of my simple shell and vim hacks to get things started.
Put a copy of those files in the same location as all of the other files and
the 0*.sh scripts as well.
I decided, after a few install iterations, the easiest thing to do was to
create an ISO image containing all of the packages and scripts used to build the system.
Note, you don't actually need to burn a CD, just use whatever software to create a CD image file
that can be mounted in VirtualBox. I used K3b.
Solaris 8 will automatically detect when the ISO image is mounted through VirtualBox
(unless it's in single user/maintenance mode).
VirtualBox Configuration 🔝
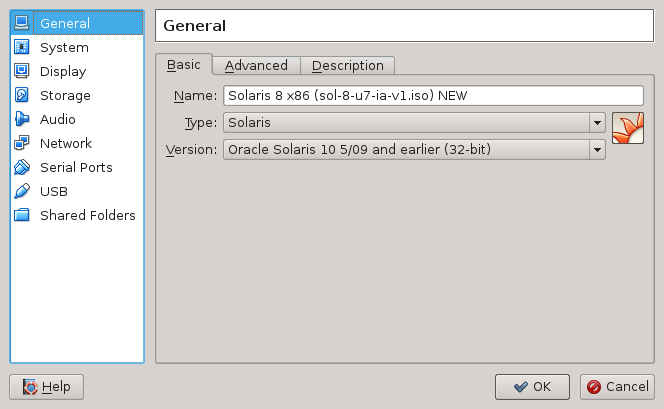
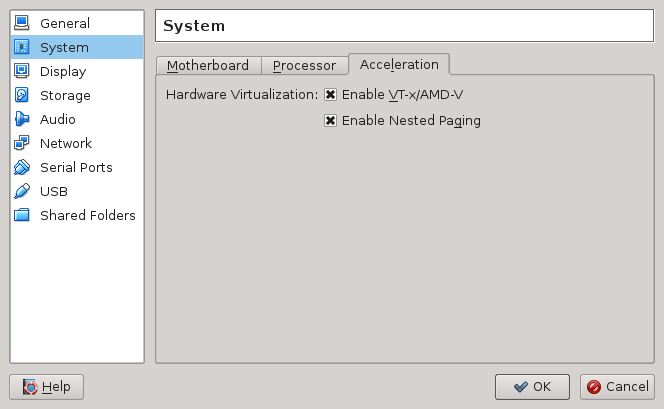
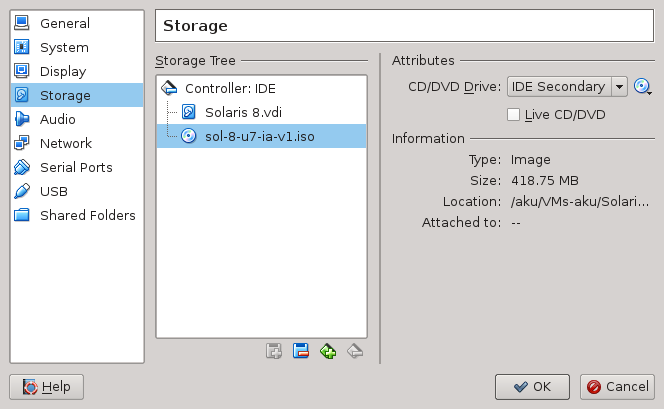
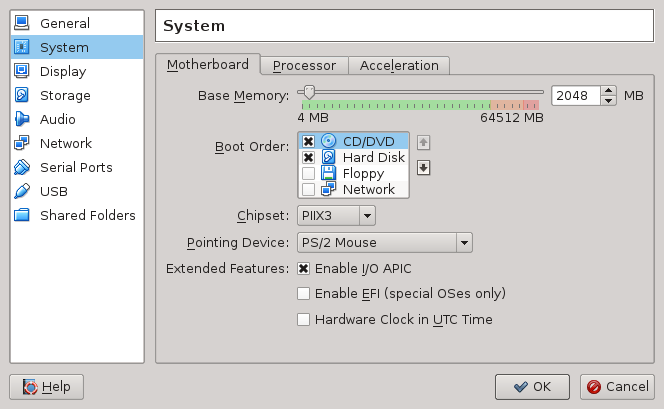
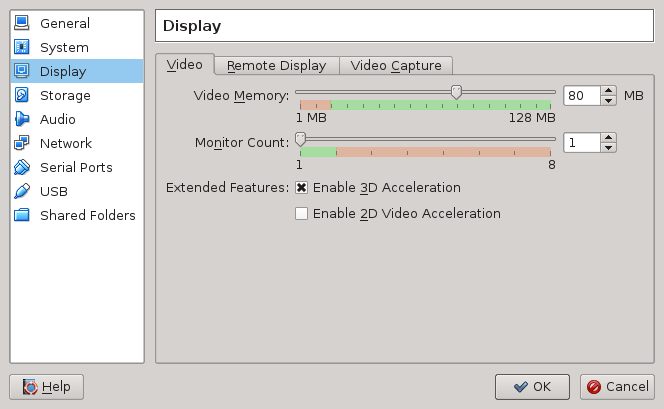
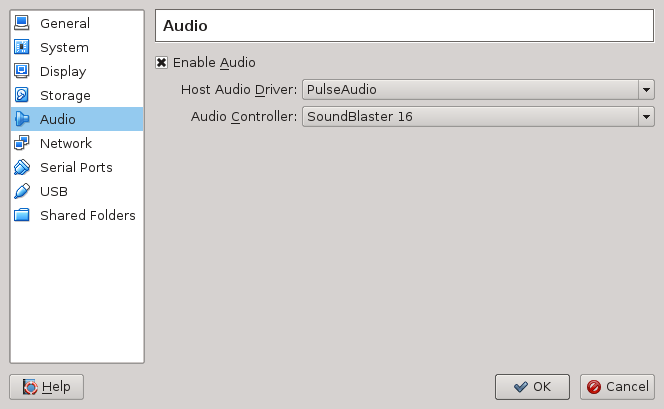
It's easier to show all of the screenshots of the VirtualBox setting that were used with notes as needed to clarify the process. After building the new machine (setting its name, memory, and hard drive), use these screenshots to perform the final setting that are needed. Items that are not show are settings that don't affect the outcome (e.g., whether the Shared Clipboard is enabled, etc.)
-
Notice that the floppy disk is unchecked from the Boot Order: list, and
2 gigabytes is pretty generous for these old architectures...
-
I configured a 2 CPU system. I'm not sure how many CPUs Solaris 8 x86 supports.
It's trivial to add CPUs to the system after it's built and see if they're seen by the Solaris 8
kernel after the system is rebooted.
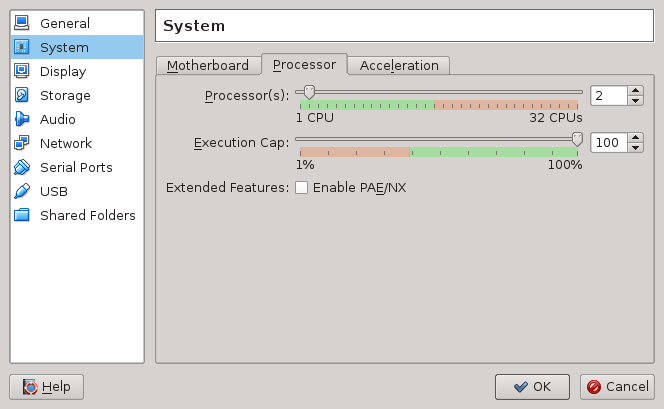
Based on What's New in Solaris 8 Operating Environment, Solaris 8 x86 will support 32 Gbytes of
memory using PAE if you want to go above a 4 gigabyte memory configuration.
- I don't know if Enable 3D Acceleration actually helps (doesn't hurt, though).
I believe Solaris 8 x86 ships with OpenGL 1.3, but I'm not sure how well integration is with VirtualBox.
The video memory size is just a guess and should be okay.
- You can configure the VM to support audio. I'm not 100% what this is as far as number of channels or bits.
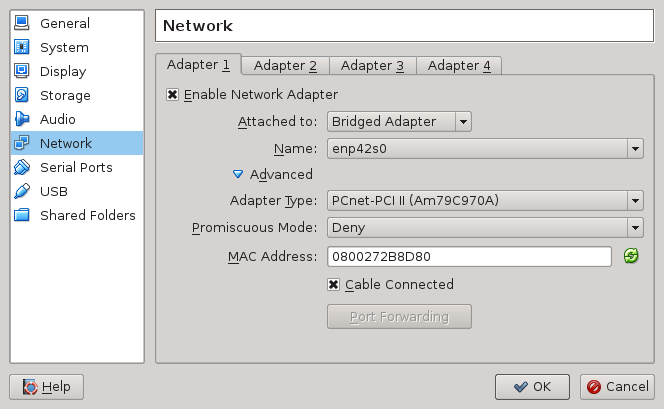
- Ensure that the adapter type is set PCnet-PCI II (Am79C970A) (others may work, I haven't tried).
Multiple adapters should work, but the network will require a different configuration (I believe)
and this guide does not cover those steps.
- No serial ports were configured.
- Enabled -- USB is supported according to the documentation.
- No folders are configured.
Installing: First Boot 🔝
It's suggested that you read through these steps before booting the VM for the first time.
This is where a few non-obvious steps are taken to ensure a good build.
- Start the virtual machine.
You should see a brief booting screen followed by the following screen --
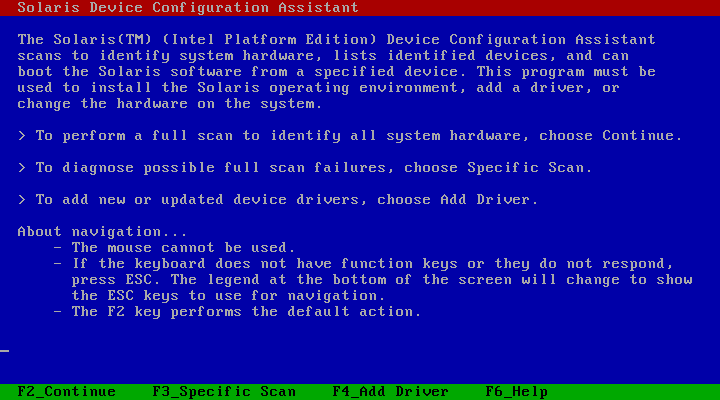
Pressto continue the booting process.
The Scanning Devices screen with a text-based progress bar will be displayed.
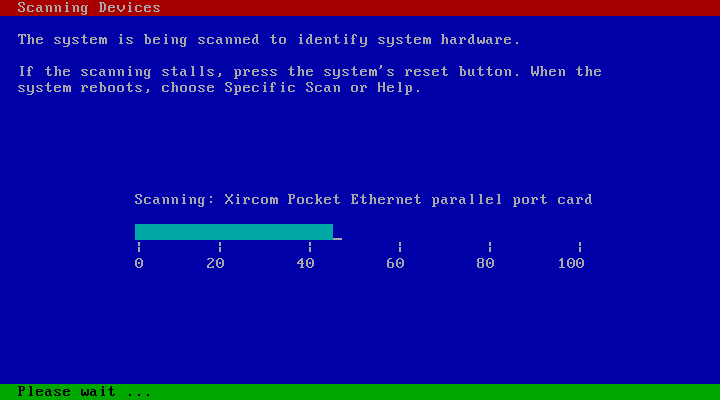
❗❗ Review the Identified Devices screen.
-
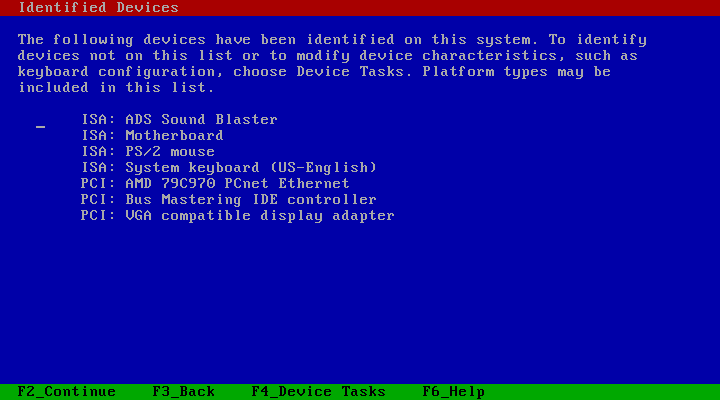
Ensure that it looks as close to this as possible and that none of the expected devices are missing or
"generically" identified (notice the missing ADS Sound Blaster and PCI: Ethernet controller entry).↙️
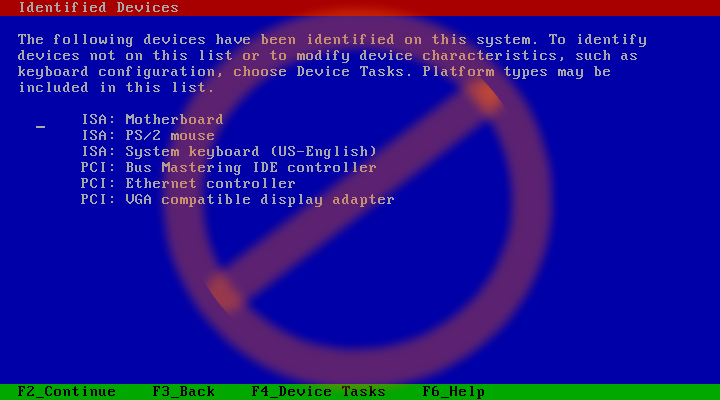
If the Identified Devices screen looks like the above, then the most likely cause is that there's an incorrect
setting in the VM. Power off the VM and review the above settings screens 🆙.
After making any changes, boot the VM again and ensure it's correct. -
If everything looks okay, then press
to the next steps of the booting process.
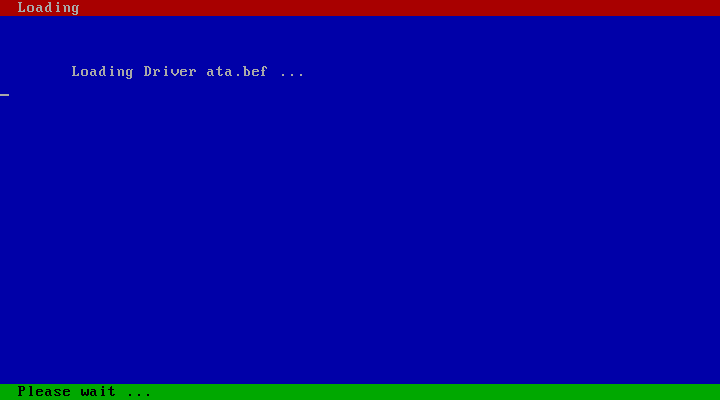
-
After the driver is loaded the Boot Solaris screen appears.
Navigate using the arrow keys, then press SPACE to select the CD device to boot Solaris 8.
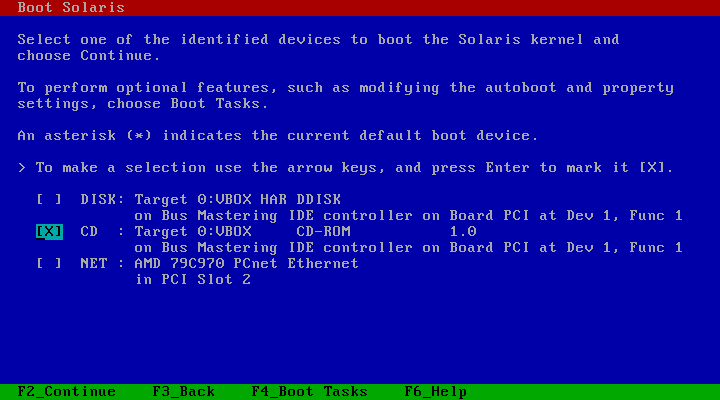
Pressto boot Solaris 8 and start the installation.
-
After the driver is loaded the Boot Solaris screen appears.
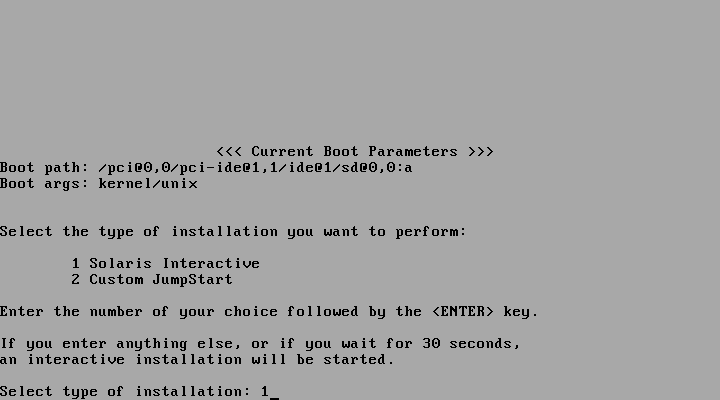
Select 1. Solaris Interactive and press ENTER to boot the kernel.
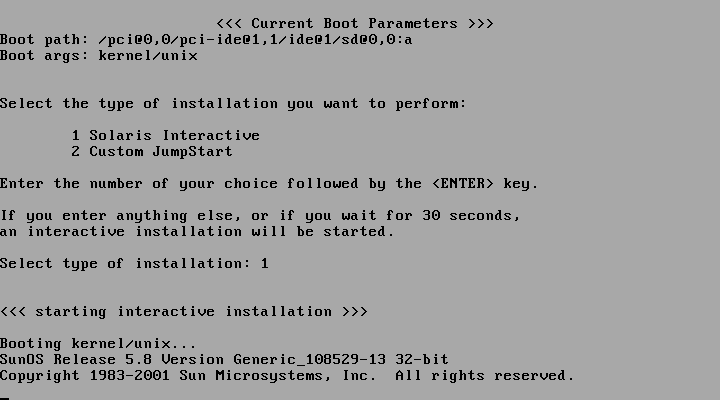
-
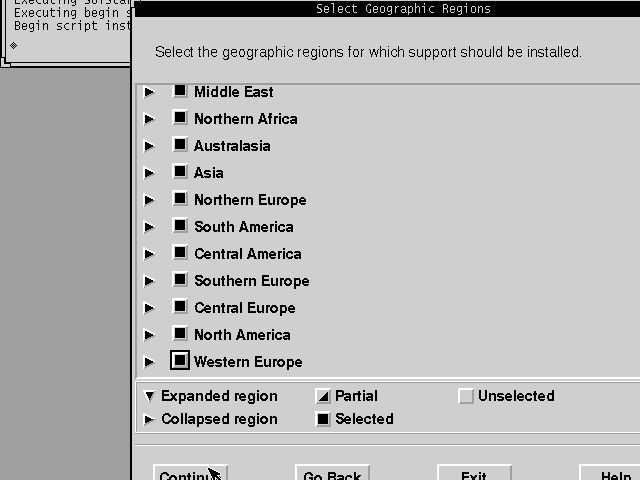
Perform the installation - select the language, etc. (only the interesting screens will be shown).

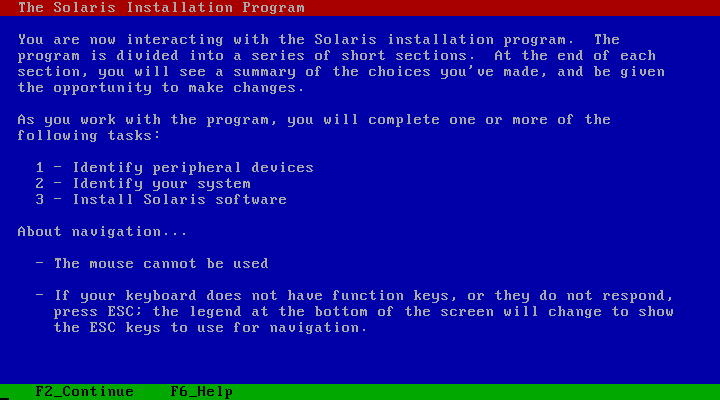
Pressto continue the installation.
-
You'll need to tell the installer about the video device.
A lot of steps are necessary to get a usable video configuration.
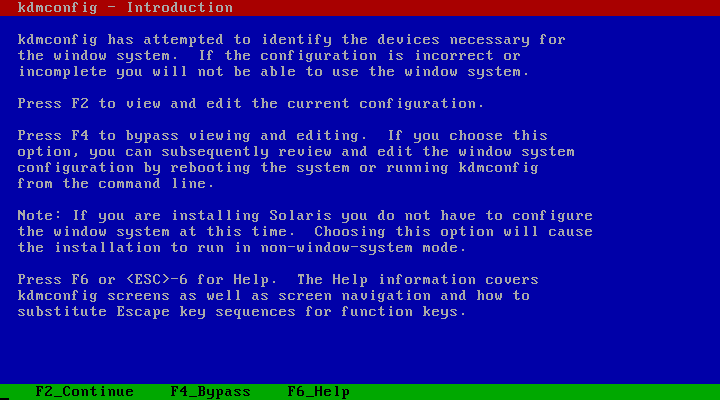
Pressto continue the installation.
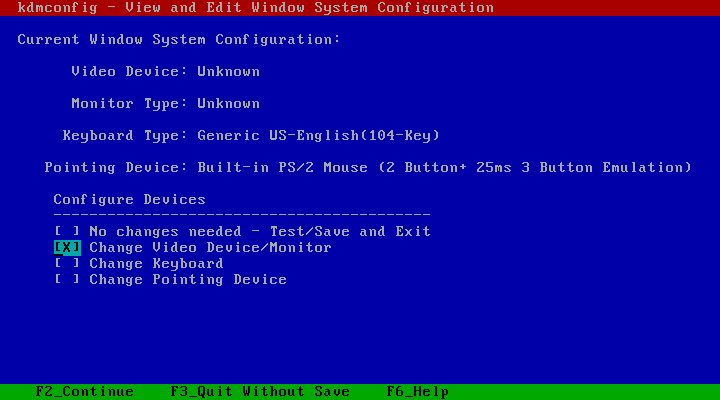
Pressto continue the installation.
Window System Configuraton 🔝
-
Video Device Selection There are a lot of video devices listed, unfortunately only the first two are available.
I selected the second option just to get a little more useable screen (even with the panning).
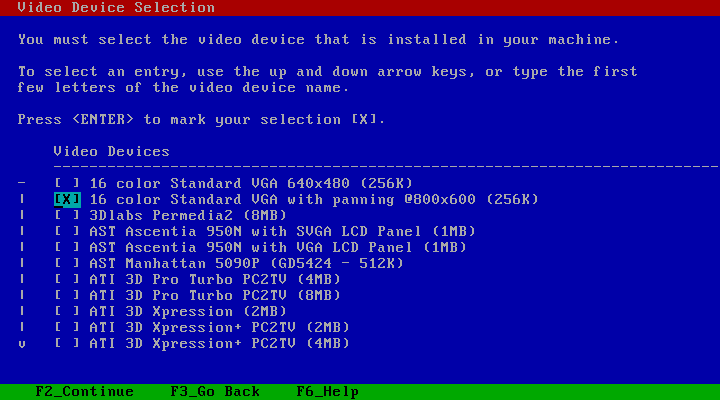
Pressto continue.
-
Monitor Type Selection
I think any MultiFrequency monitor will work, just pick the first.
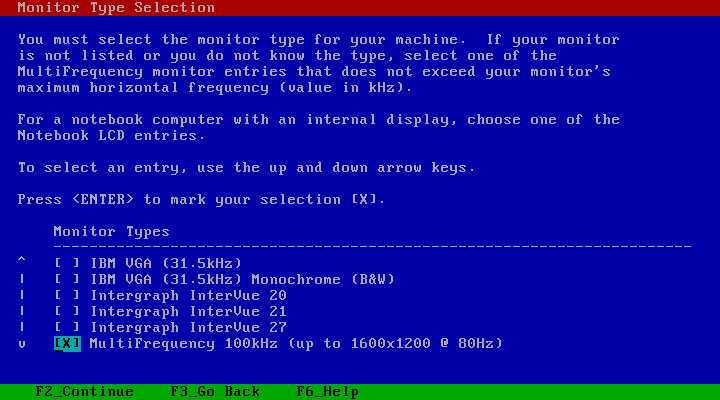
Pressto continue.
-
Screen Size Selection
Any size should work, I selected a 17-inch.
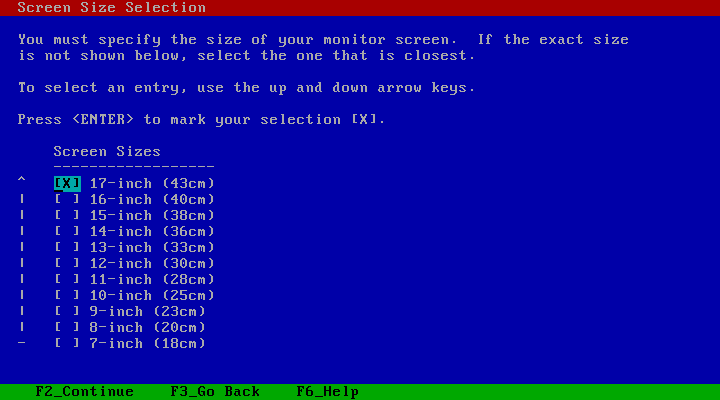
Pressto continue.
-
Virtual Screen Resolution Selection
Because panning was selected, select the panning size.
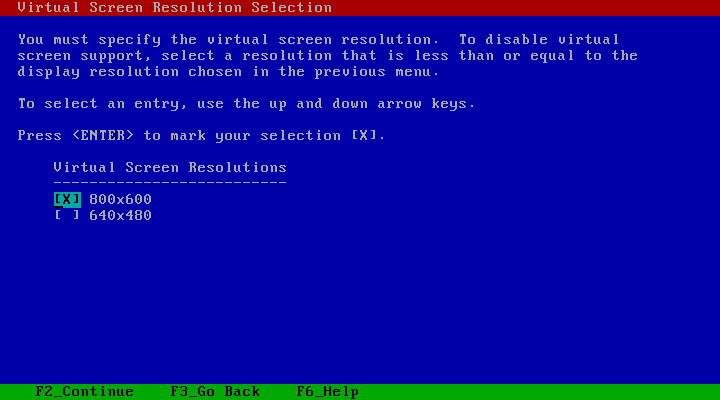
Pressto continue.
-
kdmconfig:: View and Edit Window System Configuration
The installer will allow you to continue.
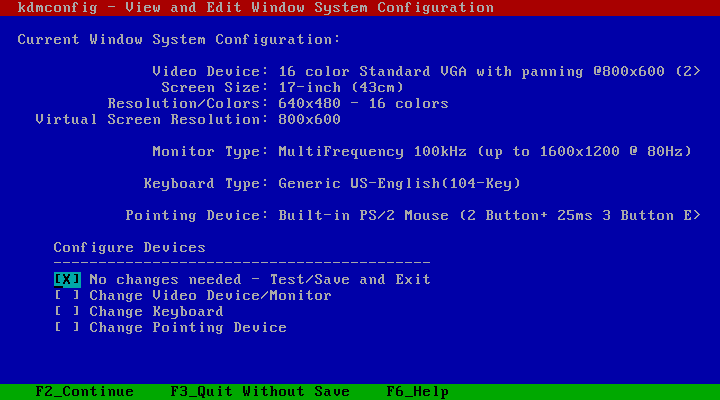
Pressto continue.
-
kdmconfig:: Window System Configuration Test
Make sure everything works.
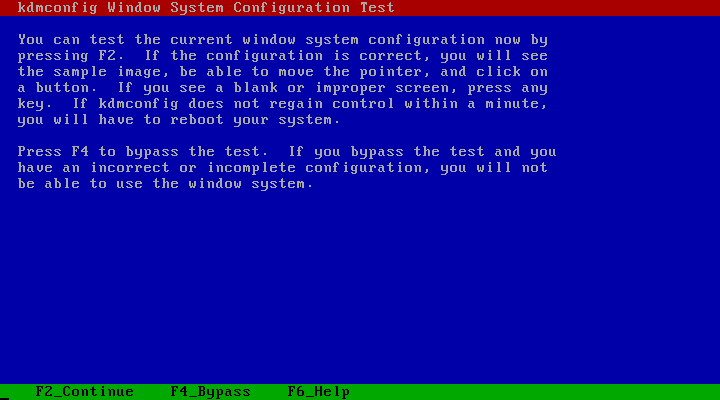
Pressto perform the display test.
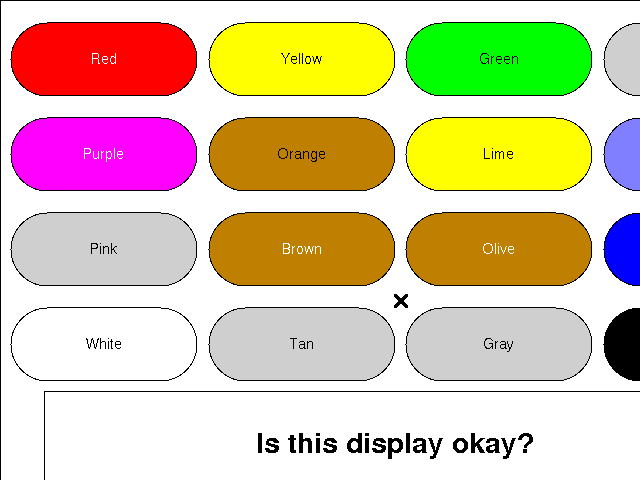
-
If you see the above image, then the Window System Configuration was successful.
Note, not all of the colors work (agree with their label), but this is how it looks.
If the display doesn't work, appears to hang, or is incorrect you can wait about 20 seconds and the screen will revert to the View and Edit Window System Configuration screen.
If everything looks fine, click in the VM's window and scroll to the big rounded Yes button to start the Solaris Install Console.
Solaris Install Console 🔝
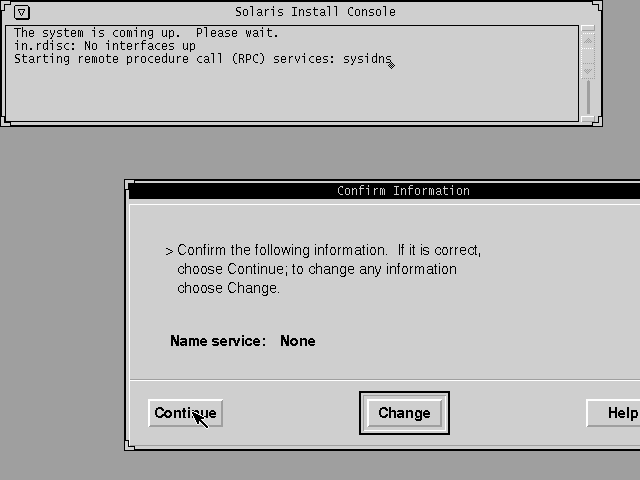
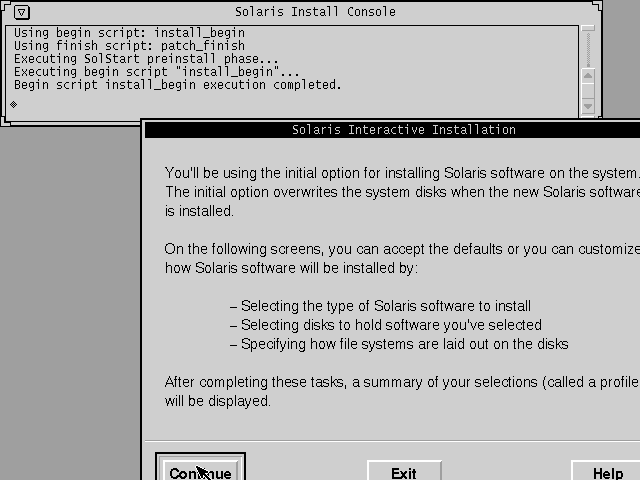
- The installation from this point requires the use of the mouse and follow the images.
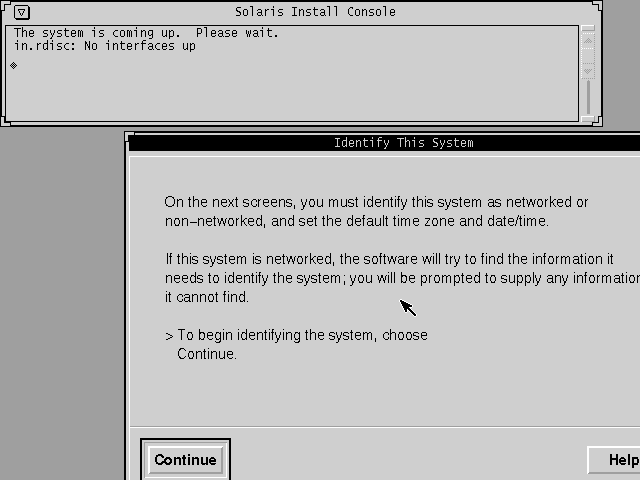
Click Continue.
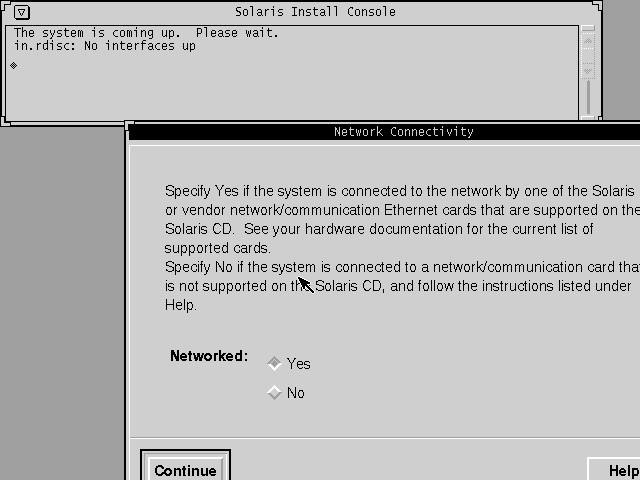
Click Continue.
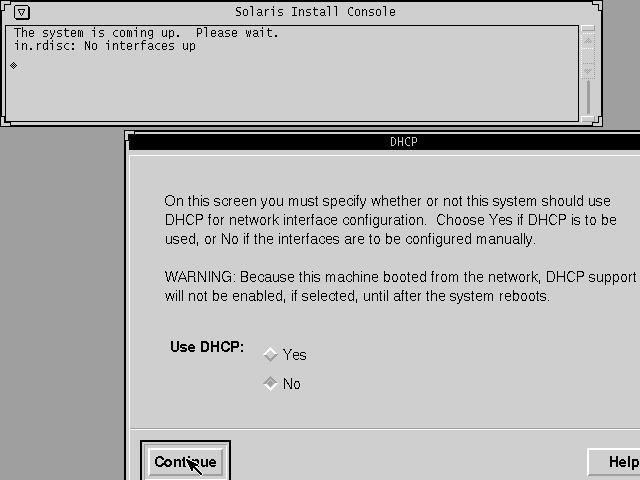
Click Continue. - Enter the VM's hostname.
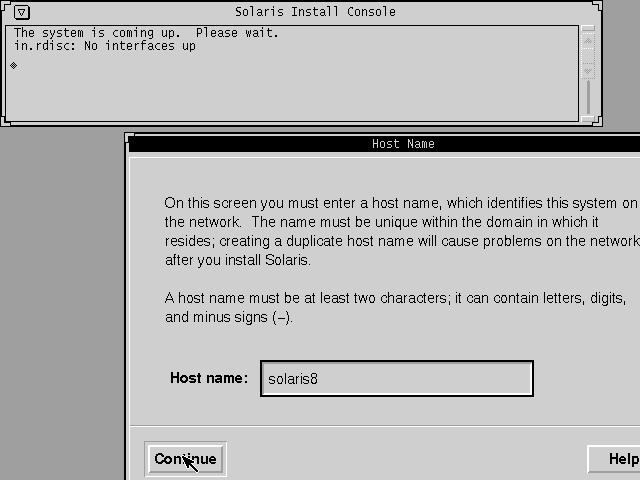
Click Continue. - Enter the VM's IP address for the network device.
Note that the address must agree with the network configuration that the bridged adapter is connected to on the host.
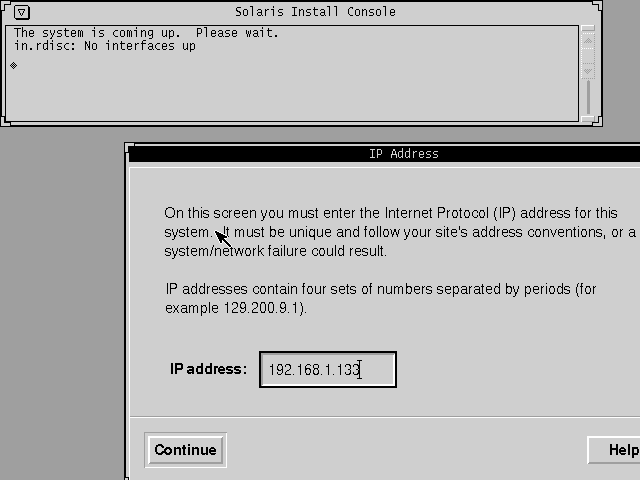
Click Continue.
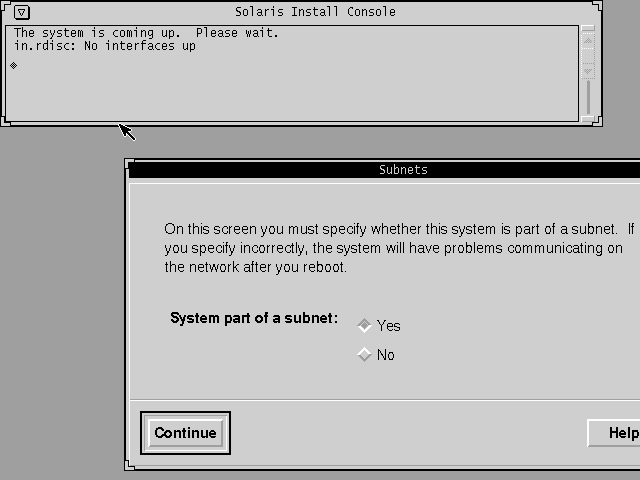
Click Continue. - Enter the appropriate Netmask.
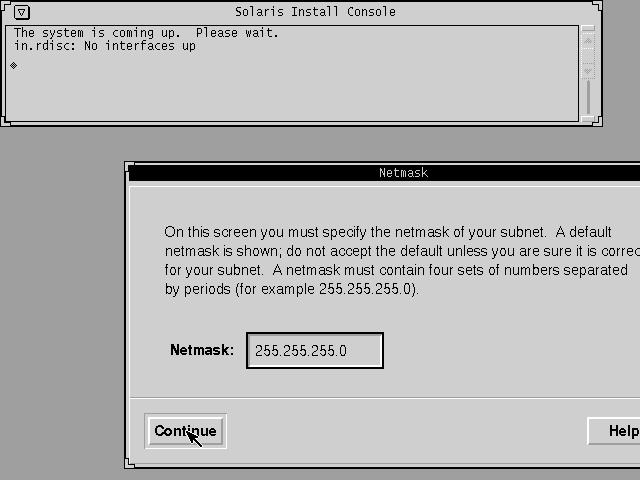
Click Continue.
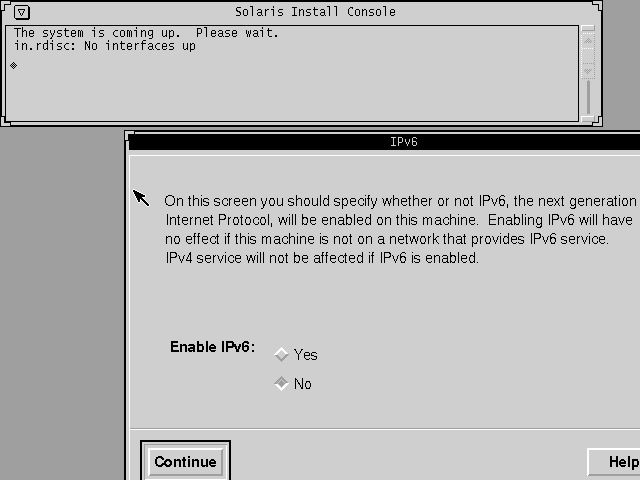
Click Continue.
Confirm the Network Settings 🔝
- Confirm the setting and click Continue.
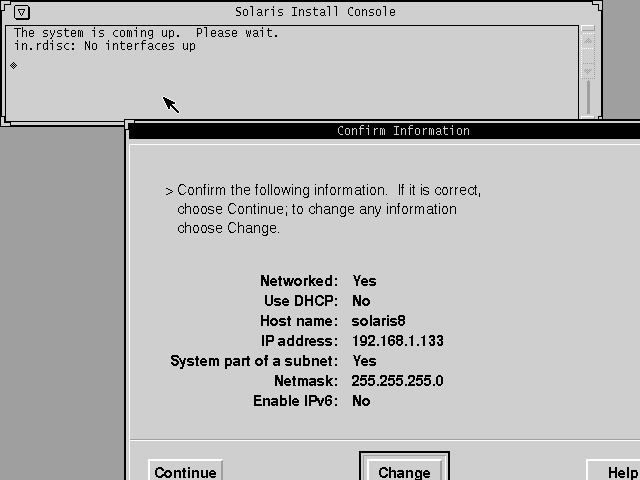
Kerberos Security Settings (not used)
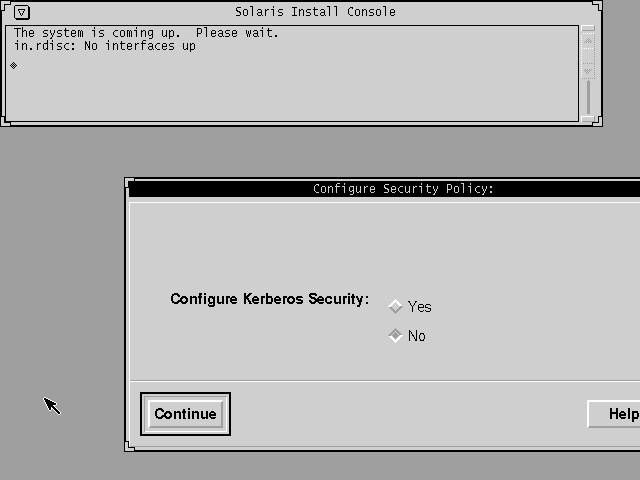
Click Continue.
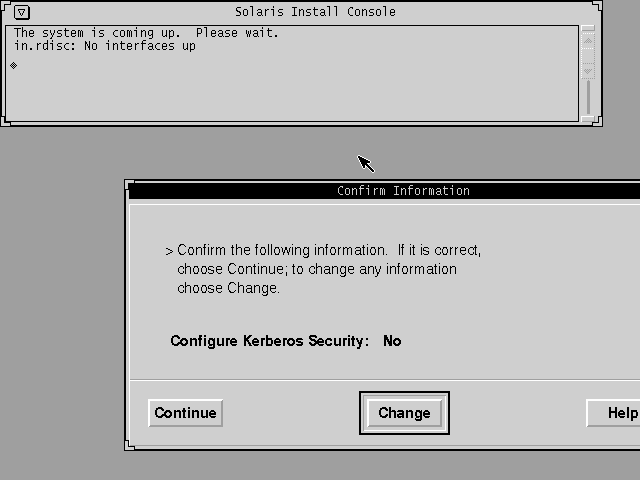
Click Continue.
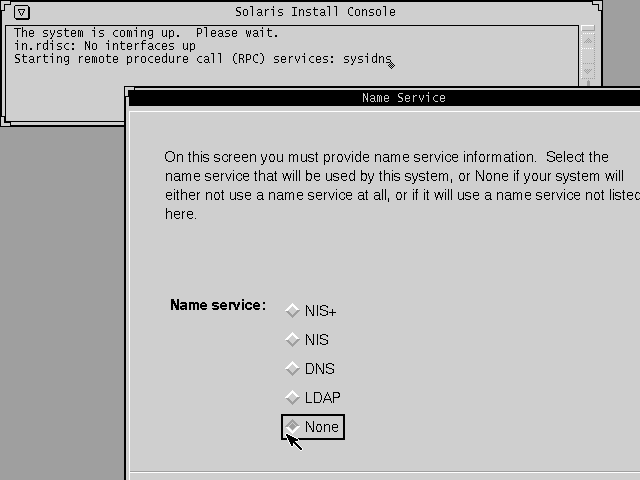
Select Name Service 🔝
Select the Time Zone 🔝
- Nothing special in this section, just follow the prompts and set to your preferences...
Solaris Interactive Install 🔝
- Select Software
Select Entire Distribution plus OEM support; it's ensures you'll have everything needed for the system.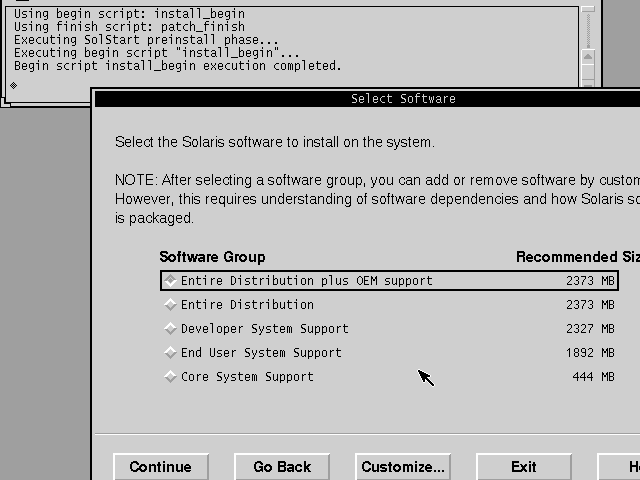
Click Continue.
- Select Disks
The installer should have pre-selected c0d0,
Click Continue.
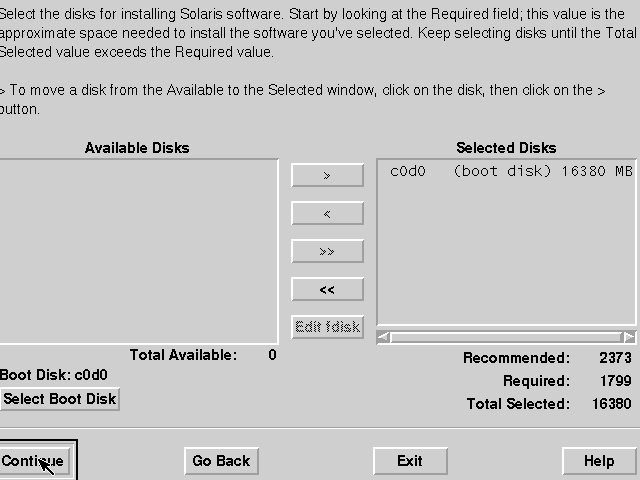
- Click Auto Layout.
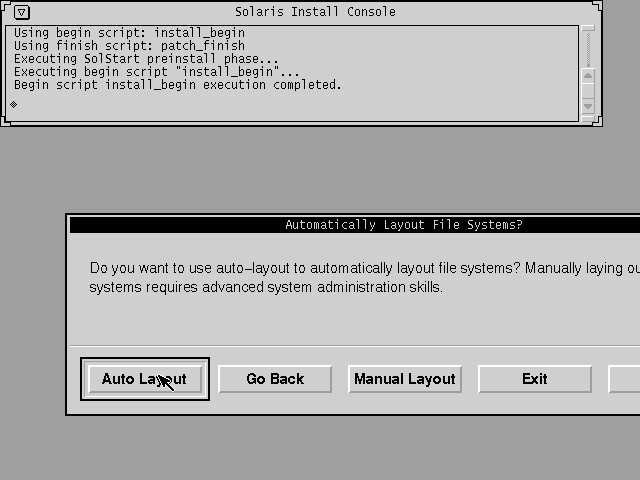
- You can split up the OS filesystem layout here if you want, but this is the simplest approach.
Click Continue.
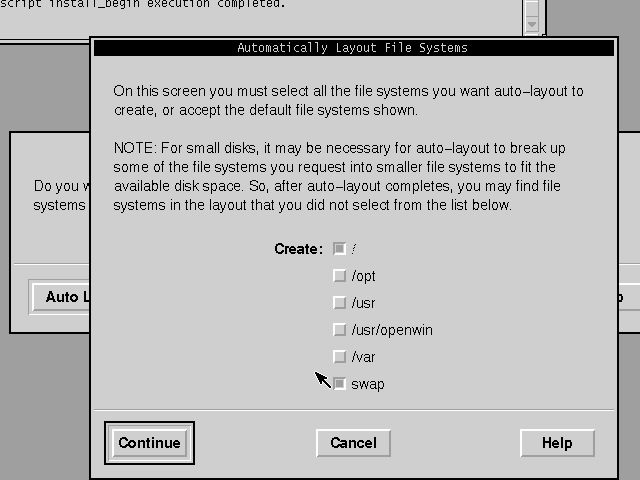
Customize the File System 🔝
-
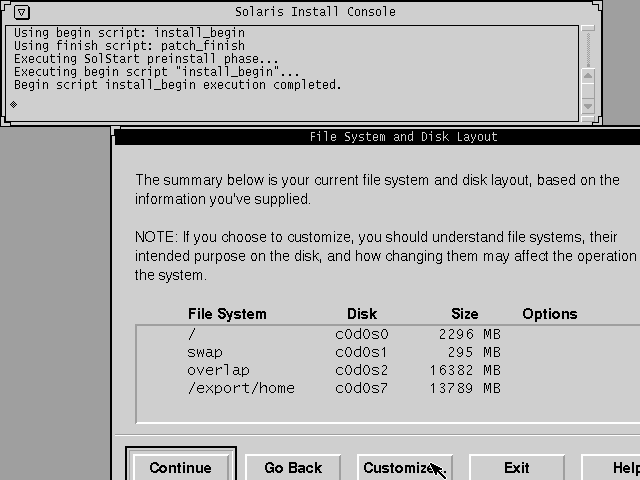
The default provided by the installer is too small and won't accomidate the prebuilt software, etc.
Click Customize.
-
Solaris FS history, FYI
For long forgotten reasons (at least I don't remember 😇), every vendor had their own particular
way of dealing with file systems on hard drives. Sun microsystems was no different. A Sun hard drive
is split into 8 partitions and each partition is generally "hard-wired" with a specific use. As a good
rule of thumb, you should not change their meanings. In simplist terms:- the root
/filesystem should be installed on partition 0; - the
swapfilesystem was partition 1; and - partition 2 always mapped to the whole drive (don't change this value).
This is generally used when the whole drive is a single partition.
These should not be changed unless you have a very specific need to do so. Partitions 3 through 7
were freely configurable, and usually partition 7 contained the/export/homefilesystem. - the root
-
Start by shrinking the
/export/homefilesystem to 100 MB.
This will stop the installer from complaining when you increase the size of other partitions.
Generally, this guide requires about 1.5GB in the root filesystem, but if you want to add
additional packages and tools, you'll need to size it accordingly.
Below are the setting that were used for this VM.
When you are satisfied, pan down and press OK, and then press Continue.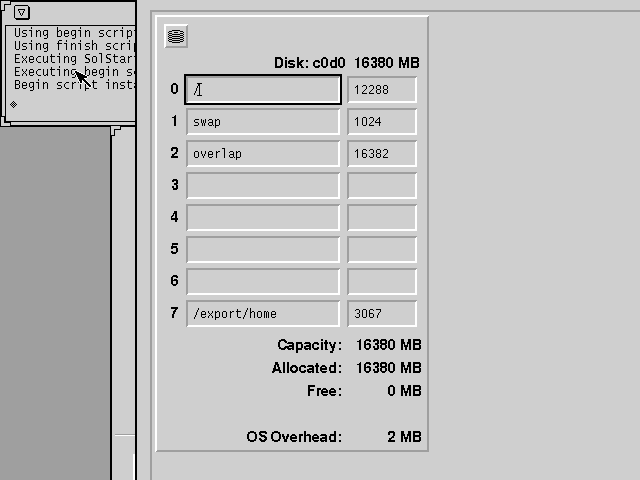
-
Mount Remote File Systems?
Nothing to do here, so press Continue.
- Review the Configuration
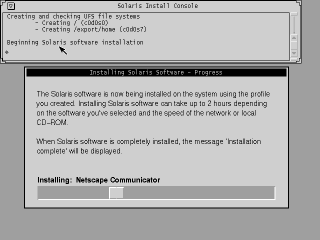
Review your configuration and press Begin Installation to install Solaris 8 x86.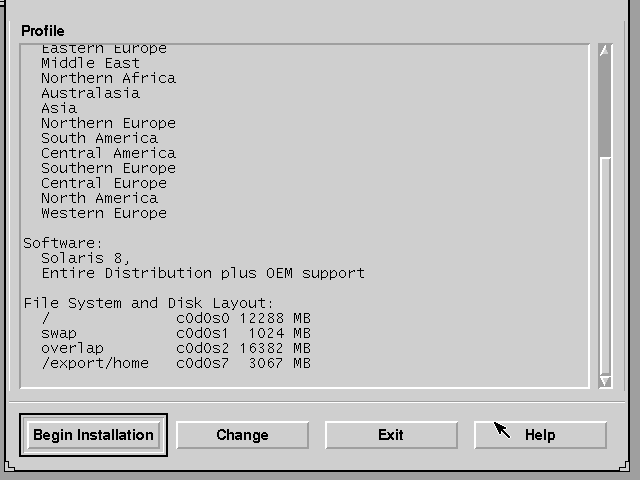
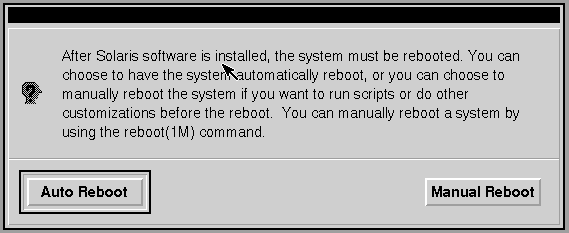
...right after you click the OK in one more information box after the above dialogue 😉.
Installing: Reboot 🔝
- Solaris Device Configuration Assistant
After the first part of the installaton has finished, the system is rebooted to the
Solaris Device Configuration Assistant.
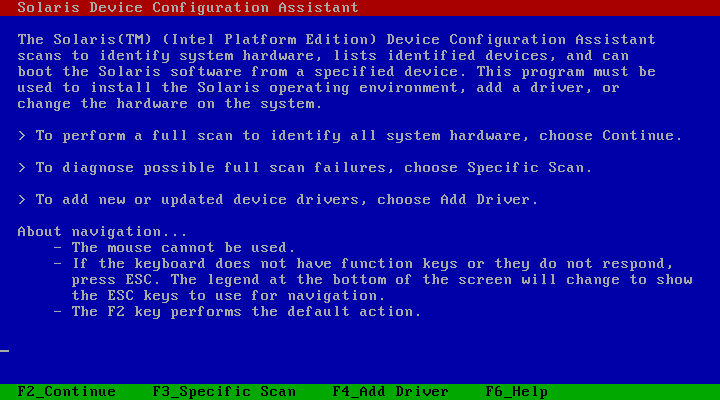
Pressto continue with the device identification.
Enable DMA Fix 🔝
-
Solaris disables DMA and this makes disk access noticably slower in the VM.
Enable DMA using the following steps (starting from the Identified Devices screen):

Pressto load the
ata.befdriver. -
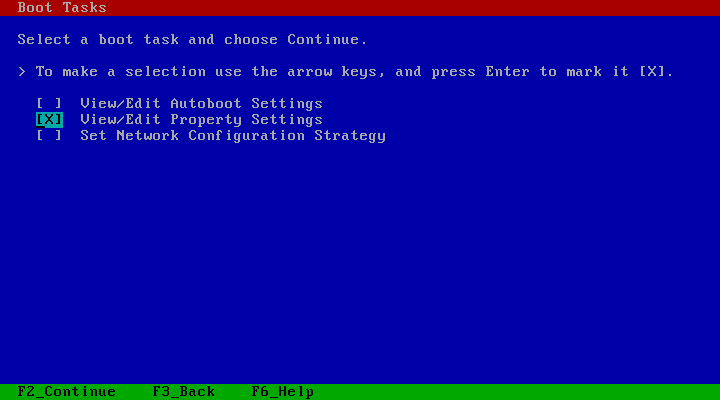
At the Boot Solaris screen, press F4 to enter the Boot Tasks screen.
Select View/Edit Property Settings and press.
-
Select the
ata-dma-enabledEntry
Navigate to the ata-dma-enabled entry, press SPACE (or 'X') then press F3 to edit its value to "1".
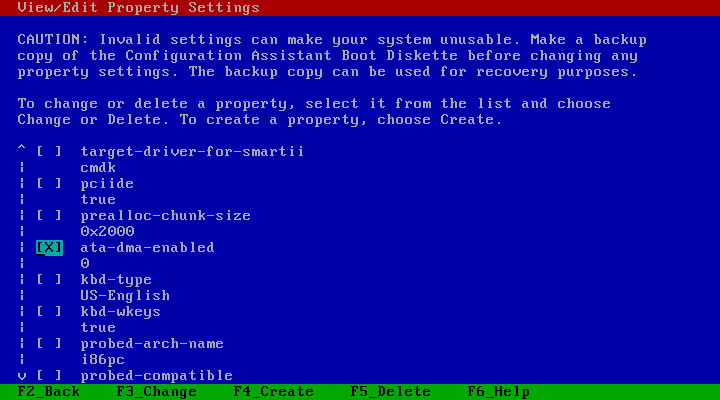
After entering "1", presstwice, then press F3 to return to the Boot Solaris screen.
-
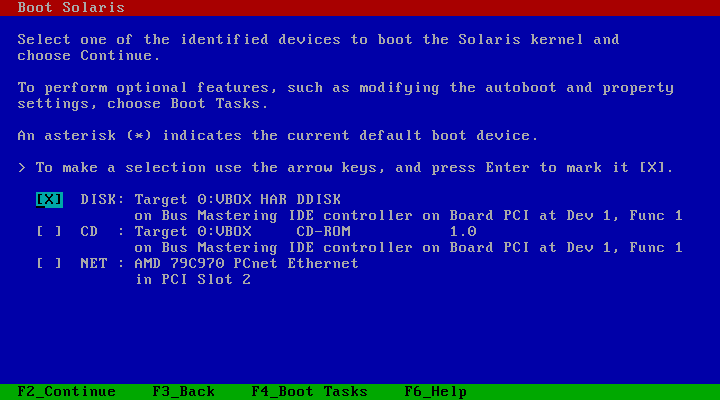
Boot Solaris (2nd time)
Now we're ready to boot from the hard drive.
Select the DISK: device and pressto boot from the newly installed Solaris 8 VM.
Launcher Issue Fix 🔝
On systems with a limited display (like the VM in VirtualBox), there's an annoying Launcher bug where
the GUI will fail and leave the system in a reboot only state.
We'll fix that in maintenance mode in order
to get past this step and finish the installation.
-
At the
<<< Current Boot Parameters >>>screen and at theSelect (b)oot or (i)nterperter:
prompt, enter b -s and press RETURN to boot into maintenance mode. -
There's no root password set yet, so just press RETURN to get to a shell prompt.
-
Enter
vi /etc/init.d/webstartand look for the lineCUI=.
Change the line to readCUI=yes. Save the file and quit the editor. -
Enter
exitto leave the shell to continue the boot into multi-user mode. -
Root password
After the VM boots (and after the RPC timed out message appears), enter the Root password and confirm. -
Mount the Second CD
Since the installation is not complete, the installer will ask where the media is for the 2nd CD. Enter1
and press ENTER. The installer will always eject the current media and prompt you to insert the CD/DVD
for the Solaris 8 Software 2 of 2 (2/02 Intel Platform Edition).
Use the VM's VirtualBox Setting to eject the current CD media and mount the sol-8-u7-ia-v2.iso media.
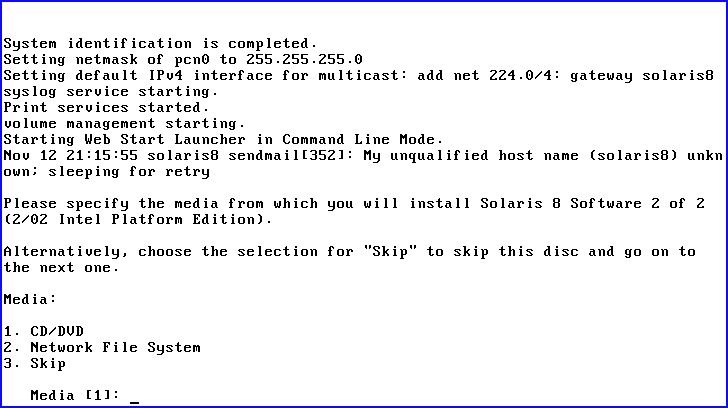
The message "Reading Solaris 8 Software 2 of 2 (2/02 Intel Platform Edition)..." will be displayed. -
Finish the installation following the prompts. No special steps are necessary, pretty straightforward.
Reboot after the installation is complete. 🔝
okay
