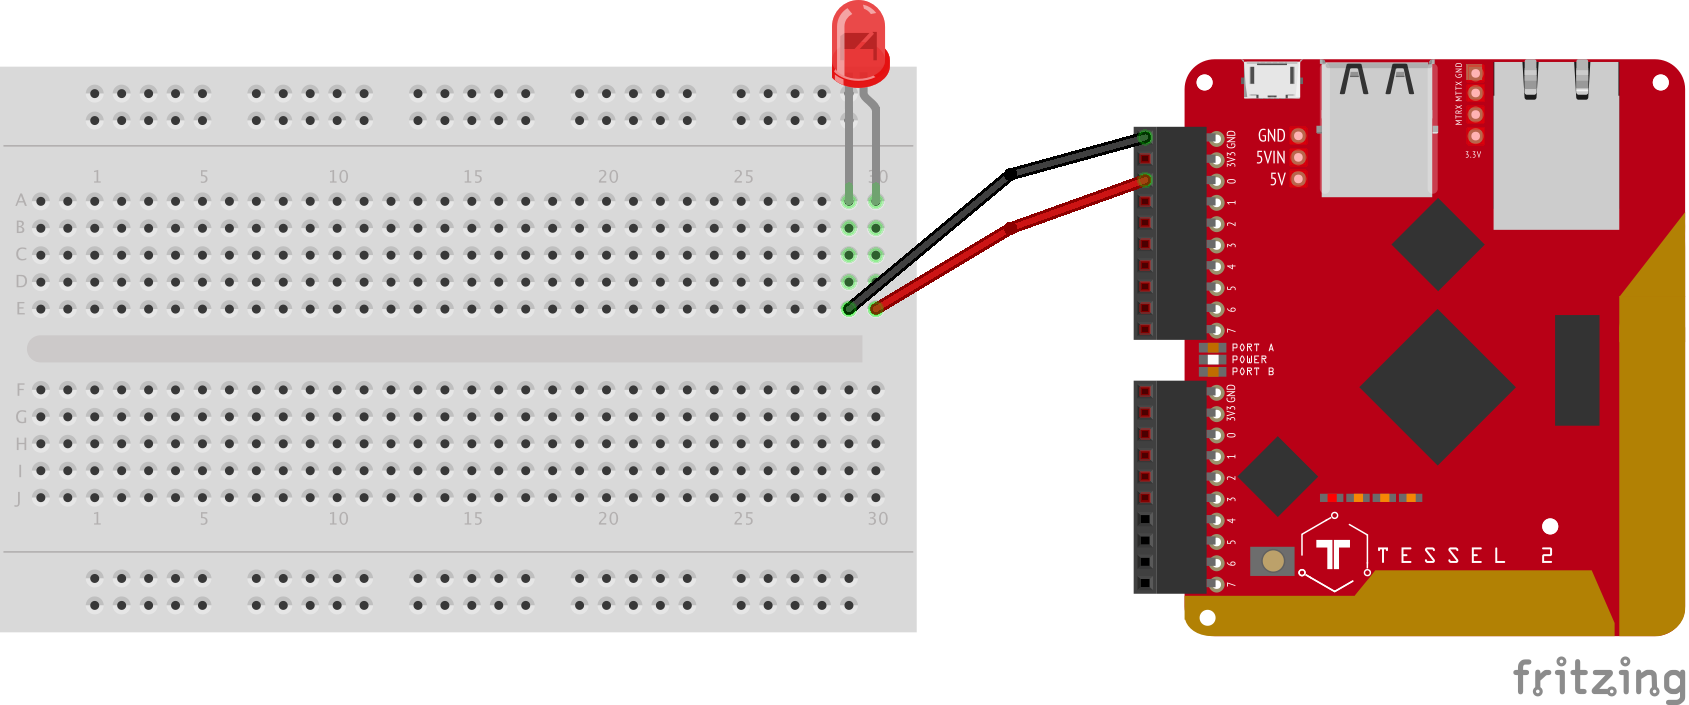
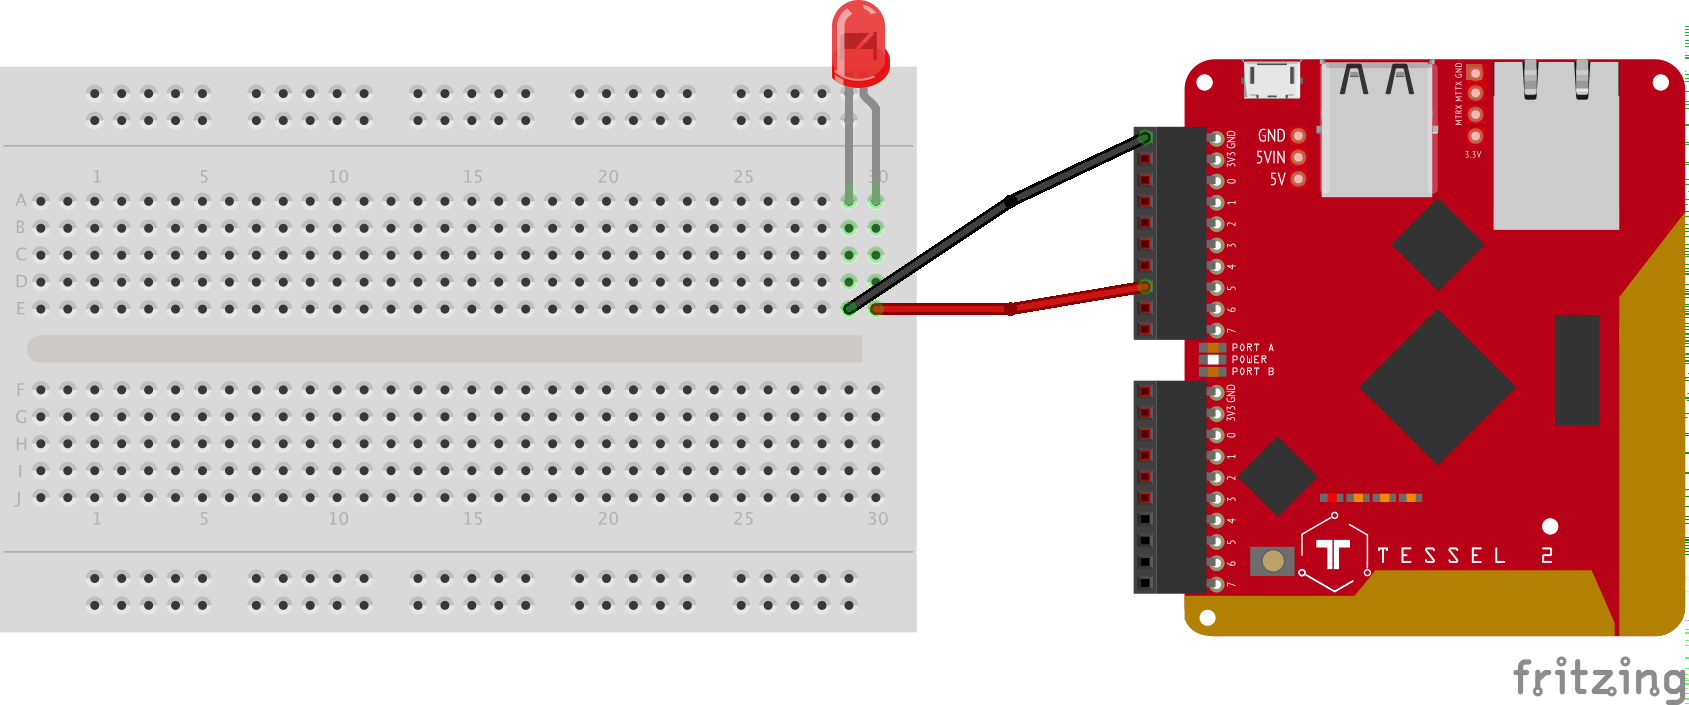
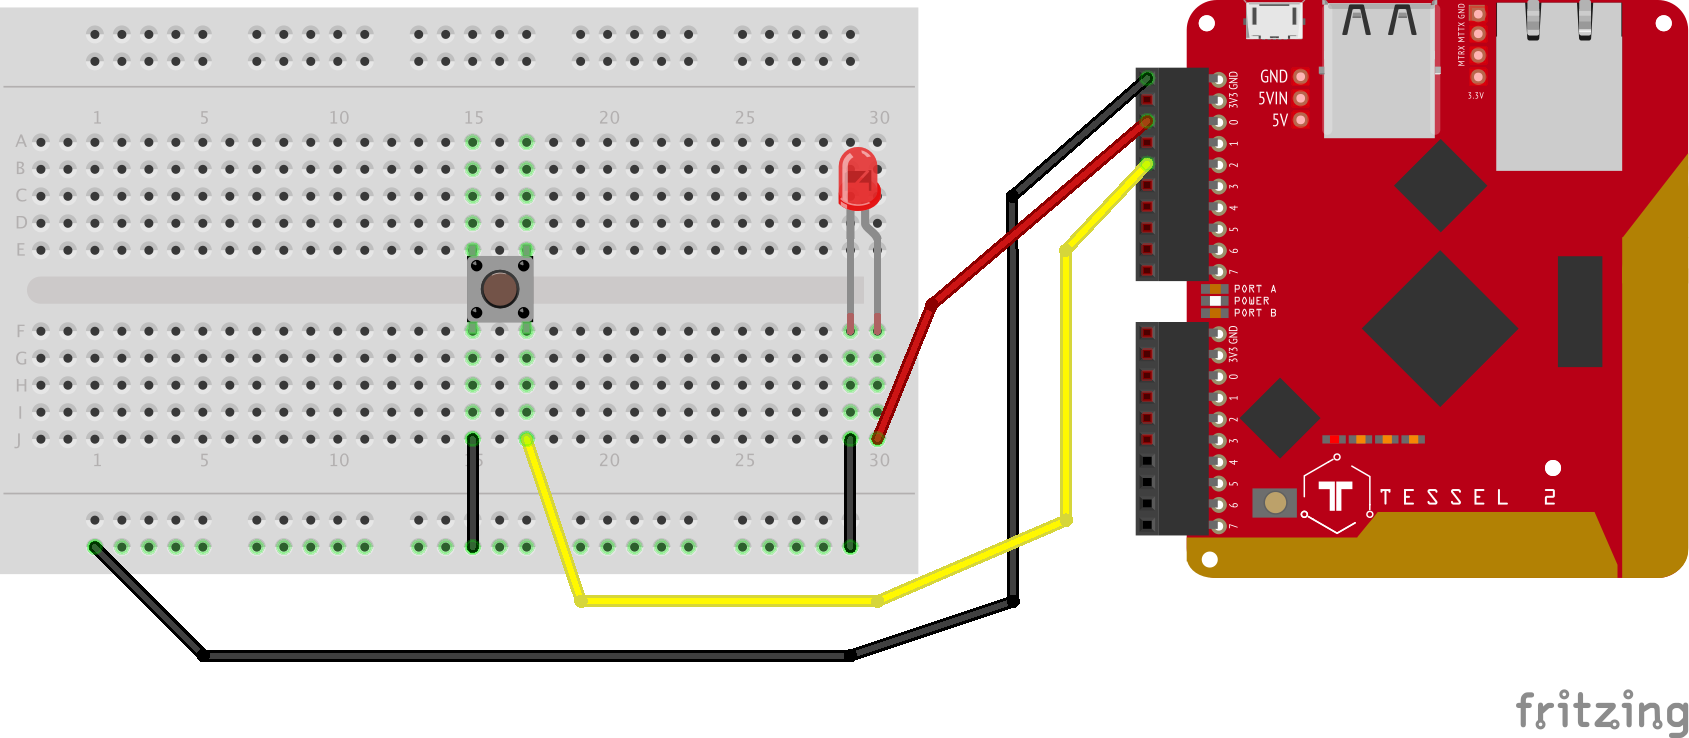
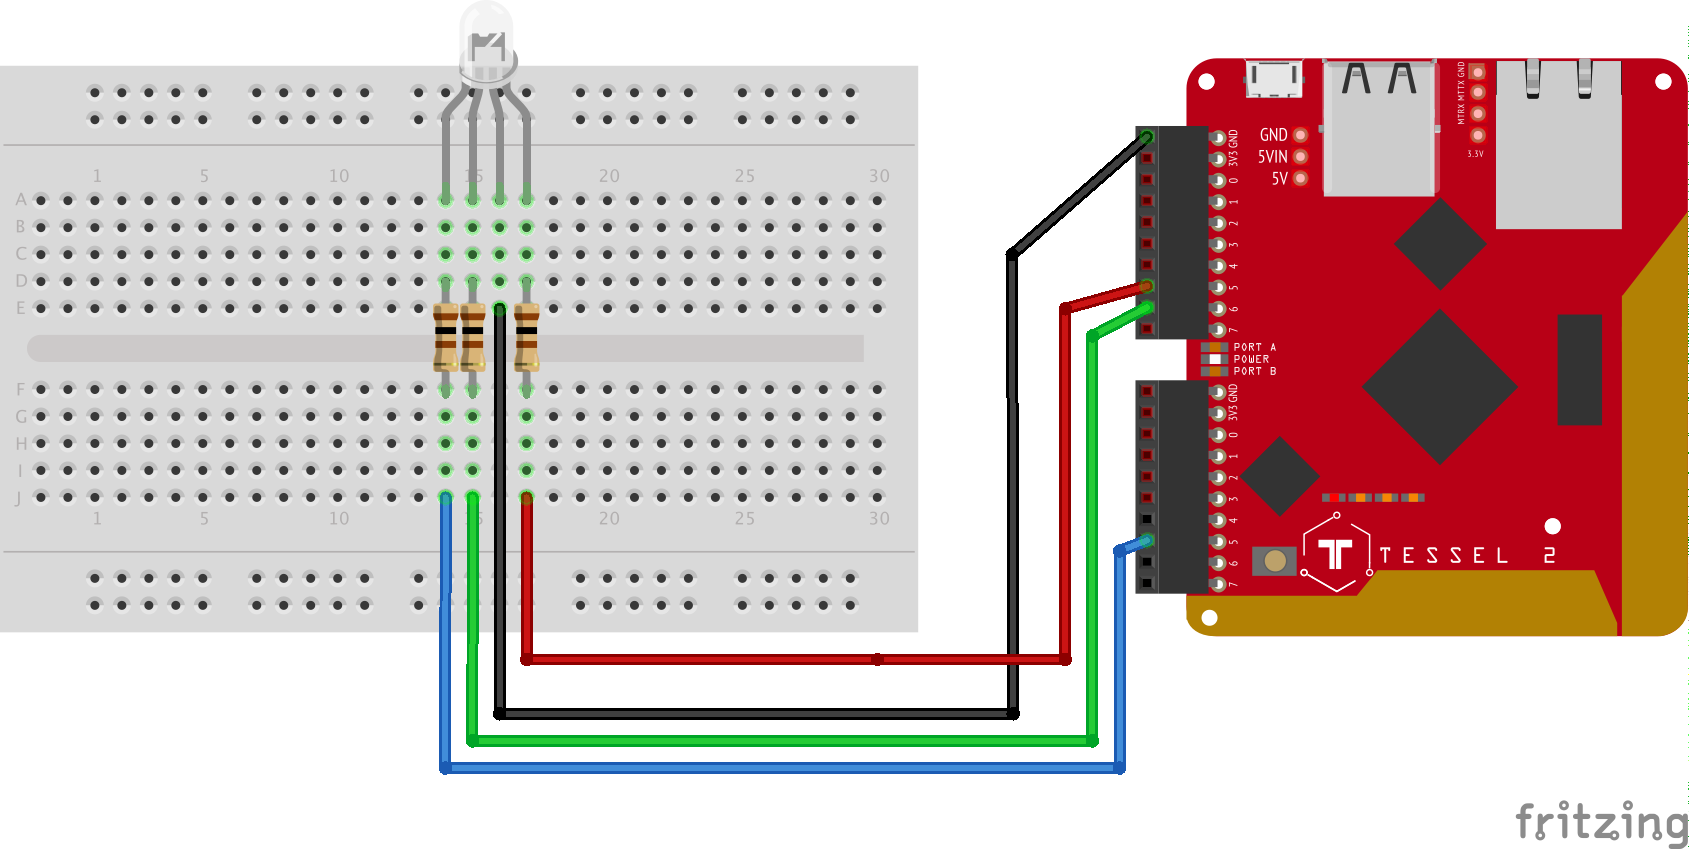
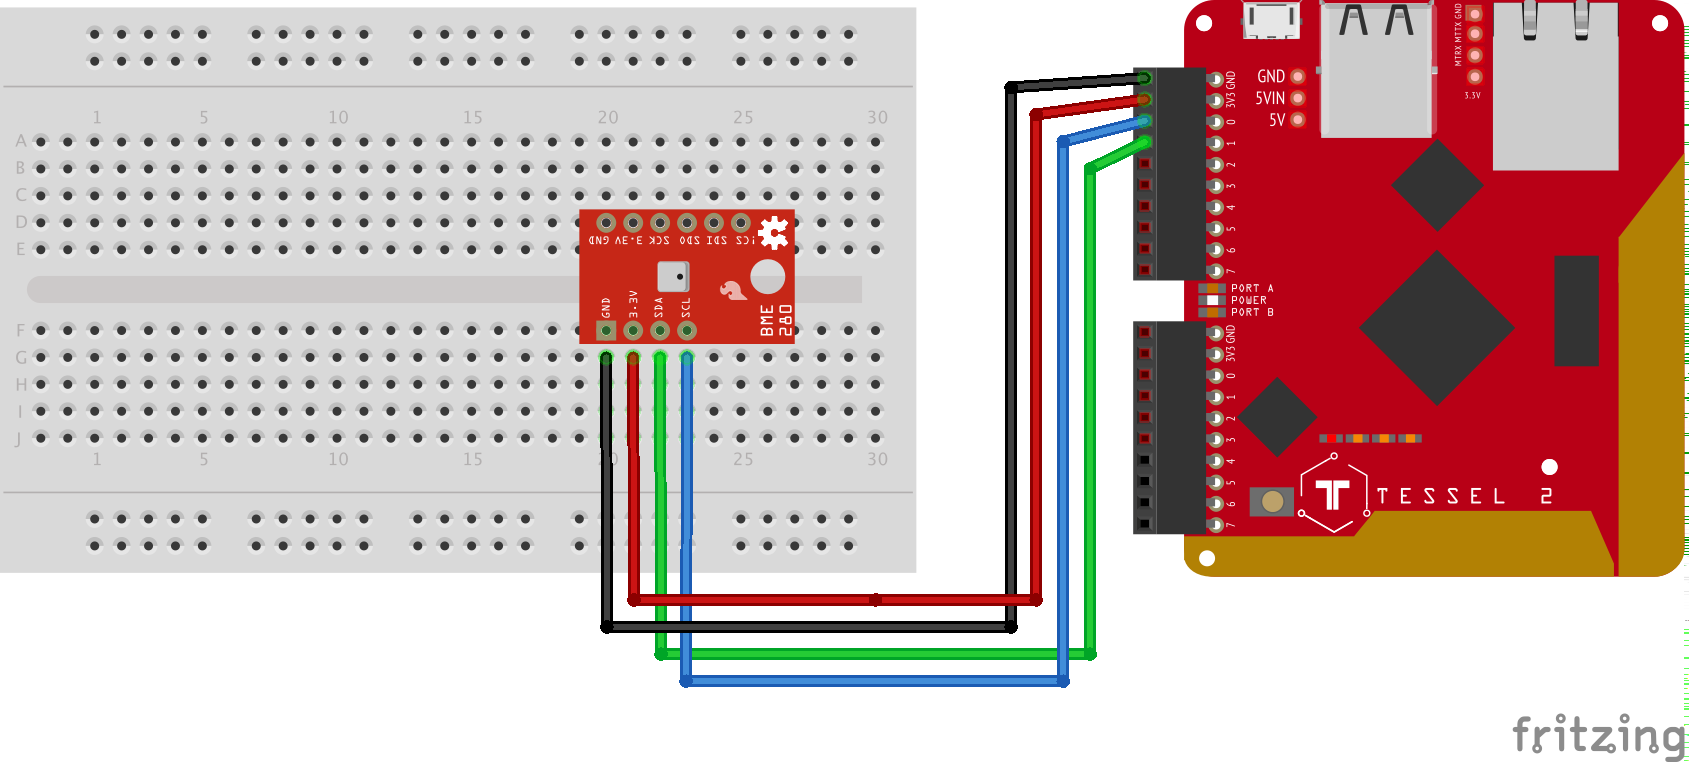
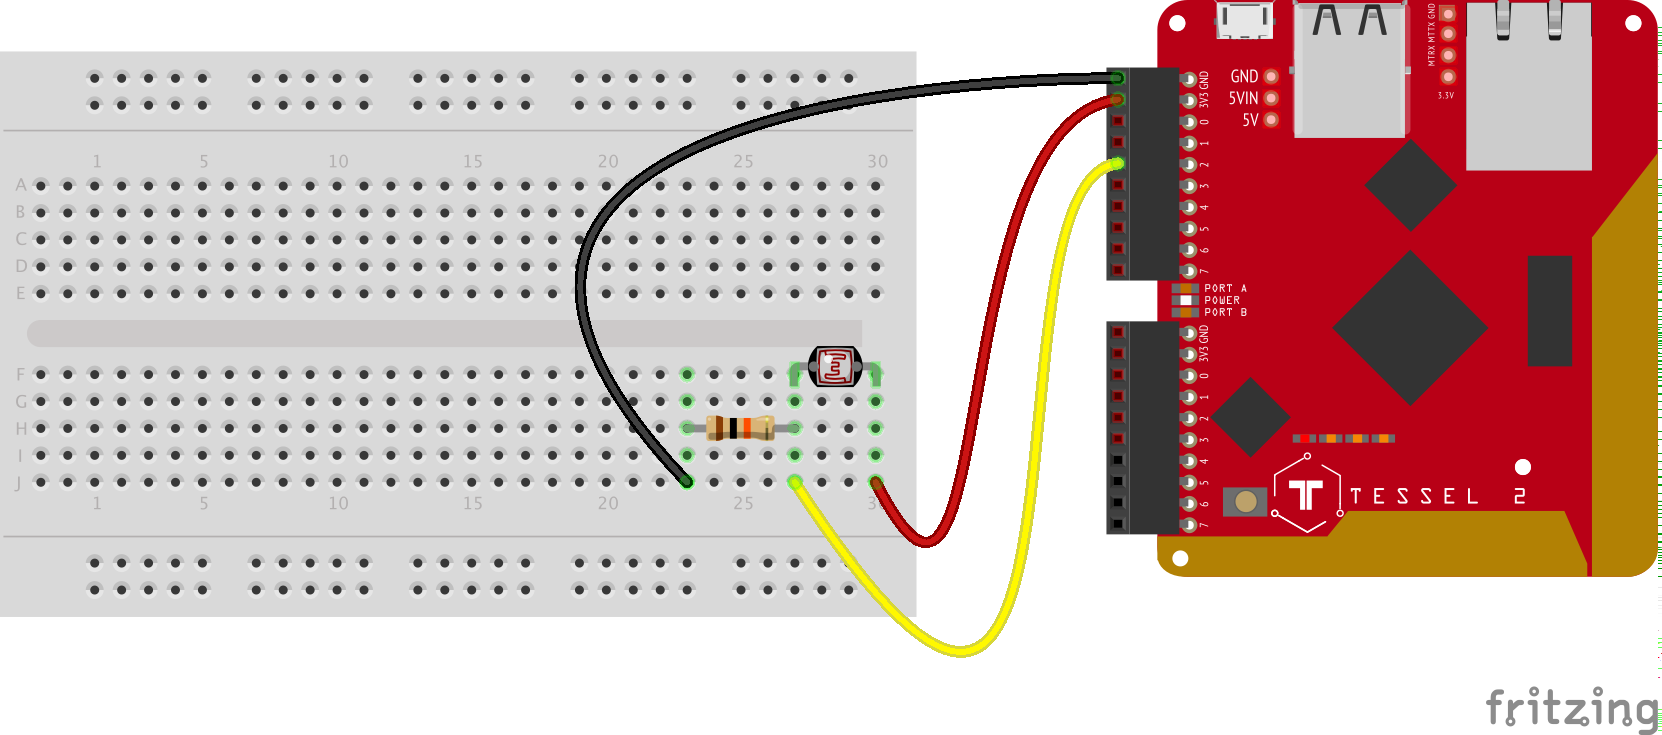
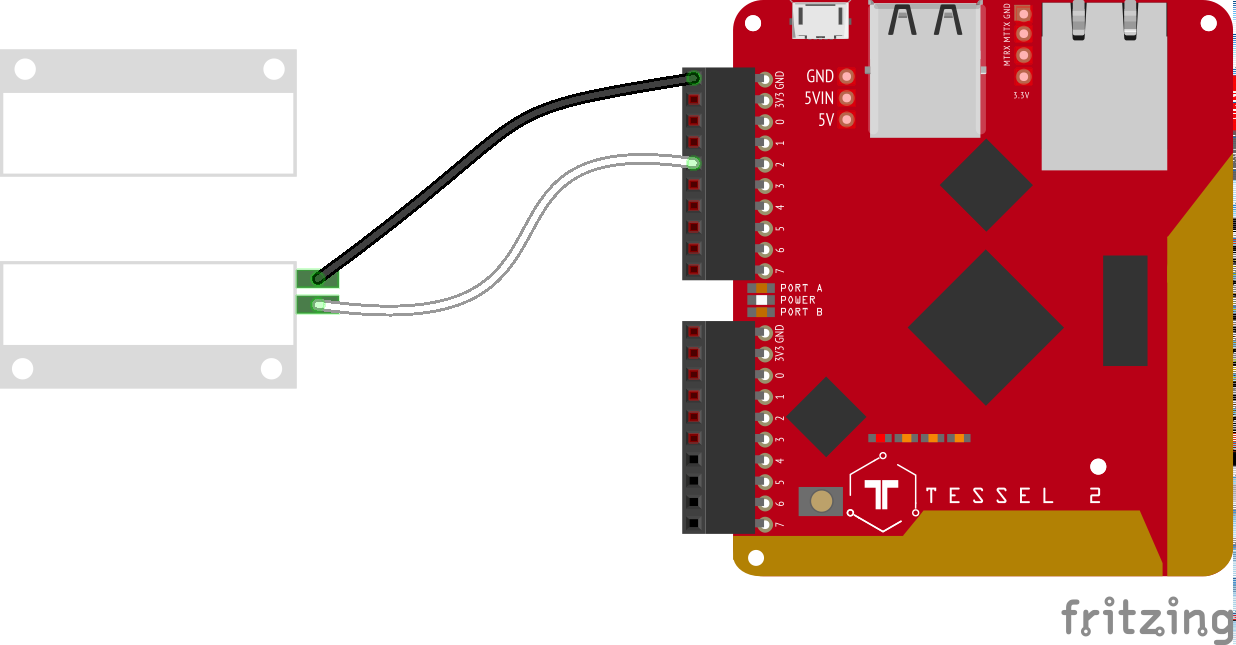
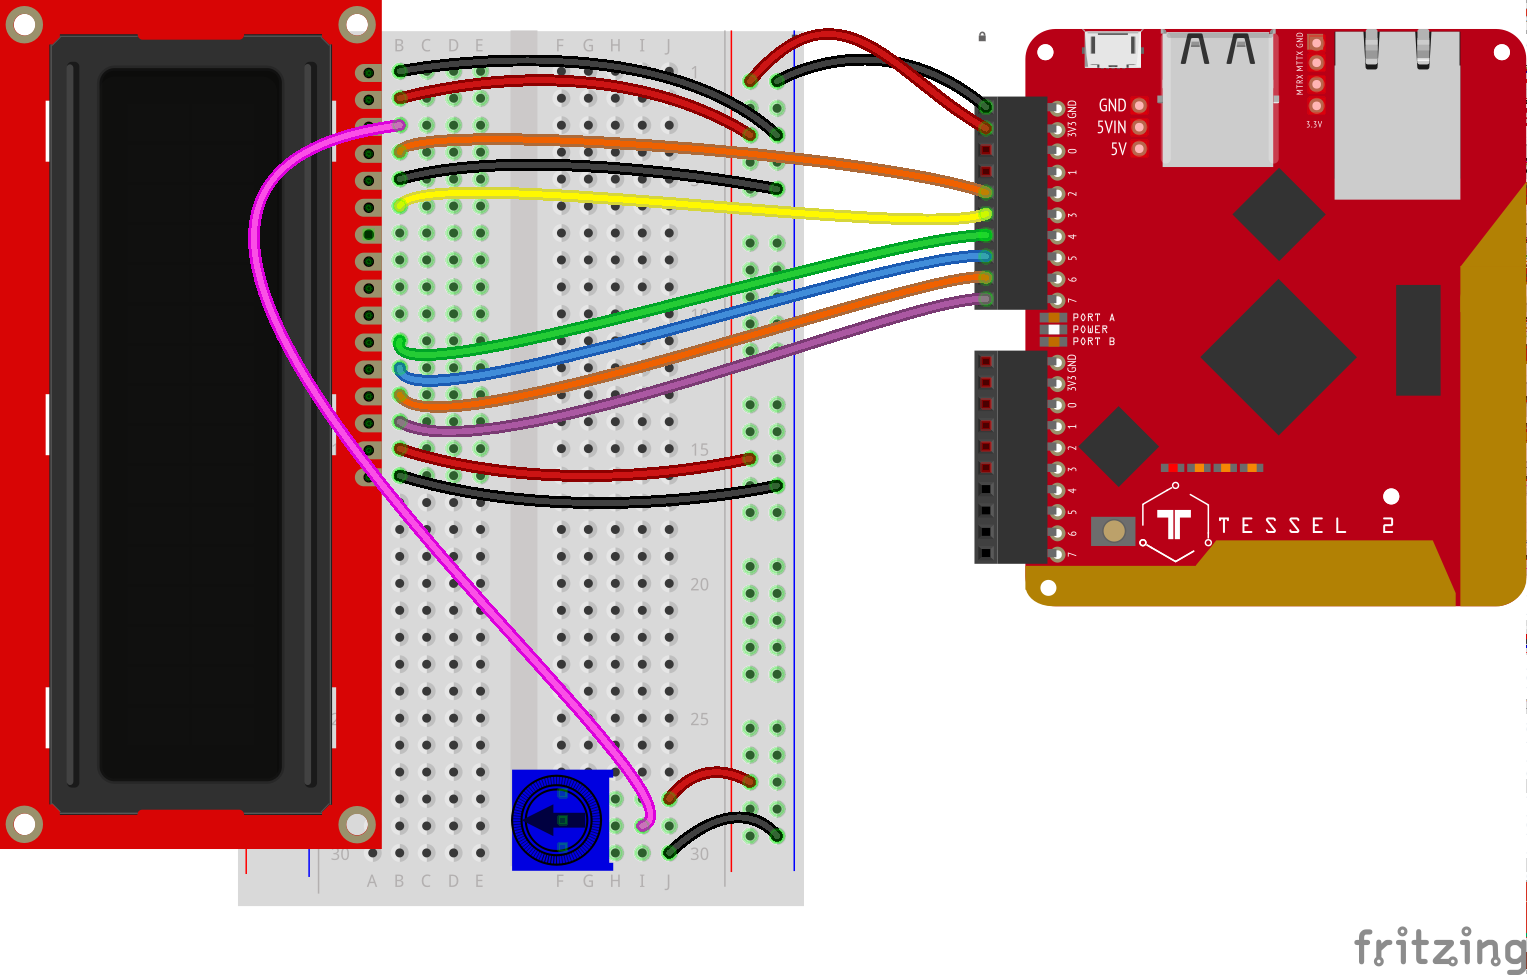
This is the repository for following along with Steve's Nodebots Course for Frontend Masters.
This workshop uses the Johnny-Five Inventor's Kit featuring the Tessel 2.
You should have your Tessel 2 set up before beginning. To get set up, follow these instructions.
- Install the
t2command line tool usingnpm install -g t2-cli. - Install this project's dependencies using
npm install. - Make a copy of
env.sample.jsonand name itenv.json. This file will be ignored by git but is used by the project for SendGrid and Twitter API keys.
If you hate surprises or don't mind spoilers, Steve's lesson plan and notes are here.
Trying to listen to Steve and type can be hard. Here are some code samples to help you if you get stuck—but not so much that you can tune out and listen to his voice.
const express = require('express');
const app = express();
const http = require('http').Server(app);
const port = process.env.PORT || 80;
const bodyParser = require('body-parser');

app.use(bodyParser.json());
app.use(bodyParser.urlencoded({ extended: true }));

app.get('/', (req, res) => {
  res.status(200).send('Hello world!');
});

http.listen(port, () => {
  console.log('Your server is up and running on Port ' + port + '. Good job!');
});Socket.io is one of those fun ones where it's both a client-side library and a server-side library. Good luck keeping track.
Here is how you listen for new socket connections on the server.
const io = require('socket.io')(http);

io.on('connection', (socket) => {
  socket.on('client event', data => {
    doStuffWith(data);
  });
});
This will call doStuffWith on the data that comes from the client.
To send that message from client, you'd do something like this:
const socket = io();

socket.emit('client event', data);
If you want to go from the client to the server, then that's a little different.
const io = require('socket.io')(http);

io.sockets.emit('server event', data);
The code above will send it to every connected client. Socket.io can do cool stuff like sending it one particular client—but that's beyond the scope of anything we're doing today.
Here is what that looks like on the client.
const socket = io();

socket.on('server event', data => {
  doStuffWith(data);
});TL;DR: Make sure you're on Node 9 or earlier.
When running t2-cli you might encounter an error that looks something like this:
gyp ERR! cwd /Users/stevekinney/.nvm/versions/node/v10.2.1/lib/node_modules/t2-cli/node_modules/usb
gyp ERR! node -v v10.2.1
gyp ERR! node-gyp -v v3.6.2
gyp ERR! not ok
npm ERR! code ELIFECYCLE
npm ERR! errno 1
npm ERR! usb@1.3.1 install: `node-pre-gyp install --fallback-to-build`
npm ERR! Exit status 1
npm ERR!
npm ERR! Failed at the usb@1.3.1 install script.
npm ERR! This is probably not a problem with npm. There is likely additional logging output above.

npm ERR! A complete log of this run can be found in:
npm ERR!     /Users/stevekinney/.npm/_logs/2018-05-31T07_57_32_172Z-debug.log
Option 1: As of this writing, it appears to be an issue with Node 10 and later—as usb_bindings-v1.3.1-node-v64-darwin-x64.tar.gz is getting a 404. Falling back to Node 9 or earlier should do the trick.
If you scroll up, the meaty part is right here:
xcode-select: error: tool 'xcodebuild' requires Xcode, but active developer directory '/Library/Developer/CommandLineTools' is a command line tools instance
Option 2: Install Xcode and give it another shot. Why do you need Xcode? npm tried to grab a compiled C++ module—in this case, usb_bindings-v1.3.1-node-v64-darwin-x64.tar.gz—and it didn't go well. (It ended in a 404.) So, then npm was like, "Fine! I'll compile it myself!" That didn't go well either. I can't fix the 404 for you, but at the very least, I can try to help with the compilation issue—hence, the recommendation to go get Xcode.
- Code: MIT
- Prose: CC BY-SA 4.0
